Follow the Explorers
BDS Suspension Lift Kit Installation on my Chevy S10 Blazer
In 2007 the time is right: My Chevy should “Grow Up”
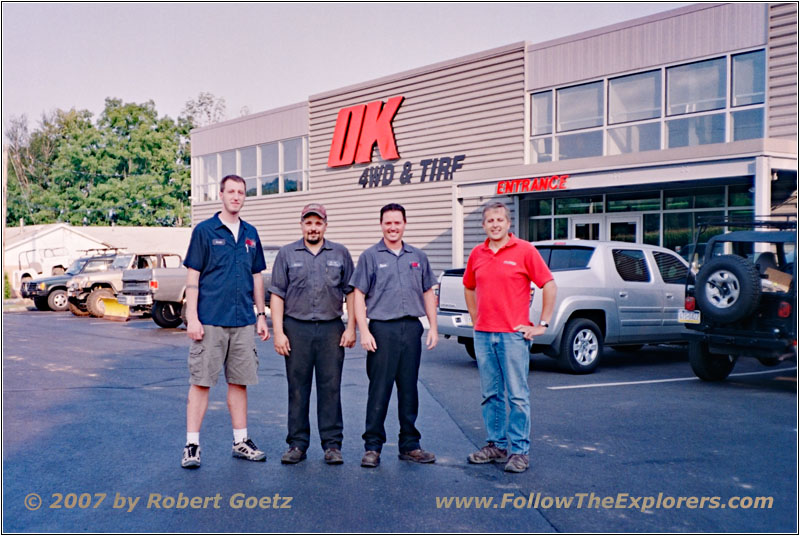
Jason, Jeremy, Steve, Jim, OK4WD, Stewartsville, NJ
The Dollar exchange rate is good and so I start looking around for a suitable lift kit. Soon I discover, that there are not too many lift kits available for this vehicle. The only reasonable lifts are the Trailmaster or the BDS suspension. All other kits would change the original driveline geometry and would eat up the ball joints. After a long search I find a mechanic who is willing to do the job within the very tough timeline of 3 days: OK4WD in Stewartsville, New Jersey!
It takes only a couple of emails with Jim, the owner, until I understand that these guys know what they are talking about! So I arrange everything from Germany, make the appointment with Jason and organize the prepayment to avoid running into my credit card limit.
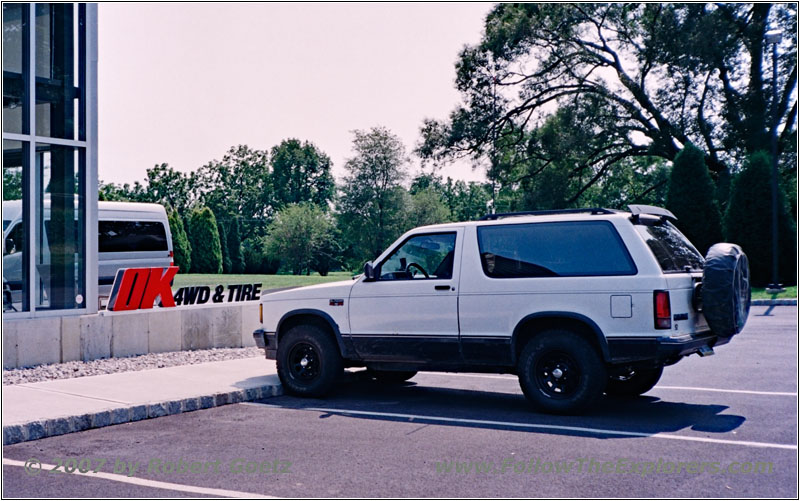
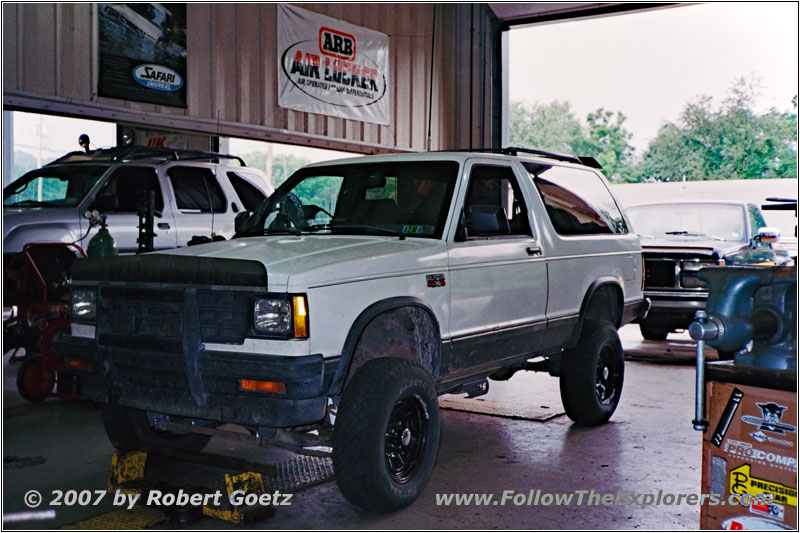
88 S10 Blazer, OK4WD, Stewartsville, NJ
Finally the big day has come and I am standing in front of the shop. Just taking the last picture of my little truck in the original version before they start the installation work.
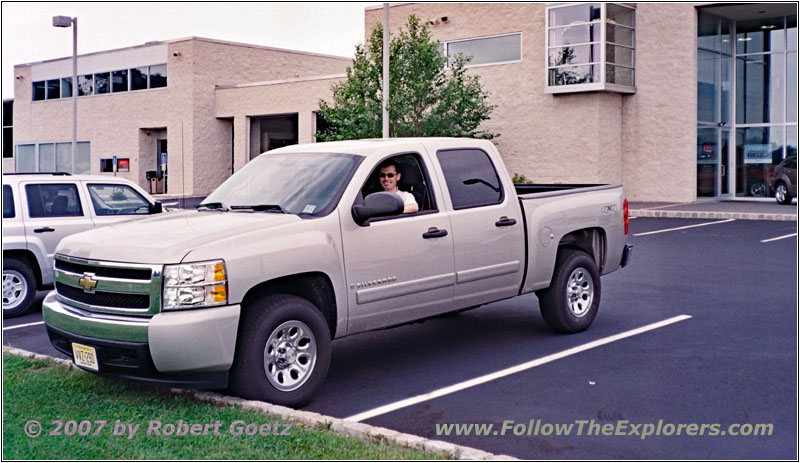
Rental Car, NJ
But before that I need a rental car. Unfortunately all small cars are gone and so I have to take this very “small” truck.
While I am taking care of the rental car stuff, Jeremy already starts to work on my truck and prepares everything for the big work tomorrow. The next day it is time for the front axle to leave. First, he has to remove the disc brakes. As they are pretty much done we decide to put new ones on as everything is apart anyway.

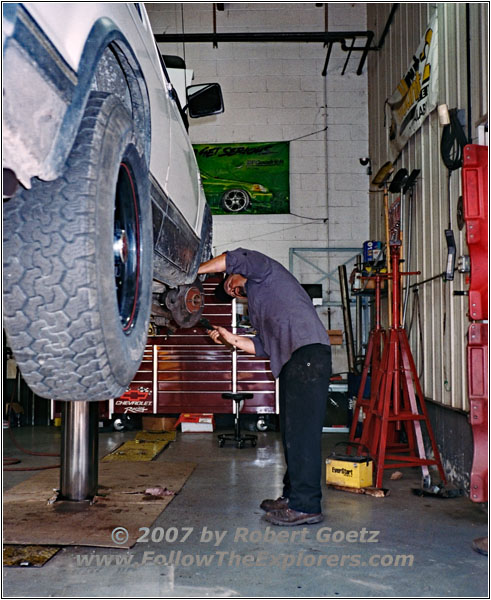
Loosing Brakes, OK4WD, Stewartsville, NJ
After a couple of strong hammer strikes he gets the discs loose and is able to access the axle, which also must be removed. It looks like it is going to be a whole bunch of work.

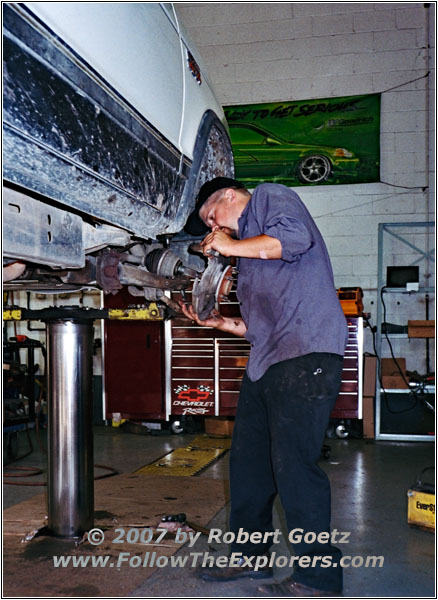
Removing Brakes, OK4WD, Stewartsville, NJ

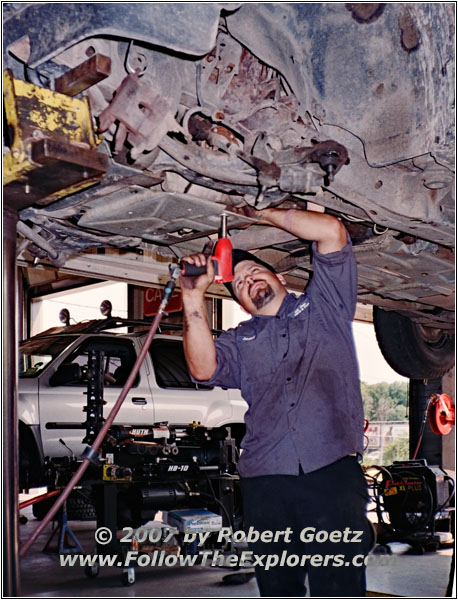
Removing Skid Plate, OK4WD, Stewartsville, NJ
The axles are now completely removed. The next parts to be removed are the steering components. First my nice skid plate must be removed. Unfortunately everything in the front will be changed, so I am not able to reuse it — and I was so proud finding it at the junk yard a couple of years ago after searching around for a while…

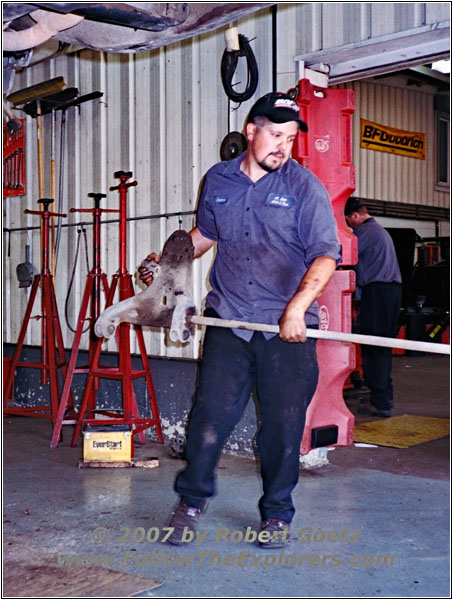
Removing Torsion Bar, OK4WD, Stewartsville, NJ
Back to the axles, the carrier with the torsion bars are the next parts to leave the truck. Right now I am really wondering if there will any part stay on this truck?

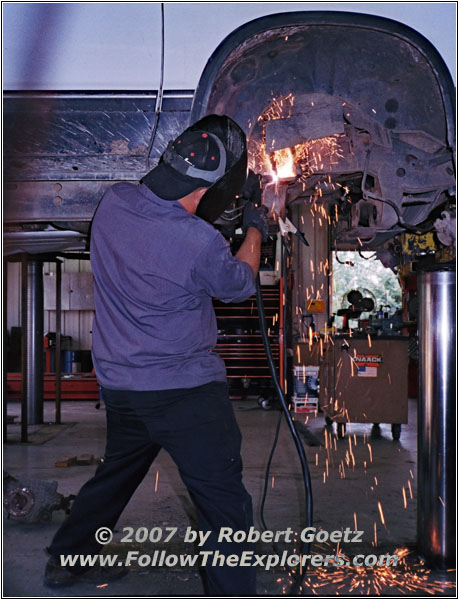
Removing Mounts, OK4WD, Stewartsville, NJ

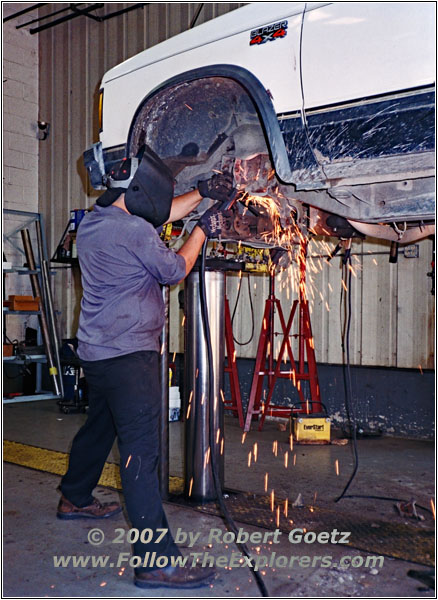
Removing Mounts, OK4WD, Stewartsville, NJ

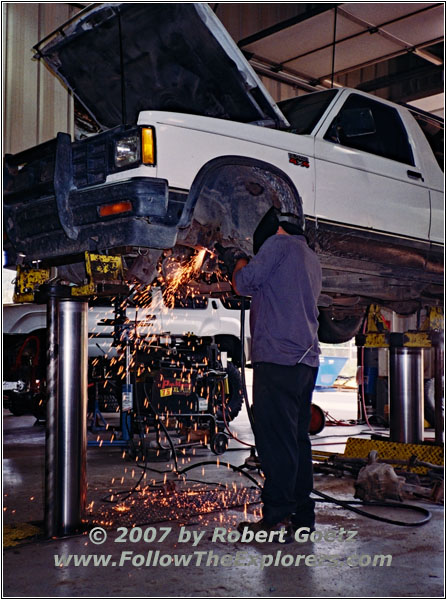
Removing Mounts, OK4WD, Stewartsville, NJ
But what is going on now ?
Jeremy approaches with the welding stuff — we must remove some old mounts, he says. The new kit has its own mounts on the drop bracket. This is now the point of no return and I say: “Go!”
After the welding work the last pieces must be removed by an electrical metal saw — doesn’t this look scary?

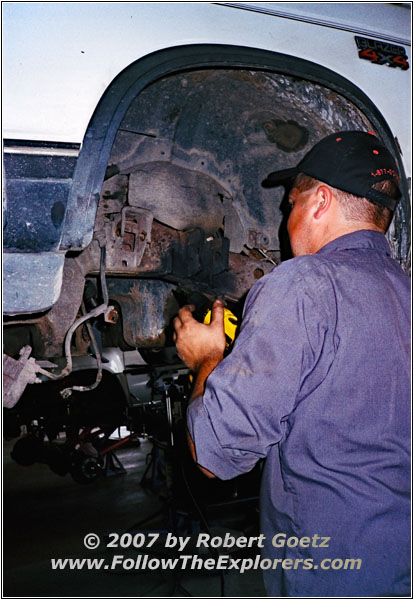
Removing Mounts, OK4WD, Stewartsville, NJ

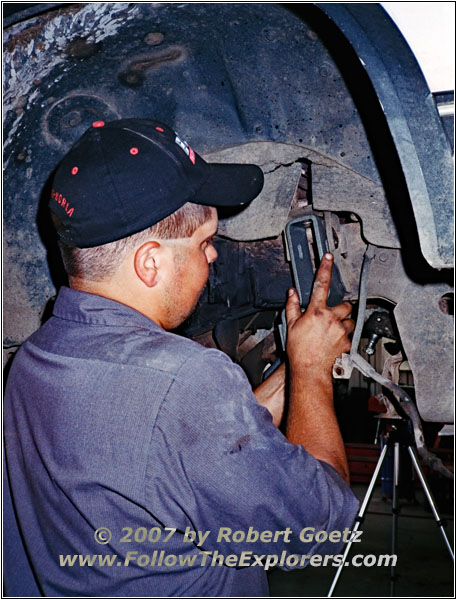
Testing New Mount, OK4WD, Stewartsville, NJ
Do you think this truck will ever drive again?
After all this destructive work we are finally back to actually putting parts into the truck. It’s time to check if the new drop bracket fits and everything was cut out properly. What shall I say — it fits on the first try!

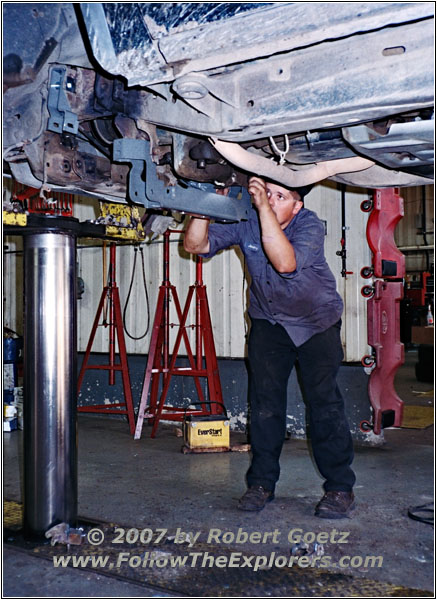
Testing New Mount, OK4WD, Stewartsville, NJ
Now we try the main carrier — and everything looks great!
You can really tell, how professional these guys are working!
Removing Mounts, OK4WD, Stewartsville, NJ
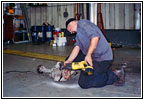
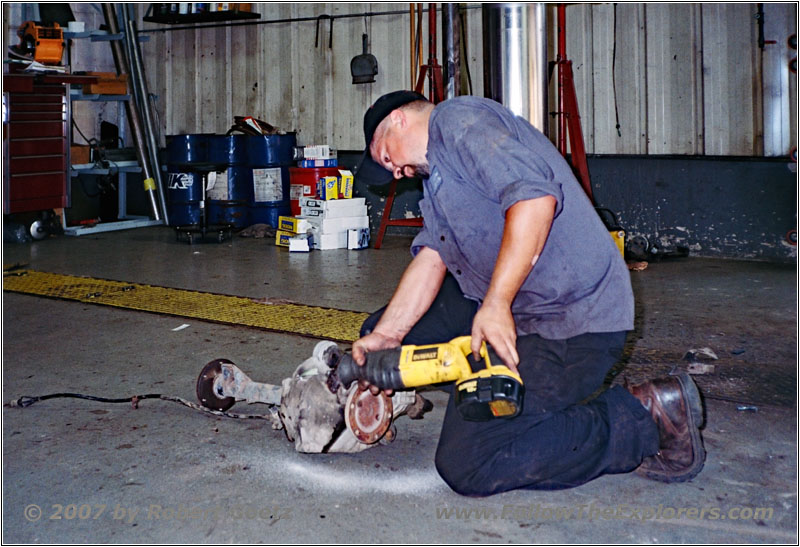
And I thought the cutting was over. But there is still a mount in our way on the front differential. Jeremy takes the electrical metal saw and we get rid of this part.

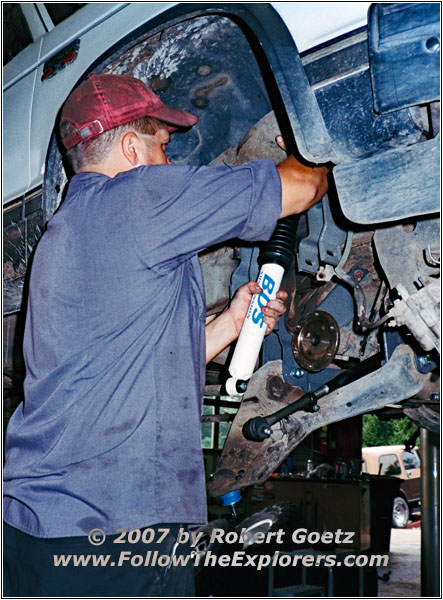
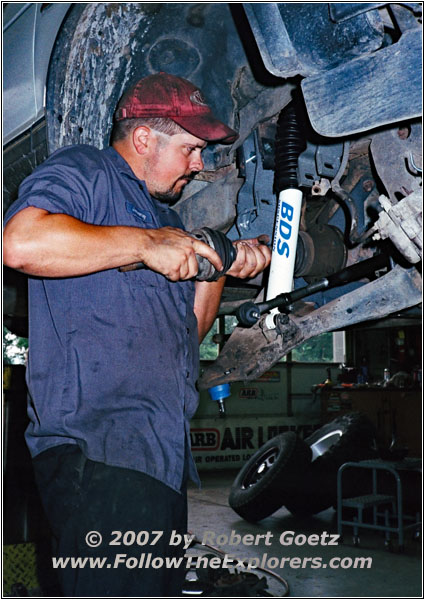
Mounting Shocks, OK4WD, Stewartsville, NJ
The next day it is time to assemble the front back together. We start with putting in the brand new shocks. I am wondering how long they will keep the white color…

Mounting Axle, OK4WD, Stewartsville, NJ

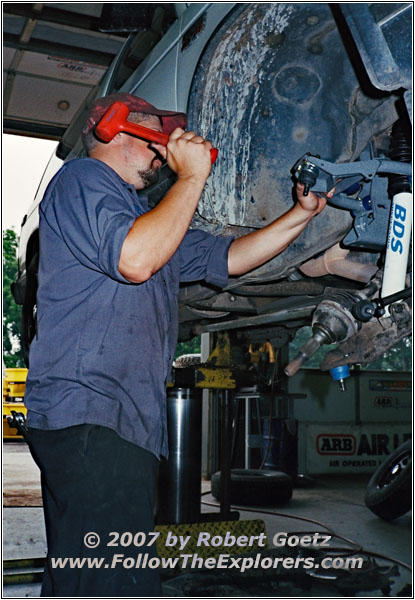
Mounting Upper Carrier, OK4WD, Stewartsville, NJ
The next part is the axle which goes back into the truck.
The upper carrier must be convinced by the hammer to fit into the bracket. But eventually it gives in.
When looking at all this work I am more than happy, that I haven’t tried to do the installation myself!
Finally, only the brakes are missing to complete the front assembly.

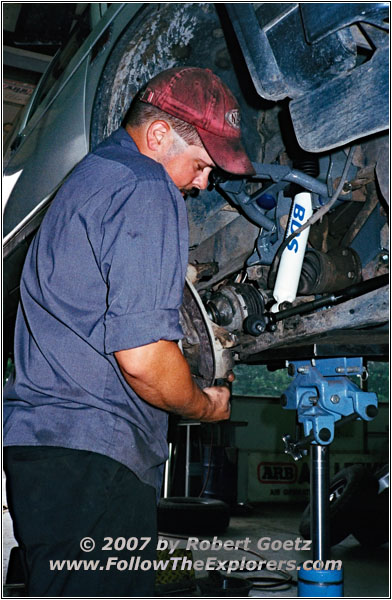
Mounting Brakes, OK4WD, Stewartsville, NJ

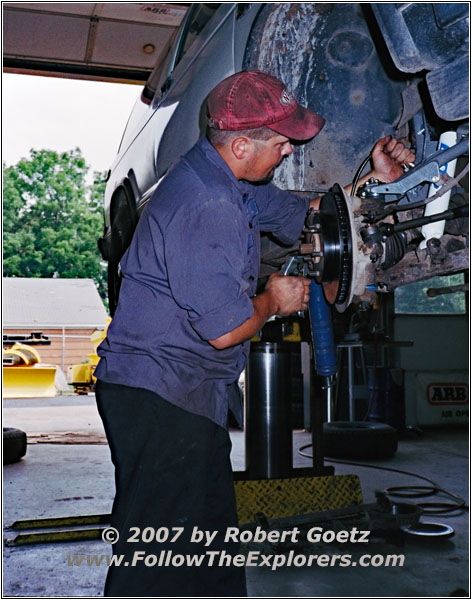
Greasing New Parts, OK4WD, Stewartsville, NJ
Just a little bit of greasing and the front suspension is finished so far. Don’t the new brakes look shiny?

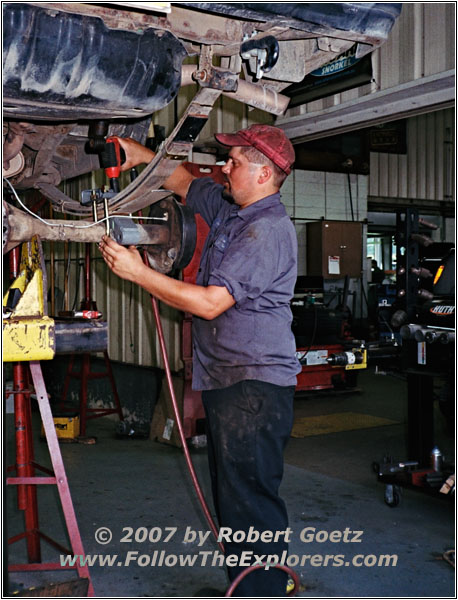
Mounting Leaf Springs, OK4WD, Stewartsville, NJ
Now it’s time to look at the rear end and to do the spring over conversion. After fighting a couple of rusted nuts and bolts, we are able to mount them again.
On the last day, Jason takes over, because Jeremy has his day off. First, he assembles the Eaton Locker together.

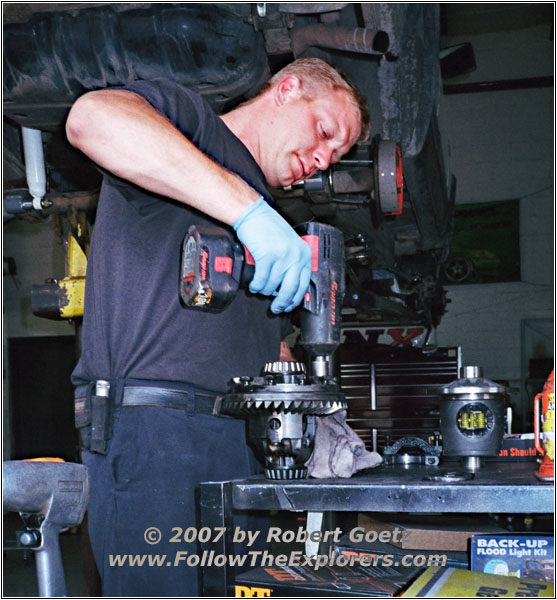
Eaton Locker Assembly, OK4WD, Stewartsville, NJ
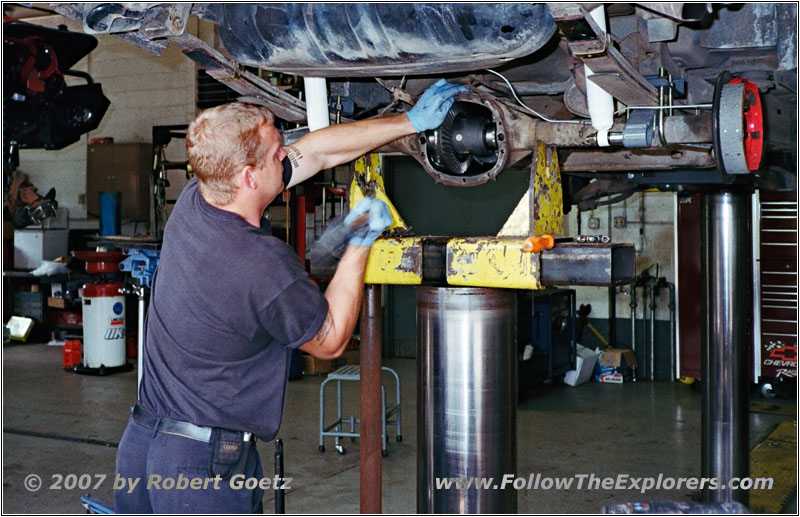
Mounting Eaton Locker, OK4WD, Stewartsville, NJ
After everything is assembled, my new Eaton locking differential must go into the differential housing — convinced by a few strikes from a rubber hammer.

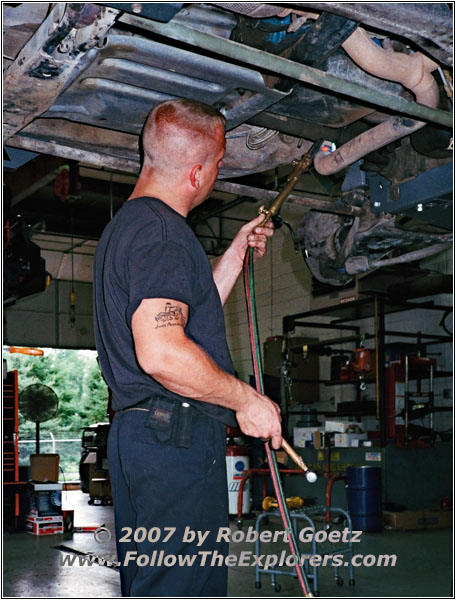
Exhaust Rework, OK4WD, Stewartsville, NJ
To get the front drive shaft connected again to the front differential, the exhaust must be lowered. When doing that, Jason bents it a bit more, so the future transmission oil change should be easier. Thank you so much for that!
After three days, my truck is eventually back on his own “feet”. Wow, now I have ground clearance!
Lift Kit Installation Finished, OK4WD, Stewartsville, NJ
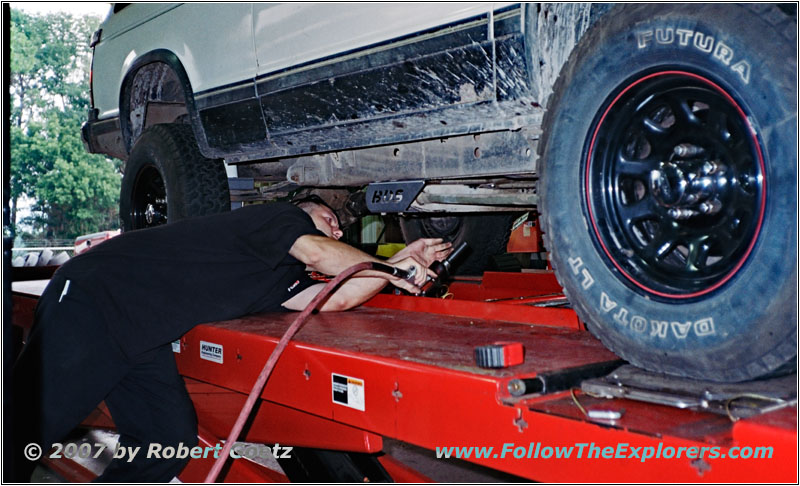
Torsion Bar Adjustment, OK4WD, Stewartsville, NJ
Now it’s time to adjust steering and torsion bars. We also replace the O2 Sensor, because I got a code when driving from Pittsburgh to Stewartsville.
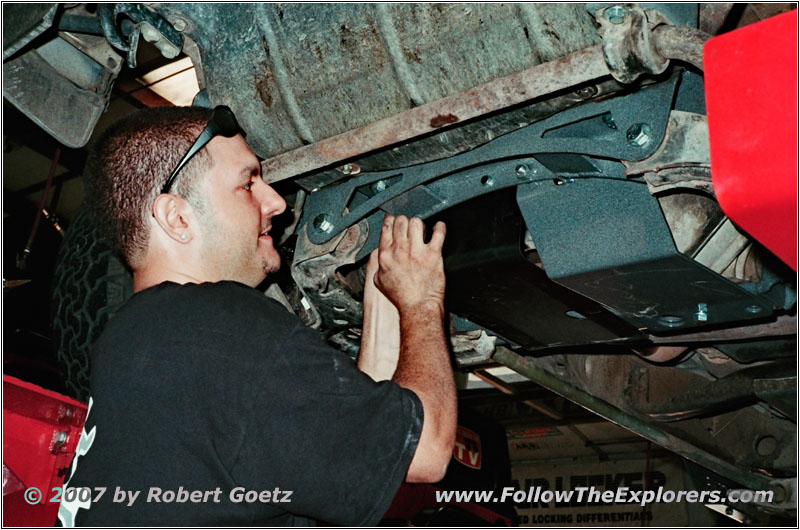
Custom Skid Plate, OK4WD, Stewartsville, NJ
Unfortunately the new front skid plate from BDS does not cover enough of the front differential. All the cables and vacuum hoses are in danger to be torn away when offroading. Therefore Vohn extends the original skid plate to cover also the second half of the front. I really appreciate this extra work!


88 S10 Blazer, OK4WD, Stewartsville, NJ
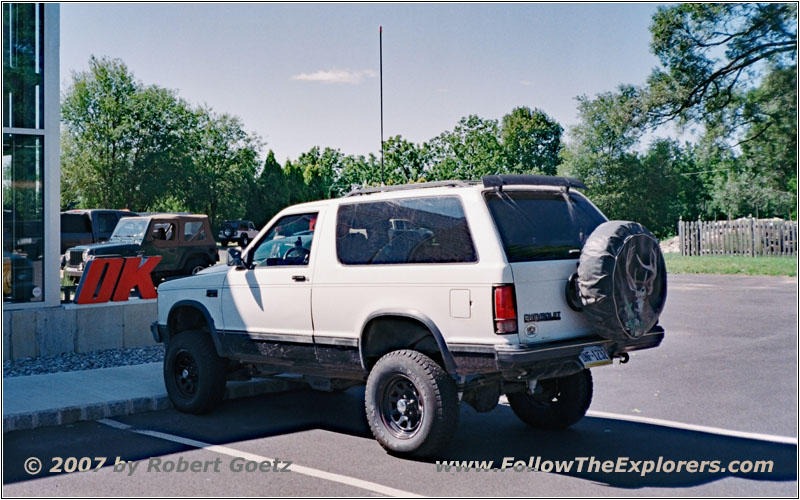
88 S10 Blazer BDS Lift Kit, OK4WD, Stewartsville, NJ
After three days of hard work the lift kit is installed, brakes are all new, the Eaton Locker is installed, all axle and differential bearings are replaced, the O2 sensor is replaced and a custom skid plate is made. Take a look at my truck before and after the work!
