Unimog U1550 Expedition Truck — Shelter Buildup
Buildup
First Aluminum Frame Draft
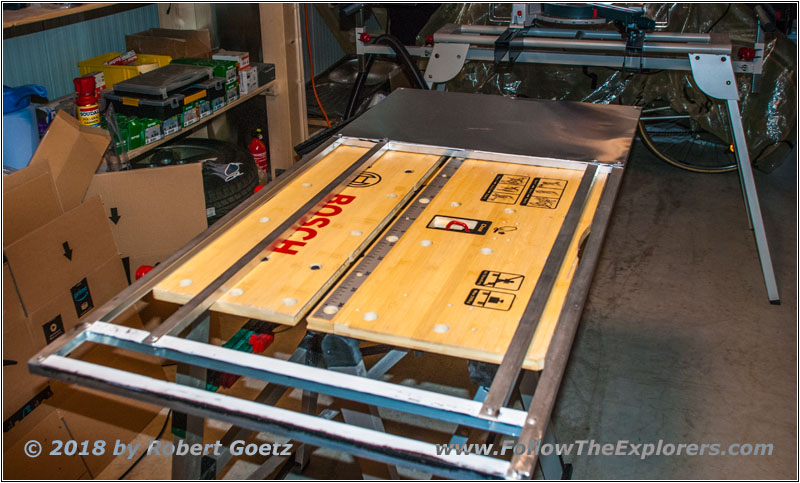
First I was thinking a lot on how to build up a low weight kitchen counter–top. I have built a bunch of aluminum frames to see and check what is possible. I planned to put thin aluminum plates on top and bottom and fill up the interior with polyurethane foam. But it is difficult to achieve this without any hollow space. Finally I discarded this approach after many days of work and thinking.
Cottonwood Plywood Core
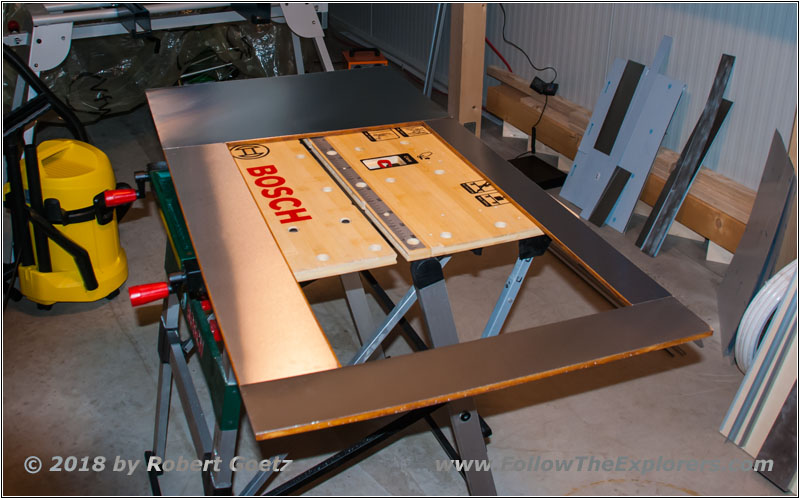
Aluminum Protection Top Side
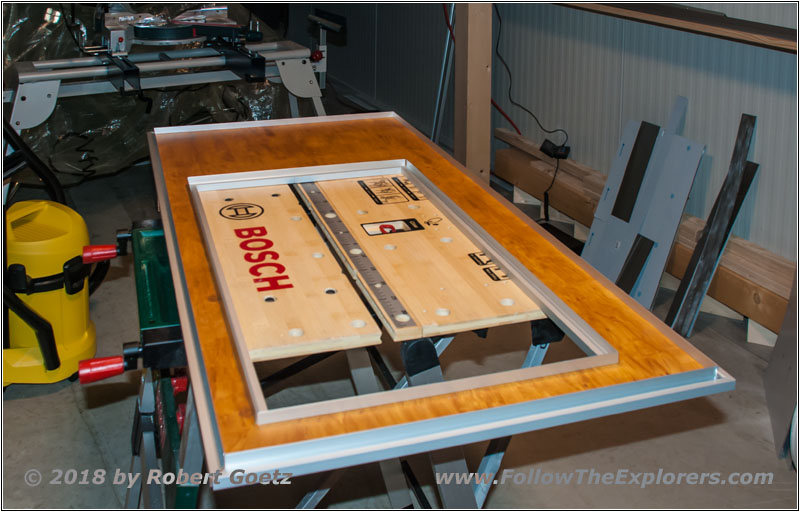
Aluminum Frame Bottom Side
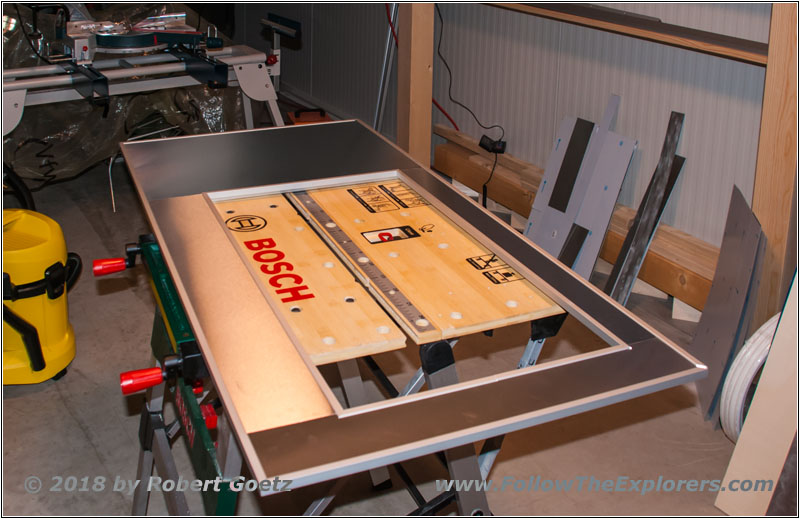
Aluminum Frame Top Side
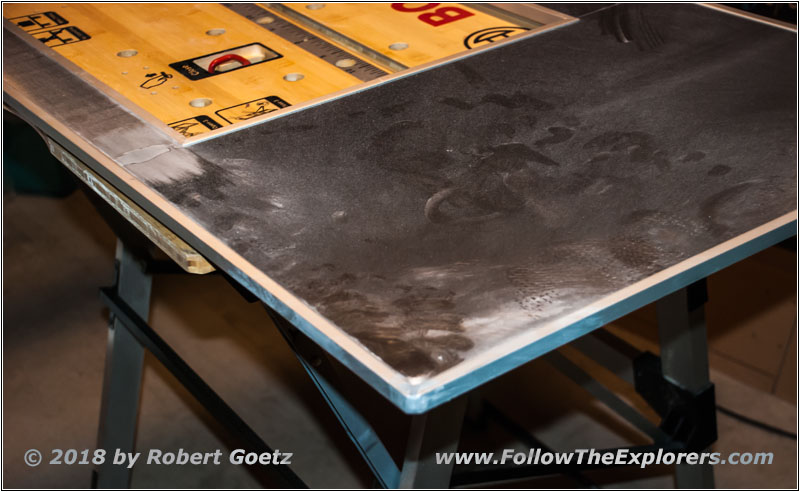
Rounded Frame Edges
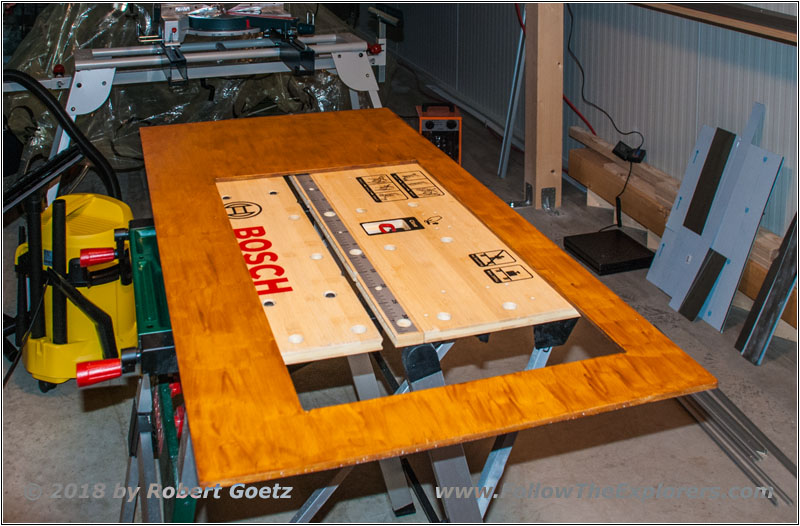
My next approach was to use cottonwood plywood as core and build an aluminum frame around it. I sealed the plywood to get it humidity safe. I left the bottom side open to give the wood a chance to breathe. I don’t expect any force or direct water from the bottom side. To safe my hips from pain I rounded all frame edges. The total weight is now 7.5lbs, which is not too bad for a kitchen counter–top!
Compound Saw

Building Carrier

Building Carrier
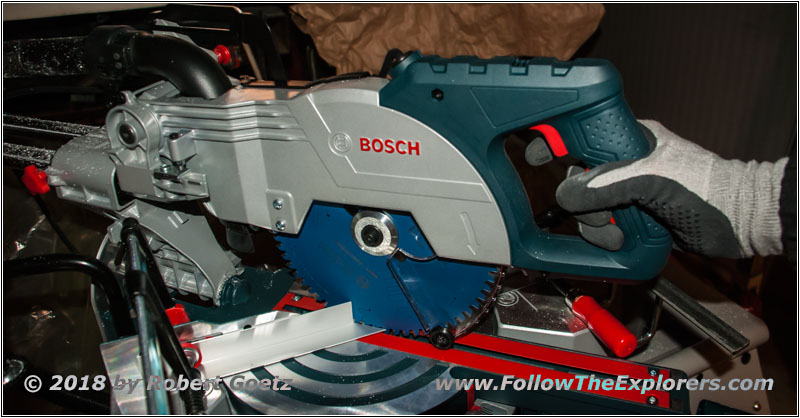
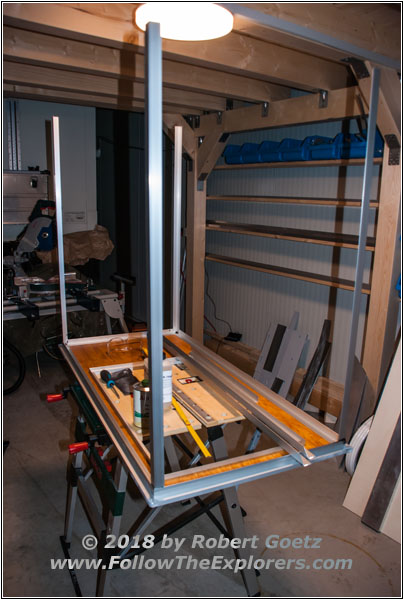
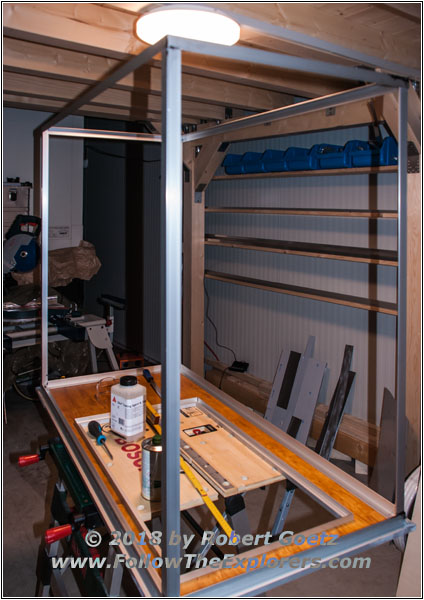
Next is to build a carrier for my counter–top. First I started with a jig saw. But after a while I made the decision to buy a compound saw. This was one of my best investment I ever did! Now the build up went way faster and after two days of work I had my counter–top with carrier finished. I used Sika 260N glue to connect the aluminum ledges. This glue is extremely strong after a while and a good preparation. Gluing has also the advantage to keep the material strong and does not weak it with holes for screws or rivets.
Kitchen Sink Fits!
Side Walls
Rear Stabilization
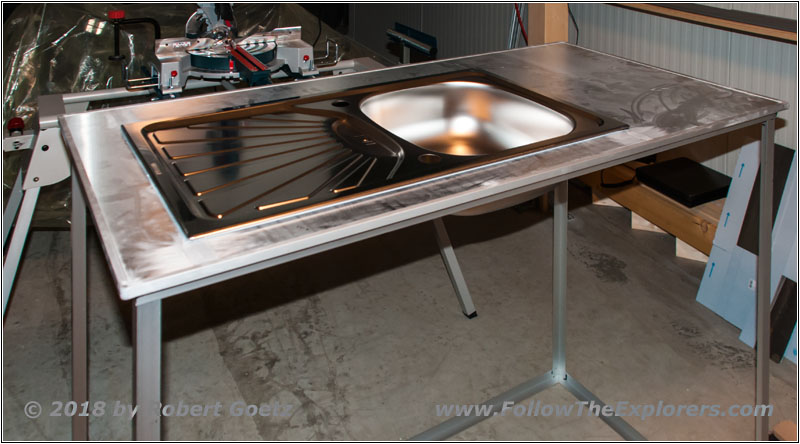
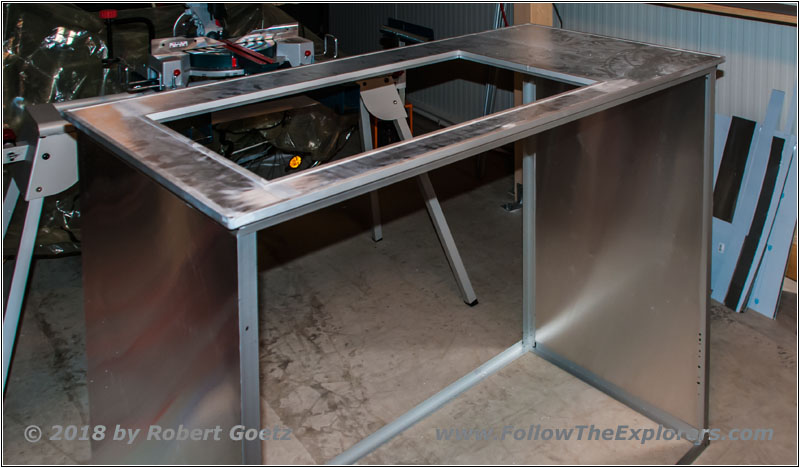
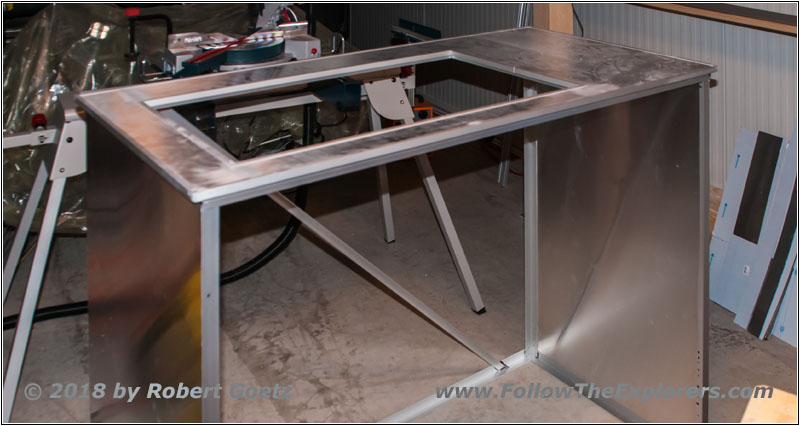
Now came the thrilling moment of putting in the sink — and it fits! Then I put on the side walls of thin aluminum. I also glue them to the frame and this makes it extremely strong. To stabilize things further I glue in an additional carrier at the rear. Things are slowly getting final!
Kitchen Countertop Foiled
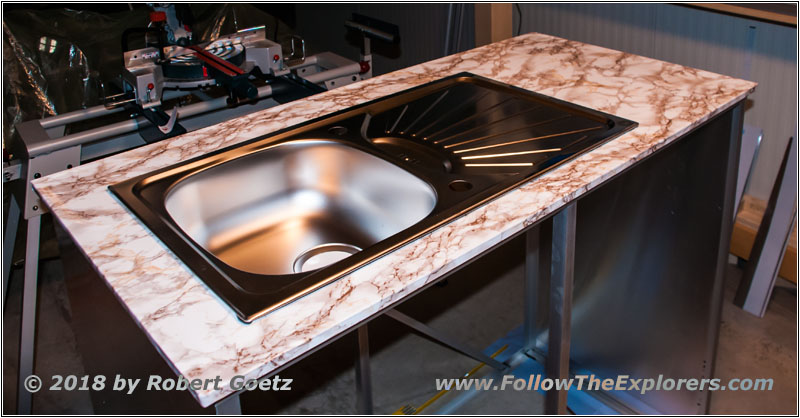
Kitchen Countertop Foiled With Sink
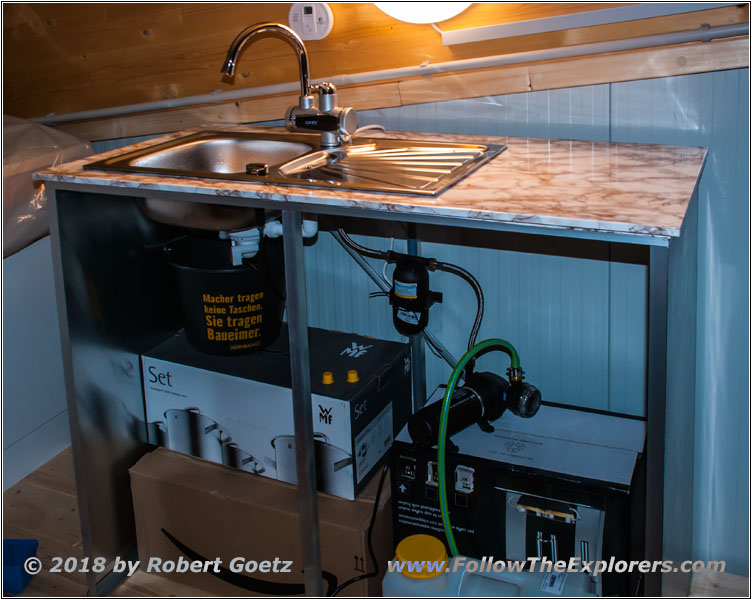
Kitchen Sink Test Run

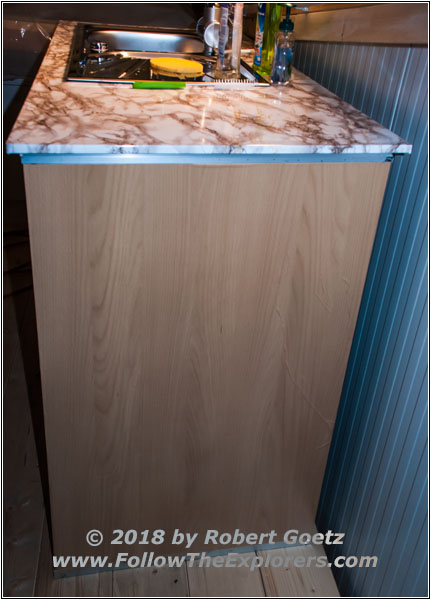
Kitchen Sink Side Wall Foiled
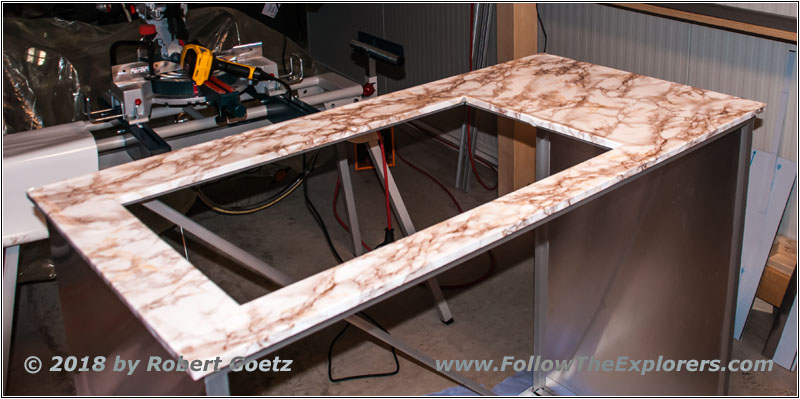
Next step is to start putting foils on for a nicer look. If you take a deeper look you will see that I need a lot more training. But it’s not too bad for a first try. And I really like the stony look! Also the sink looks good in my counter–top. Time for a test run! I connect my cheap China pressure pump and connect my water can. Unfortunately it is not possible to get the connections at the pump completely sealed — China stuff. But it was worth the try. At least the rest works fine. Also my electrical heated faucet, whereas the temperature is controlled by the amount of water flowing through. The faucet always heats with the full power of 3kW. But at least I know the heating power is sufficient for a sink. Finally I put some wood foil on the side wall. The result is not the best because I got a slight angle which led to a wrinkle. Once there you have no chance to fix it. But it is still a test, so I left it as it is. Now it’s just time to learn for the final build which goes into my Unimog.
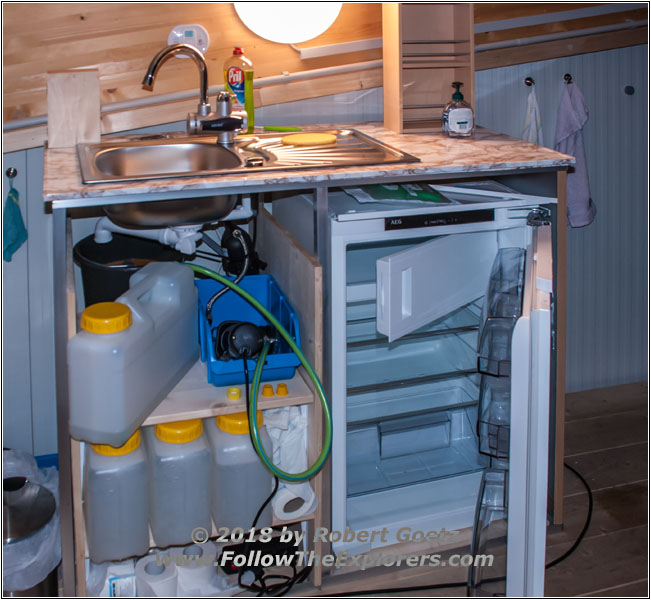
Test Run New Pantry
Finally I bought some cans to remove the fresh water in my Unimog from the tank. To have things more stable I built a wooden shelf for water cans, pump, and gray water bucket for my long time test run. It was also time to get a refrigerator and test it. This one would also go in my Unimog once I start to build up things in there.
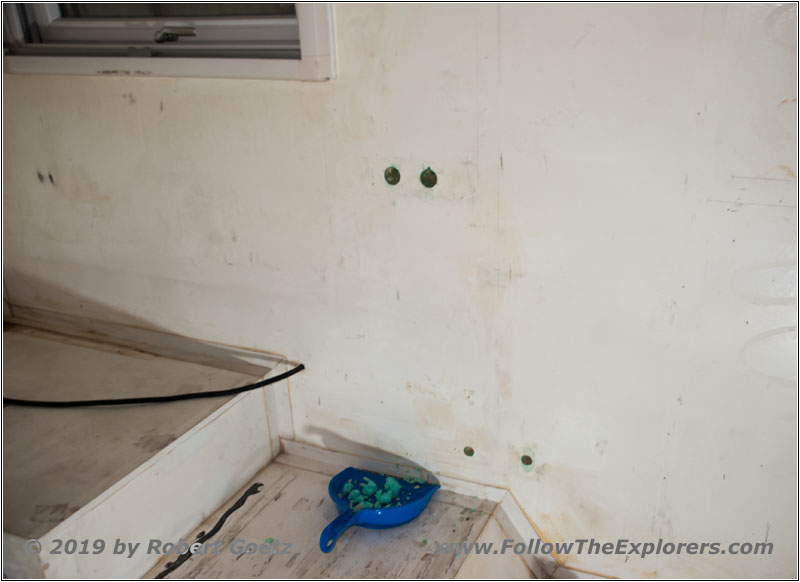
Installation foam removed
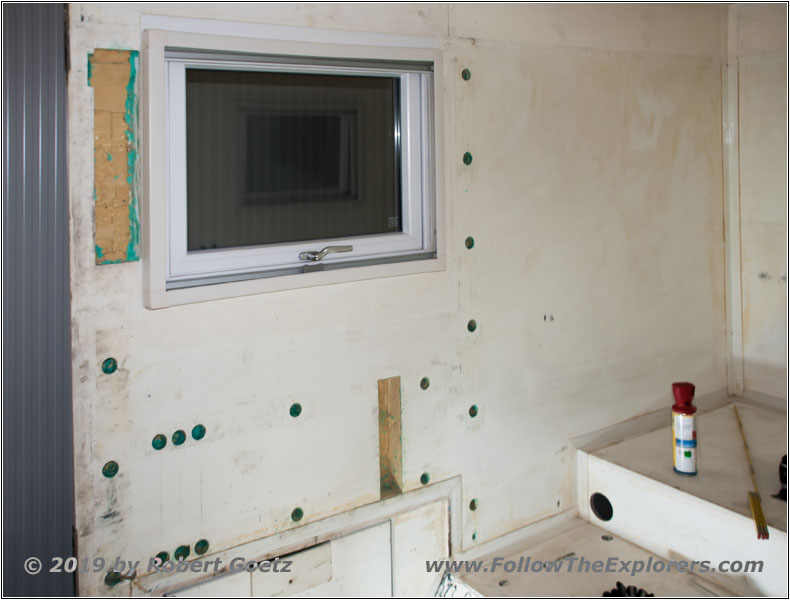
Installation foam removed

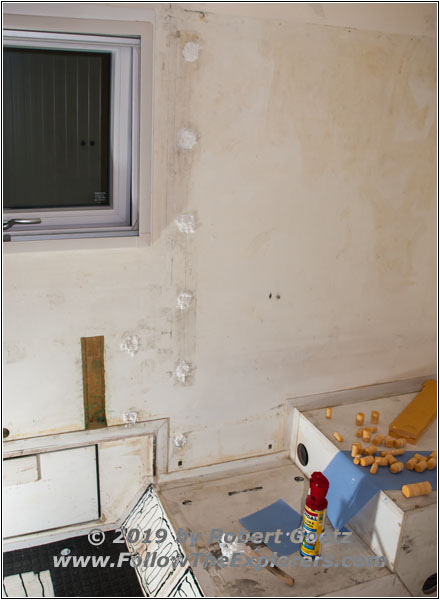
Filling holes in shelter

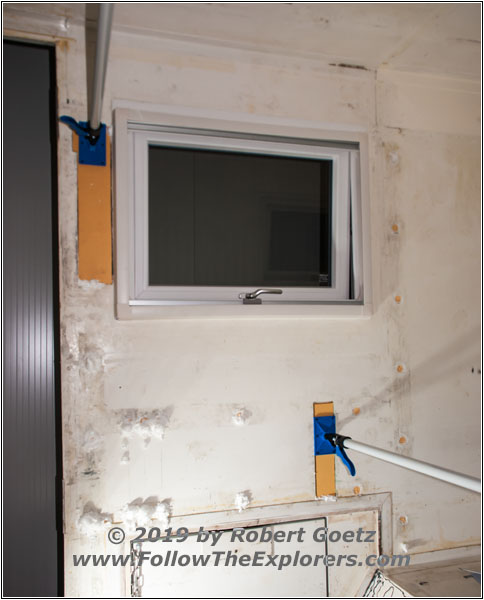
Filling holes in shelter with XPS
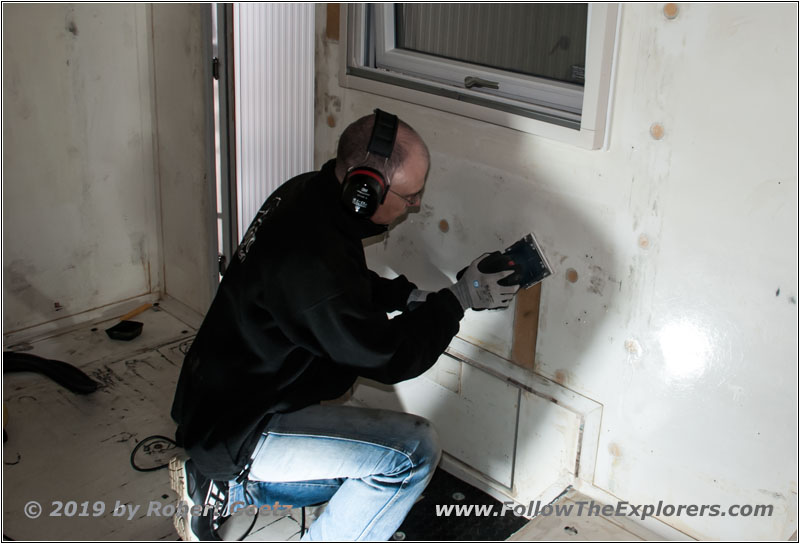
Scattering glass fiber in shelter
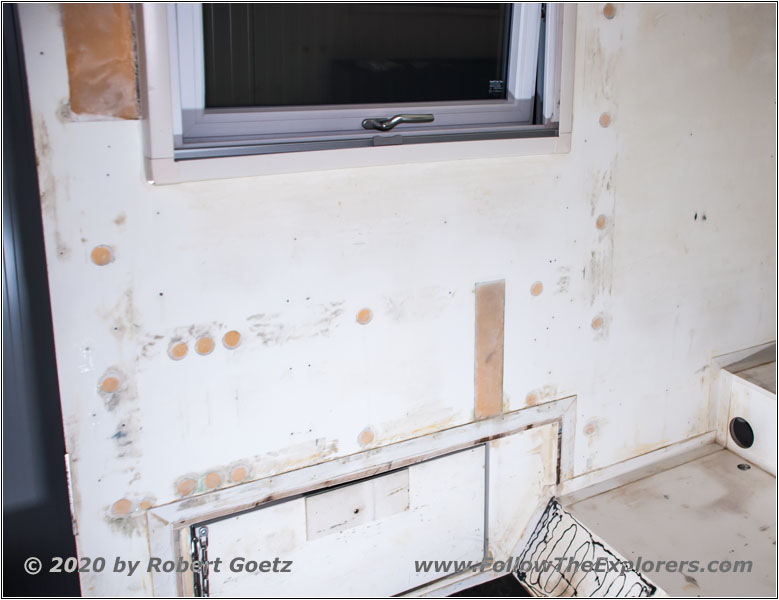
All holes in shelter covered
Almost one year later I can start with the planning of my new interior. But before that I remove all installation foam, to cover old holes more solid. I cut the opening shapes out of XPS sheets and glue them in with new installation foam. On top I will use glass fiber to have a stable and solid surface. This should give enough stability.
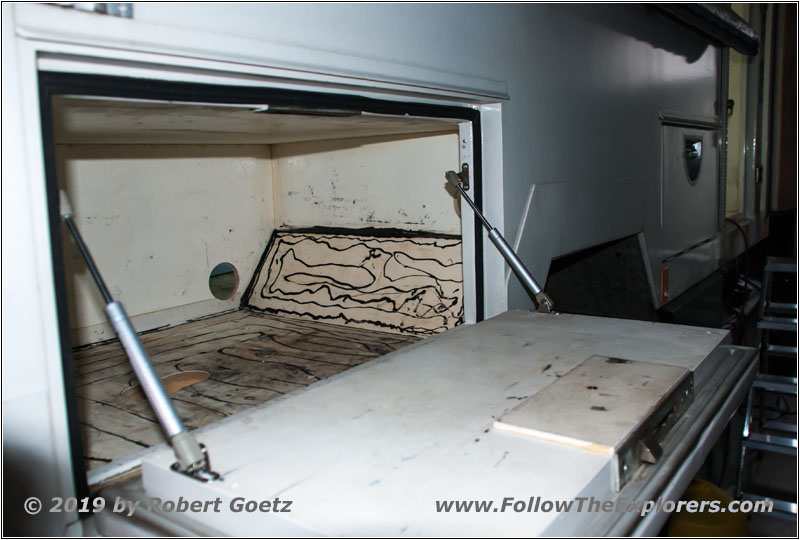
New storage flap dampers
In the meantime I try my new dampers for the storage flaps. They split the weight now on both sides (compared to the chain, which was installed before). They also keep the flaps closed in case the lock should break one day. This looks good!
Now the shelter would be ready to start the build up. But after thinking a long time and a lot of work done I decide to get rid of the shelter. There is no realistic chance to stay below 7.5t fully loaded. Also the shelter is extremely short. I have the Unimog with a long wheelbase where I can easily install a shelter which is 1.5ft longer. This makes a big difference! Therefore I ordered a new shelter in March 2020. This is a huge step back — time wise and financially. But it is the right decision for what I am planning to do!
