Unimog U1550 Expedition Truck — New Shelter Buildup
New Shelter Buildup
The mounting of my rear storage boxes is described under Unimog Truck Rework. In this section, everything starts with the installation of my windows. A friend told me about a new company, who builds genuine glass windows similar to KCT. But they are way cheaper. After an extensive and excellent counseling interview by the owner I order these windows in spring 2022. The shipment is planned for June, which will fit my time planning perfectly. End of June I receive the message that my windows will be shipped next week, which will be the first week of July. This still fits my plan, because there was also a major delay with the lift of my drivers cabin — the original two weeks turned out to be two months…
One week after(!) the promised delivery date I receive the message, that there has been one window less shipped — it will now take another 3 weeks until they are able to ship my windows — which turns out to be 7 weeks. Really great that they sent the final bill already with the first shipment announcement in June and I payed immediately…
When the windows eventually arrive by the end of August, the shim strips and the line strips for the outside are missing. After a longer phone call with the owner I must learn, that I don’t need the shim strips (great that they are also payed!). He wants to ship the line strips next week. That is still okay, because I can start working on the window cutouts. For this task I receive again very valuable hints and advice from the company owner.
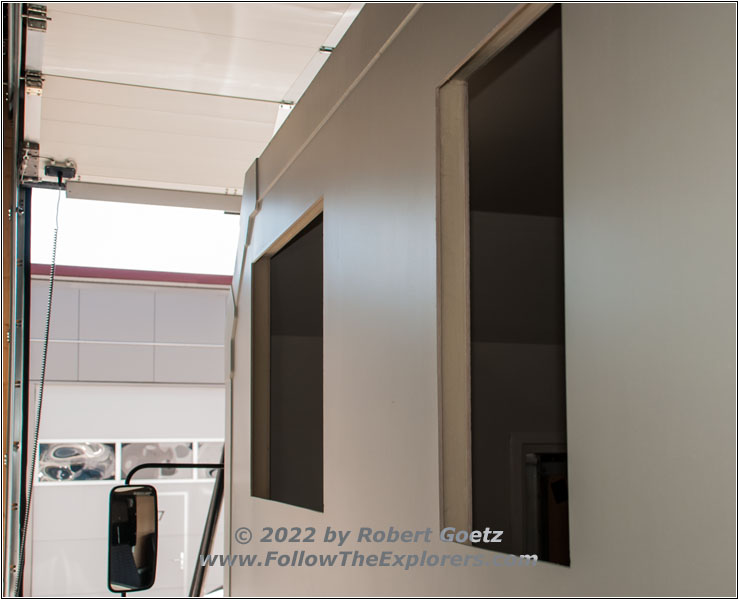
Shelter Window Cutout Drivers Side

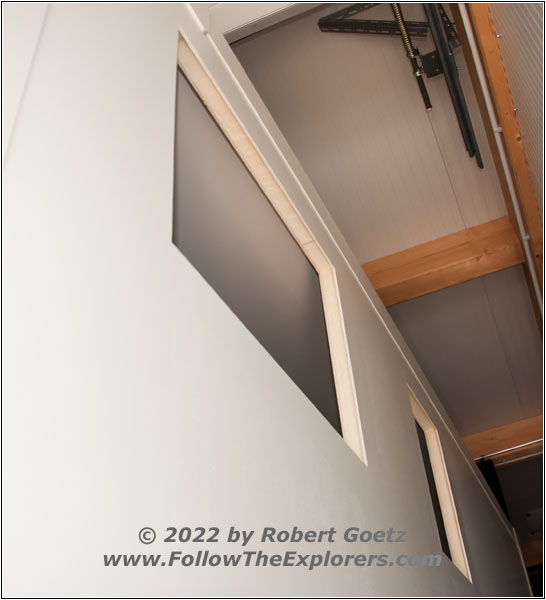
Shelter Window Cutout Drivers Side
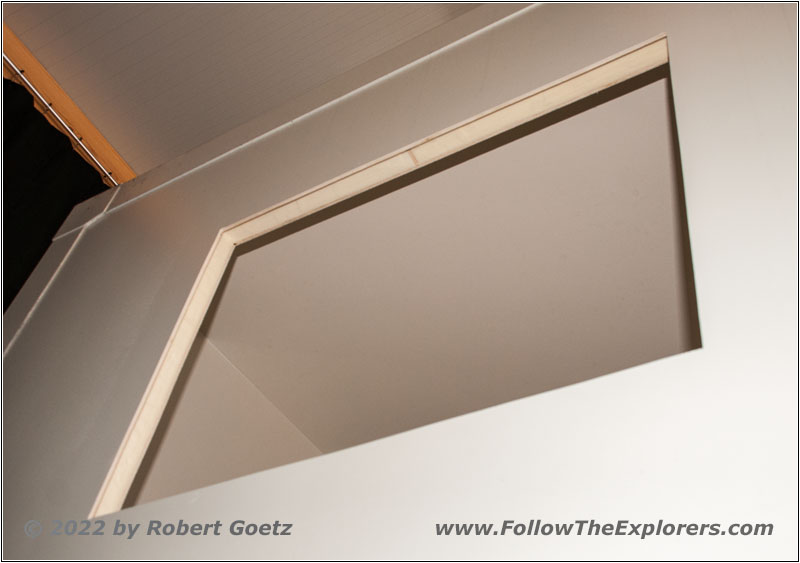
Shelter Window Cutout Passengers Side
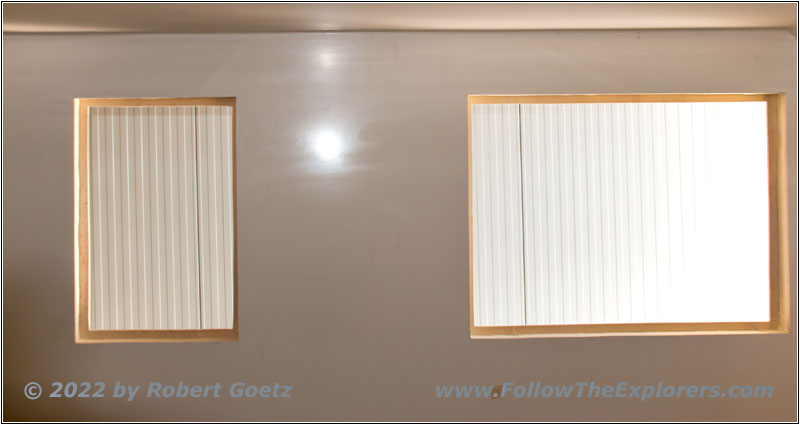
Shelter Window Cutout Drivers Side
Shelter Window Cutout Passengers Side
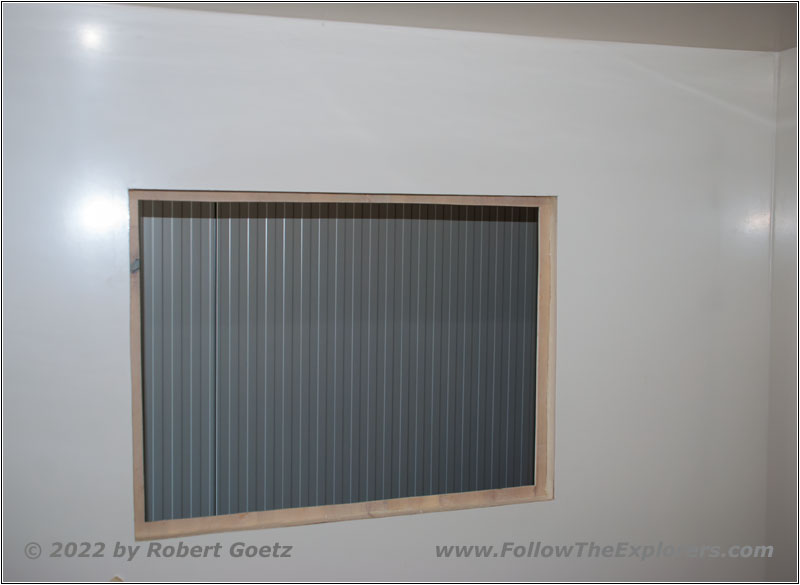
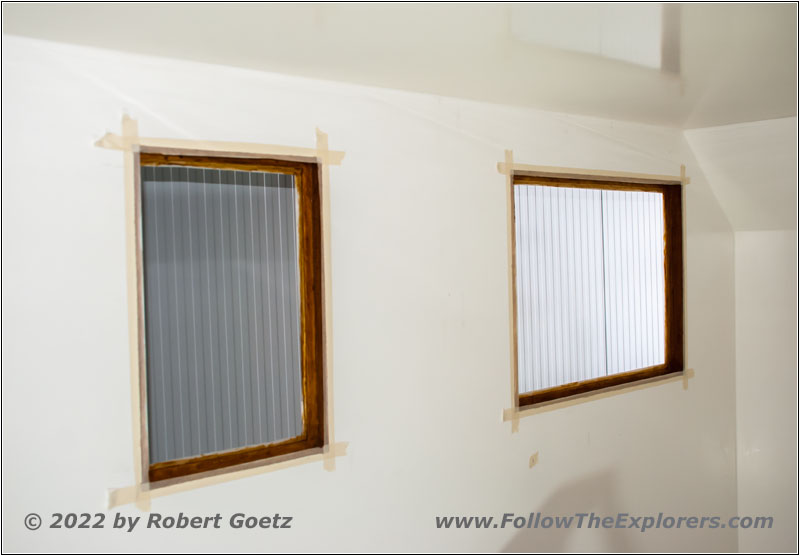
For the installation I must do two different cutouts: A smaller one for the outside and a bigger one for the inside. I have drawn them both already on the walls while waiting for the windows. Because I don’t have an immersion saw I try it with my jigsaw. For this I drill the appropriate holes in the corners. This works even better than expected. But despite all caution the jigsaw saw blade start to warp to the outside. But for this to cover I have my line strips. For the cutout on the inside I use my Multimaster with the big half circular saw, because I am only allowed to cut down to the wood on the outer side and not further. Therefore I adjust the depth accordingly. Also this works pretty well and I receive a nice cutout. Anyways, the pulse really increases if you start to cut these big holes in your shelter, which has the price of a compact car…
Shelter Window Cutout Passengers Side
Shelter Window Cutout Drivers Side
Because my shelter has an additional layer of wood behind the layer of plastic, I think about how to protect the cutting edge. First I think about placing a glass–fiber epoxy layer to seal everything in case some water should ingress. But thinking twice, this is rather too much. All in all the wood will not swell while being submerged in water, what I tested. Therefore I think it will be sufficient to paint everything just with my wood stain. I also paint the isolating foam to close the upper pores. This should be enough preparation work for the installation.

Shelter Window Fixation Drivers Side

Shelter Window Fixation Drivers Side
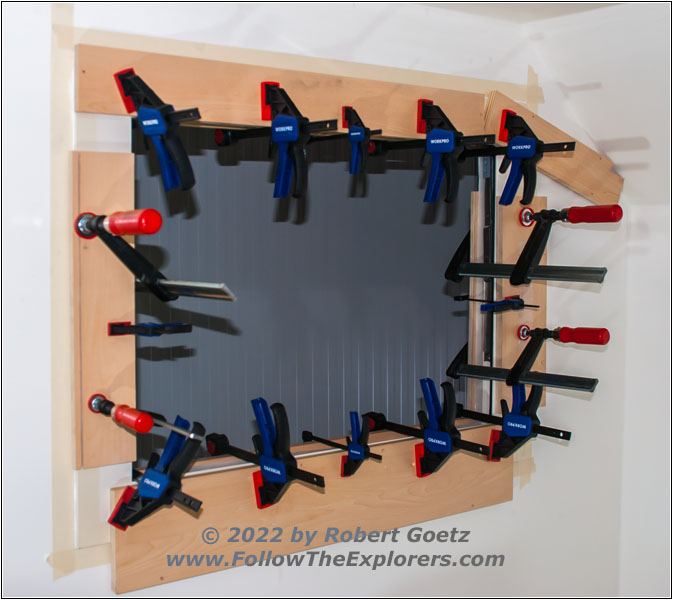
Shelter Window Fixation Drivers Side
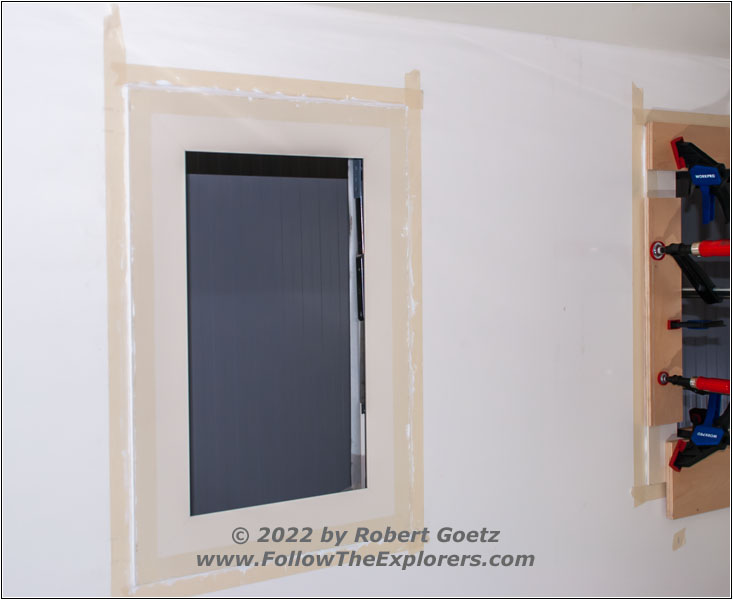
Shelter Window Mask Drivers Side
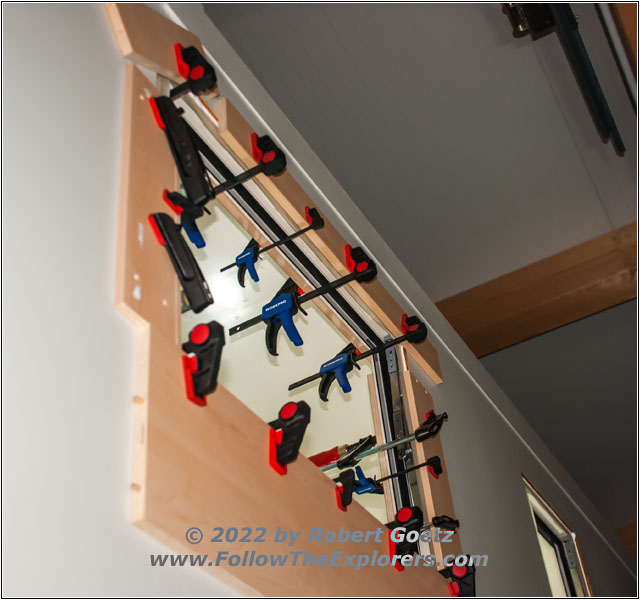
Shelter Window Fixation Drivers Side
Shelter Window Frame Drivers Side

Shelter Window Frame Drivers Side
Shelter Window Frame Drivers Side
Shelter Window Fixation Passengers Side
Shelter Window Fixation Passengers Side
Shelter Window Frame Passengers Side
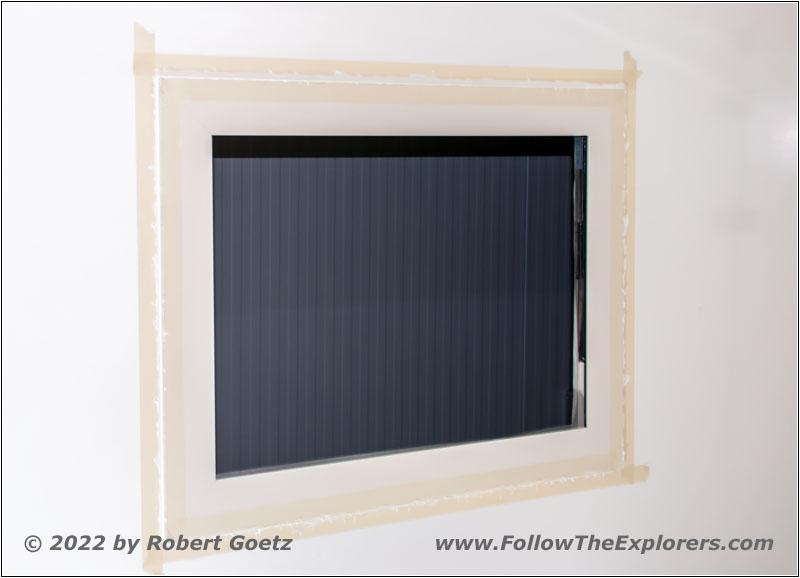
Shelter Window Mask Passengers Side
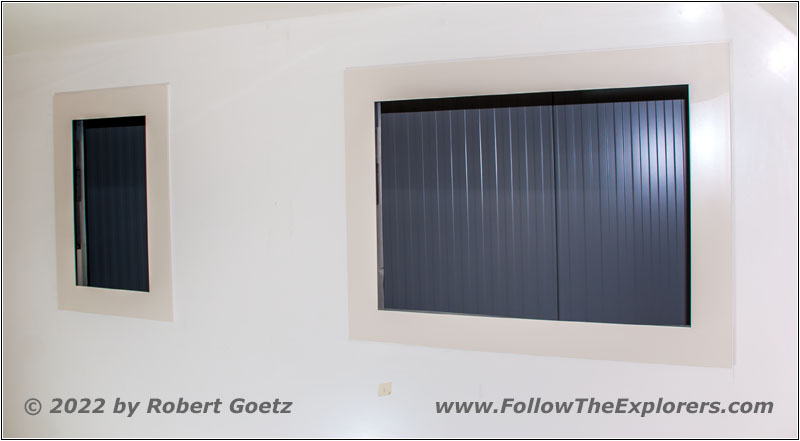
Shelter Window Frame Drivers Side
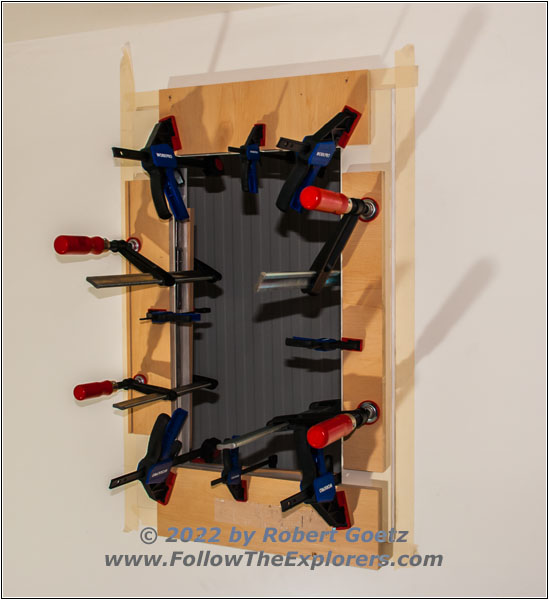
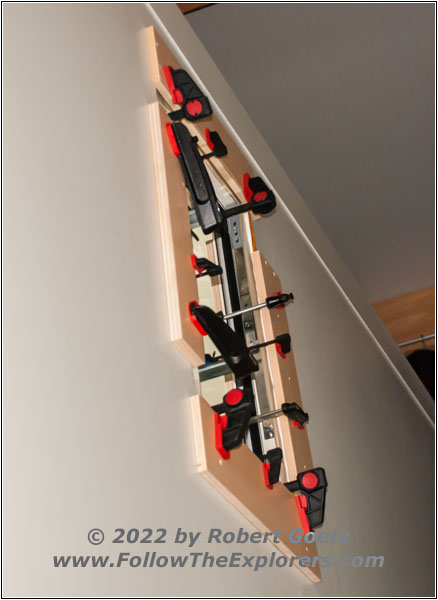
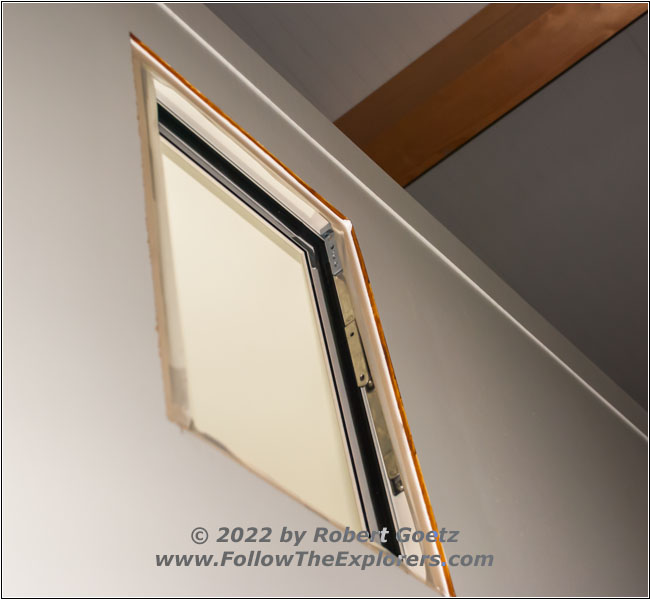
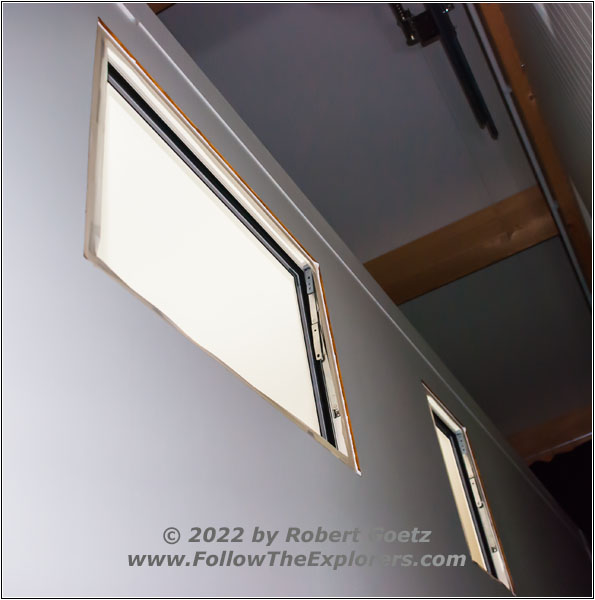
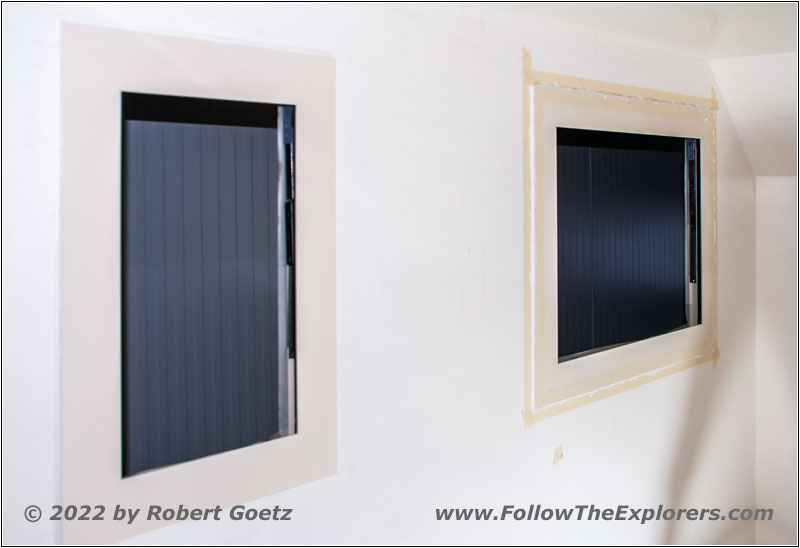
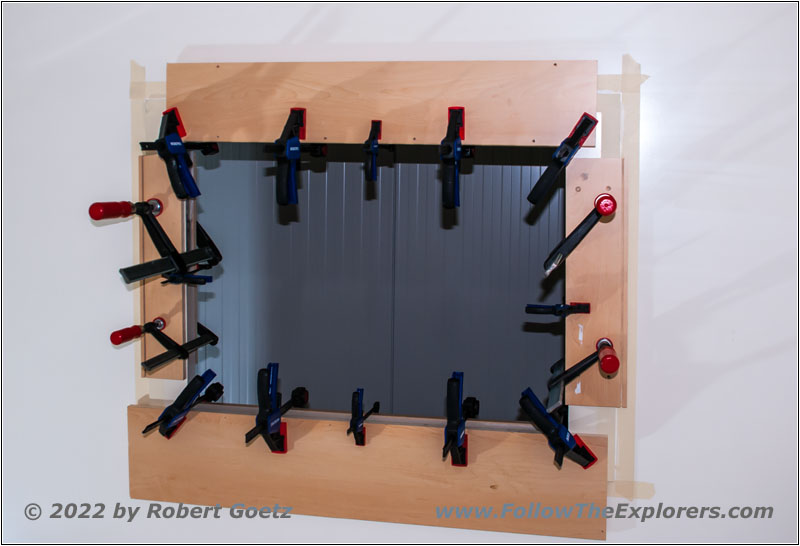
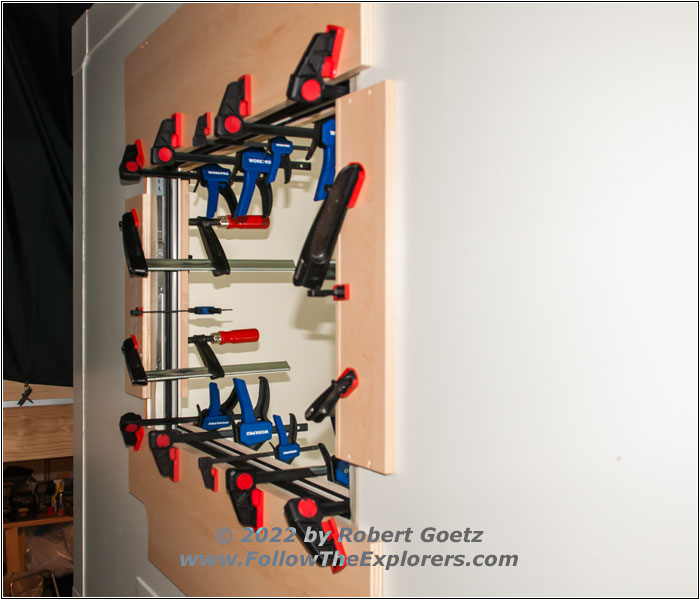
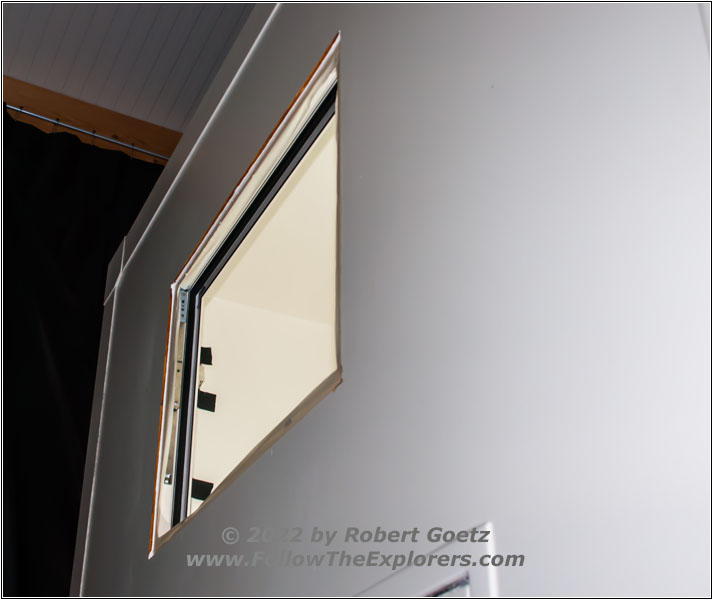
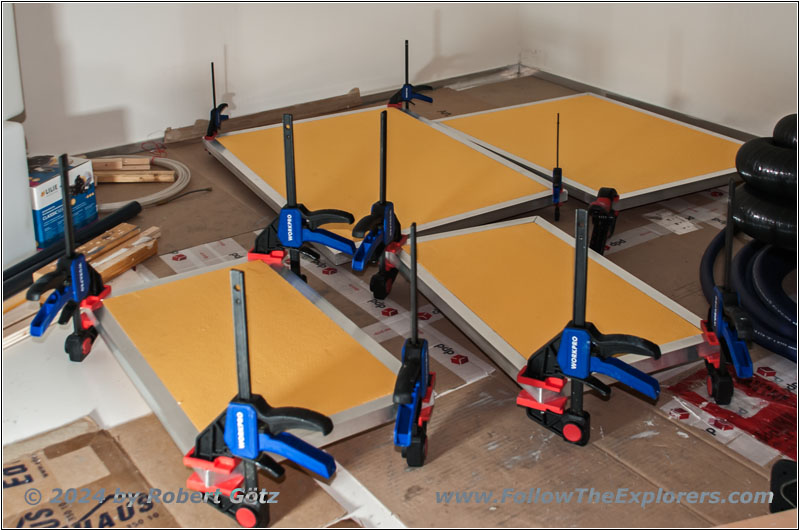
The window can be removed from the frame during installation. Only the hinge stays in the frame. Then the compression tape will be placed in the frame and the two lines of glue for the inside and outside walls. Sure I have cleaned and degreased everything before very thoroughly. Then I press the window in the cutout and adjust it. Finally I fix it in place with screw clamps and pieces of wood. I am really curious how this will look like once it is finished…
In the meantime I try to eventually receive my line strips by emails and calls. But he fobs me from week to week. Slowly it is getting really tight, because I have inspection in October and I urgently need a service appointment for my truck before that. But everything is in vain and I don’t receive the strips! Although this would be just 2h of work for him and all the calls and emails have surely eaten up more time already. When I was starting to get extremely upset about him, he is willing to ship the line strips — but he had to realize that he ordered not enough material. Therefore I only have strips for two windows now. When I unpack them I must realize that on two strips part of the corner is missing. He had cut them too short!
I immediately complain about this and receive the promise that he will definitely ship new ones with the rest. I am just wondering, when this will happen. All in all I must now cancel all appointments and hope that I will receive the strips at least in time before it is getting too cold for glueing.
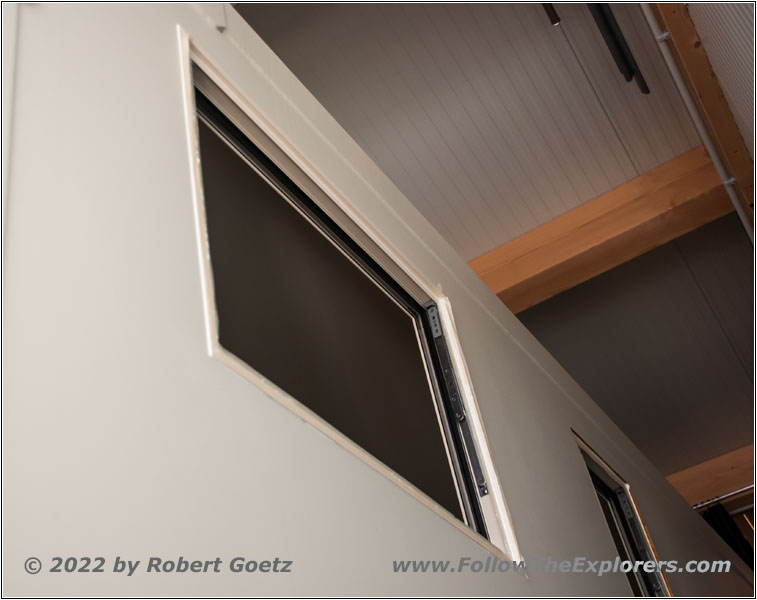
Shelter Window Frame Drivers Side
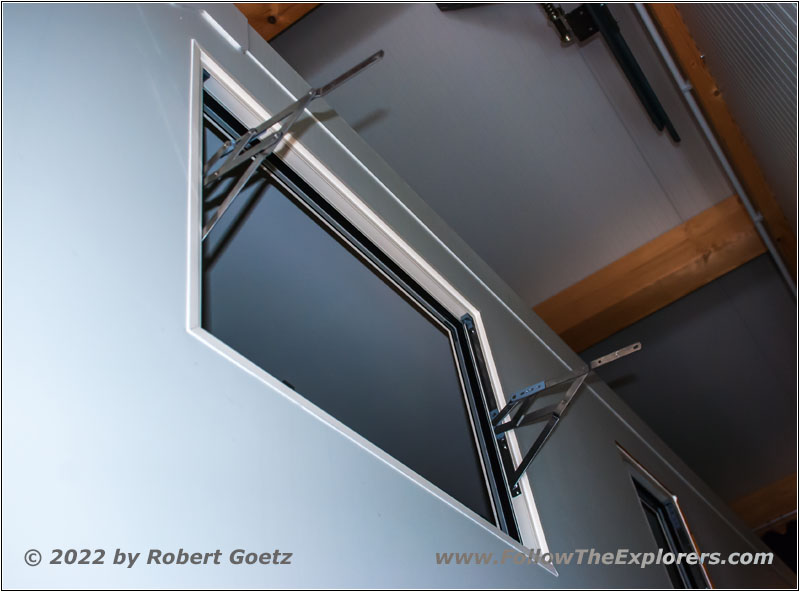
Shelter Window Frame Drivers Side
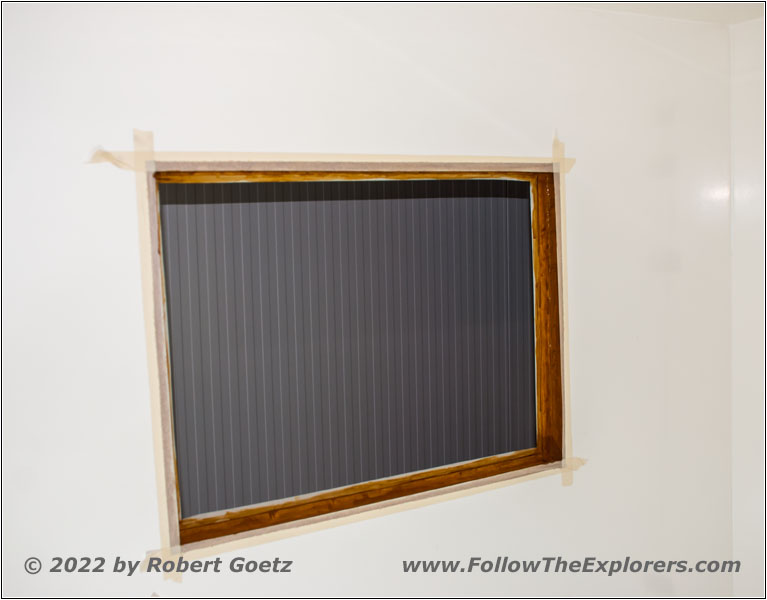
So I am only able to finish one window. But at least I want to finish this one, before it is getting really cold. Most of the work is really the precise masking in order to be able to place a nice surrounding glue cover to the outside and to the window. When I remove the masking tape it is getting really thrilling — and it looks pretty good!
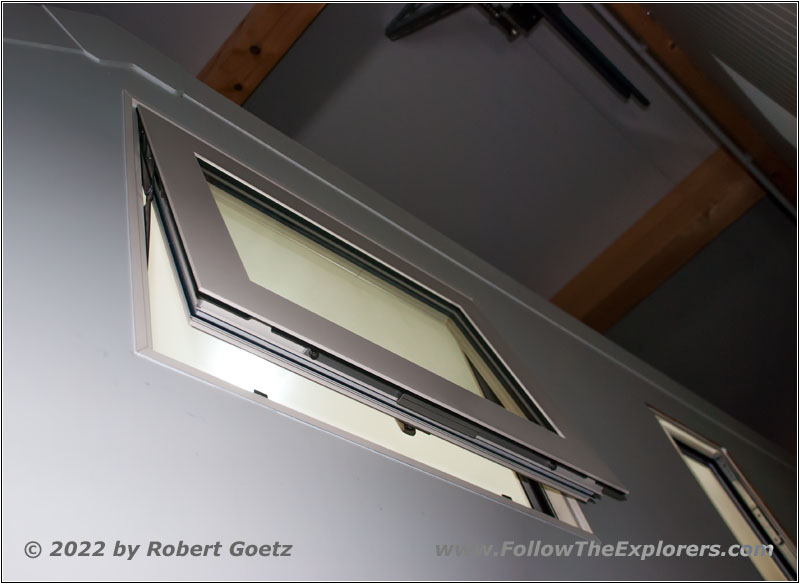
Shelter Window Drivers Side
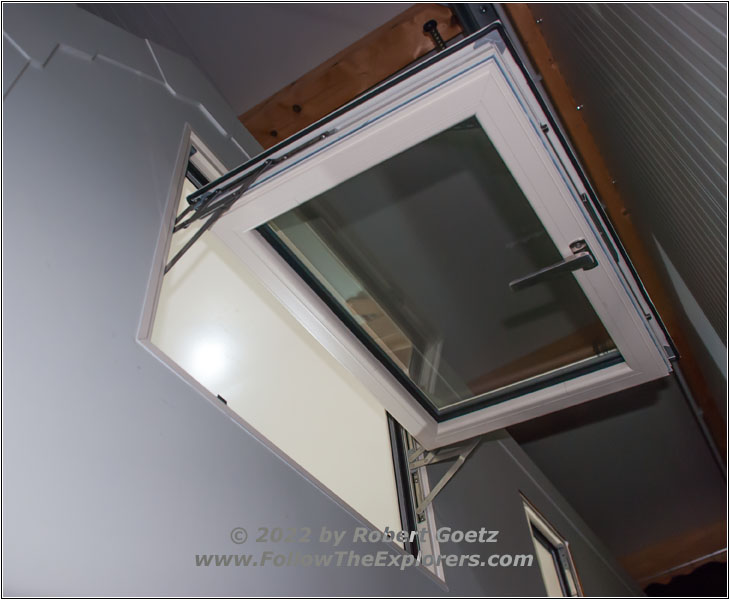
Shelter Window Drivers Side
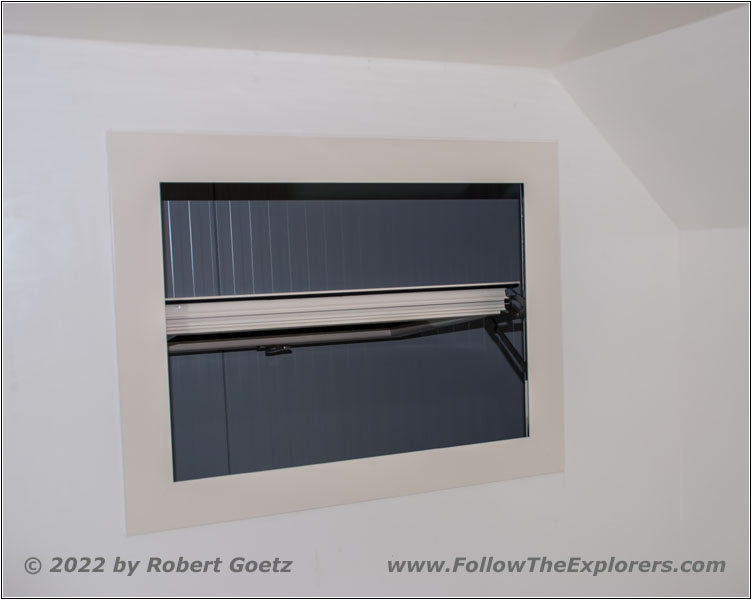
Shelter Window Drivers Side
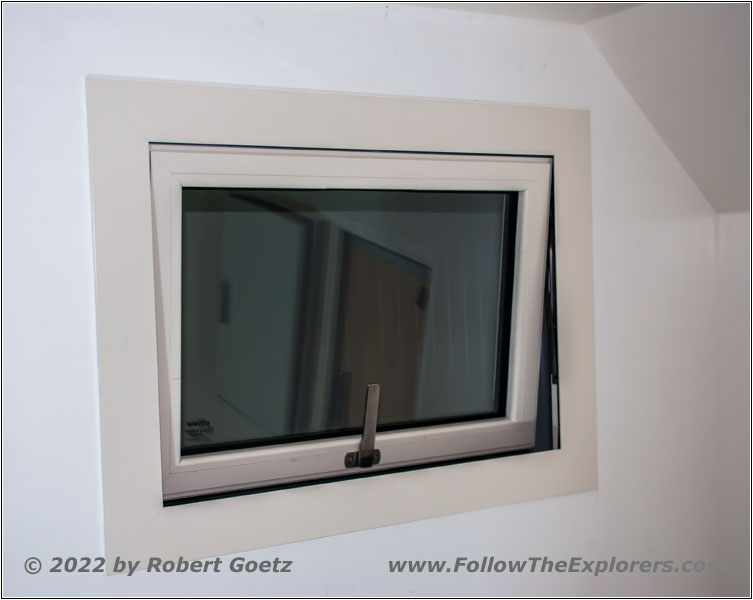
Shelter Window Drivers Side
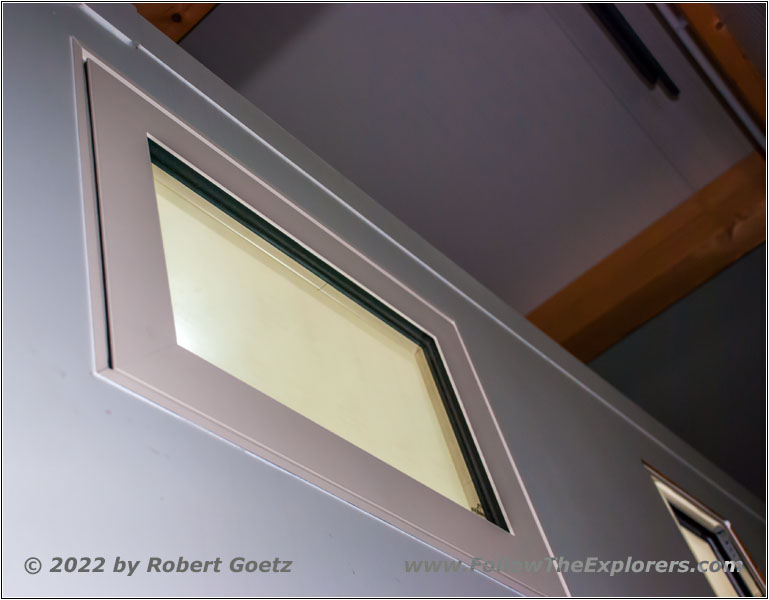
Shelter Window Drivers Side
After everything is hardened through, I am able to mount the window back in the frame. Two friends of mine help me here, because it is impossible to do this alone. Holding the heavy windows in a height of 7ft and then putting the screws through the hinge in the window is challenging, even with help. But the final result looks really great!
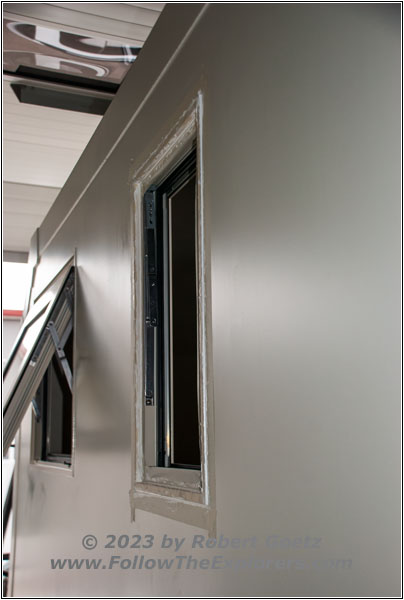
I spend the next month again begging the owner to please send me the remaining line strips. But the same game as before continues. He fobs me on and on. One day I see an interesting post on Facebook from someone who has a similar problem with this guy. We start chatting and he offers, that he can check for my strips, while he is at this company checking for his parts. The whole mission would be really ready for a movie and I could write another page here. But the bottom line is that he was able to take the strips with him (at least partly cut). He packed them and shipped it to me and I only have to do the longitudinal cut that they will fit the depth. This even works with my small Proxxon circular saw bench.

Shelter Window Frame Drivers Side
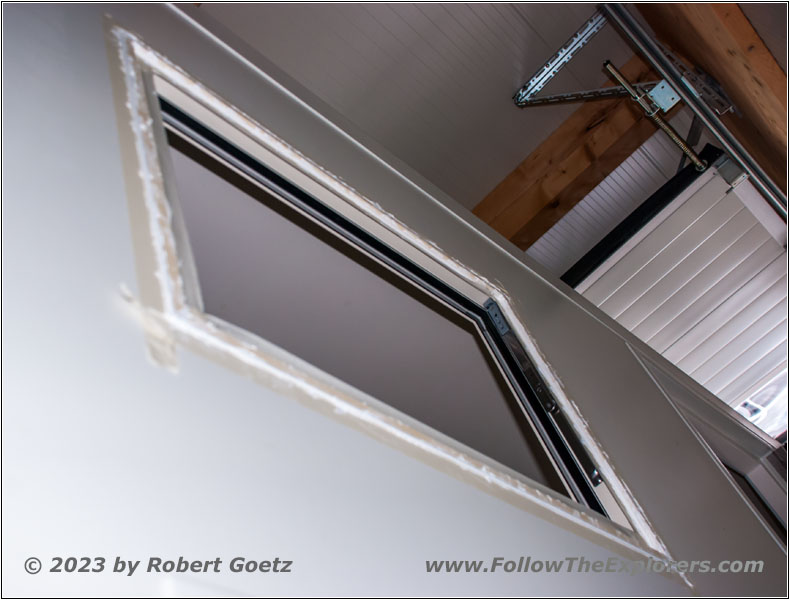
Shelter Window Frame Passengers Side
But currently it is still to cold for glueing. Therefore I must wait until end of April to be able to glue the line strips also on the remaining windows. In the meantime I was able to work on the electrical section to avoid getting bored…
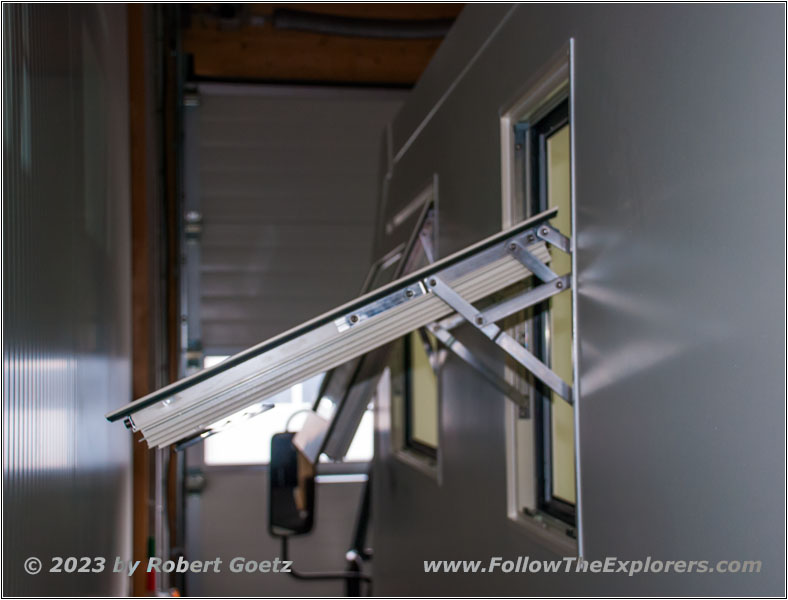
Shelter Window Drivers Side
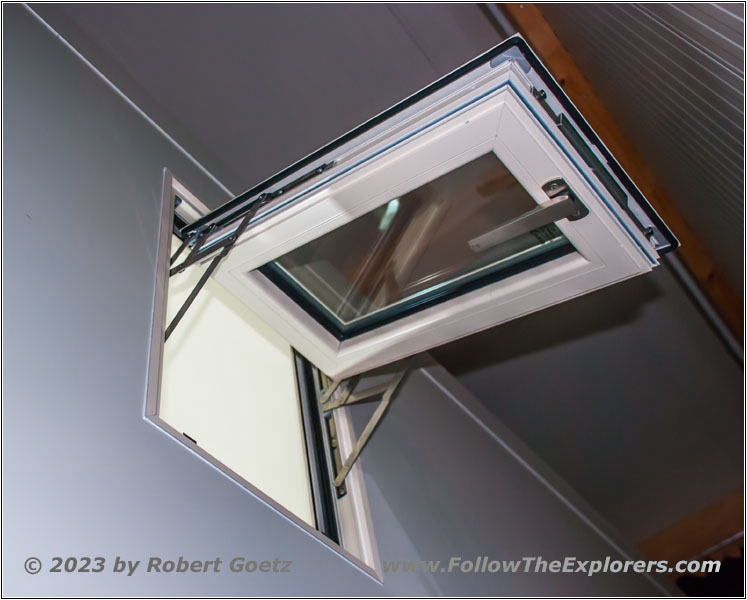
Shelter Window Drivers Side
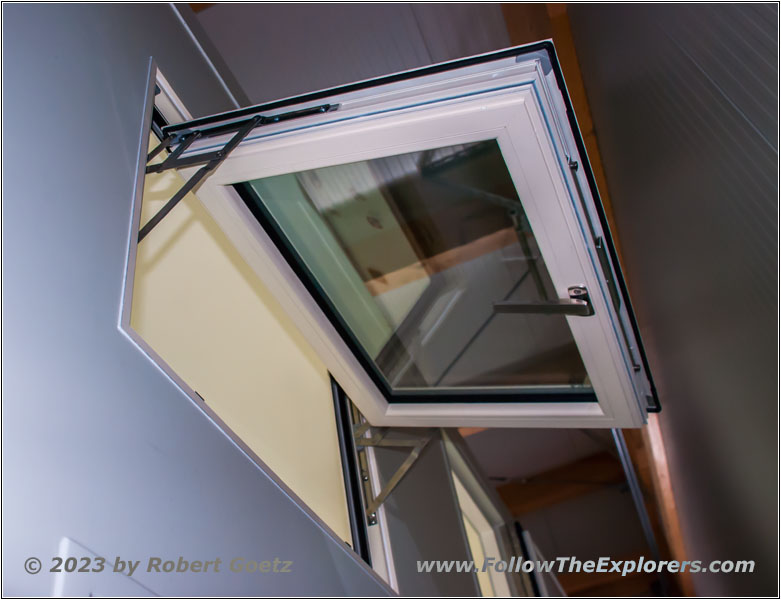
Shelter Window Passengers Side
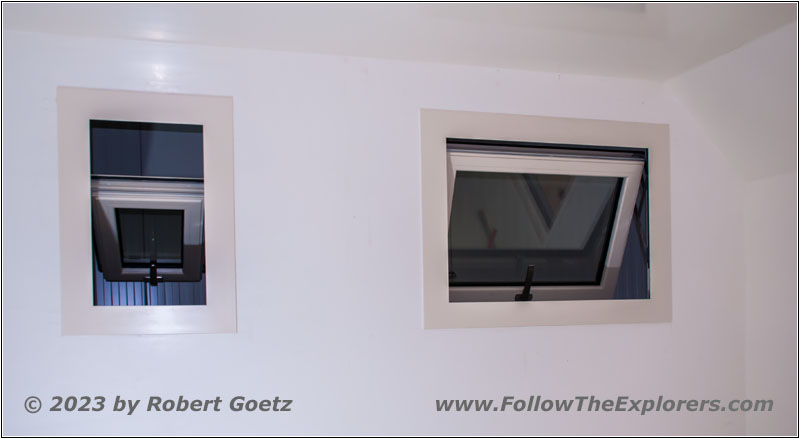
Shelter Window Drivers Side
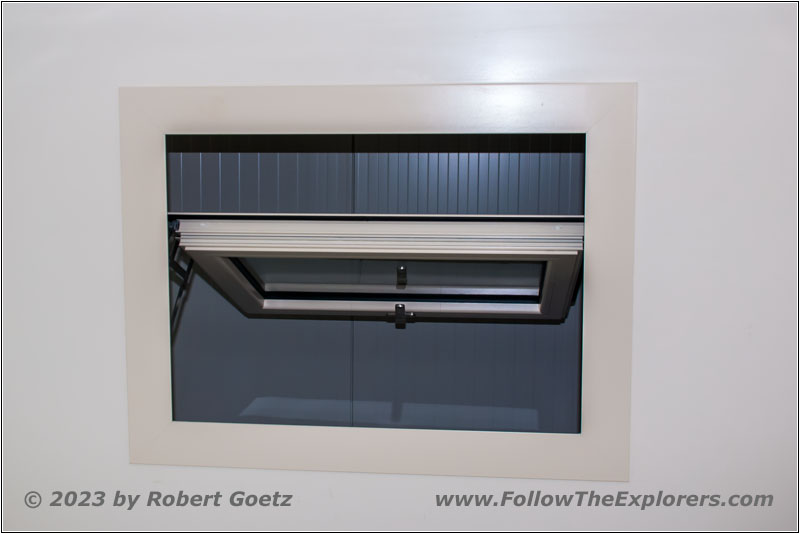
Shelter Window Passengers Side
With the already trained team from last time, things work way better with the next two windows. Nevertheless, I am really happy when all windows are back in the frame. Just to be sure I remove all screws again one by one from the hinges and put some threadlocker on. It was especially important for the screws in the frame, because these are only tapping screws. All in all some of them have already been overtightened by the manufacturer…
Shelter, bad original shutter mount
Shelter, bad original shutter mount
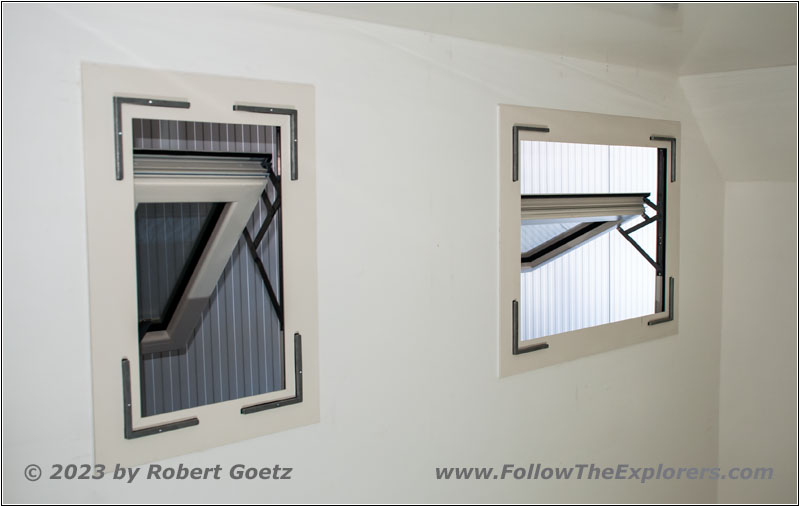
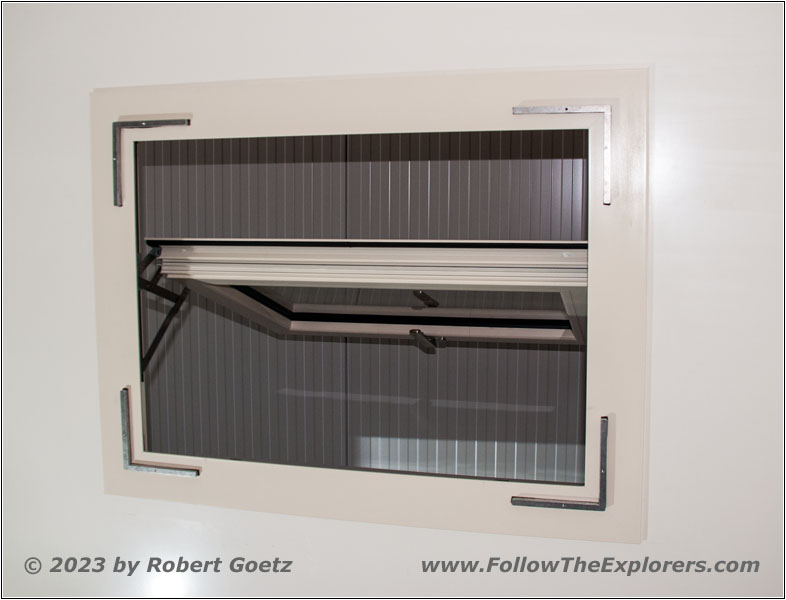
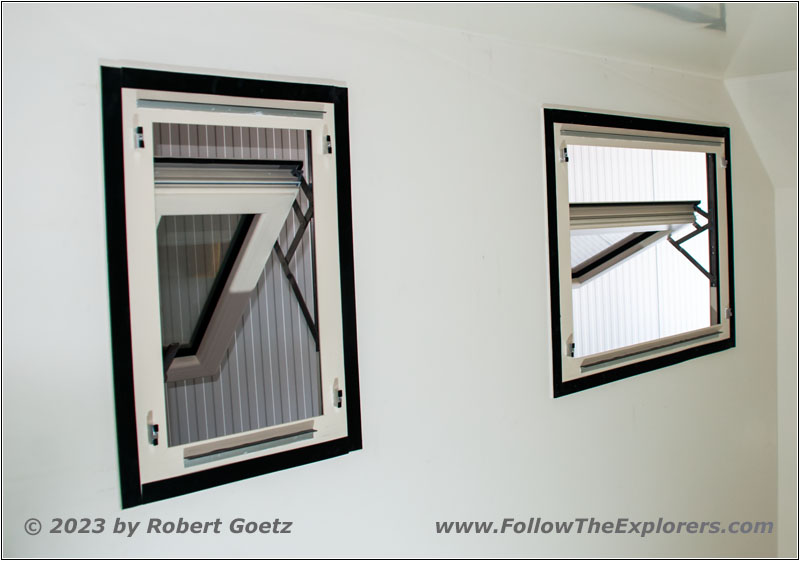
Next I “just” want to install my shutters on the windows. The manufacturer delivered an instruction and all mounting material. First you must glue on an L–shaped angle bracket. The also delivered mounting jig helps in finding the right position. But my first foreboding gets confirmed: If I glue them on this position, the shutters will not fit. Therefore I mount the brackets in the shutters and glue them with the shutter as positioning aid to the window frame. But even doing it this way, the screw hole will not fit to the bracket. Therefore I must file a bit on the shutter mounting holes to correct this.
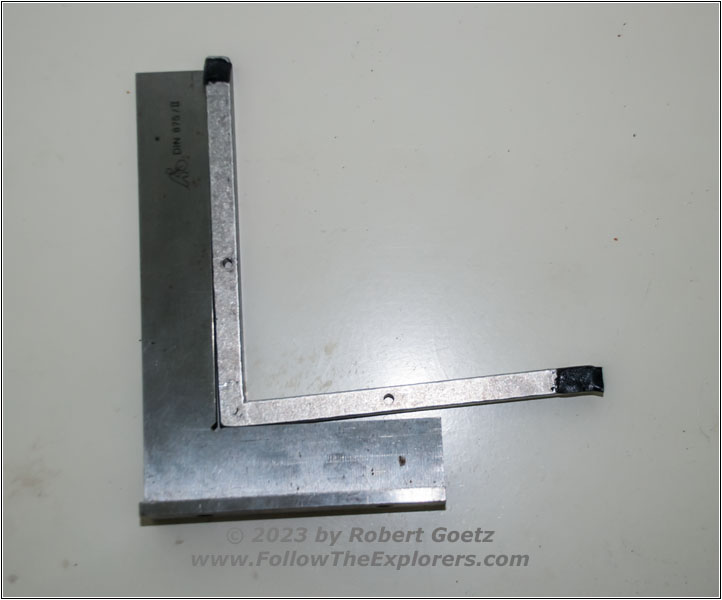
Shelter, bad original shutter mount
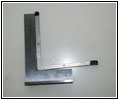
Additionally you must drill into the window frame to rivet some plastic mounts on. Also you must put double–sided adhesive tape on the frame to glue the shutter to the window frame. After thinking about this for a while I decide to remove the brackets again and glue them on with my Dekasyl glue. Then I will not need an additional tape. While trying to get the adhesive tape off the bracket I realize, that some of them are not in a right angle — and indeed, compared with a right angle they are pretty much off. How can someone build such a flub! Now I know why the mounting holes on the shutter have not fit…

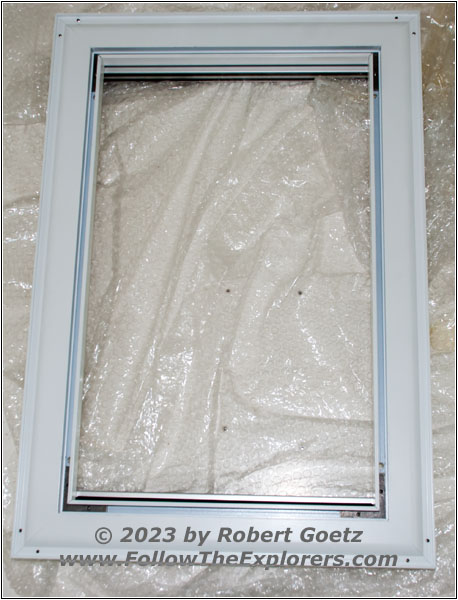
Shelter shutter
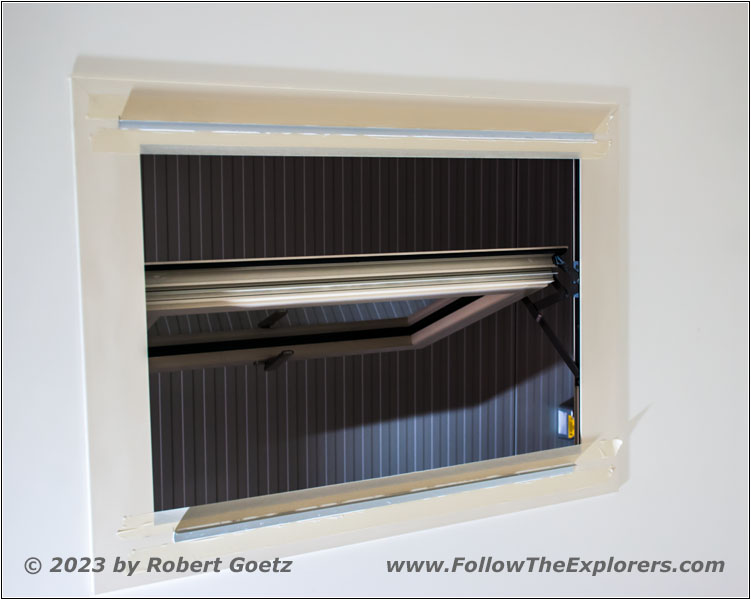
Shelter, new shutter mount
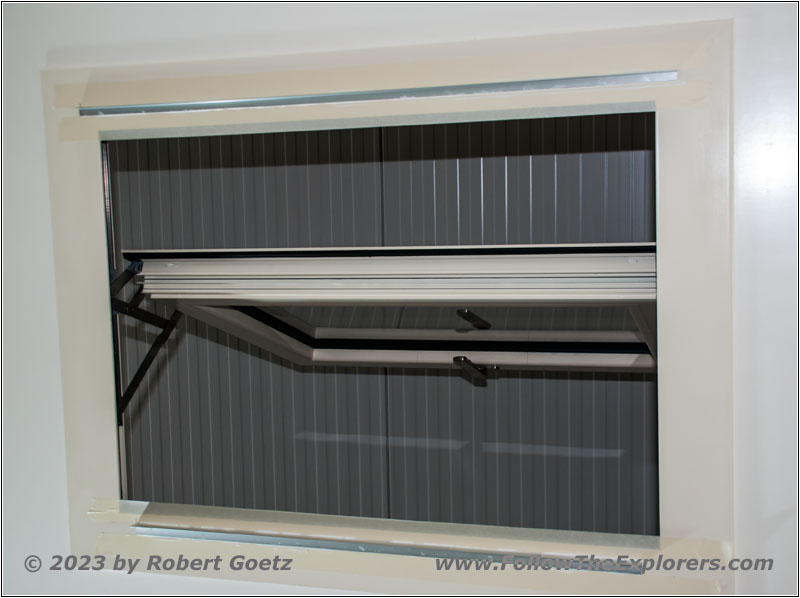
Shelter, new shutter mount
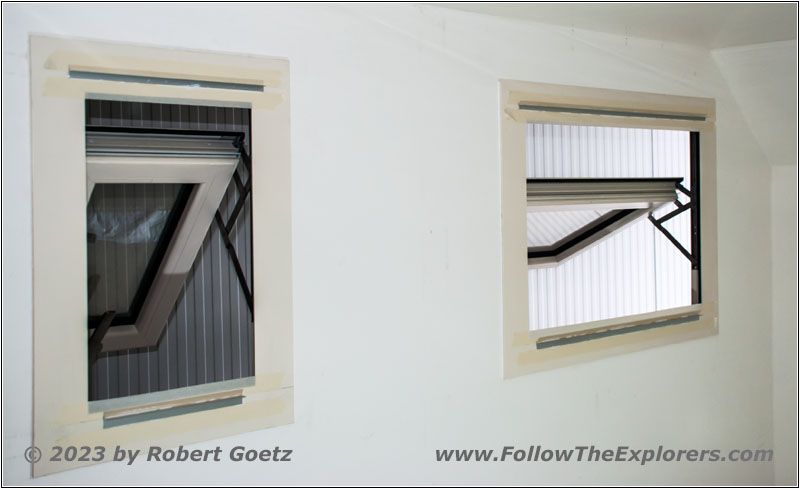
Shelter, new shutter mount
I take a look at the shutter and think, how can I mount them. The best would be, to capture the force going down with an L–shaped bracket on the upper and lower side of the window. Then I have no shearing force on the screws. The screws are only necessary to press the shutter on the window frame.
Shelter, new shutter mount
Shelter, new shutter mount
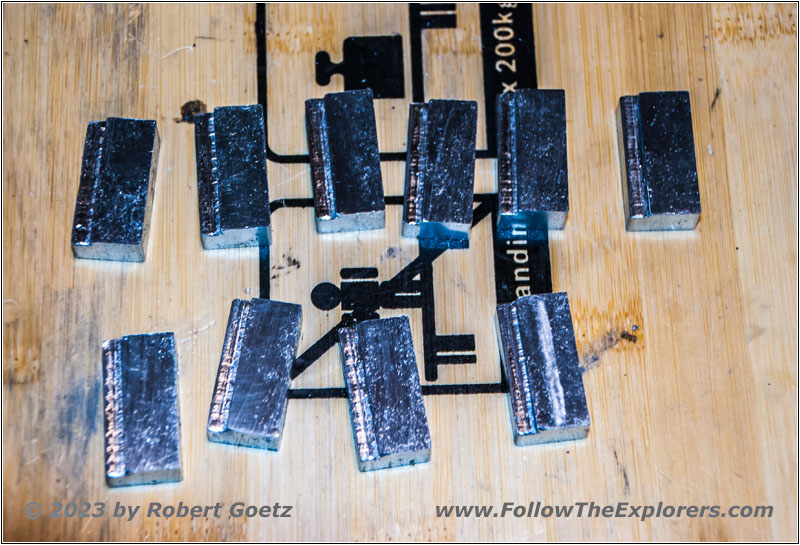
Shelter, new shutter mount

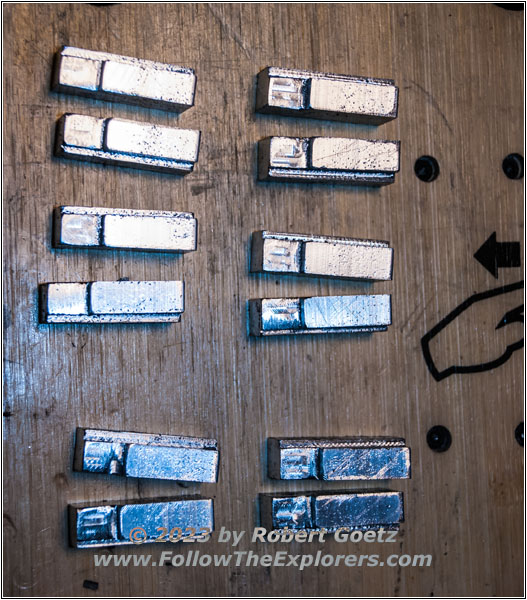
Shelter, new shutter mount
Shelter, new shutter mount
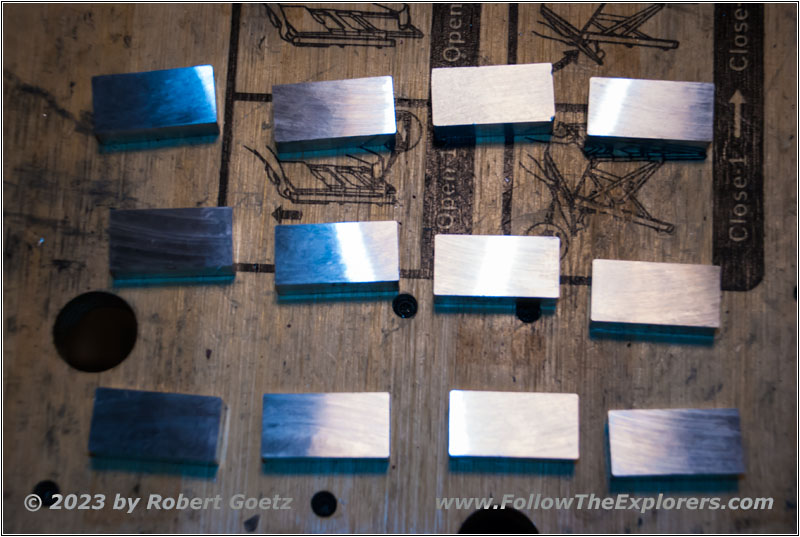
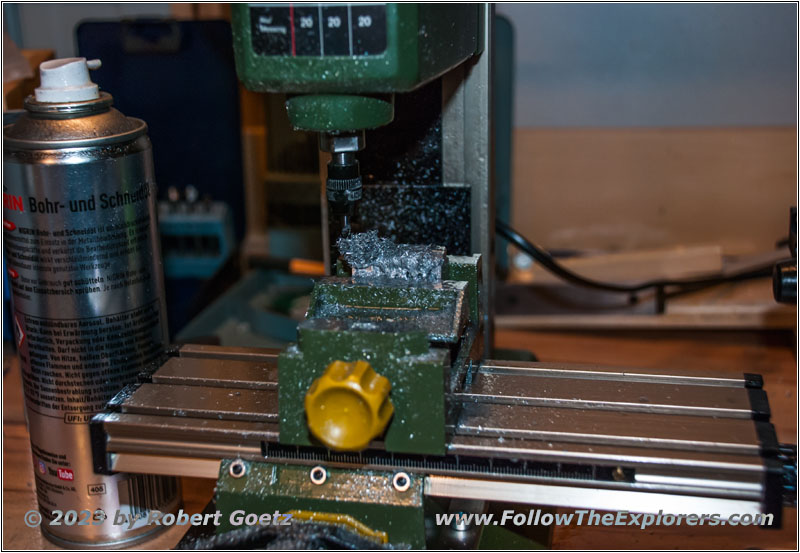
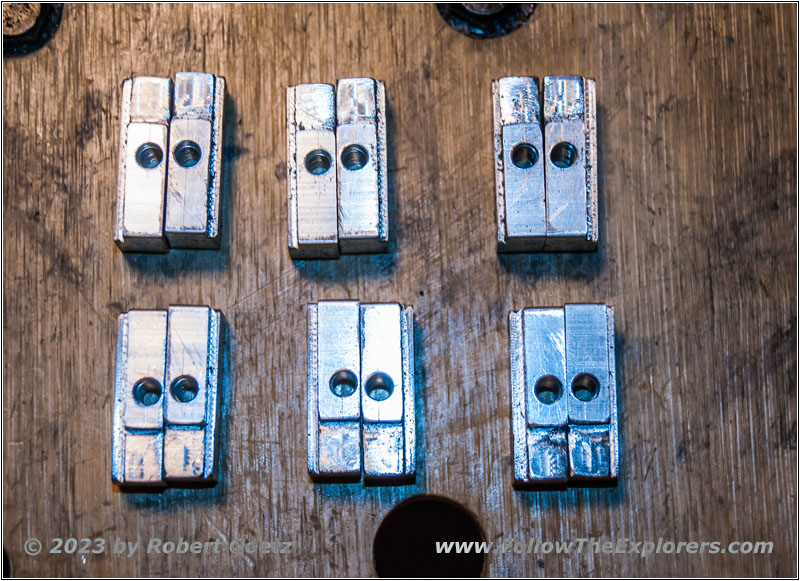
Instead of the original M4 I use M5 screws, for which the shutters have been originally been designed. However, the shape of the mounting bracket will be way more complicated, because I need to mill two notches in the bracket. The first try doing it manually with just a file worked, but the result was not really convincing. Therefore I ordered a small amateur mill, which is sufficient for such small aluminum parts. Then I start the small series production of 12 brackets, which takes several days. But finally the brackets are finished. The positioning is done again by screwing them on the shutter and putting Dekasyl on the bracket. After pressing them on the window frame, I carefully unscrew the shutter to not move the brackets.
Shelter, new shutter mount
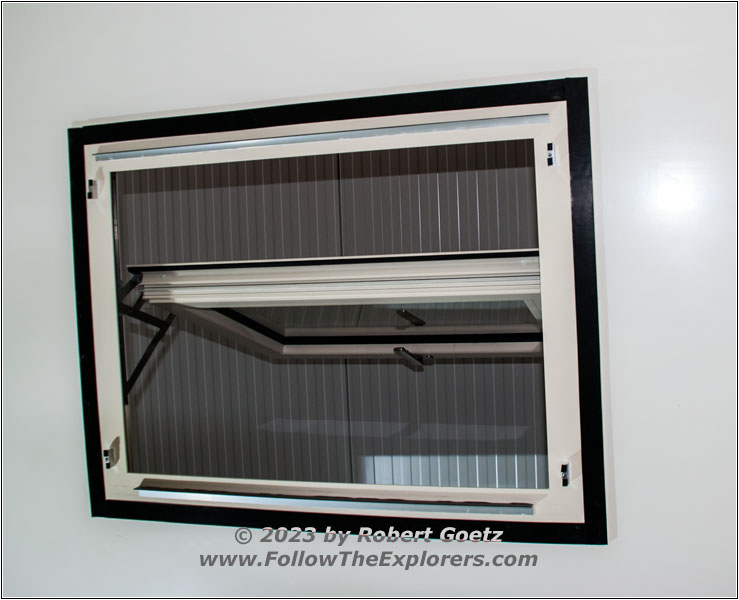
Shelter, new shutter mount
After the glue has hardened out, I put some rubber stripes on the brackets and the window frame. This way I avoid, that aluminum is constantly rubbing on aluminum. I also increase the friction, which reduces the mounting force on the screws.
Shelter shutter
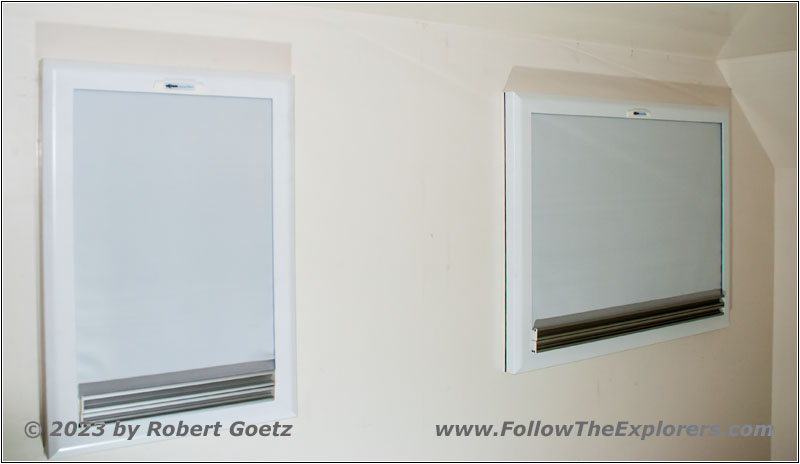
Shelter shutter
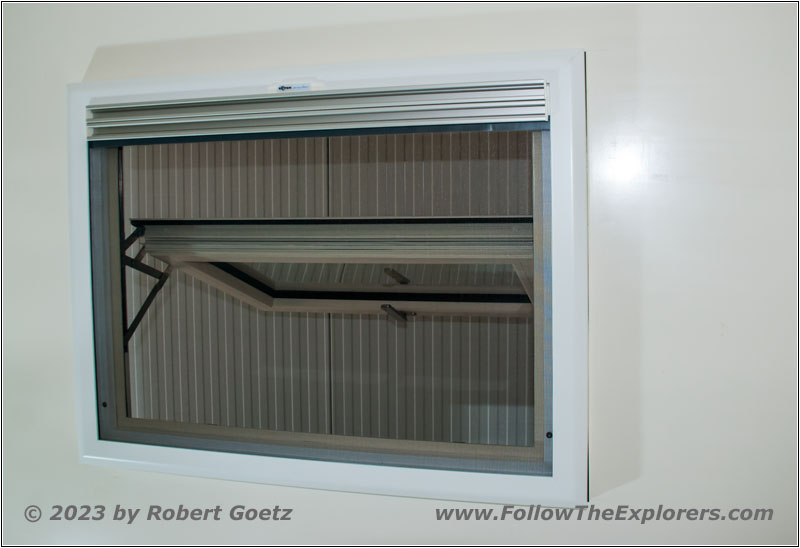
Shelter shutter
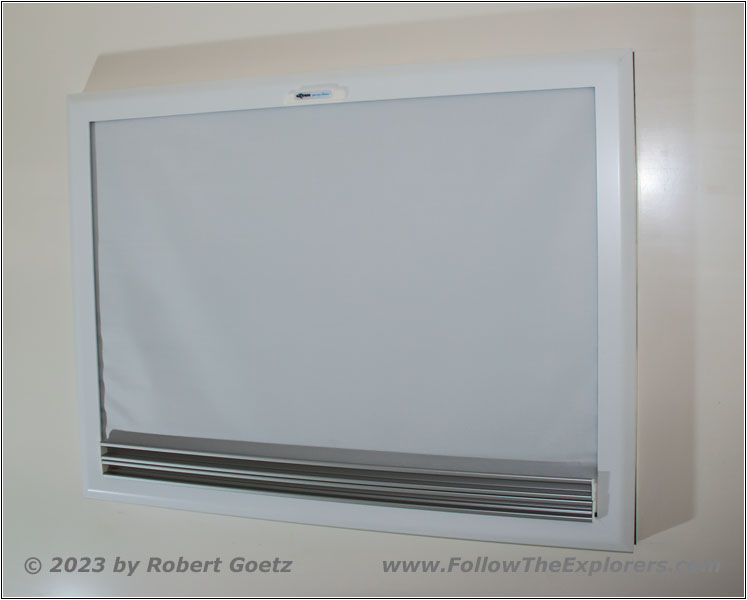
Shelter shutter
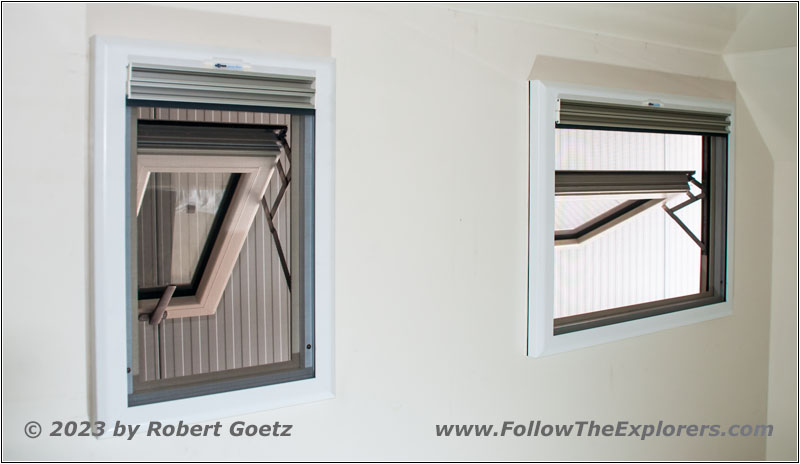
Now the thrilling moment of the final mounting has come: But everything fits! I carefully tighten the screws and everything looks pretty solid. This setup should also survive real offroad tracks. Unfortunately all this work has set me back now for several weeks…
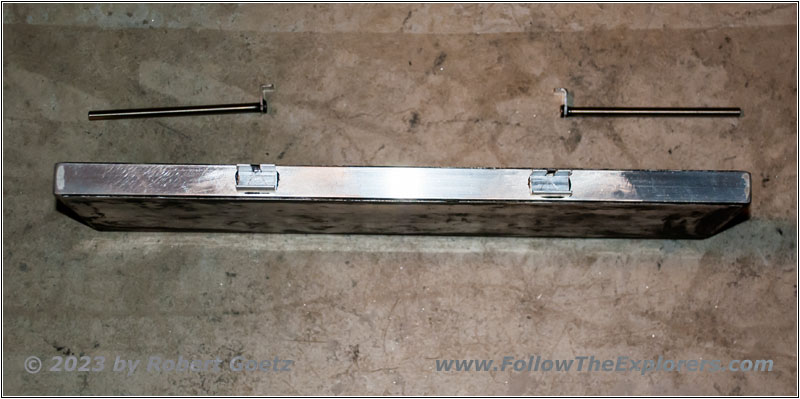
Shelter entrance stairs locker
Shelter entrance stairs locker
Shelter entrance stairs locker
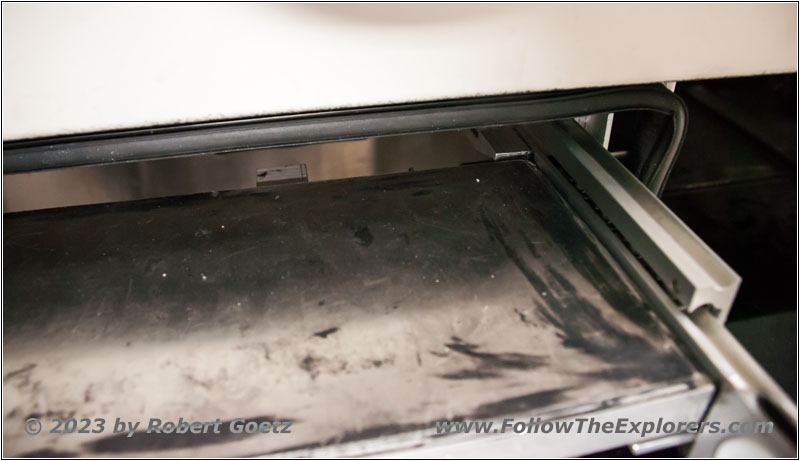
Shelter entrance stairs locker
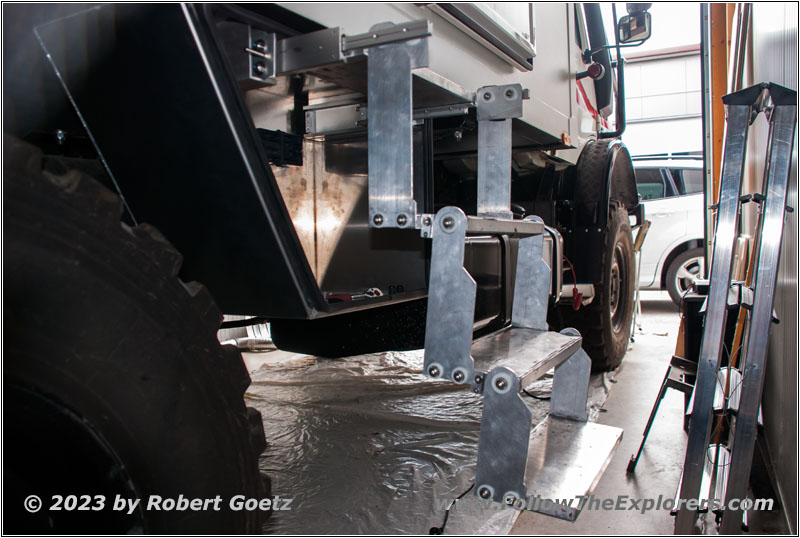
Shelter entrance stairs
Shelter entrance stairs
Storage Box supply connectors
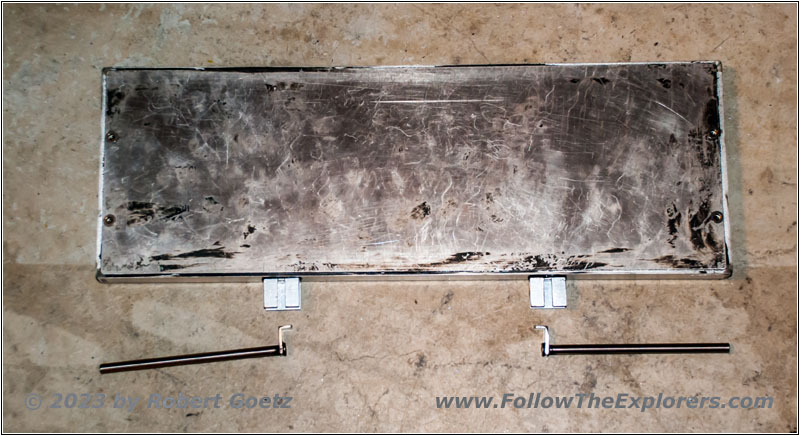
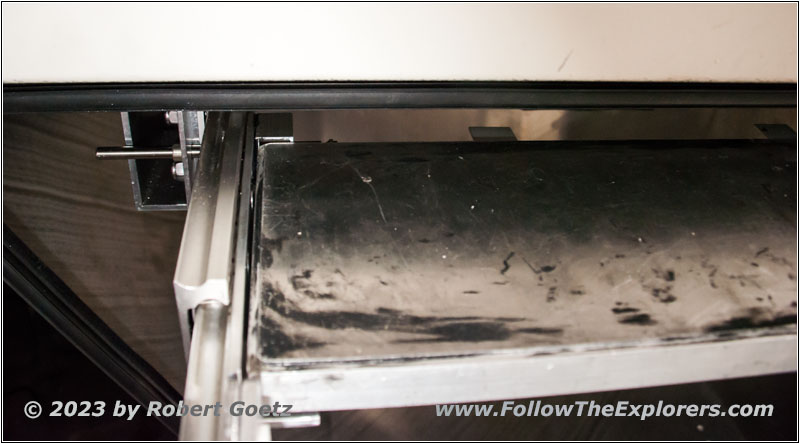
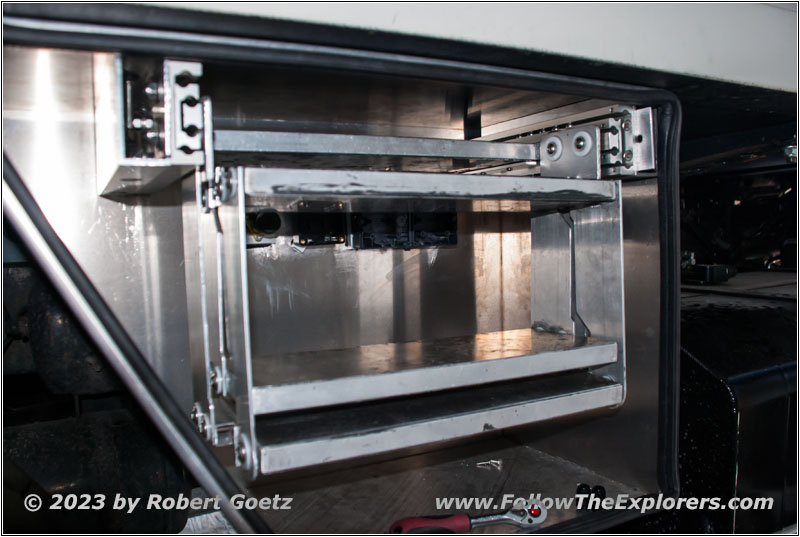
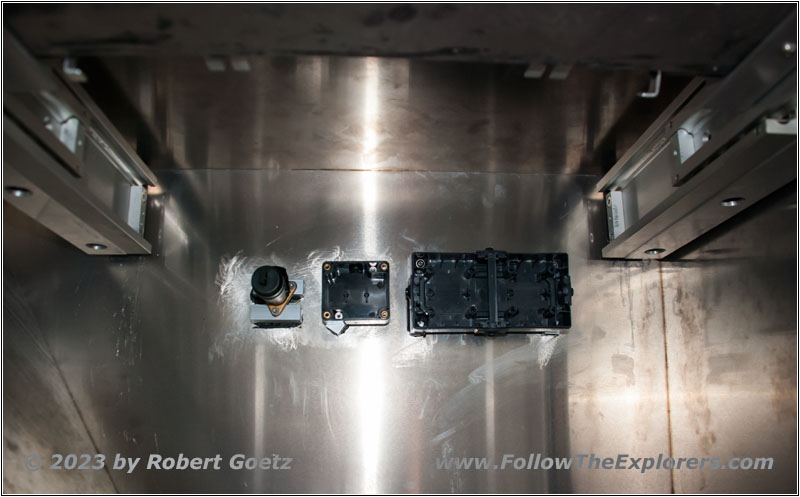
Next is the work on my entrance stairs. This was built already more than a year ago. But due to all the delays I was not able to test it earlier. There I must learn, that just glueing the mounts together is getting too “soft”. Because I have now riveter nut pliers I am able to place some nuts in my stairs and screw them on. Then I work on the stop bar and finally a locker for my stair runners. Finally I place some mounts for the elctricity and pressure connectors in the storage box. Then I can unmount everything and start my paint job.
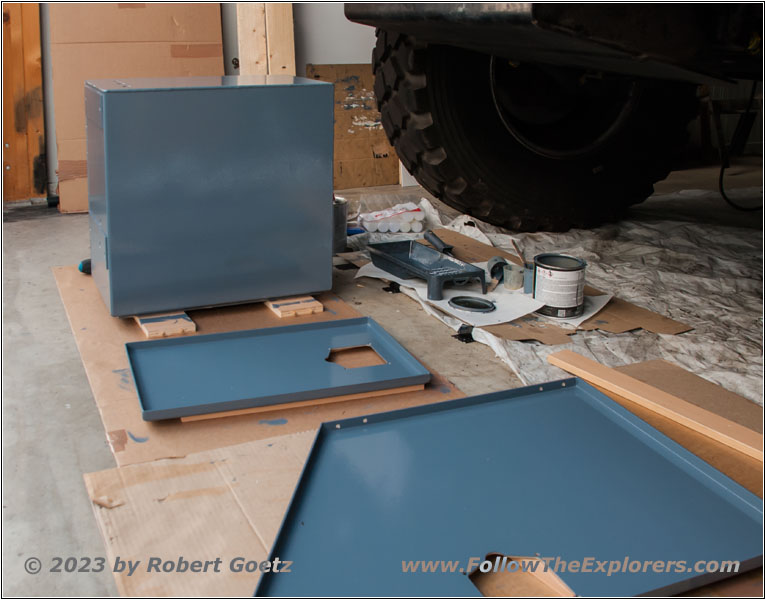
Unimog U1550 storage box primed
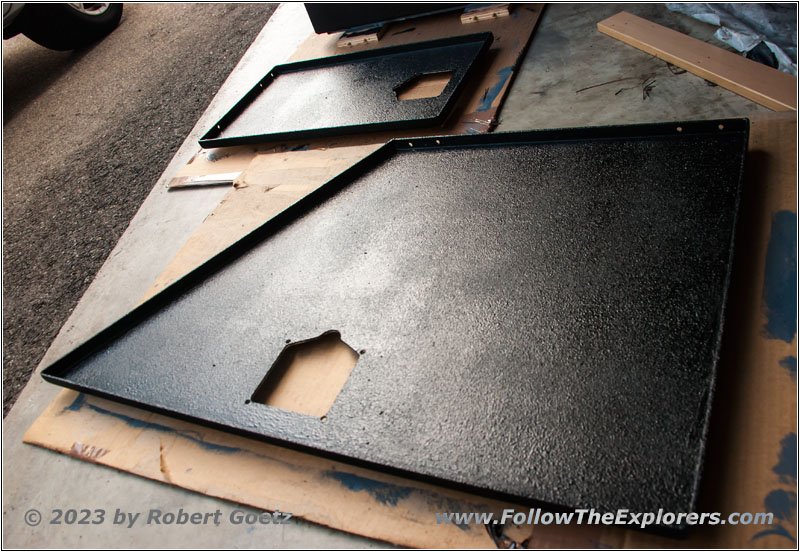
Unimog U1550 storage box painted

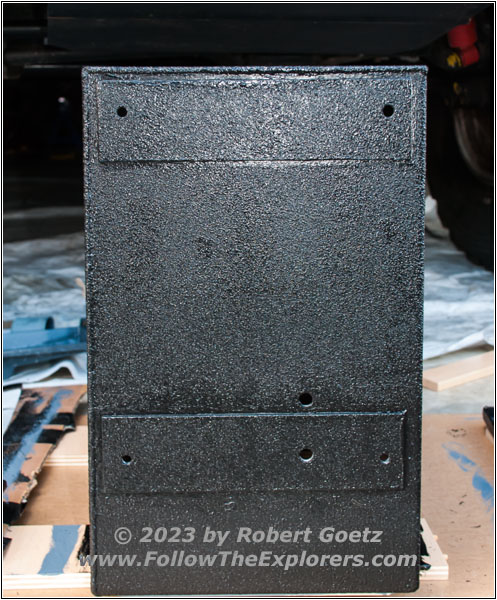
Unimog U1550 storage box painted
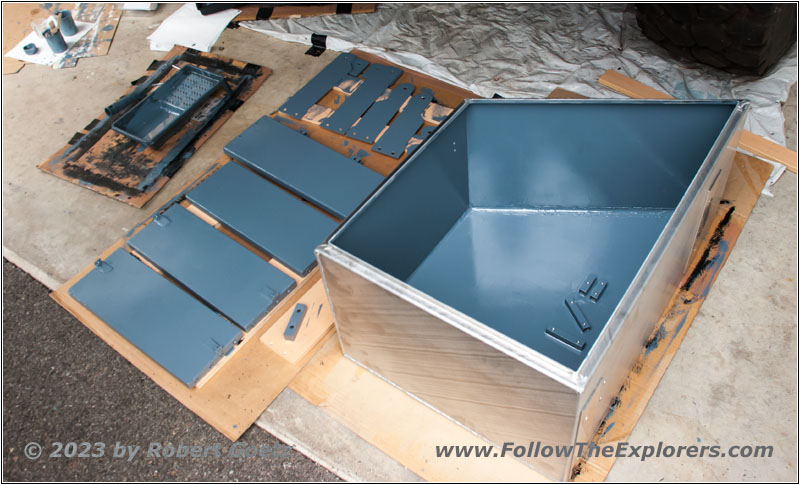
Unimog U1550 storage box and entrance stairs primed
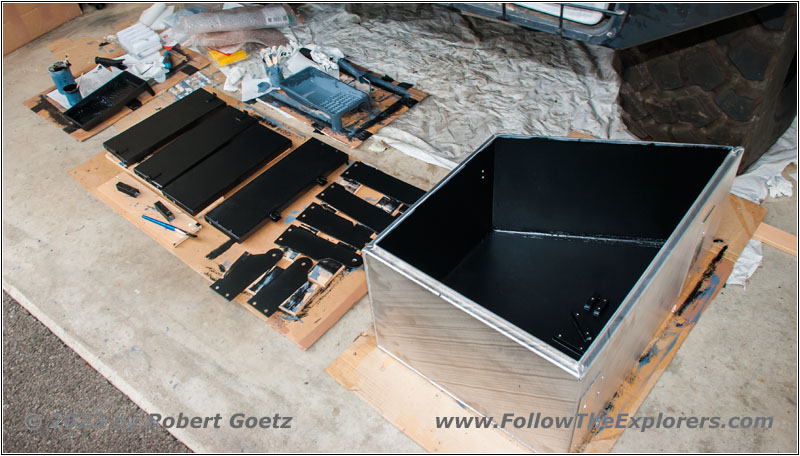
Unimog U1550 storage box and entrance stairs painted
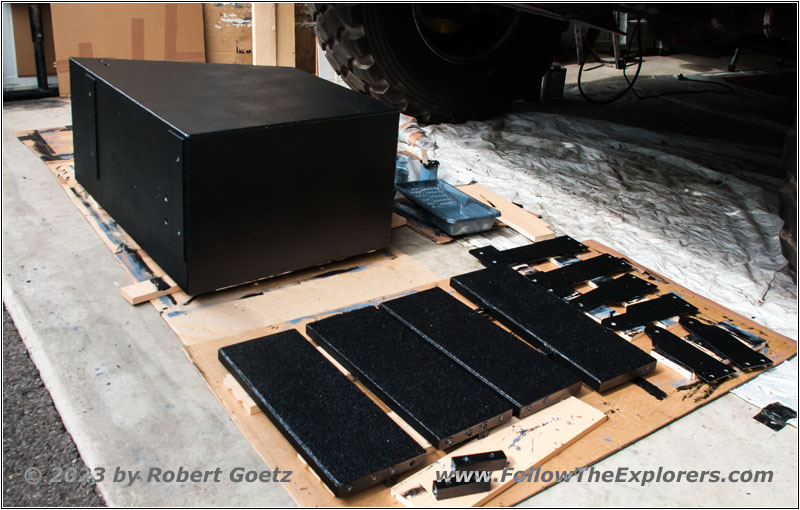
Unimog U1550 storage box and entrance stairs painted
Like for the rear storage boxes I use again the Raptor paint for the painting. Again, I must first clean the aluminum, then grind it and clean it again. Then the primer can be put on. The next day I can put on the Raptor paint. Because I must do everything in two runs, the paint job takes two weeks. And because I don’t have enough space, I must split the whole paint job in two. So the painting takes a whole month in total. But I cannot mount the storage boxes before the new pressure tanks are mounted and the gas tanks have been lifted. A friend of mine, who is a professional car mechanic, will help me for this task.
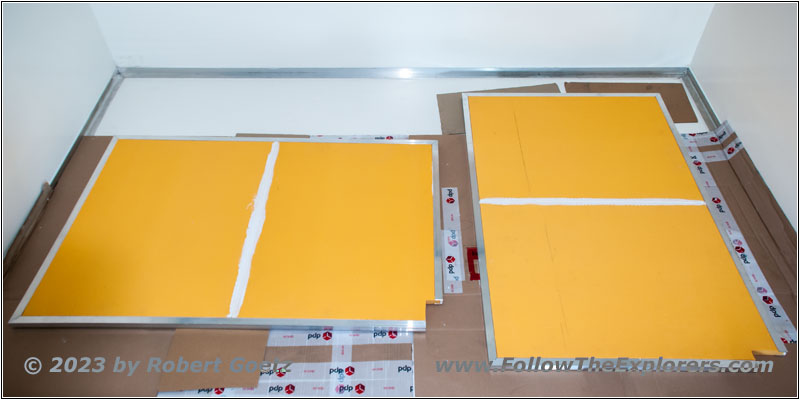
Shelter inner wall
Shelter inner wall
Shelter inner wall
Shelter inner wall
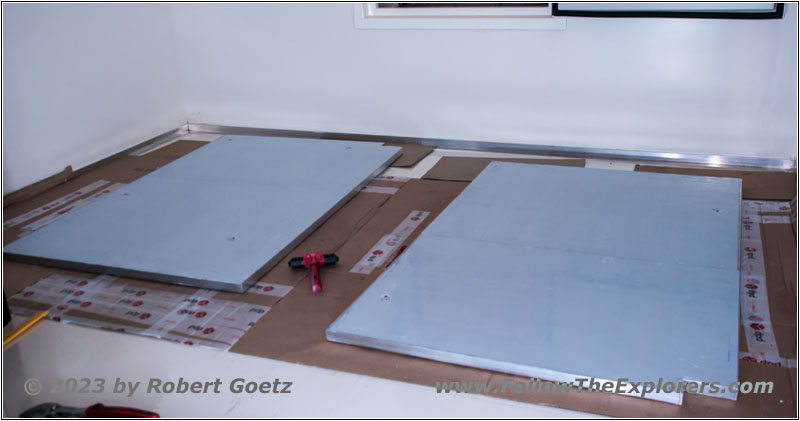
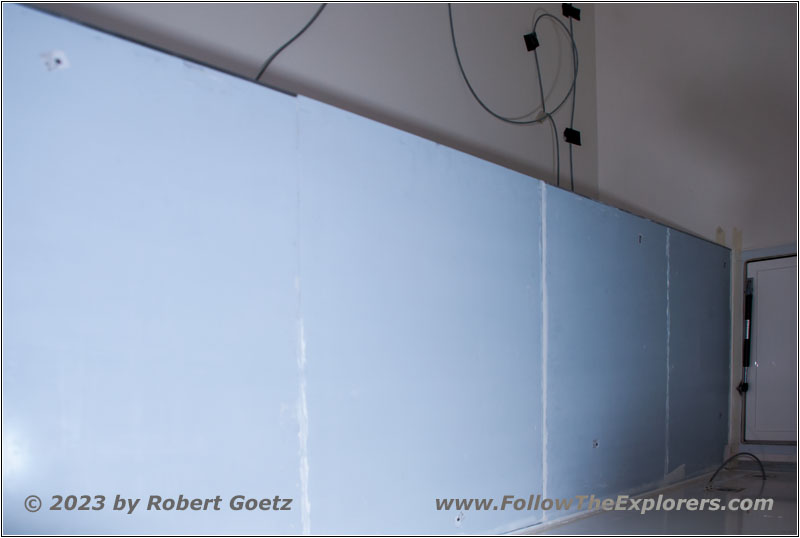
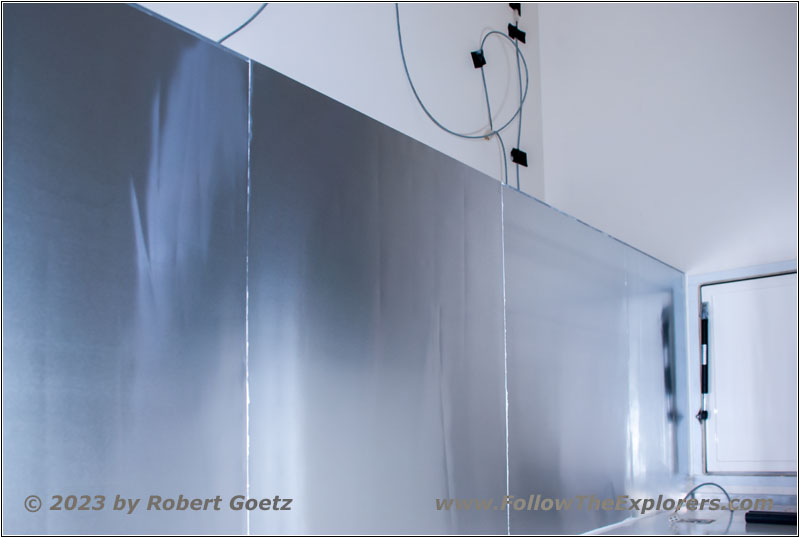
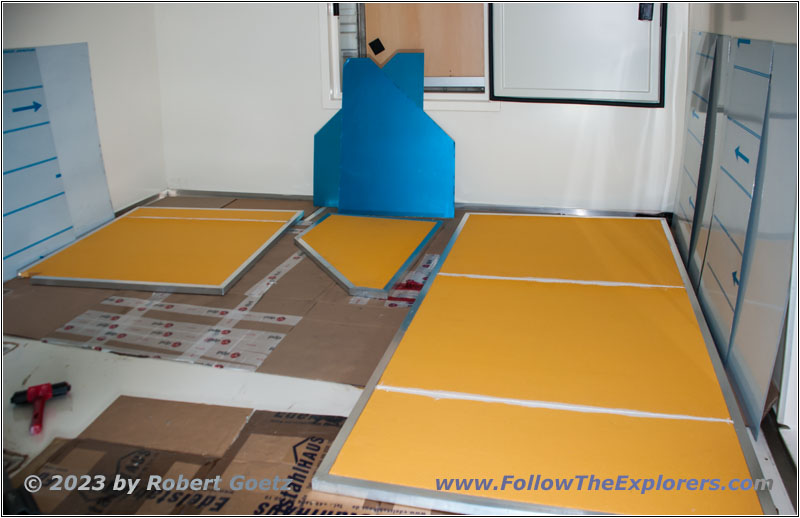
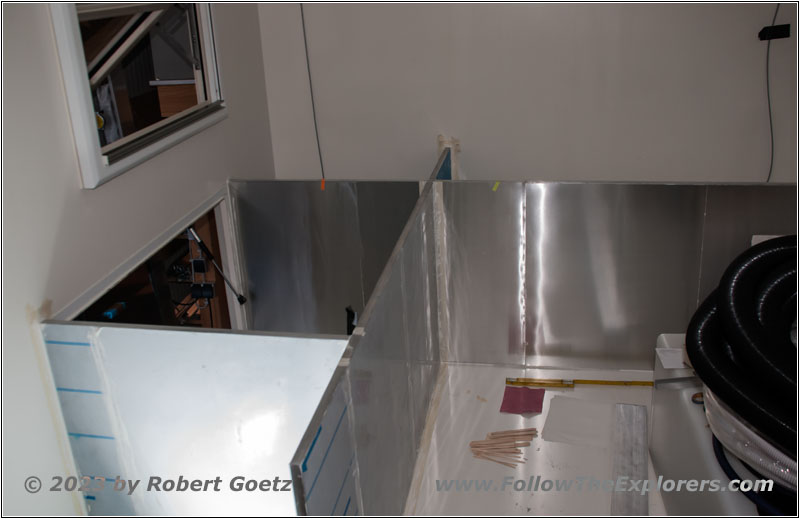
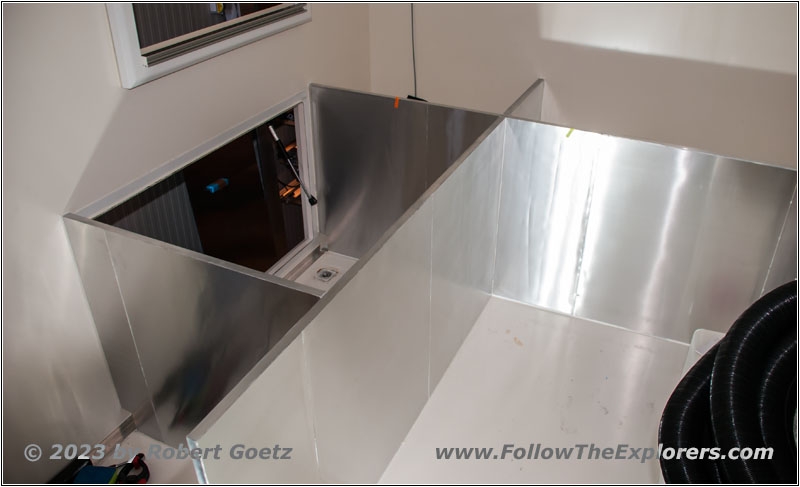
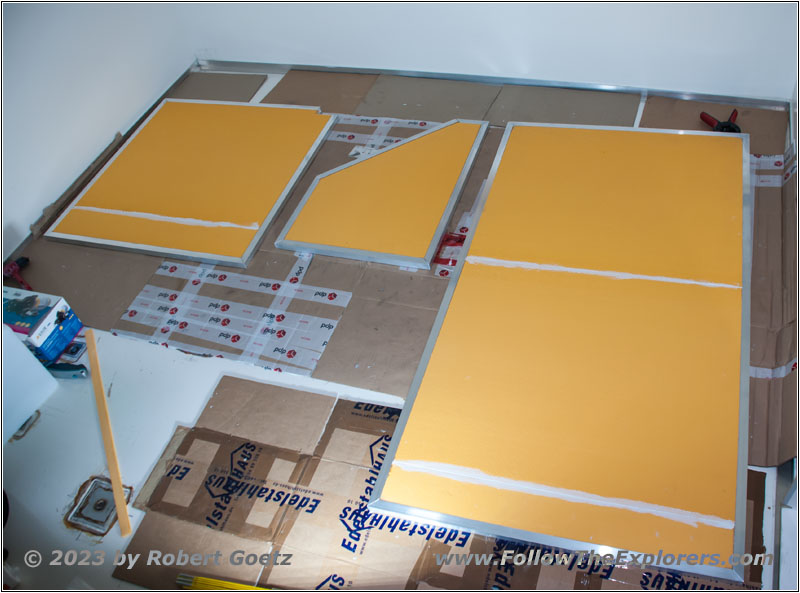
Therefore I can now start with the work inside the shelter! First I start working on the inner separation walls. I build them again in aluminum sandwich, like my entrance stairs back then. They have a XPS core with 20mm and an aluminum U–shape profile running all around, which will be glued on the core. On the outside walls I put 0.5mm aluminum sheets, which will be glued over the whole area to the XPS core. This gives the whole construction a great stability. Then I start to glue the two walls in my shelter. There I must learn, that the shelter walls are not straight and in a right angle! I am barely able to squeeze the two walls in. But the bonding seam is getting very thin at some places. Hopefully this will not be an issue when the material extends! But at least the rear carrier for my bed is now mounted!
Shelter inner wall
Shelter inner wall
Shelter inner wall
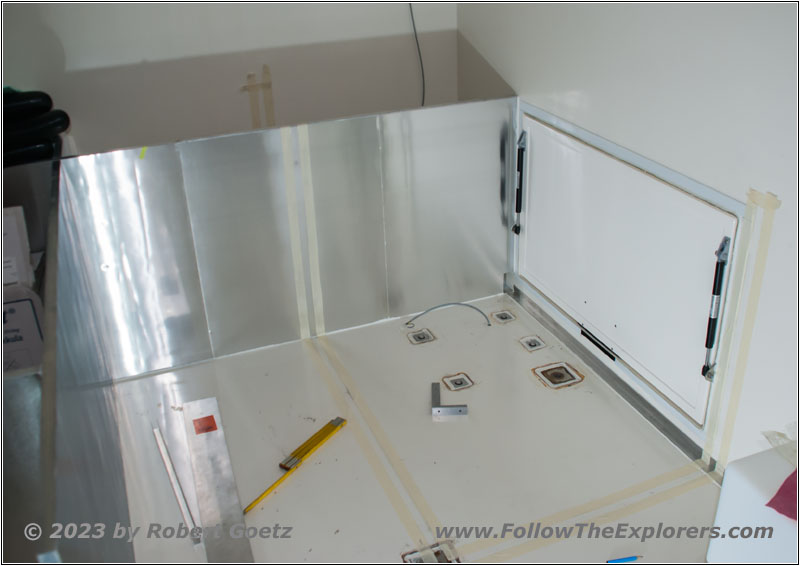
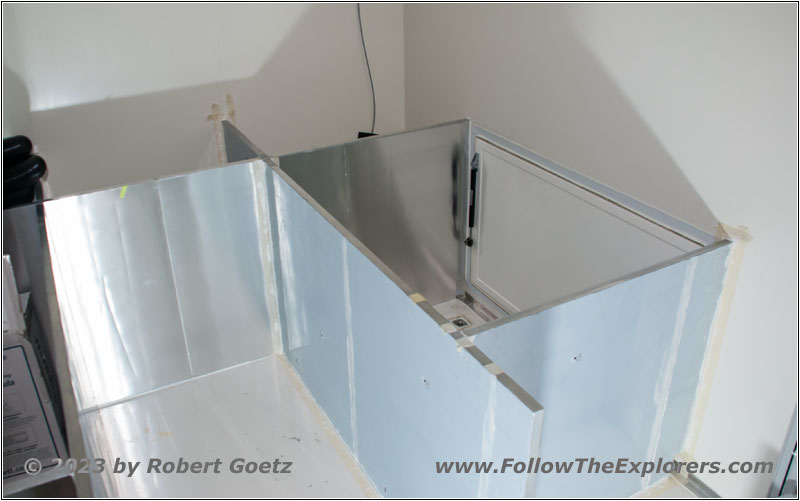
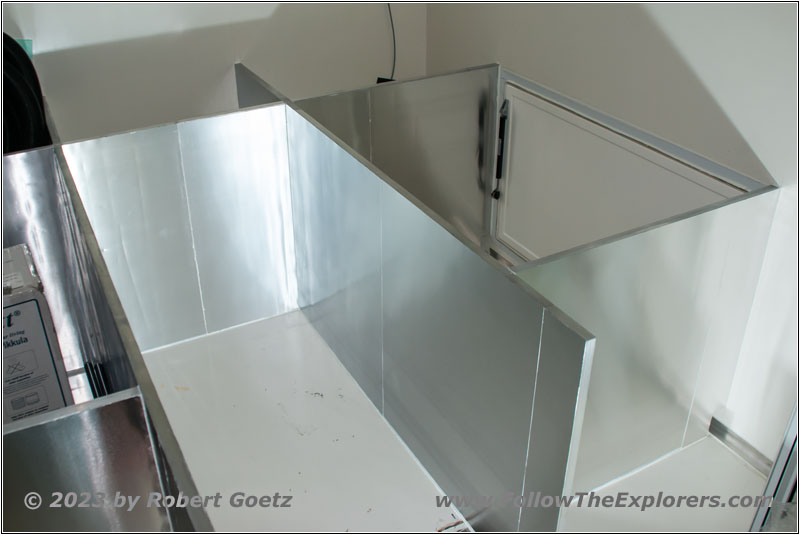
Next is the storage area on the passenger side and the inner wall to my bathroom. Additionally I need the support to the rear for the storage compartments there. Slowly things are starting to shape!
Shelter inner wall
Shelter inner wall
Shelter inner wall
Shelter inner wall
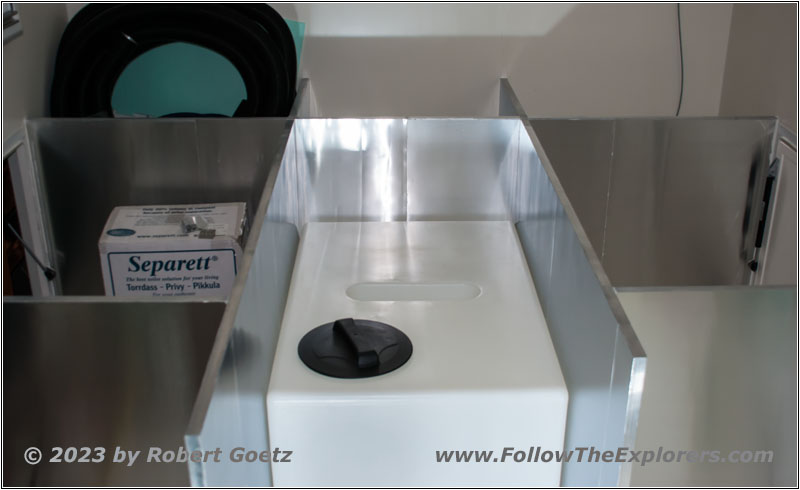
Shelter inner wall with water tank
The storage area at the drivers side will be build like on the other side. Only the long separation wall is a bit shorter. There will be the door to my restroom, which is a bit behind the door to my bathroom. Finally I double check that my 55 gallon water tank has enough space.
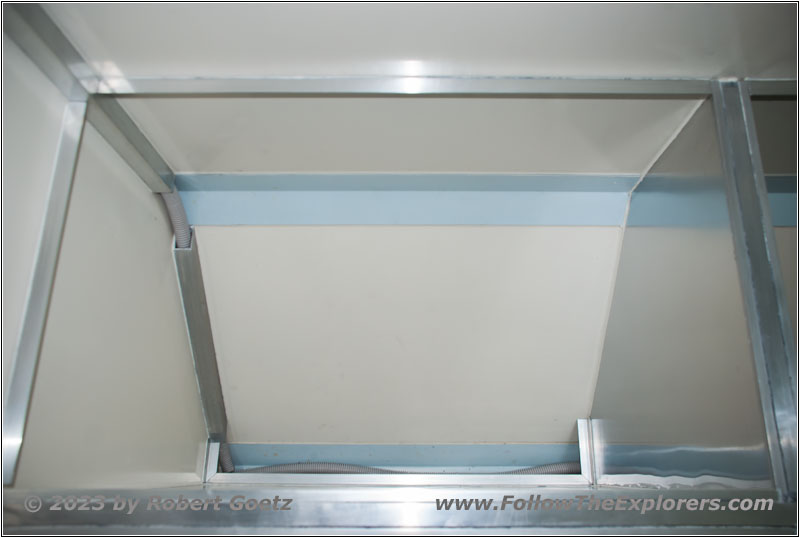
Shelter rear storage right
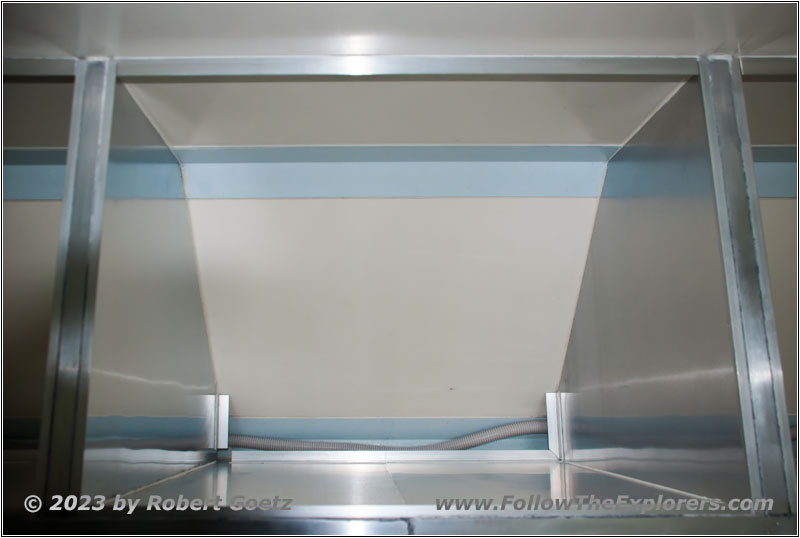
Shelter rear storage middle
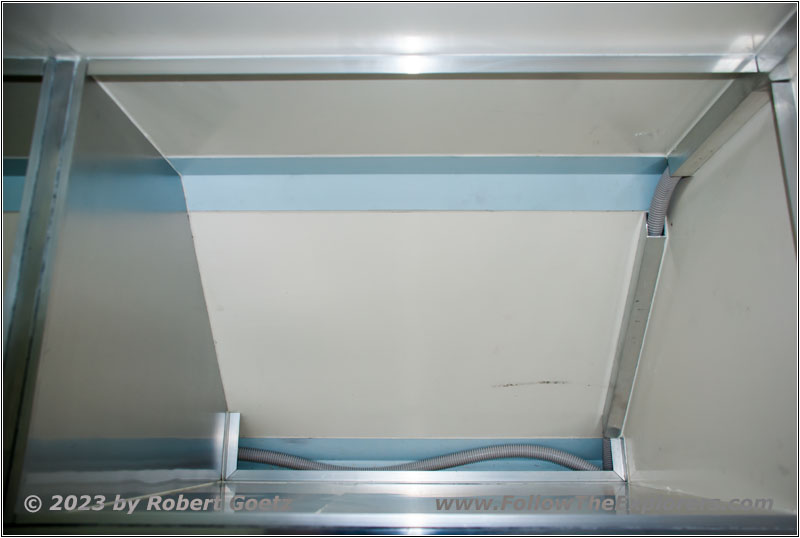
Shelter rear storage left
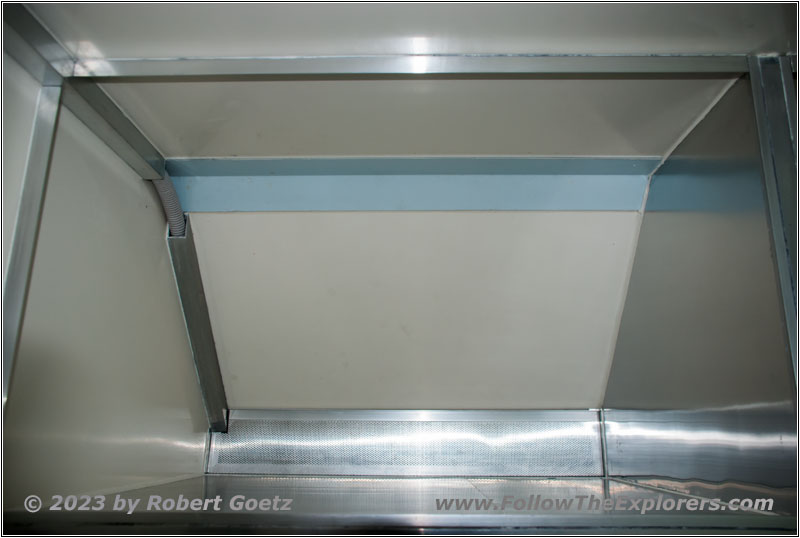
Shelter rear storage right lower cover
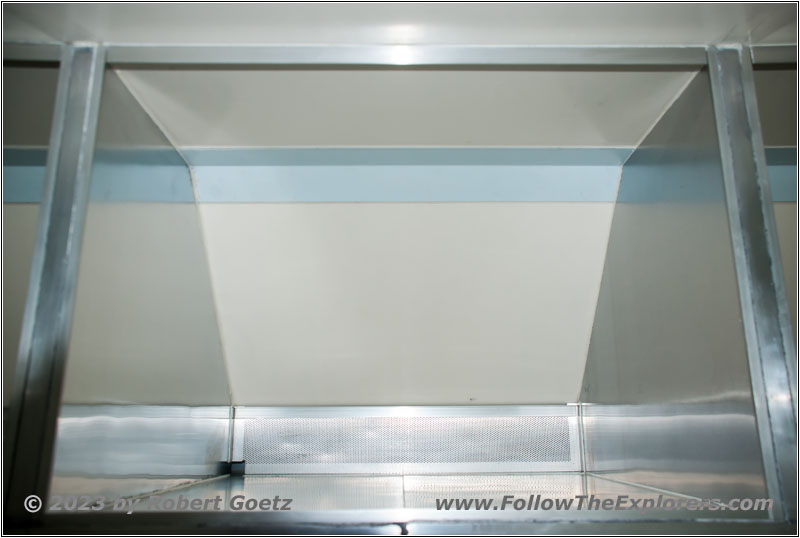
Shelter rear storage middle lower cover
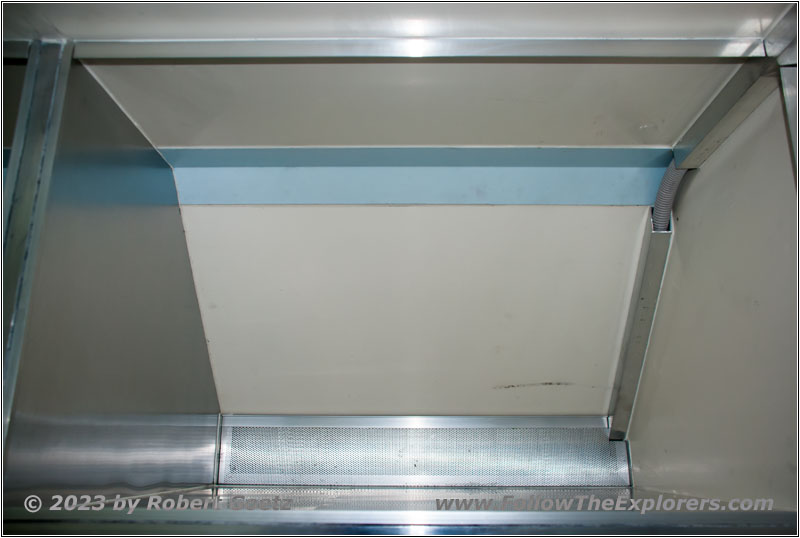
Shelter rear storage left lower cover
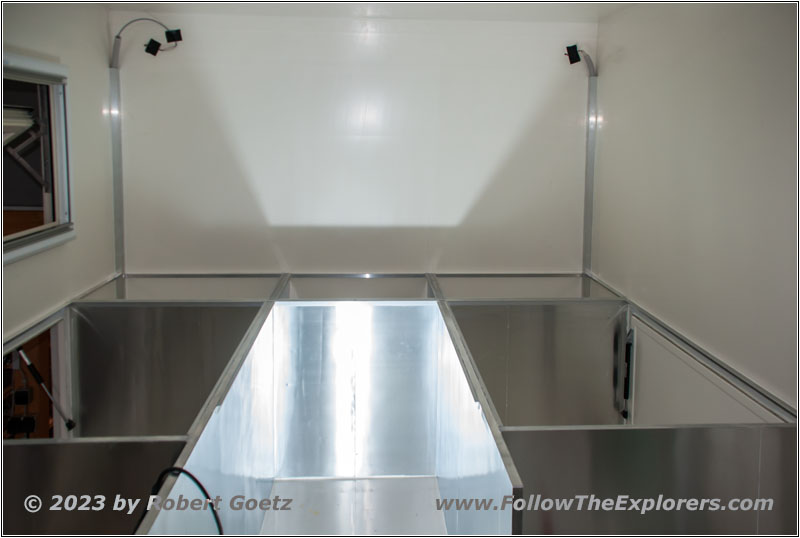
Shelter rear storage and bed area
Next are the additional carriers for the bed area. Therefore I glue some aluminum brackets on the wall and use some smaller brackets on the inner walls.
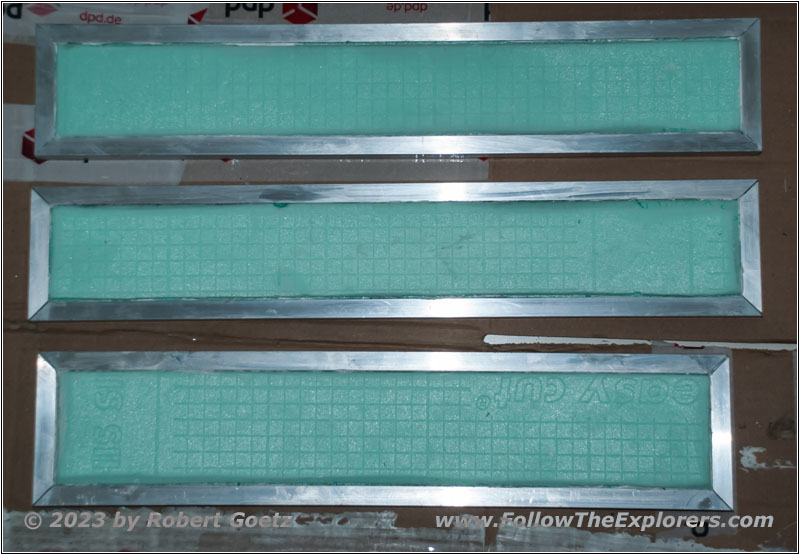
Shelter bed storage lid

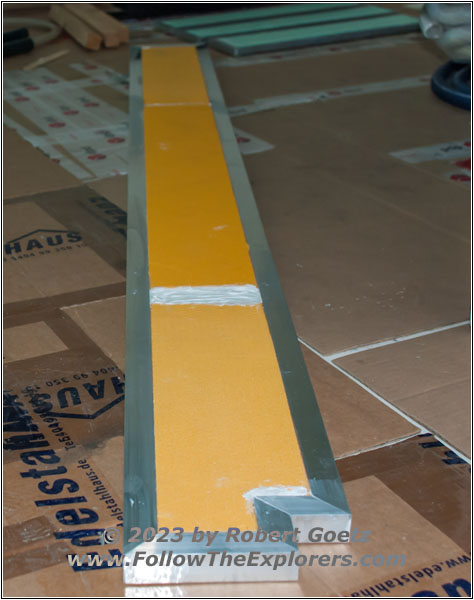
Shelter bed storage bottom carrier
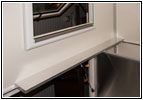
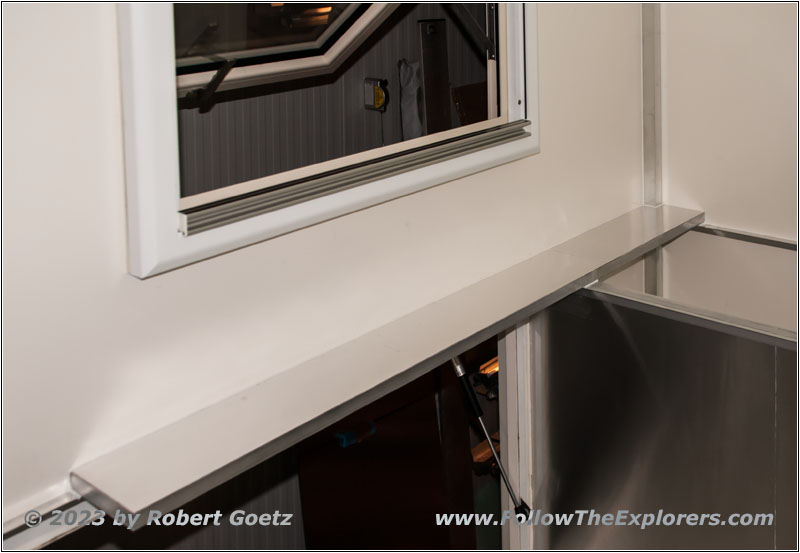
Shelter bed storage bottom carrier
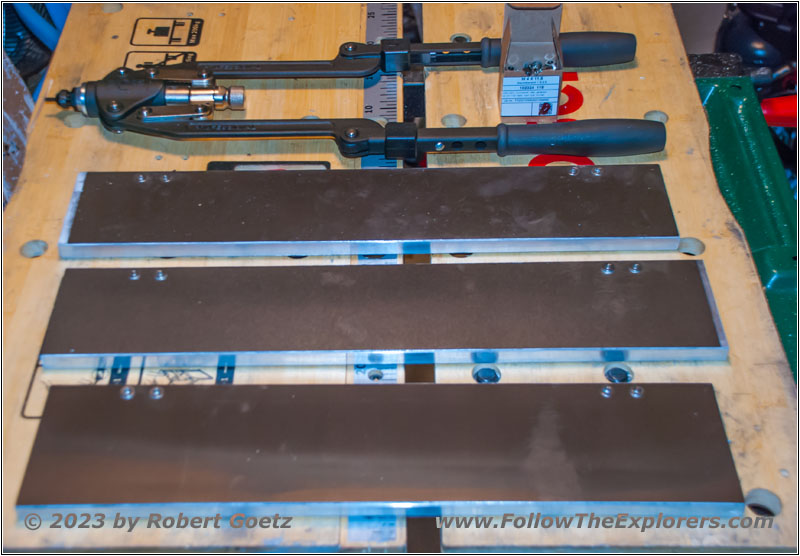
Shelter bed storage lid
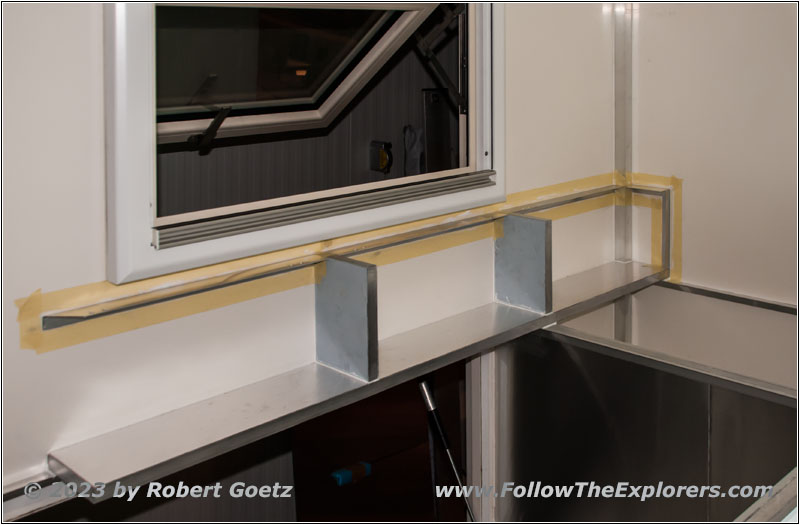
Shelter bed storage
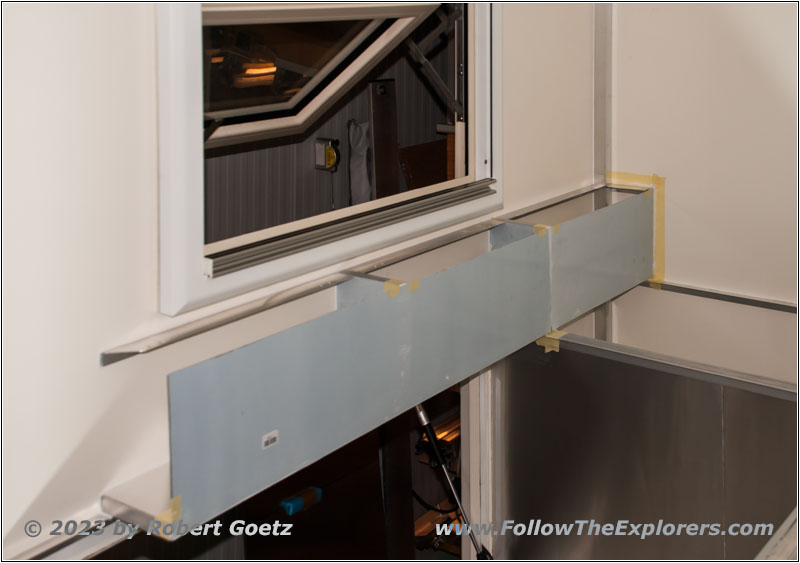
Shelter bed storage
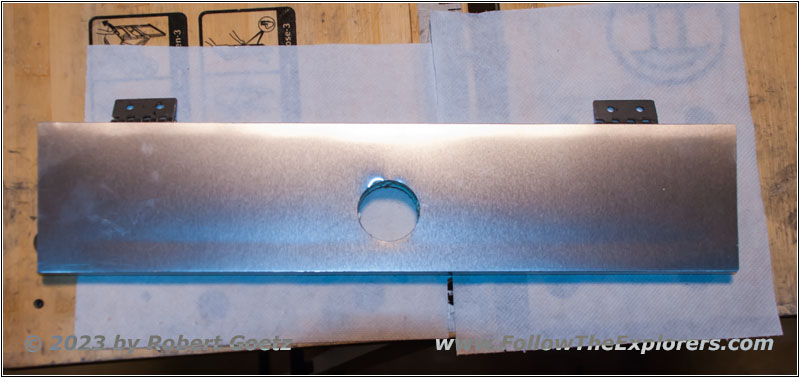
Shelter bed storage lid
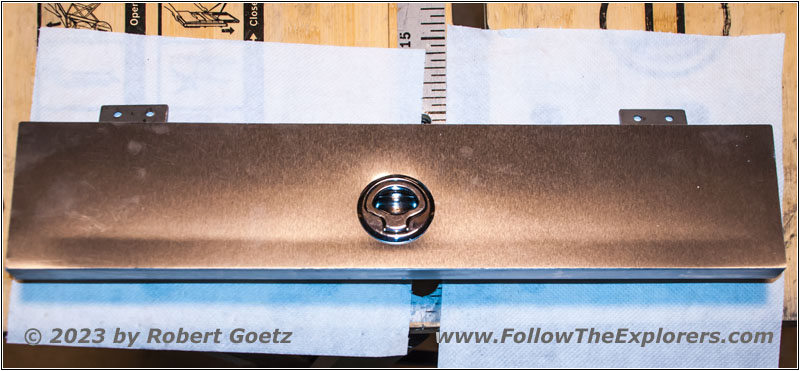
Shelter bed storage lid
Shelter bed storage lid
Shelter bed storage lid
Shelter bed storage
Shelter bed storage
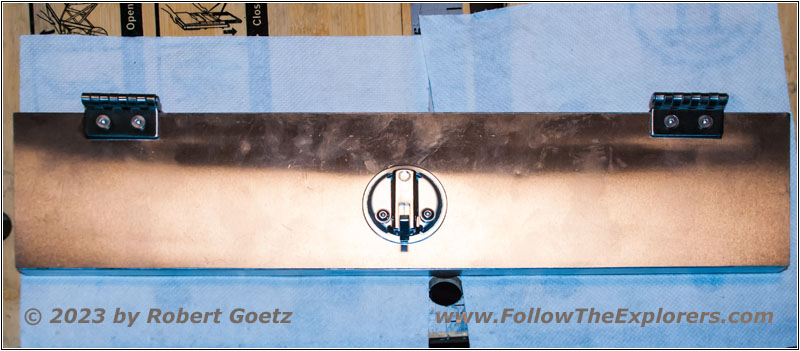
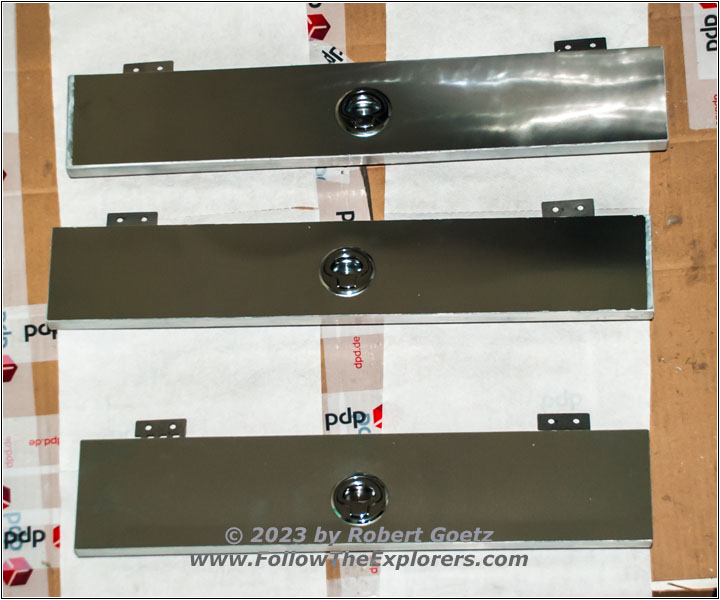
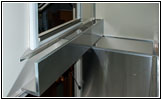
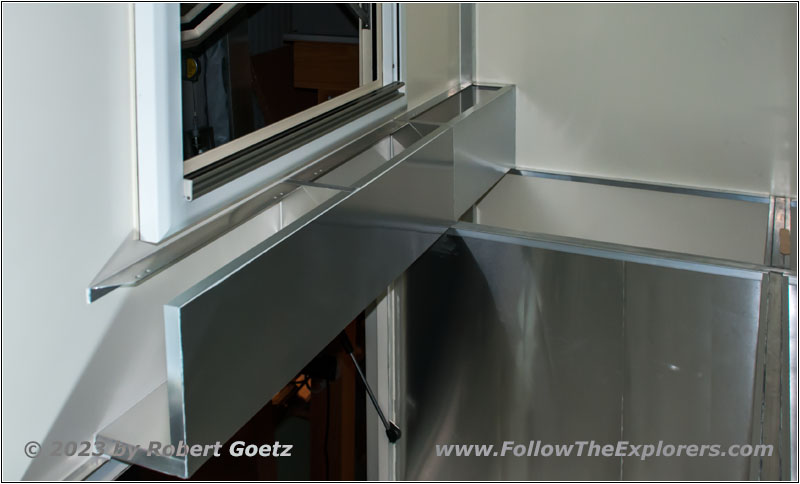
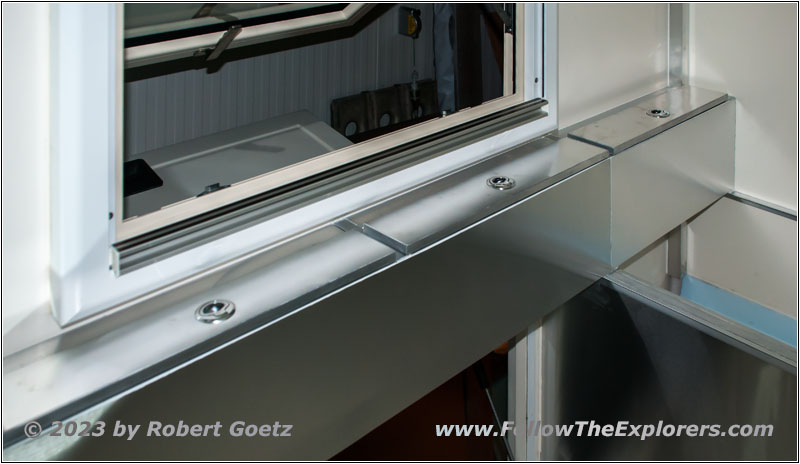
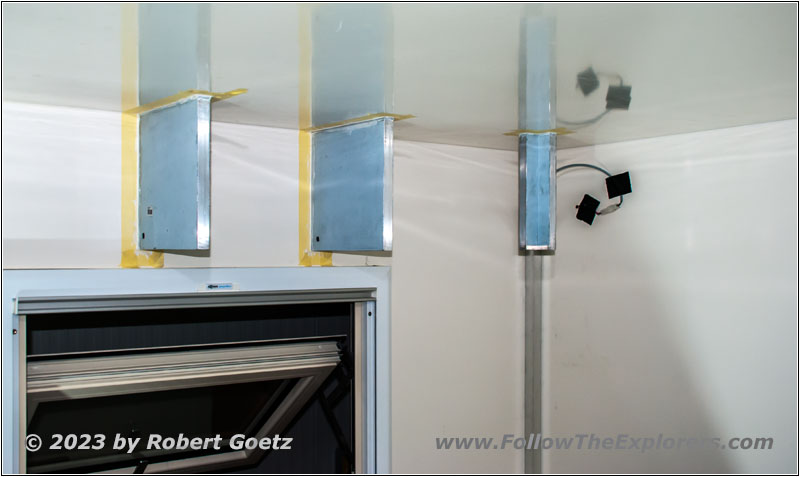
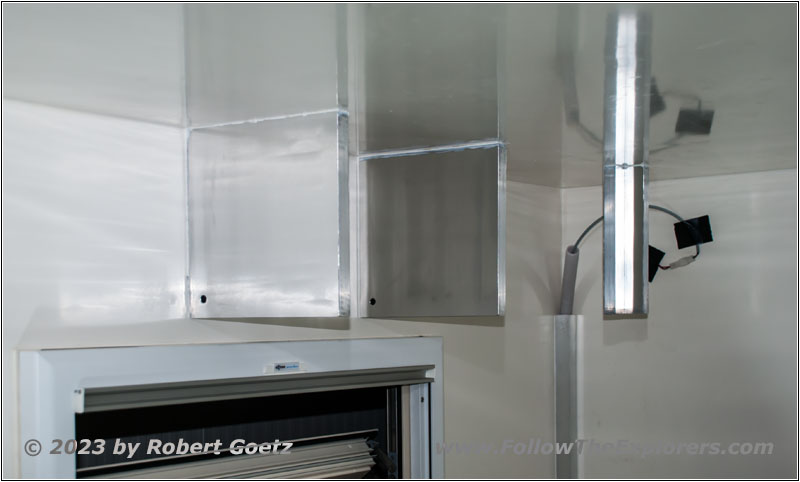
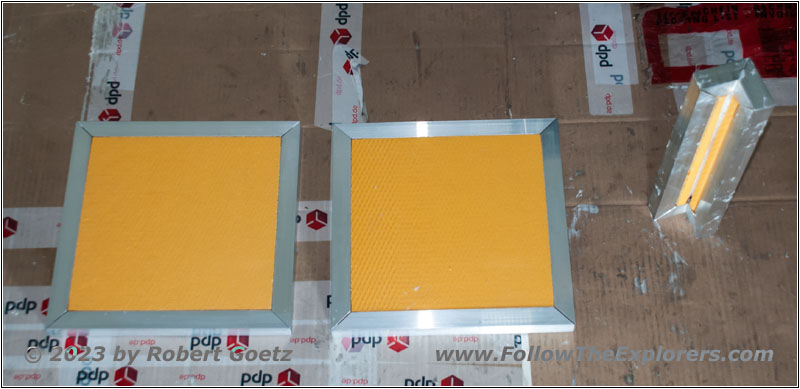
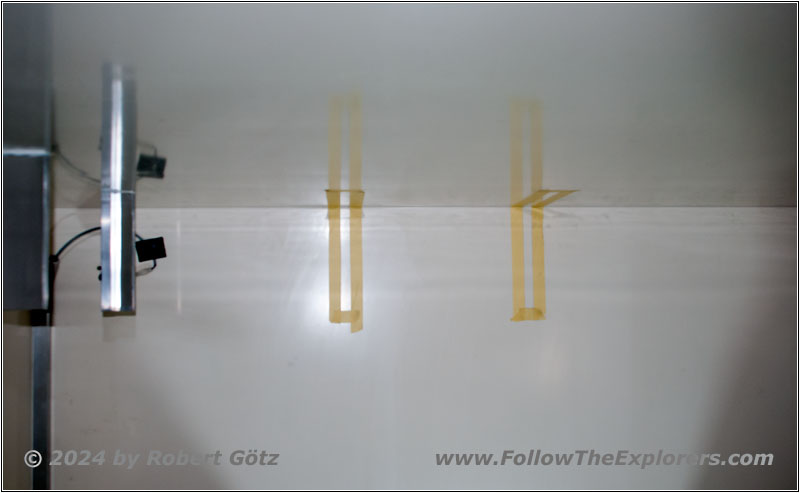
Then I start with building up the small storage area at the top end of the bed. This storage area will have three compartments. Therefore I need three lids. Then I also start building the bottom of this storage box. Finally everything will be glued on the wall and the front cover assembled. For this, I don’t use the big sandwich, because the bare aluminum sheet is sufficient. Then I continue with the lid locking mechanism and the front carrier. Finally I do a test mount of the lids to see, if everything fits. The final assembly will be done once everything is foil–coated.
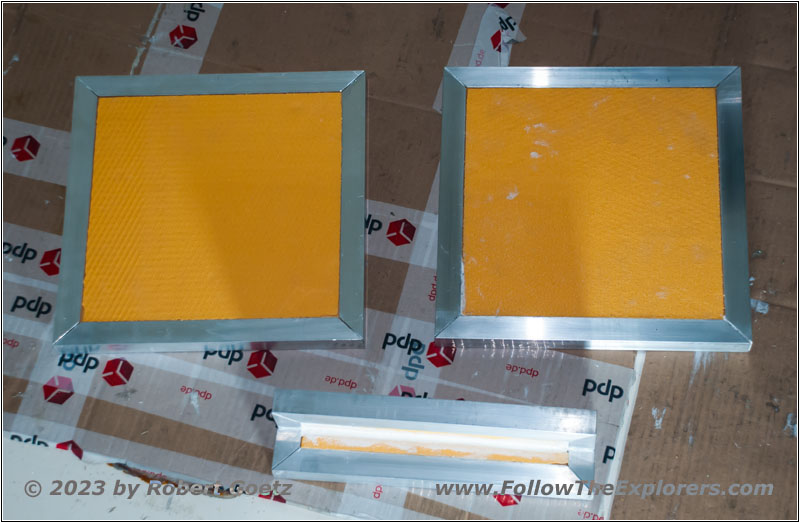
Shelter top bed storage
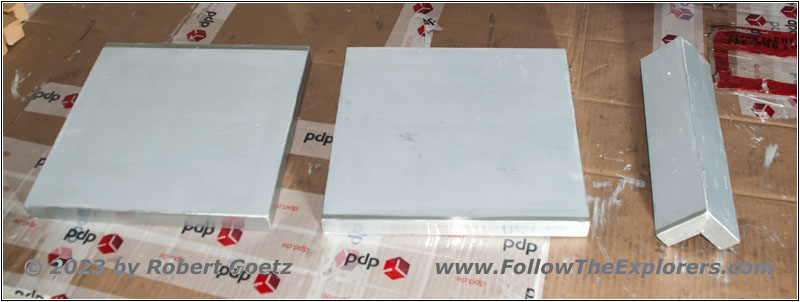
Shelter top bed storage
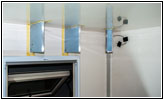
Shelter top bed storage
Shelter top bed storage
Shelter top bed storage
Shelter top bed storage
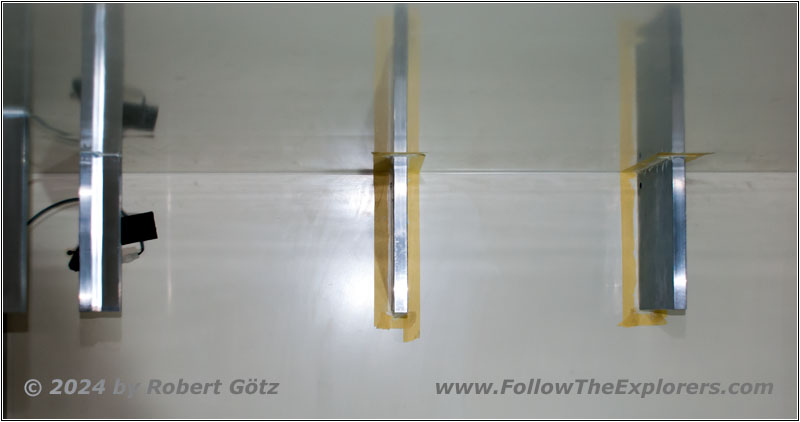
Shelter top bed storage
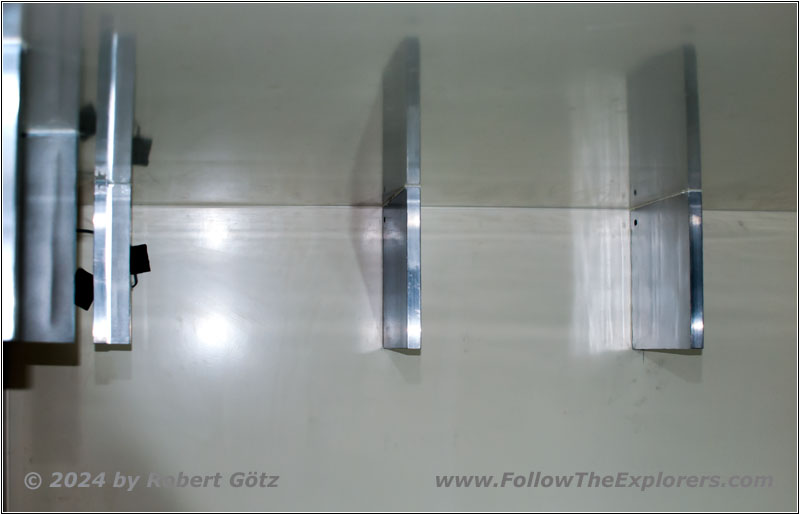
Shelter top bed storage
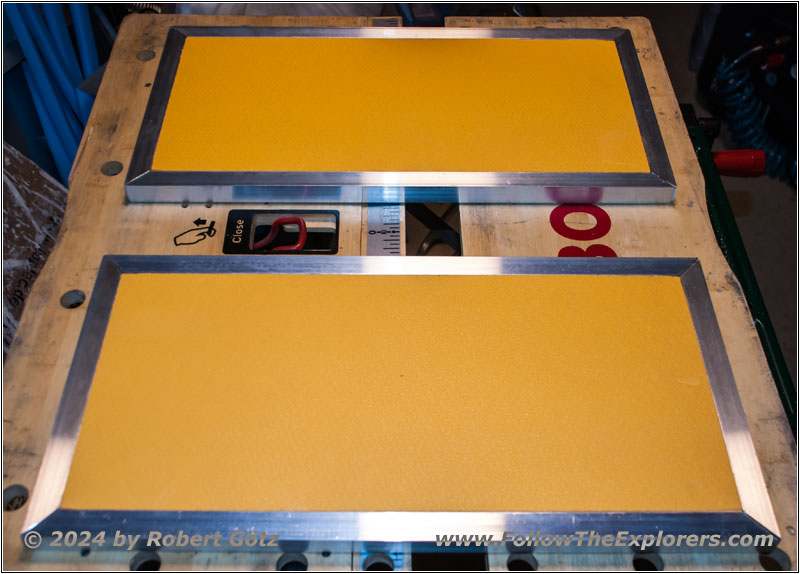
Shelter top bed storage
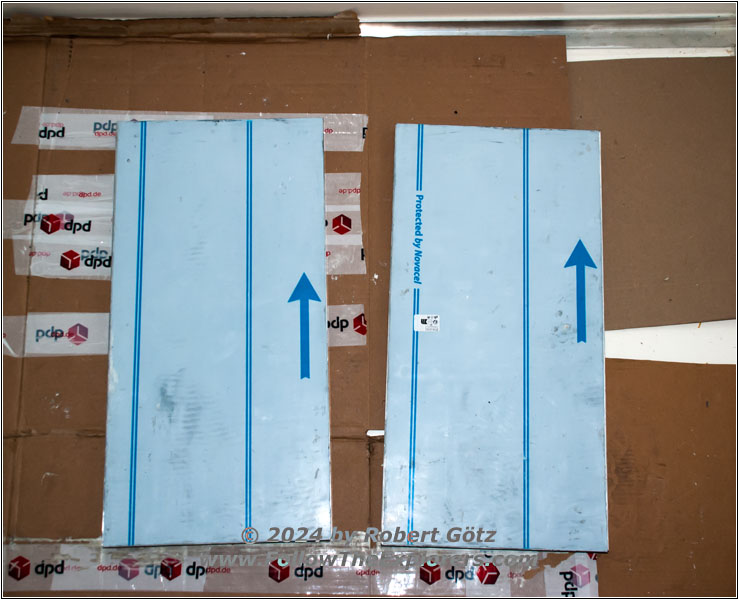
Shelter top bed storage
Shelter top bed storage
Shelter top bed storage
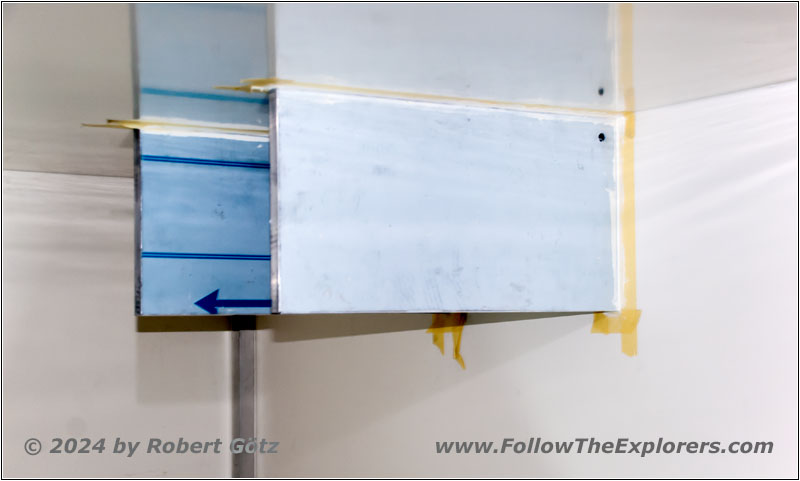
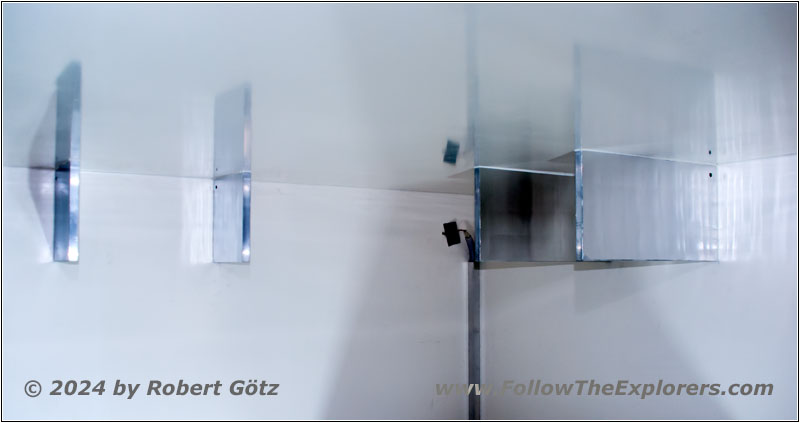
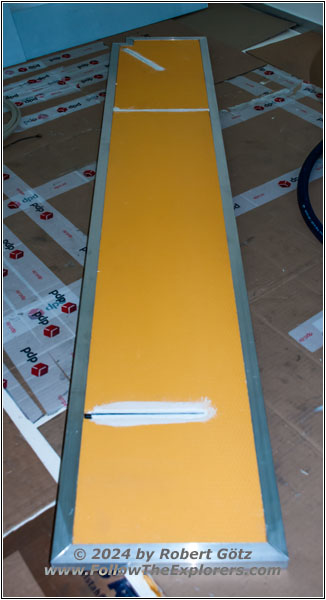
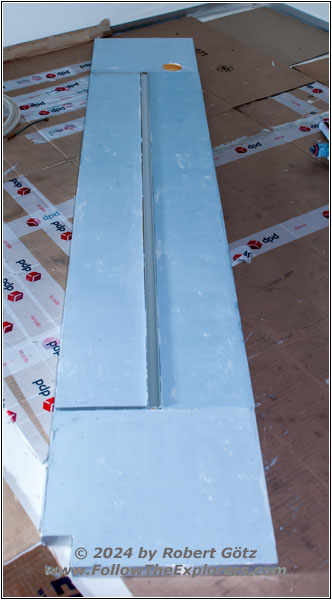
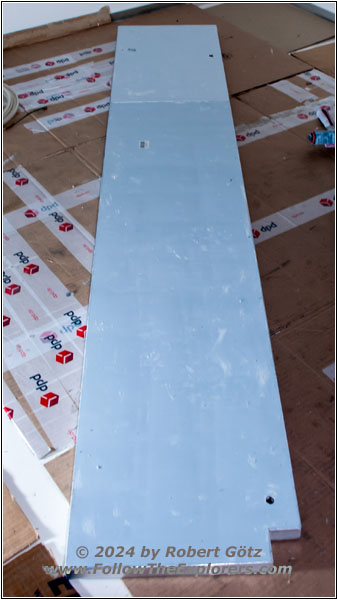
Now the building of the upper storage can start, which runs all around. First I build the separation walls. The storage area on the foot side will be double as deep as the one at the head end and the side.

Shelter top bed storage bottom carrier

Shelter top bed storage bottom carrier

Shelter top bed storage bottom carrier

Shelter top bed storage bottom carrier

Shelter top bed storage bottom carrier

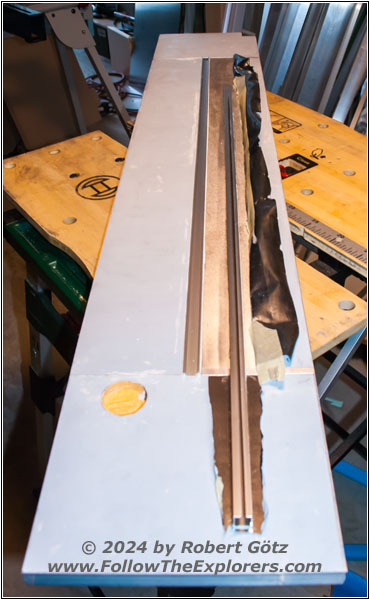
Shelter top bed storage bottom carrier

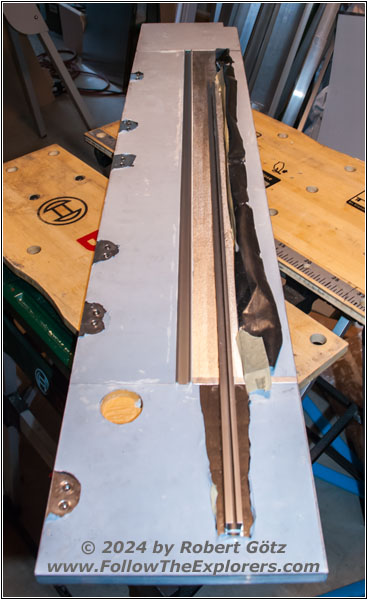
Shelter top bed storage bottom carrier

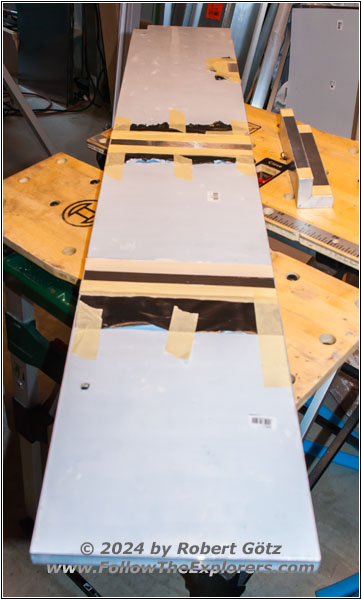
Shelter top bed storage bottom carrier
Shelter top bed storage bottom carrier
Shelter top bed storage bottom carrier
Shelter top bed storage bottom carrier
Shelter top bed storage bottom carrier
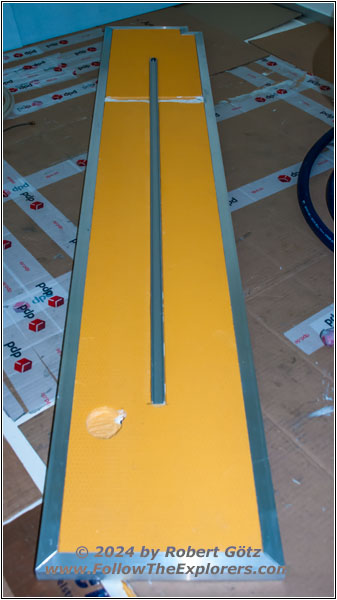
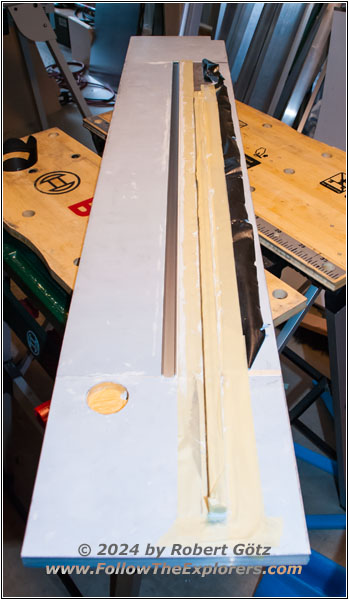
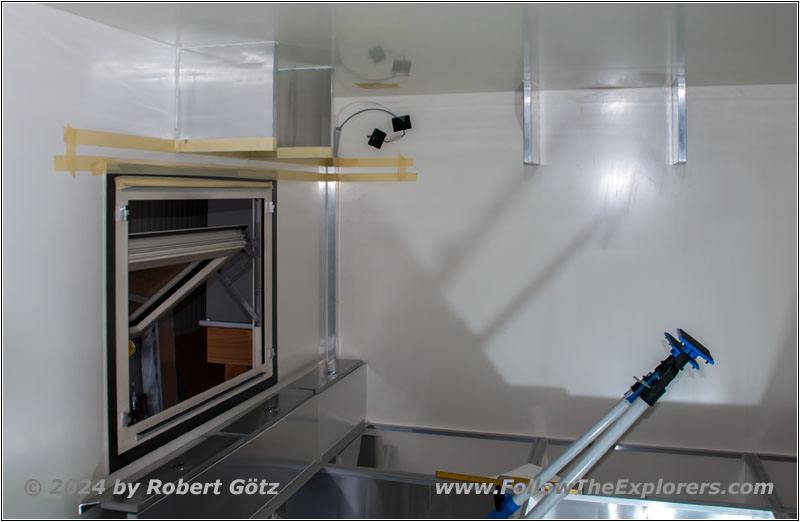
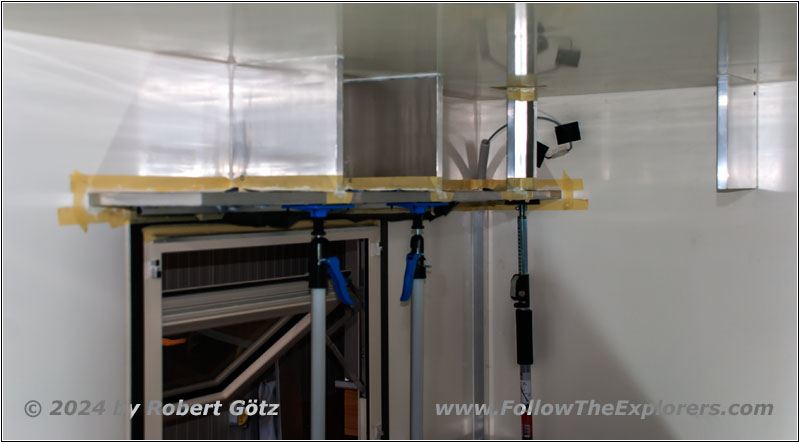
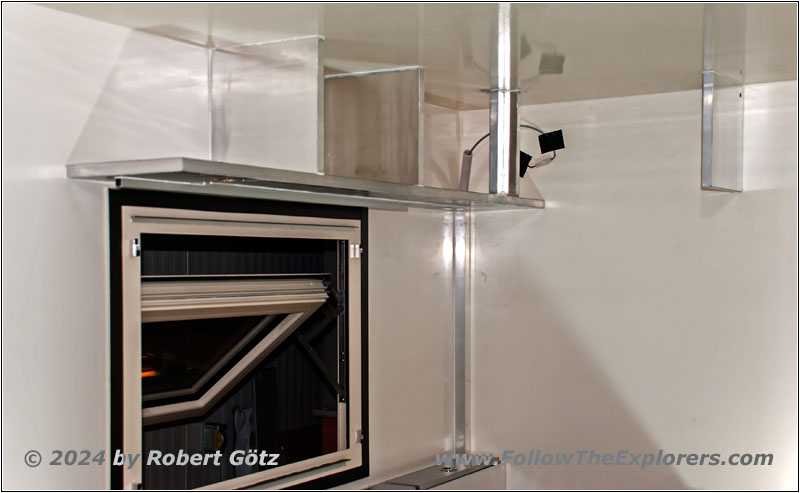
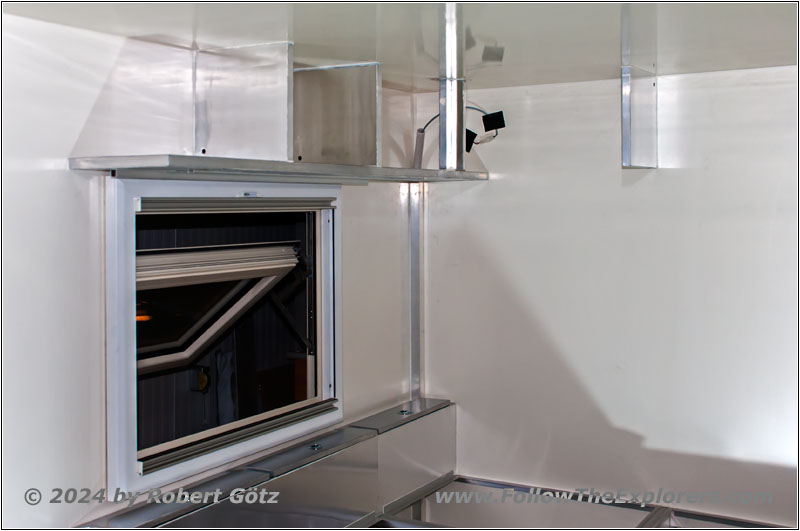
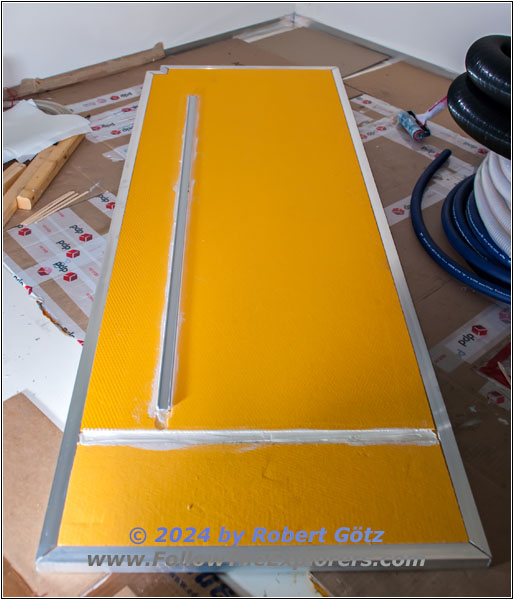
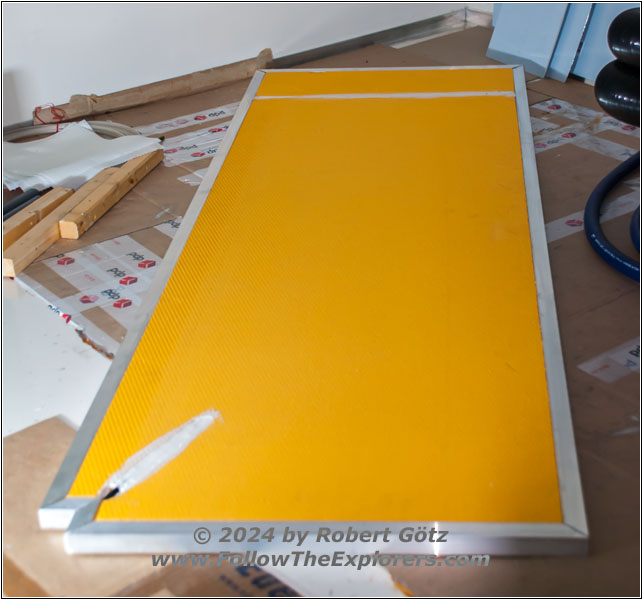
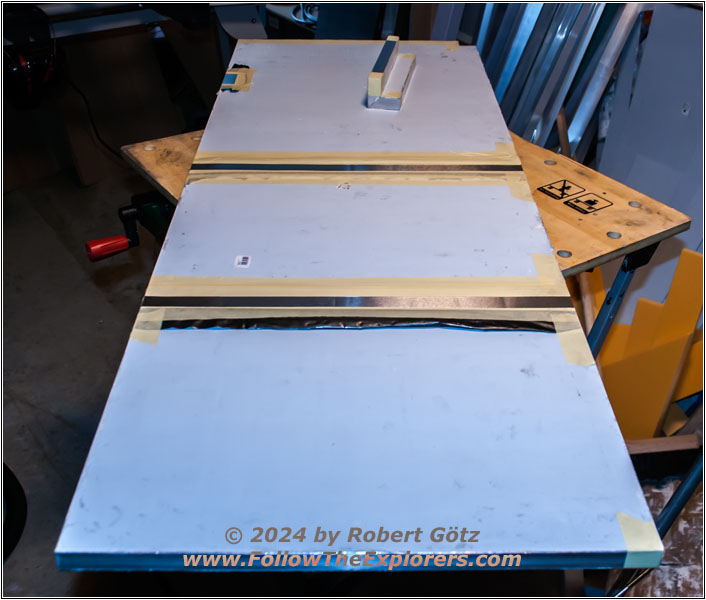
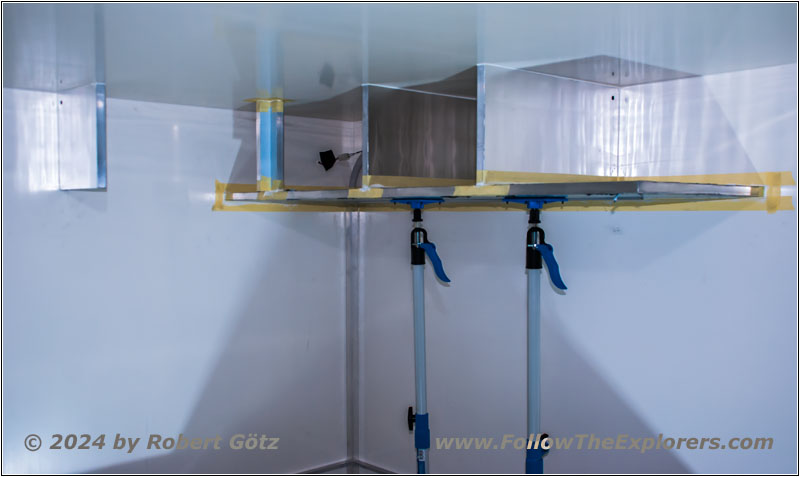
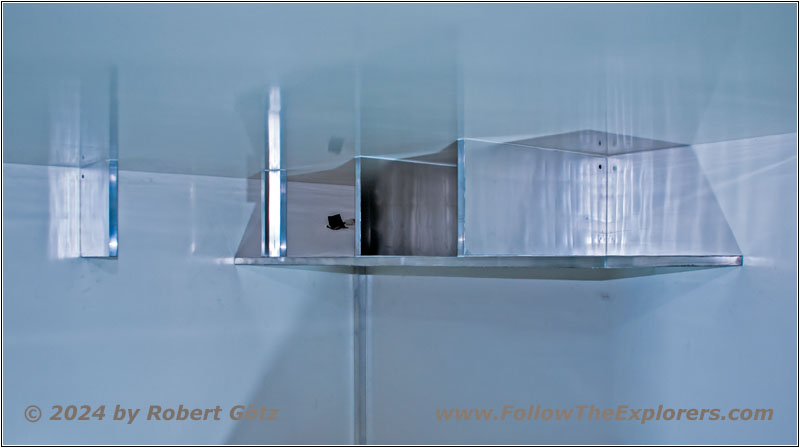
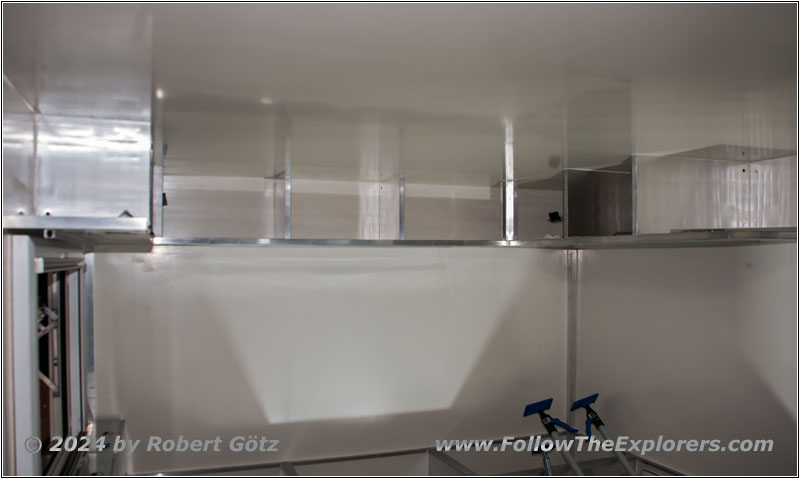
Then I continue with the bottom carrier. This one also includes the LED lighting as well as the light switch. There I also install a small tube to run the wires to the rear end of this carrier. Next, I mill a curtain rail out of an aluminum rectangular hollow section and glue them to the carrier. Finally I install 4mm blind rivet nuts for the hinges and the light switch. Now the bottom carrier is ready to be glued on. Because it is a bit heaver, I support it with my construction supports.

Shelter top bed storage bottom carrier
Shelter top bed storage bottom carrier
Shelter top bed storage bottom carrier
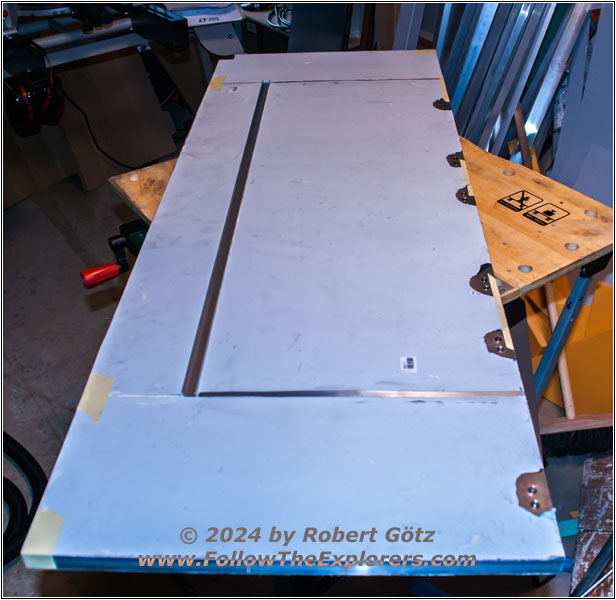
Shelter top bed storage bottom carrier
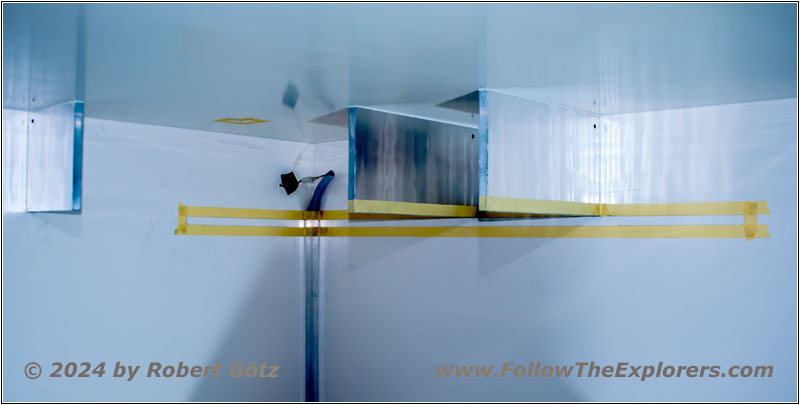
Shelter top bed storage bottom carrier
Shelter top bed storage bottom carrier
Shelter top bed storage bottom carrier
Now the work starts on the other side with the deeper storage area at the foot end of my sleeping area. Also there I need the empty tube for the LED stripes power supply. Also I need the blind rivet nuts to mount the hinge. Then I glue the bottom carrier on and support everything with my construction supports. Finally I fill up the remaining gaps to the shelter walls with my special glue to make things absolutely solid. Slowly you can recognize how things will look like with the upper storage.

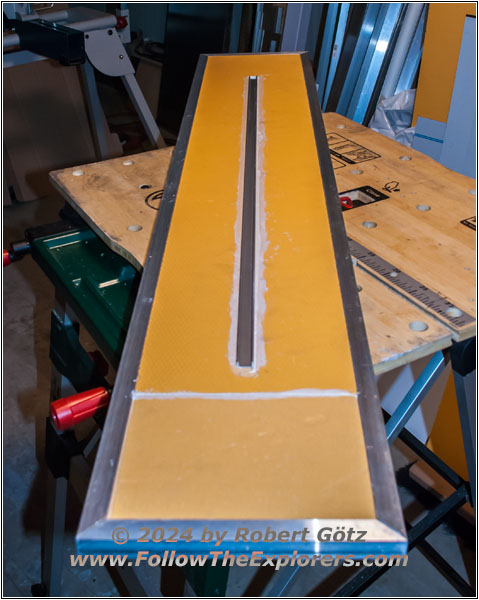
Shelter top bed storage bottom carrier

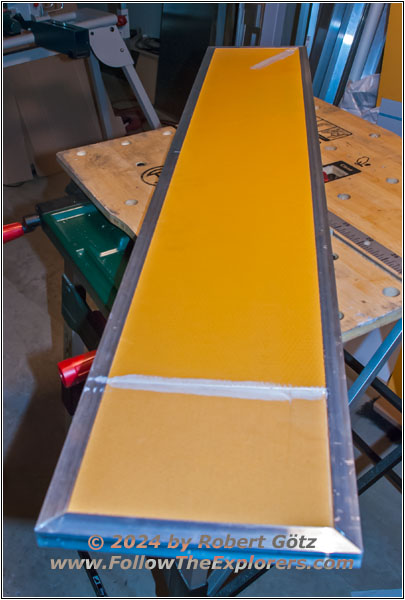
Shelter top bed storage bottom carrier
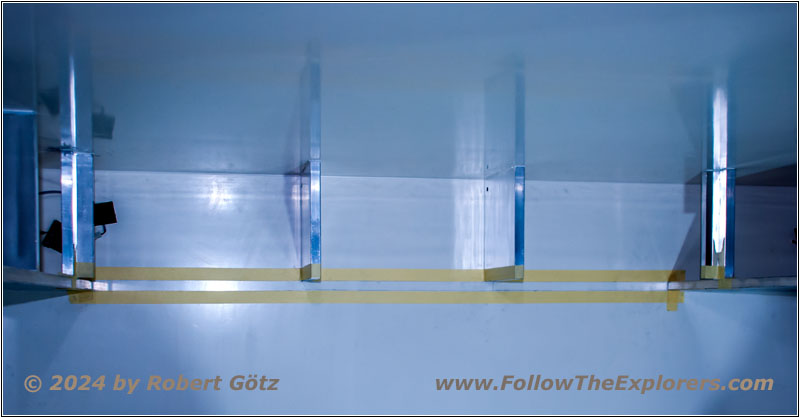
Shelter top bed storage bottom carrier

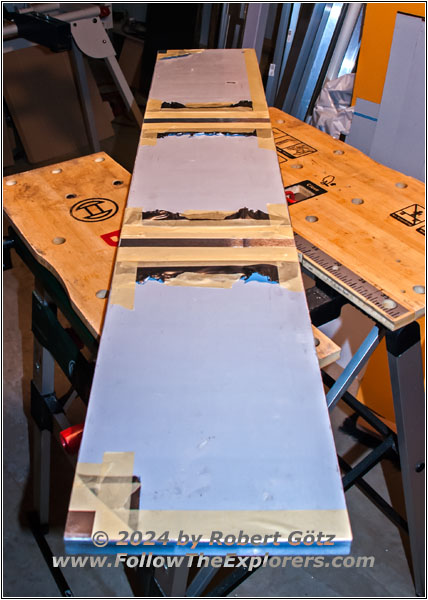
Shelter top bed storage bottom carrier

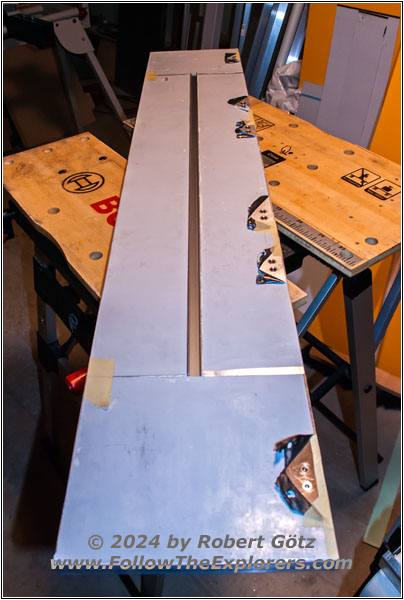
Shelter top bed storage bottom carrier
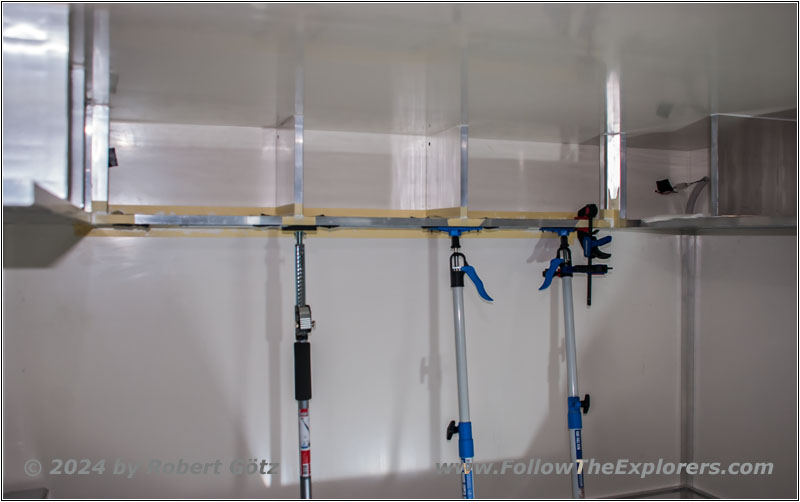
Shelter top bed storage bottom carrier
Shelter top bed storage bottom carrier
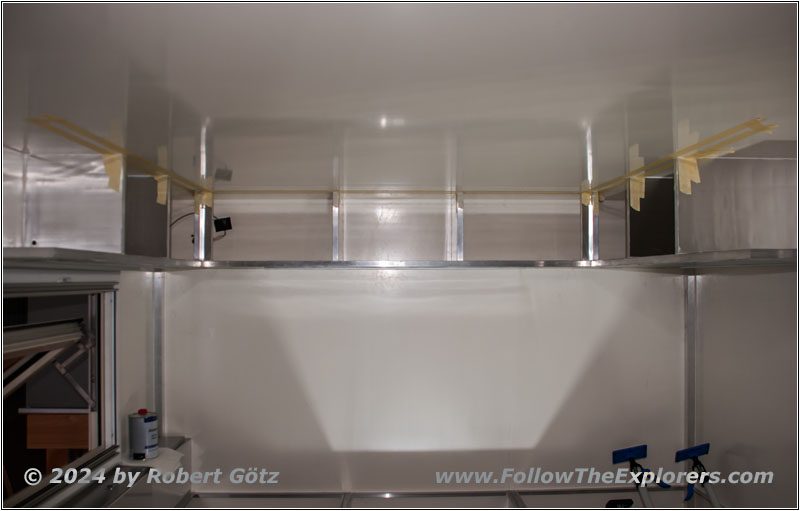
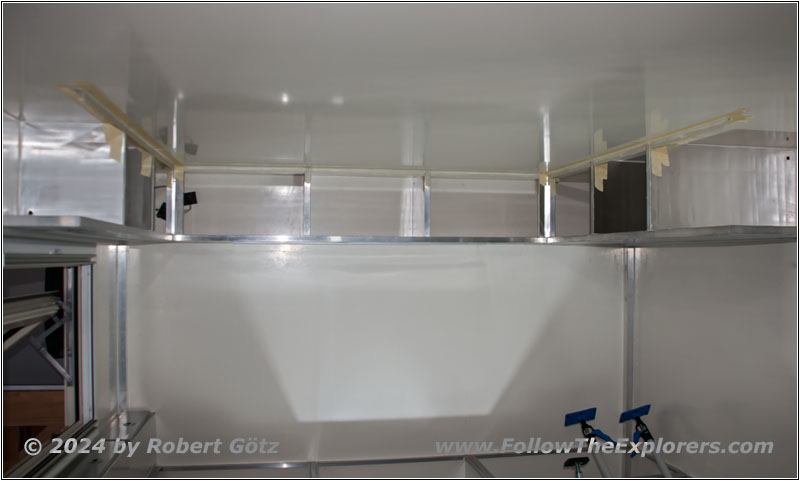
Now it’s getting thrilling with the middle part. All in all I only have 80mils as bridging gap and the tolerances when building this aluminum sandwich can easily reach this distance. But it fits! Also I need an empty tube for the LED stripes power supply here again. Also another round of blind rivet nuts are necessary to mount the hinges. Then it is time to glue the bottom carrier in. This is again challenging, because it is between the other two carriers and you can easily wipe the glue away from the sides. But slowly I am getting trained to do this and it starts to work out. Finally I fill in the gap with a bit more glue and I support everything with my construction supports.
Shelter top bed storage upper frame
Shelter top bed storage upper frame
Shelter top bed storage upper frame
Shelter top bed storage upper frame
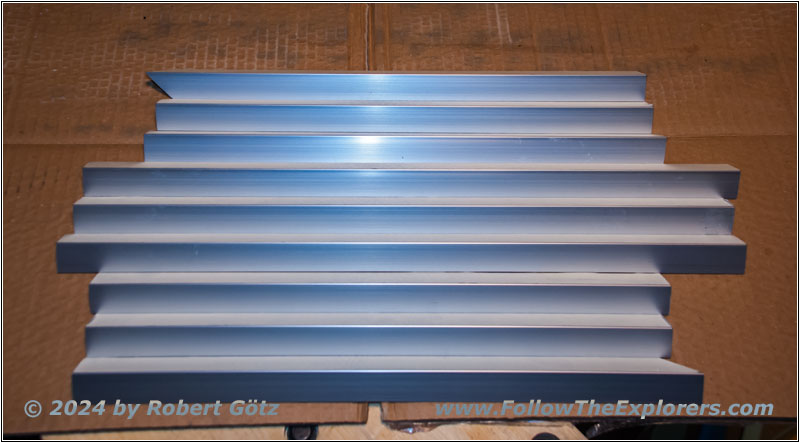
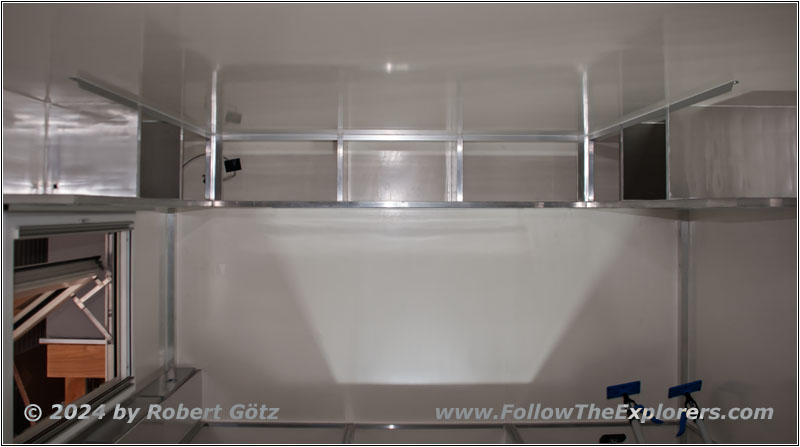
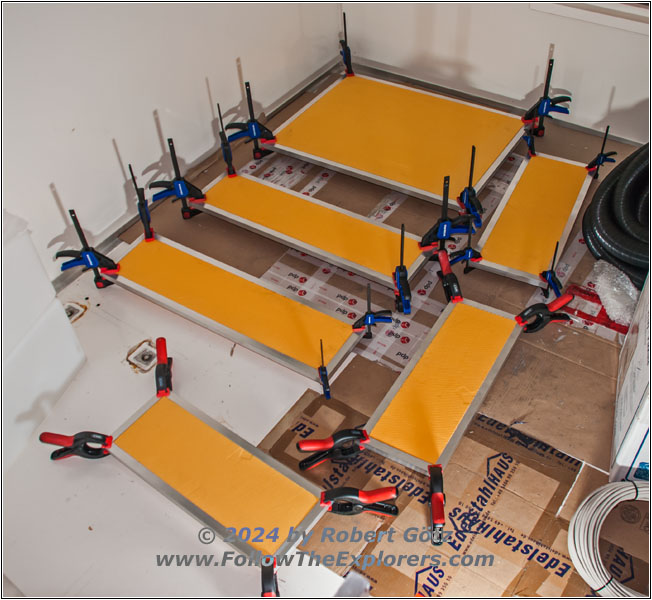
To complete these upper storage boxes, there are only the upper frames missing. They are build from simple aluminum L–profiles with a height of 20mm. Later, there will also hold the lid locker on. Also here the working tasks before glueing is to clean everything thoroughly, then sand everything and finally clean everything thoroughly again — and as usual to cover everything with tape before to make cleaning after the glueing process easier.

Shelter top bed storage lid
Shelter top bed storage lid

Shelter top bed storage lid
“Poor man’s” limit stop
Shelter top bed storage lid

Shelter top bed storage lid
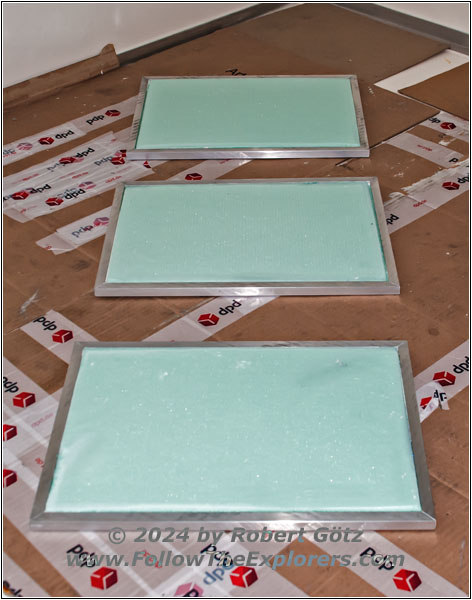
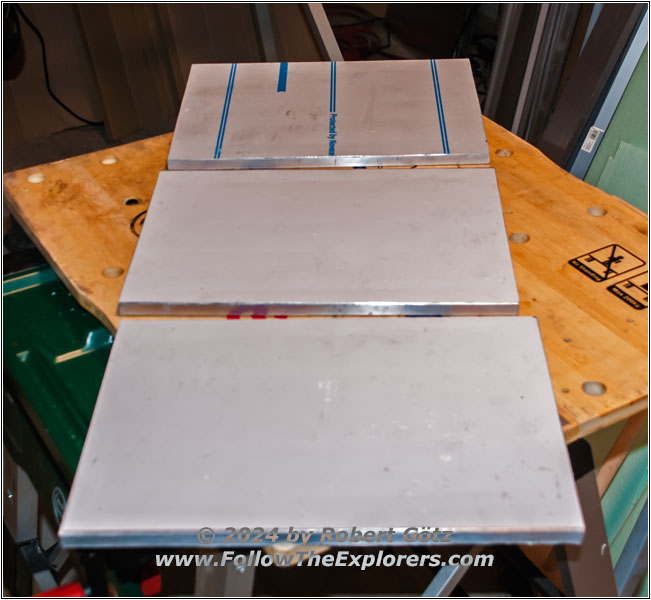
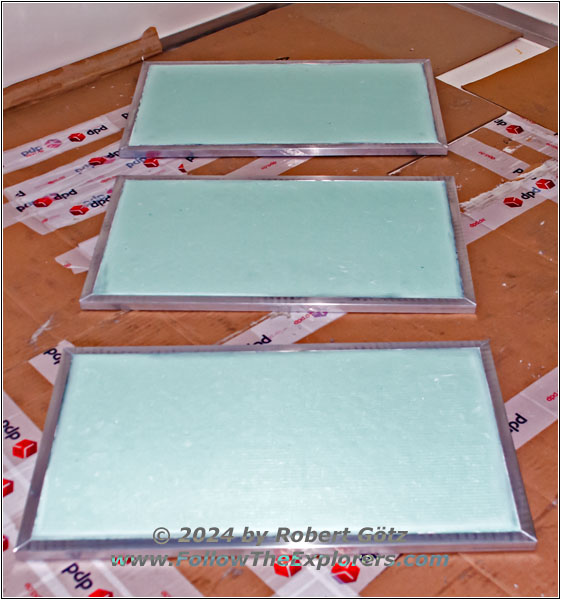
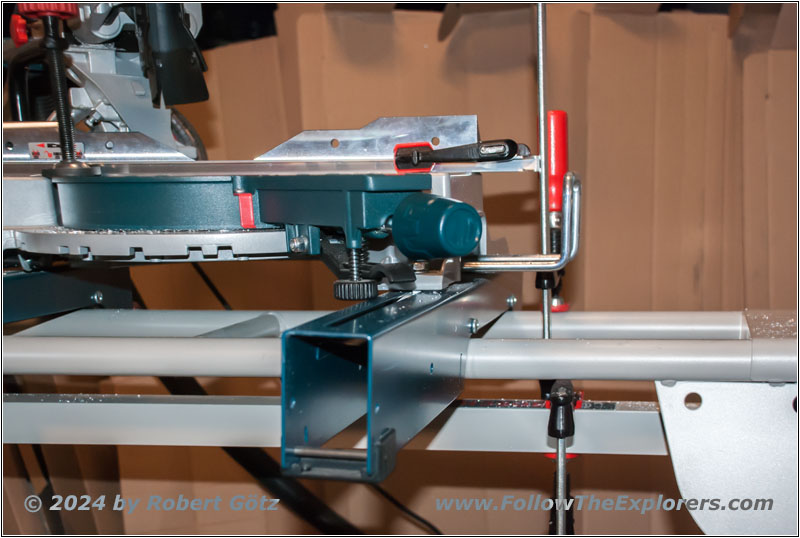
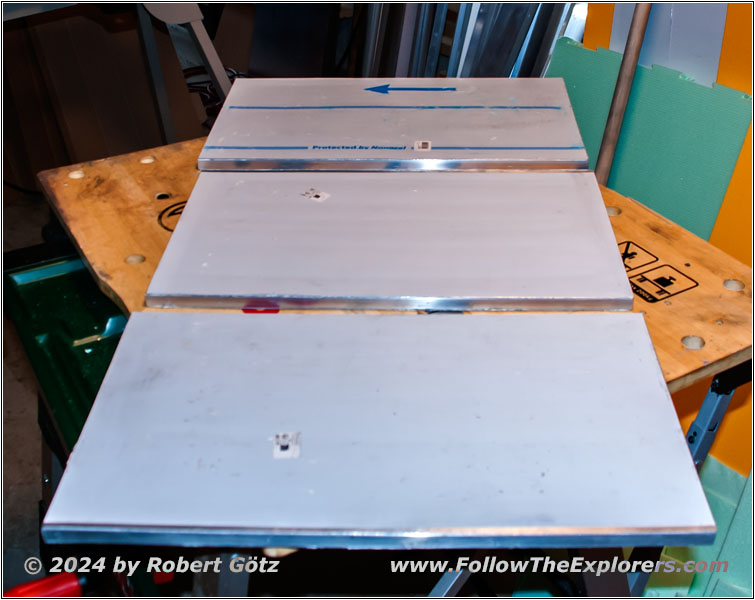
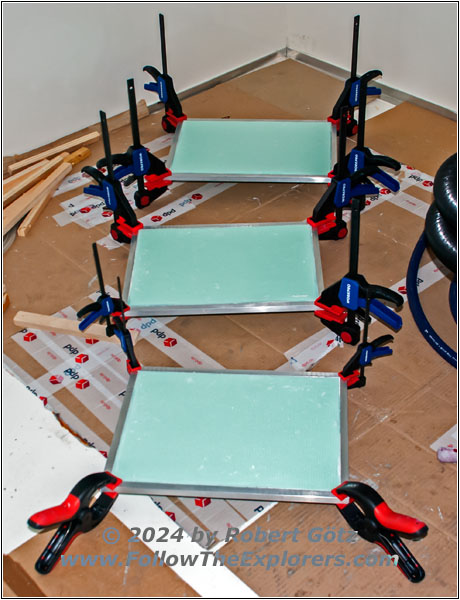
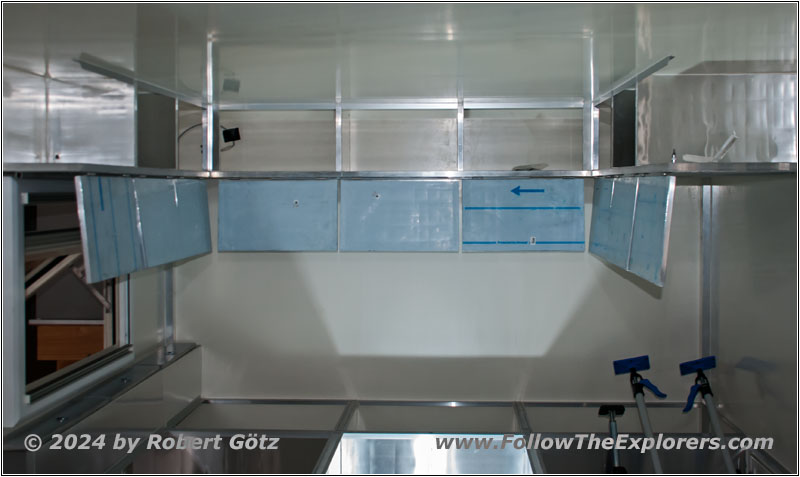
The last step is building the lids. Also these are build as sandwich, but from a thinner material. Otherwise I would run into issues with the lid lockers. First the frame will be glued, then the covering aluminum plates are installed. After the first three are glued, I start with the next three on the rear side and finally the last three on the side. When building the last three I get the idea on how to skip measuring for every cut and I build a “poor man’s” limit stop.
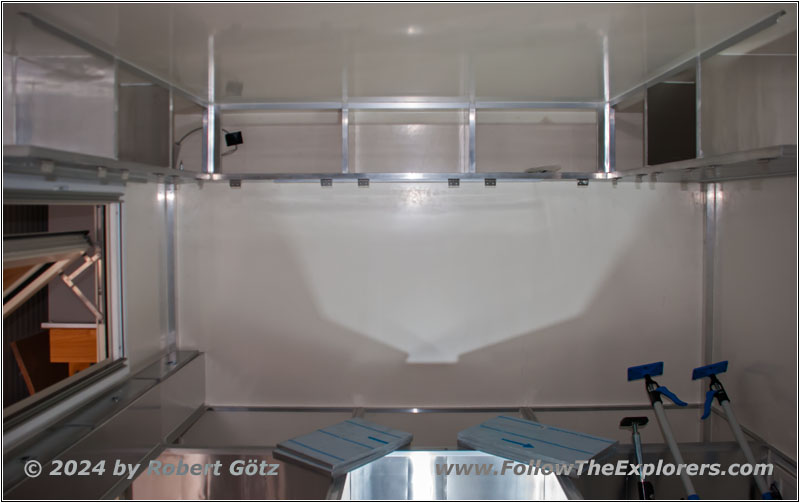
Shelter top bed storage
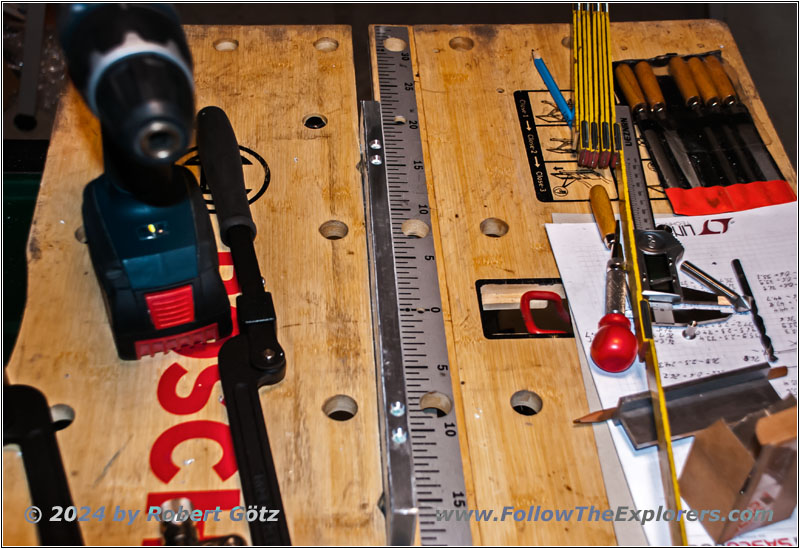
Shelter top bed storage lid
Shelter top bed storage lid
Shelter top bed storage
Now I can prepare the lid mounting. First I screw the hinges on the bottom carriers. Then I must drill the holes for mounting the hinges in the lids and install the blind rivet nuts. Now I can mount the lids just for testing. Slowly you get an impression of how things will look like.
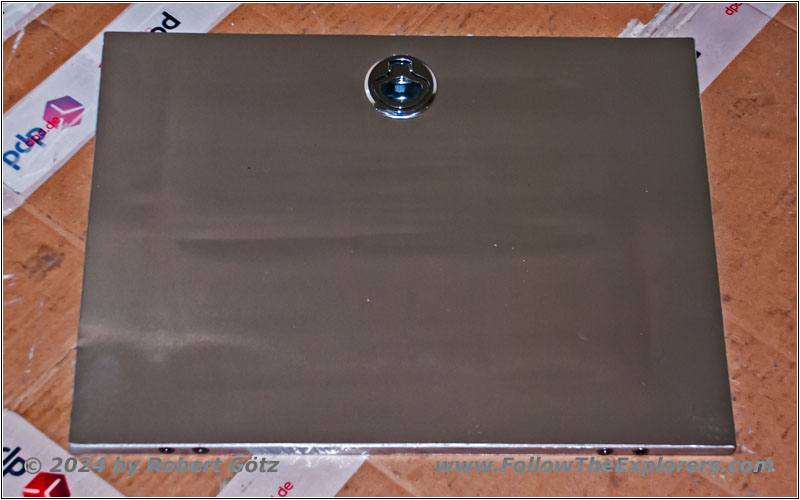
Shelter top bed storage lid

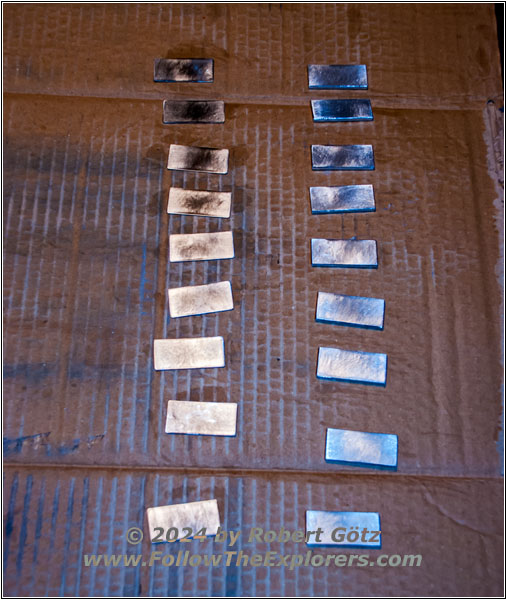
Shelter top bed storage lid locker

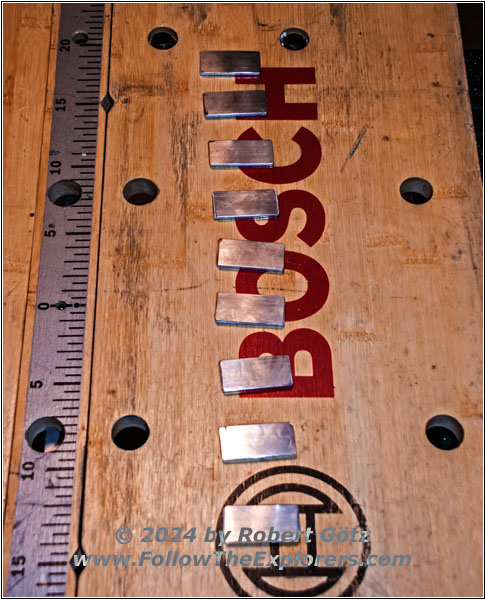
Shelter top bed storage lid locker
Shelter top bed storage lid locker
Shelter top bed storage
Shelter top bed storage
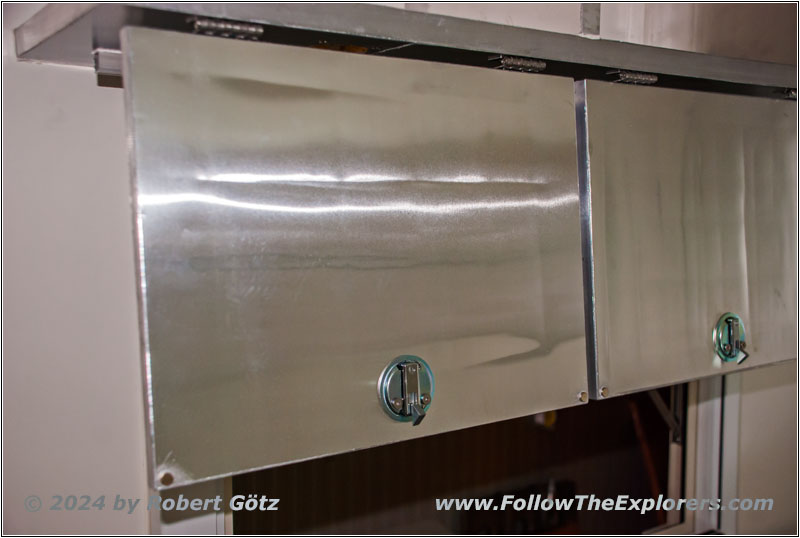
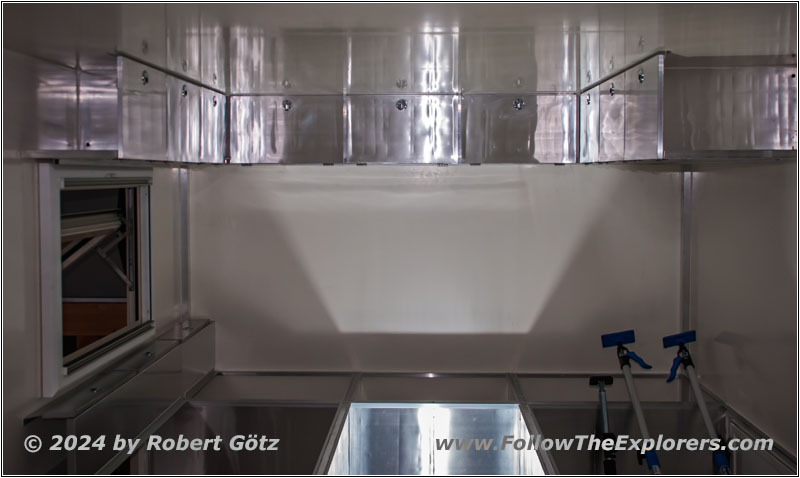
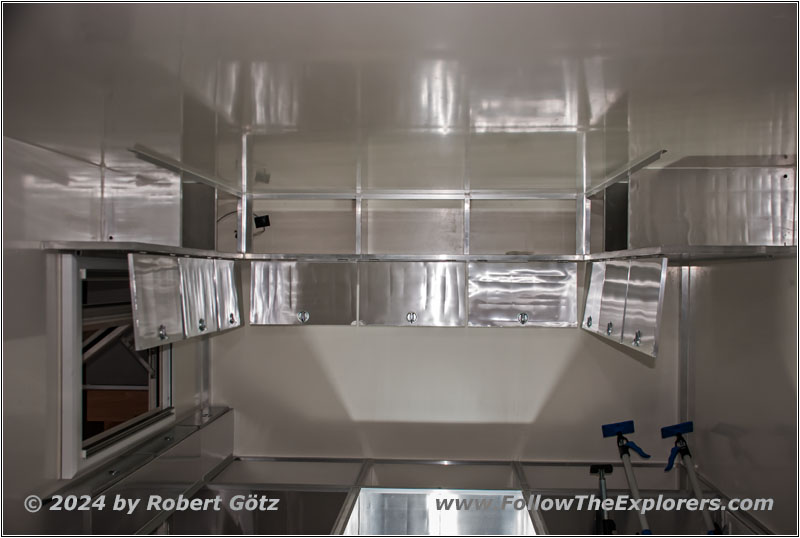
The last step is to install the lockers into the lid and the counterpart on the top brackets. Originally, this counterpart will be just screwed into the wood — or into the ceiling like it would be done in my case. But I plan to use the L–profile that is already there, but which is just too thin. To build up material I use aluminum flat steel and I glue thin stainless steel on top. This is to avoid that the locking mechanism will work its way through the soft aluminum. Additionally, I glue small magnets on the lids and top frame to avoid that the lockers will rub due to vibrations and damage itself. Now it is easy to see how things will look alike when it is finished!
Shelter water tank
Shelter water tank mount/storage
Shelter water tank mount/storage
Shelter water tank mount/storage
Shelter water tank mount/storage
Shelter water tank mount/storage
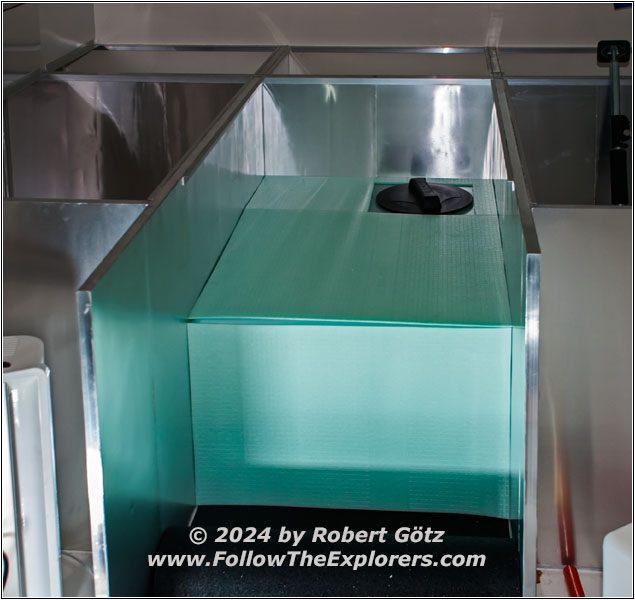
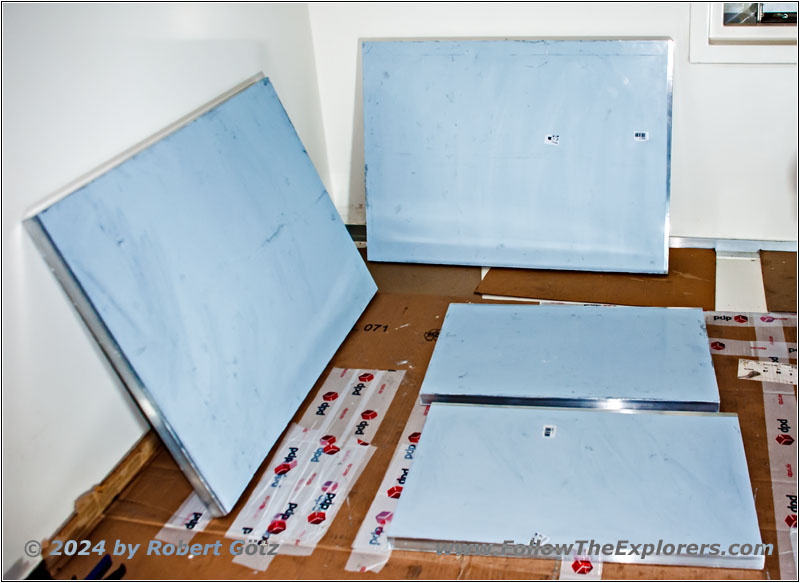
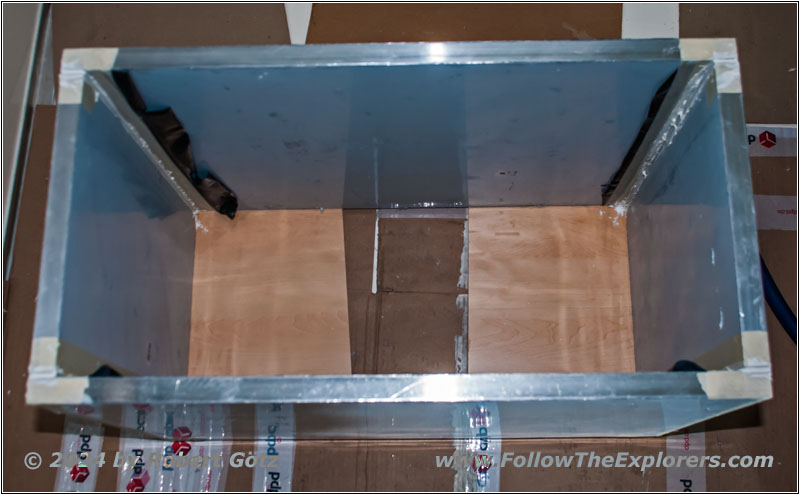
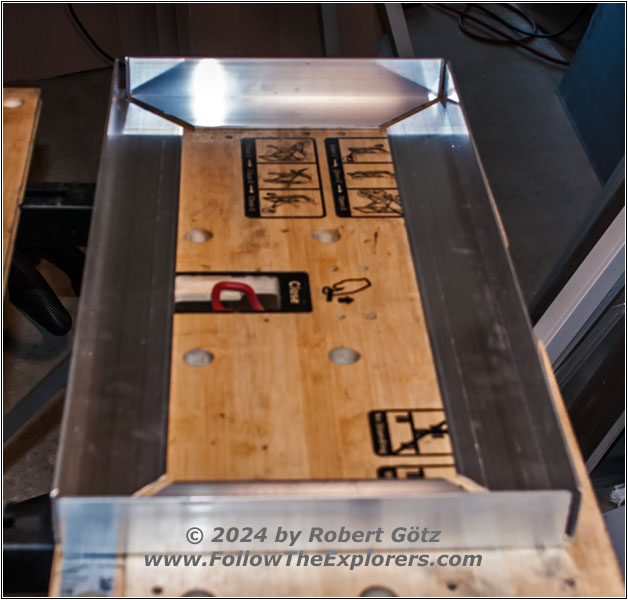
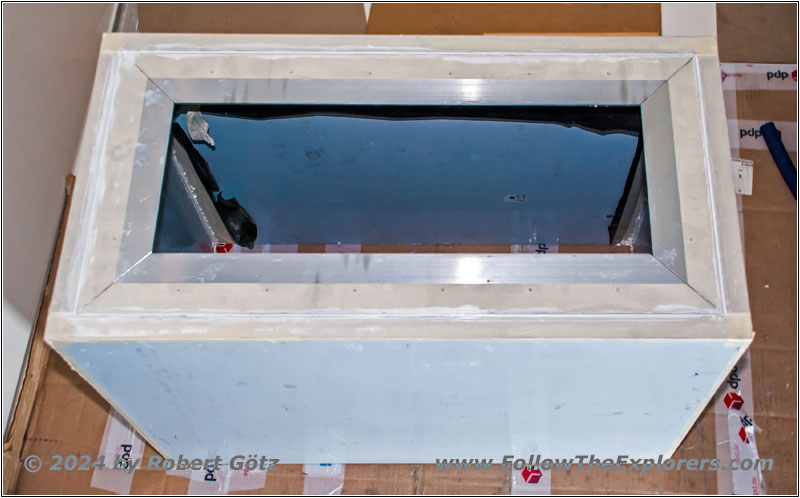
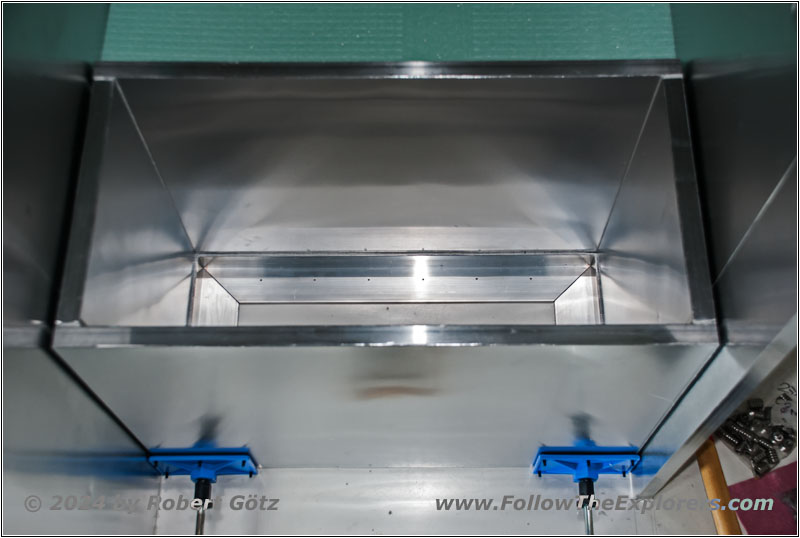
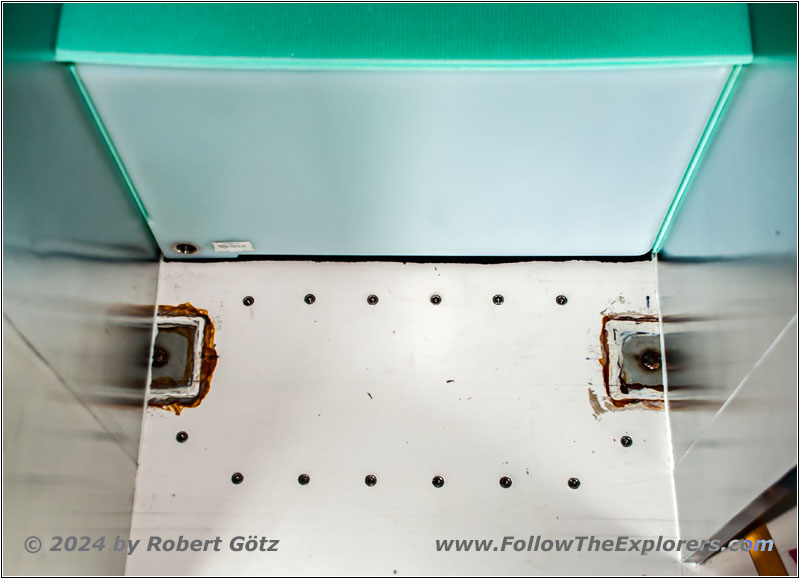
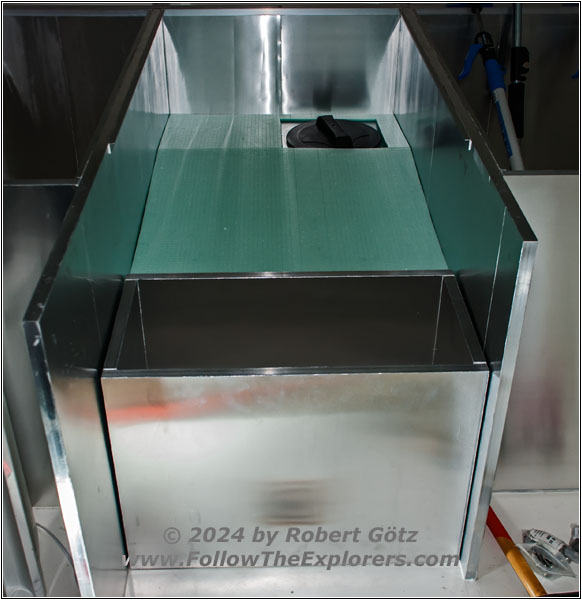
Next is the installation of my water tank. I want to avoid to carry that part out of my truck when I must drive to inspection in September, so I continue with the buildup here. As buffer to the surrounding walls I use thin XPS plates. The water tank itself sits on an anti–slip mat. To the front I build a storage box, which will be screwed on the floor and can be removed. It also acts as front limit to the water tank.
Shelter top bed storage Cable Conduit
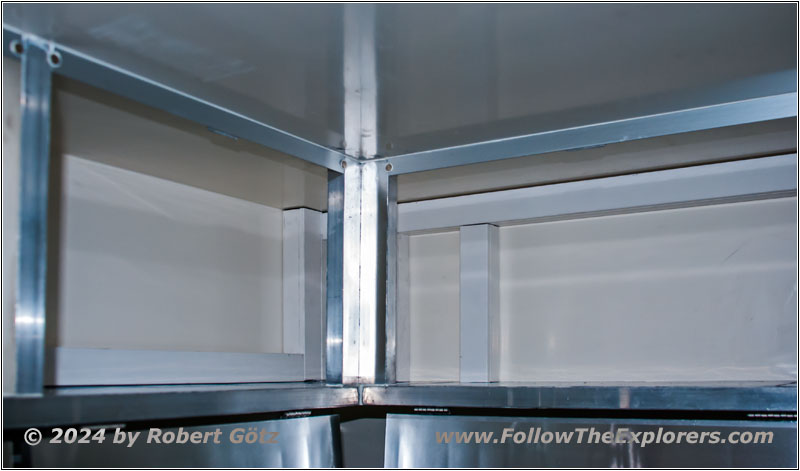
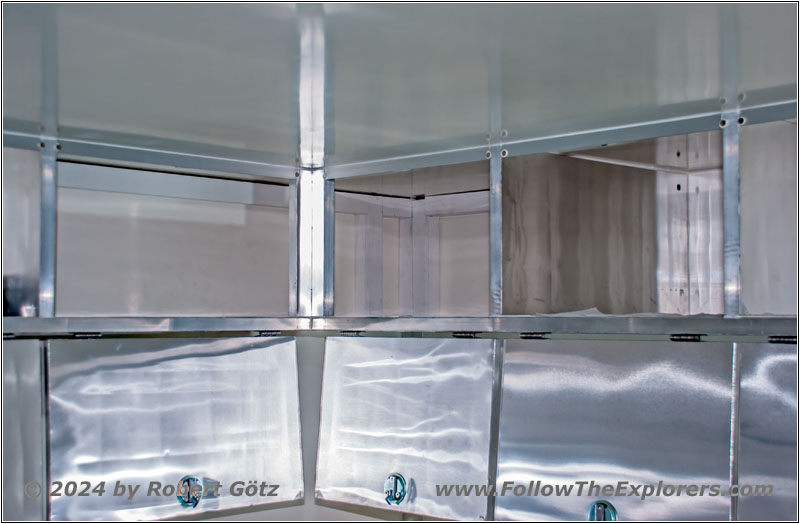
While I am waiting for the glue to harden out, I use the time to finally install the cable conduit on the passengers side. Also this one will be glued with two or three spots on the outer walls.
Shelter water tank mount/storage
Shelter water tank mount/storage
Shelter water tank mount/storage

Shelter water tank mount/storage
Shelter water tank mount
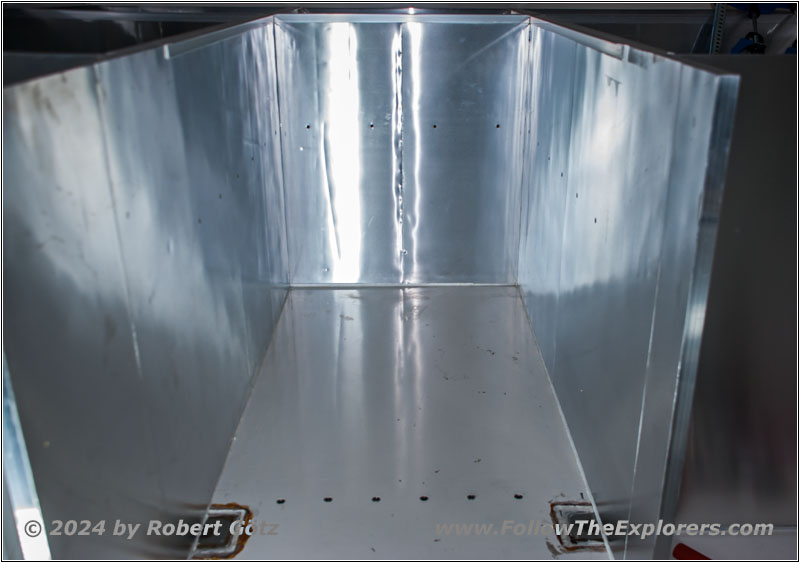
Shelter water tank mount
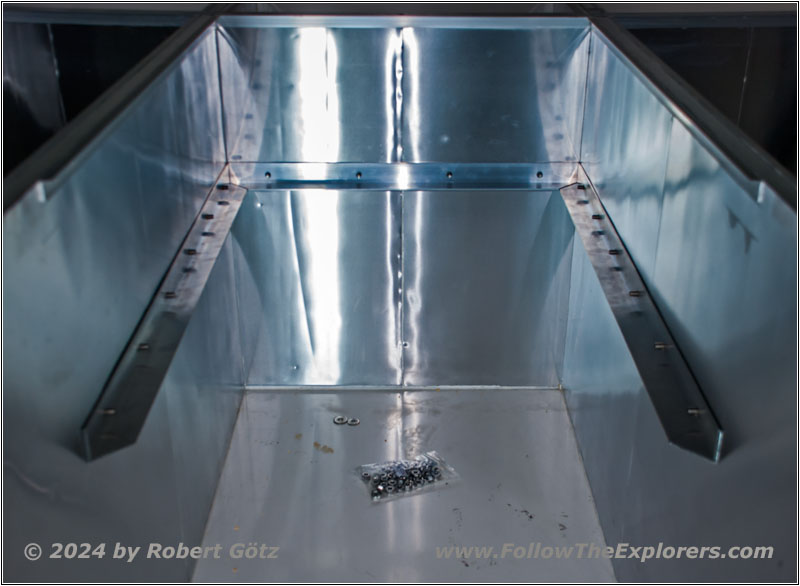
Shelter water tank mount
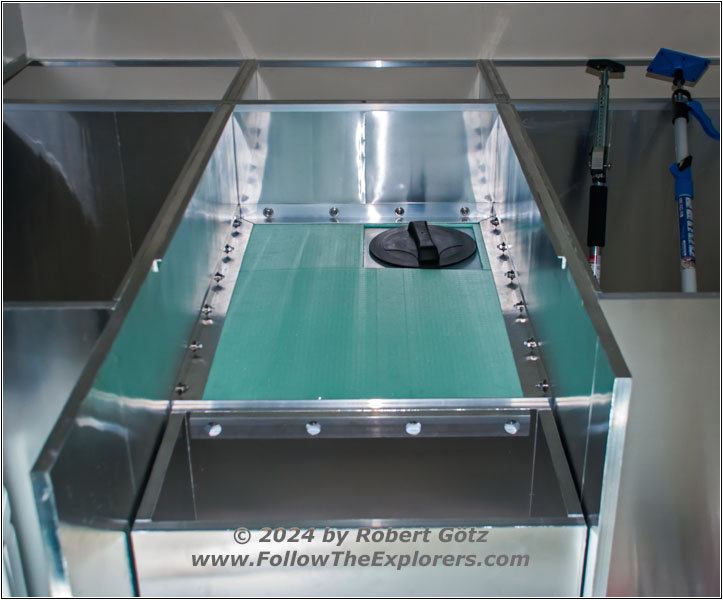
Shelter water tank mount installation
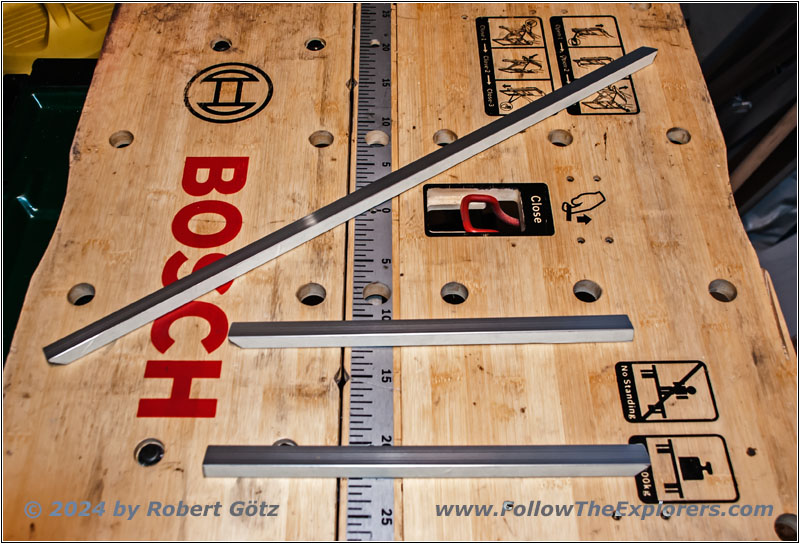
Shelter water tank mount/storage
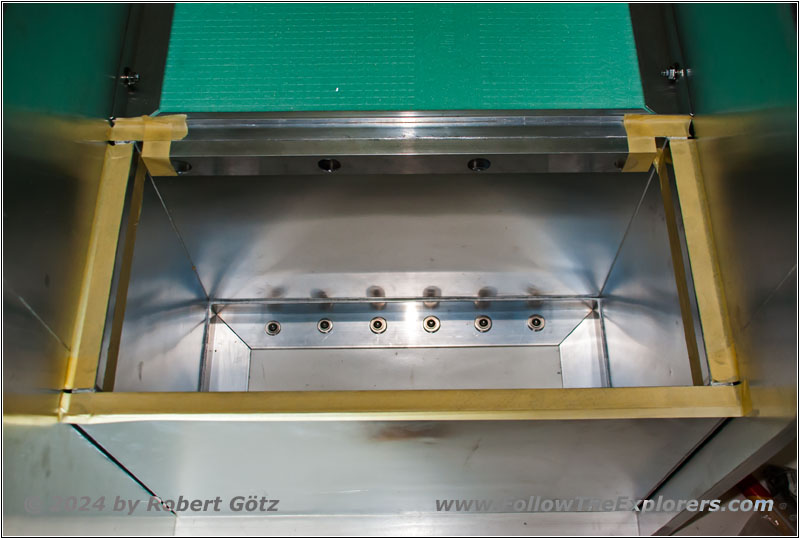
Shelter water tank mount/storage
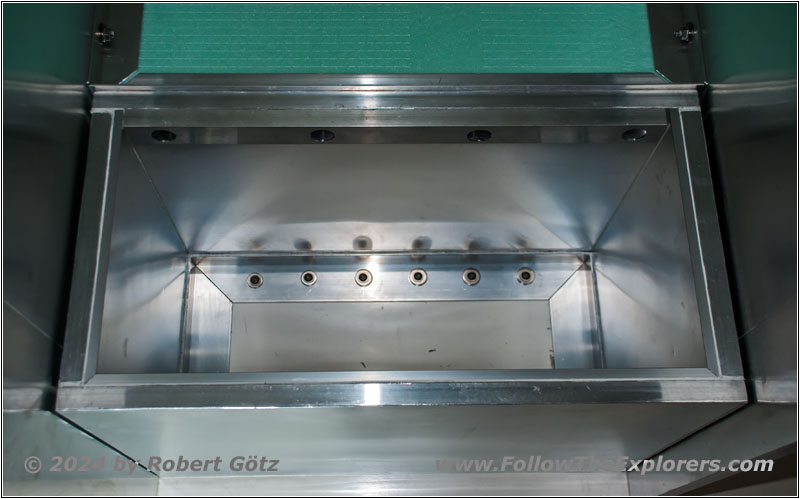
Shelter water tank mount/storage
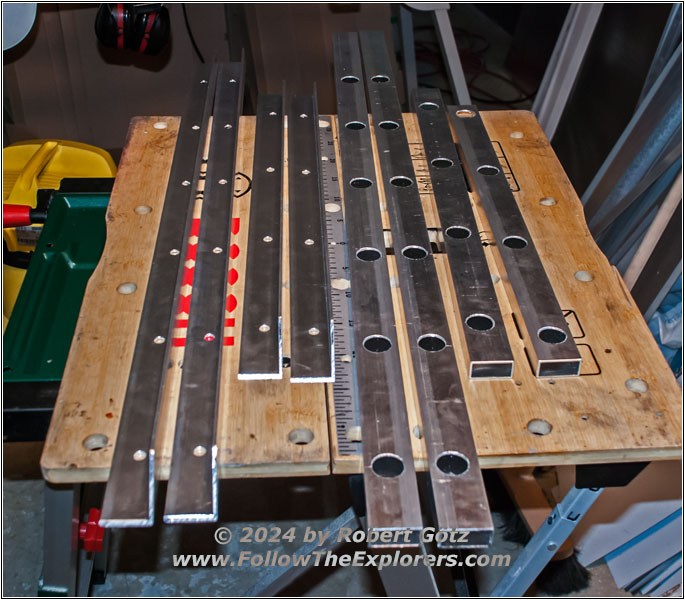
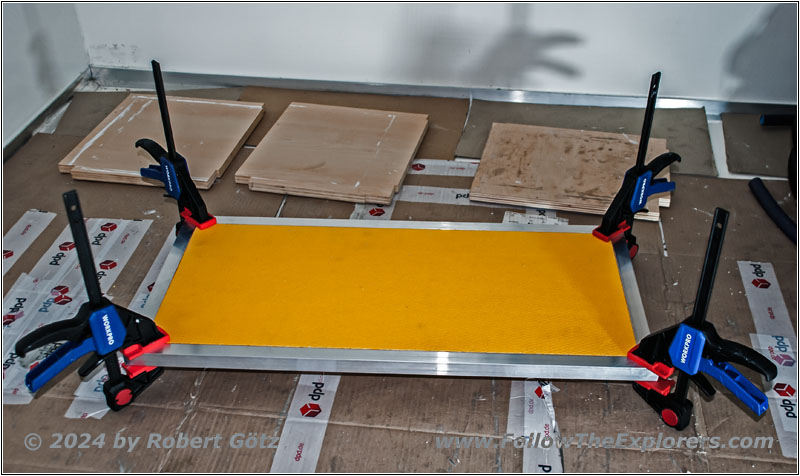
Next day I continue with the water tank mounts. First, I must drill the holes in the floor to install the screwed inserts. Then I screw in the storage for testing — and everything fits perfectly! Then I start working on the upper limit for my water tank. This one will keep the water tank down on any road bumps. On the water tank side I install 0.1” thick L–profiles as limit. On the other side I use square profiles for a better stability. The screw connection should be able to take up all forces. Then I can start to mount everything for the first test. The stainless steel screws receive a special grease on their threads to avoid the infamous cold shut. All screws, also the ones in the floor, will be screwed on with 7ft–lbs. This should be sufficient. Finally I glue some L–profiles on top of the storage box to improve the lid supporting area.
Shelter water tank mount/storage lid
Shelter top bed storage Cable Conduit
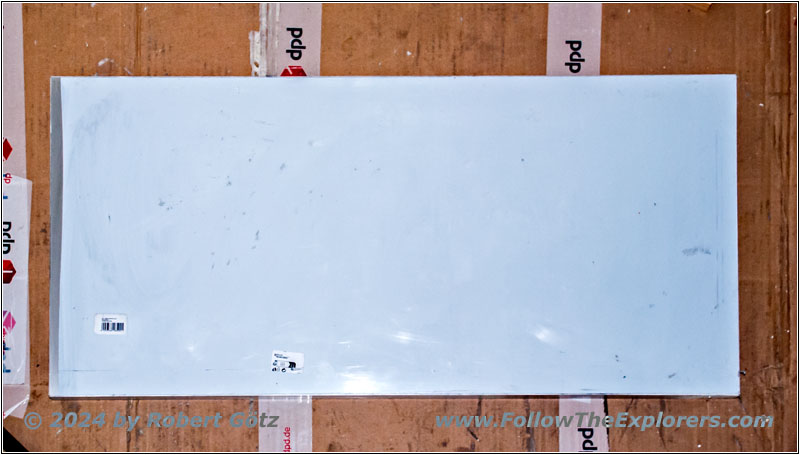
Shelter water tank mount/storage lid
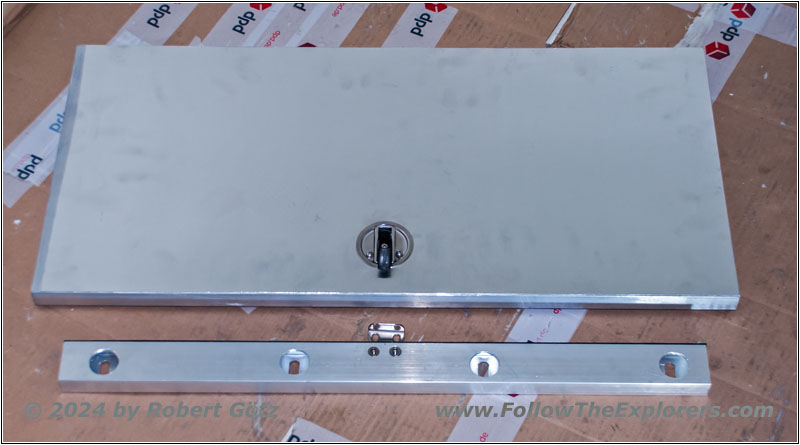
Shelter water tank mount/storage lid
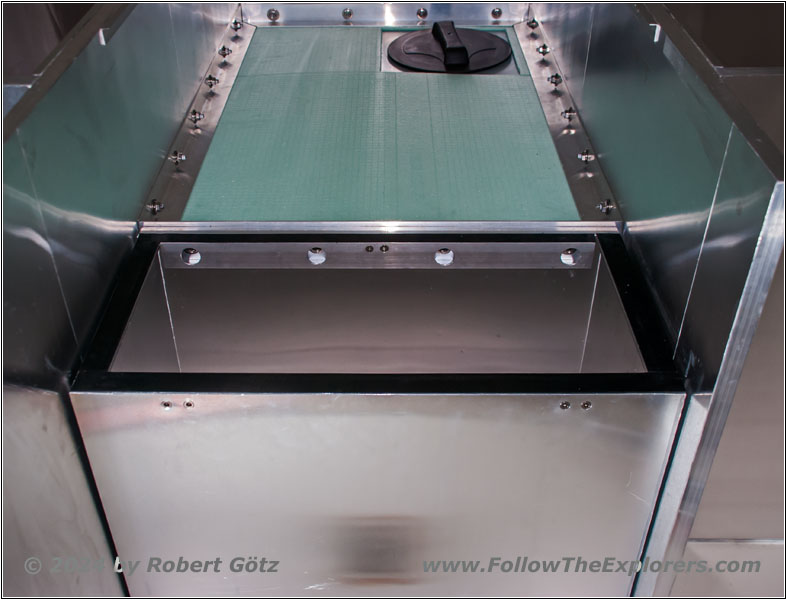
Shelter water tank mount/storage
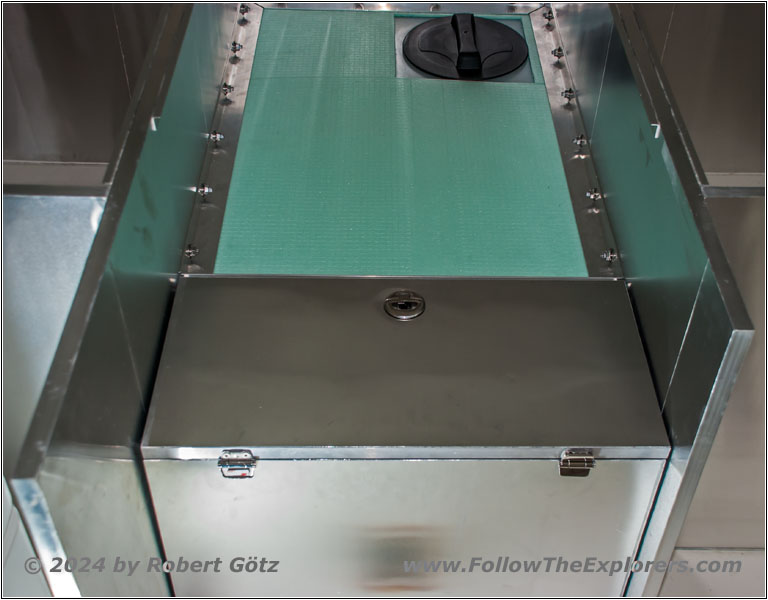
Shelter water tank mount/storage
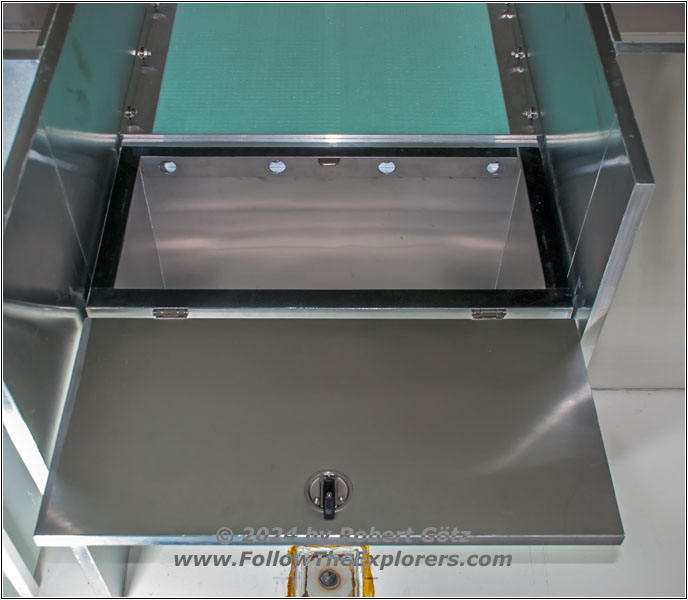
Shelter water tank mount/storage
Then I start building the storage box lid. Because this will also be the stair to my bed, the lid will be 20mm thick like the box side walls. As usual I start with the frame around the XPS–carrier. While the glue is hardening out I mount the cable conduits on the other side. Now the back light wiring is finally safe! Then I can glue the cover plates on and finally drill the holes for the blind rivet nuts in the lid for the hinge and the storage box for the locker counterpart. Finally I mount the locker in the lid. Then I am ready to mount the lid.
Shelter drawer above water tank
Shelter drawer above water tank
Shelter drawer above water tank
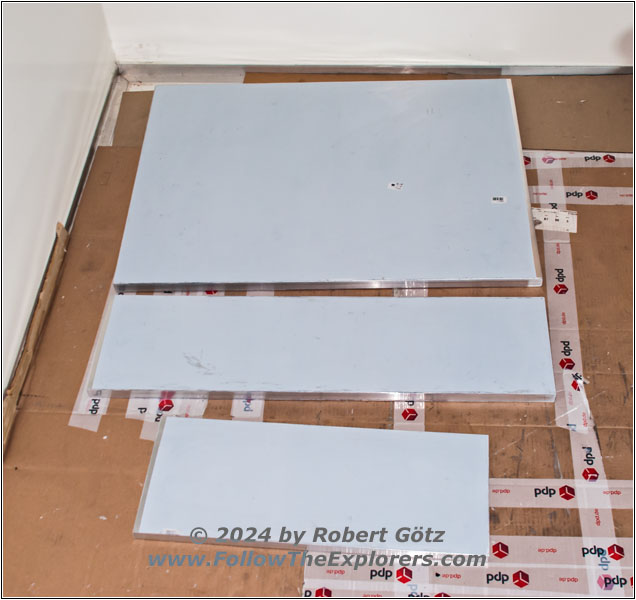
Shelter drawer above water tank
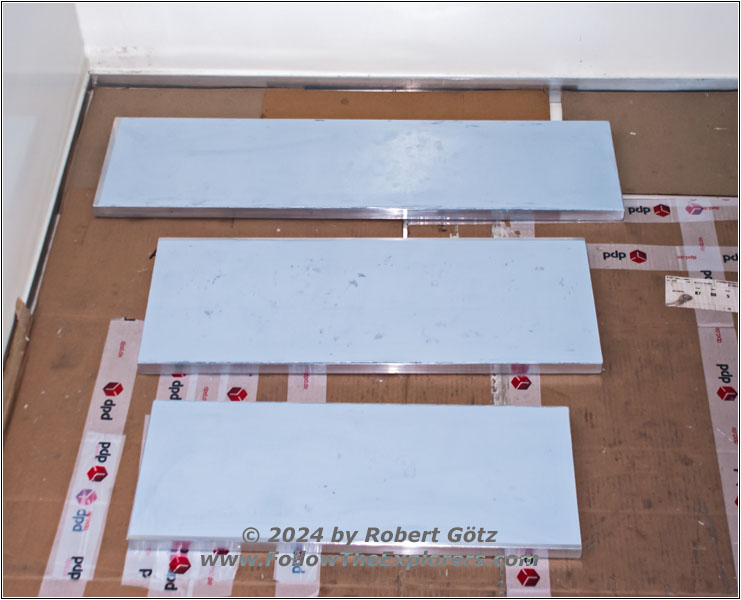
Shelter drawer above water tank
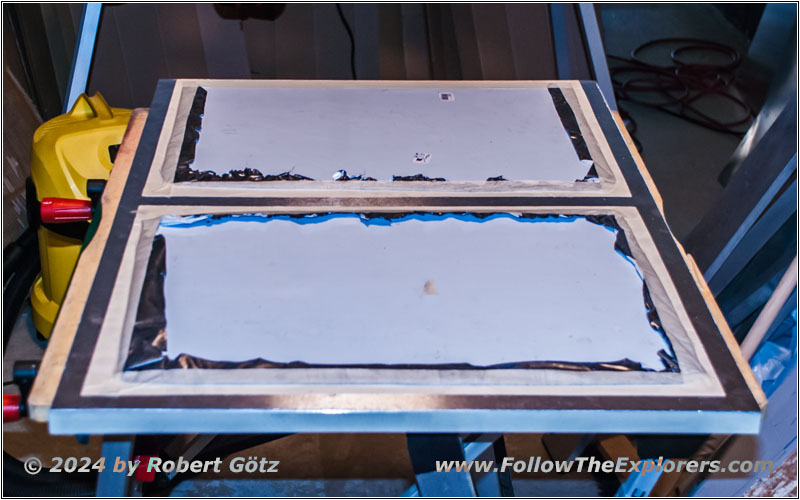
Shelter drawer above water tank
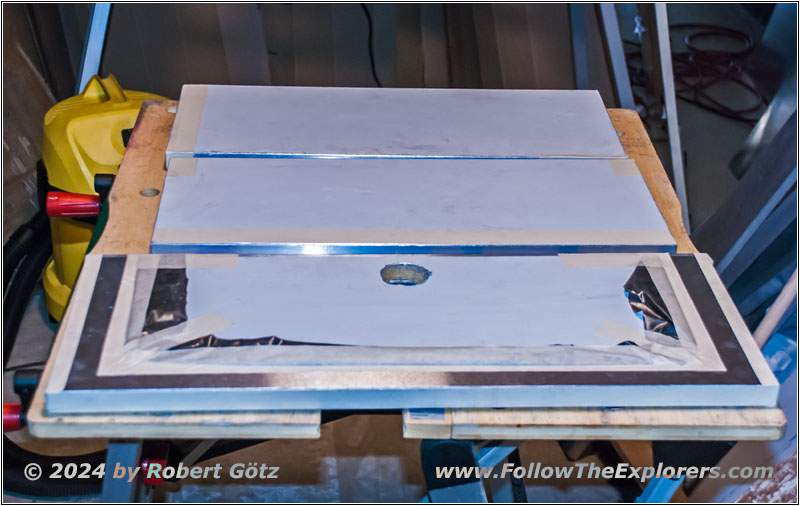
Shelter drawer above water tank
Shelter drawer above water tank
Shelter drawer above water tank
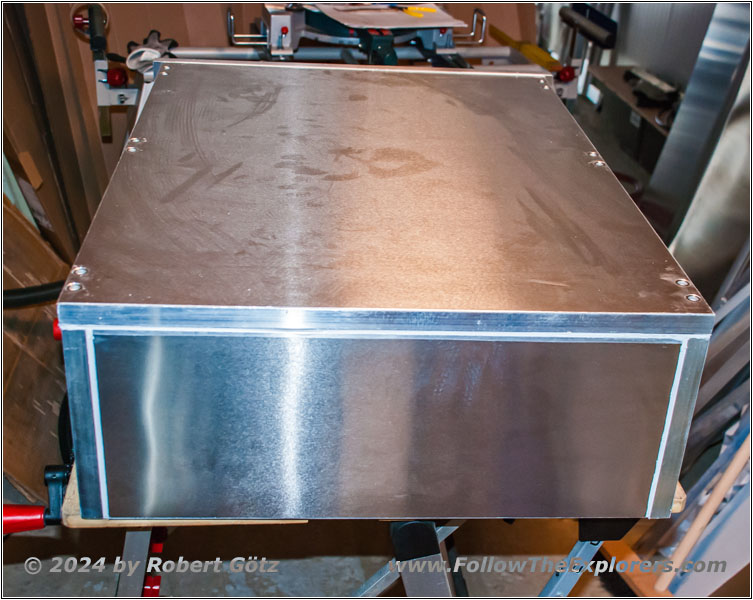
Shelter drawer above water tank
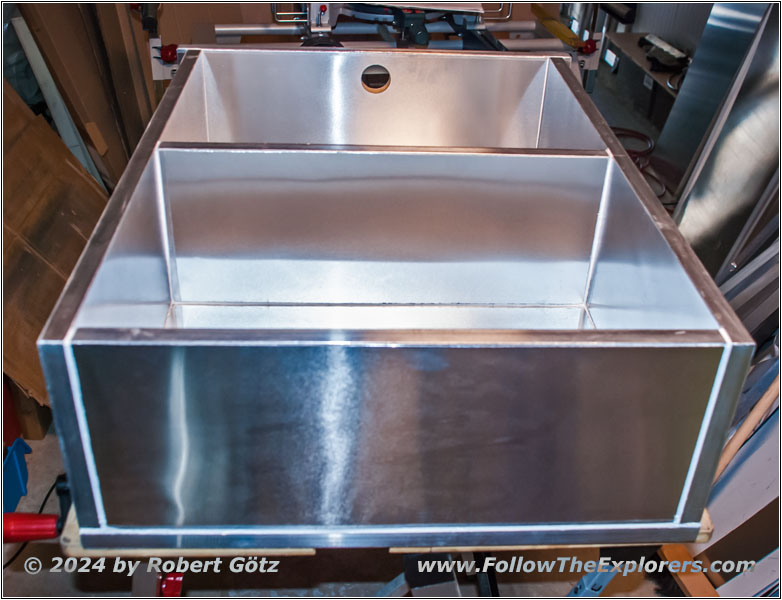
Shelter drawer above water tank
Shelter drawer above water tank

Shelter mount for drawer above water tank

Shelter drawer runners above water tank
Shelter mount for drawer above water tank
Shelter drawer above water tank

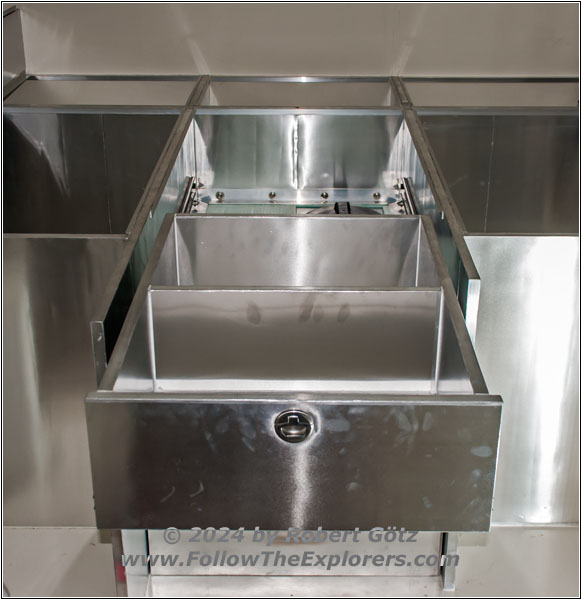
Shelter drawer above water tank
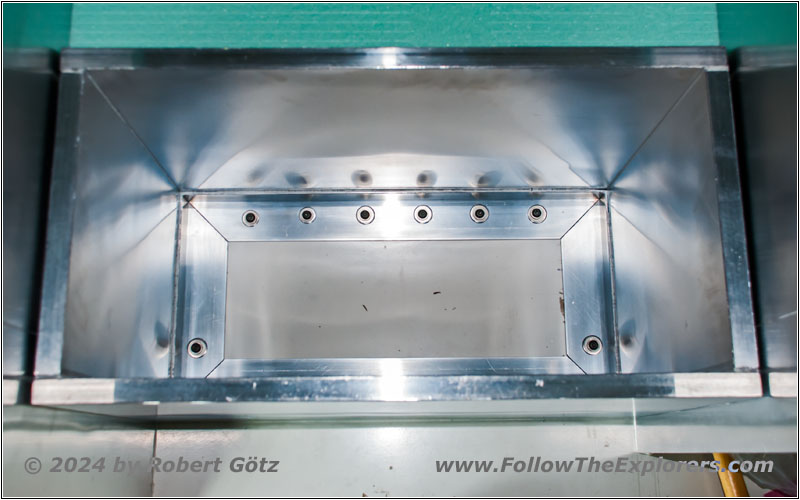
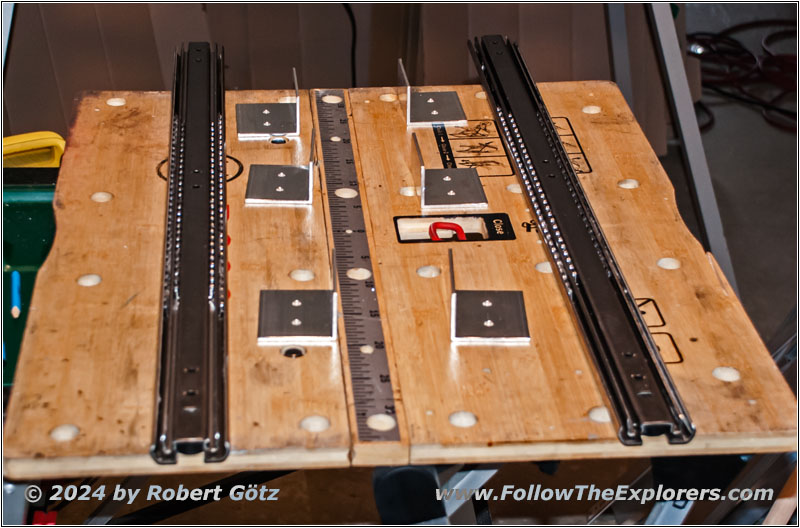
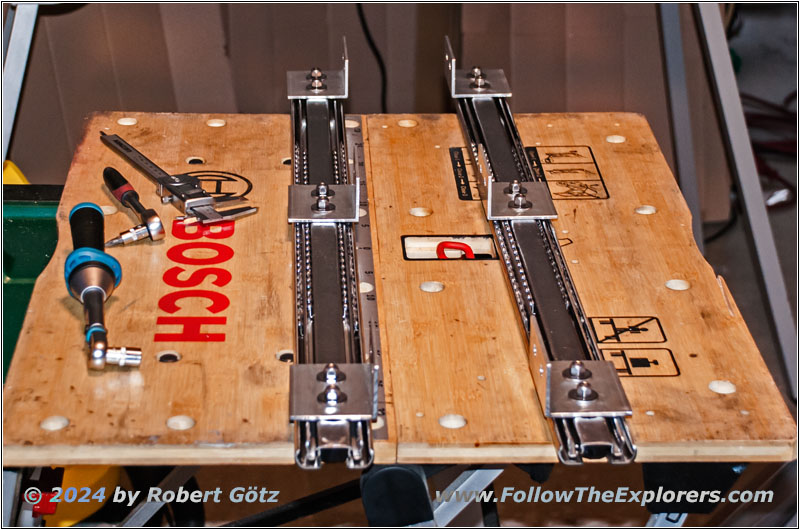
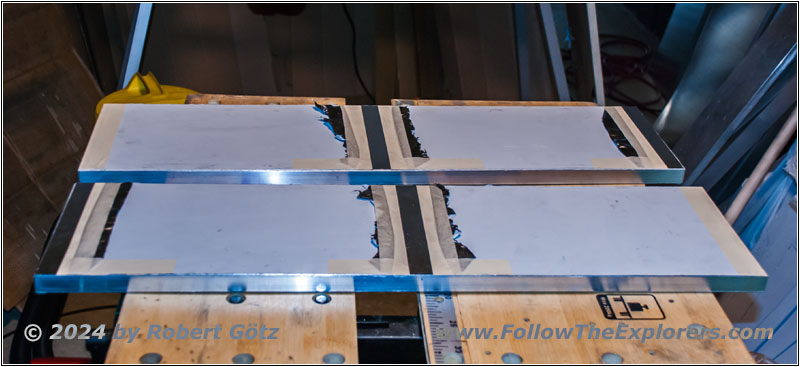
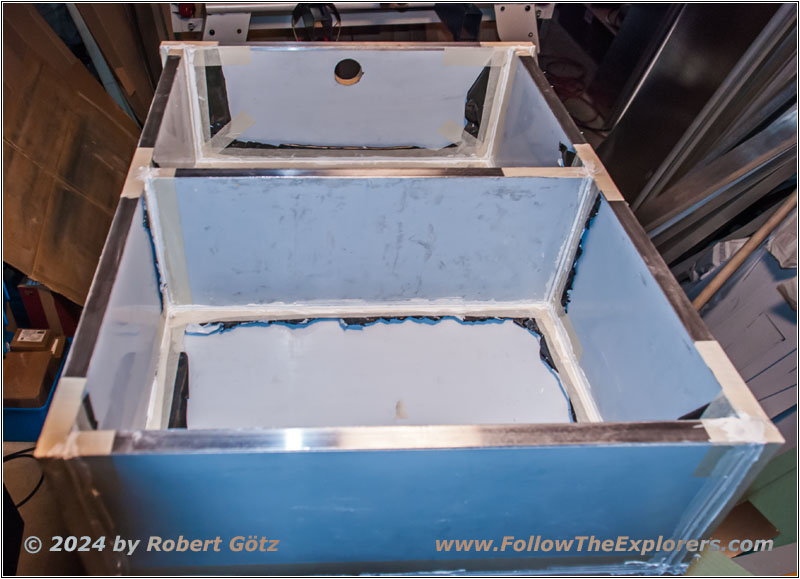
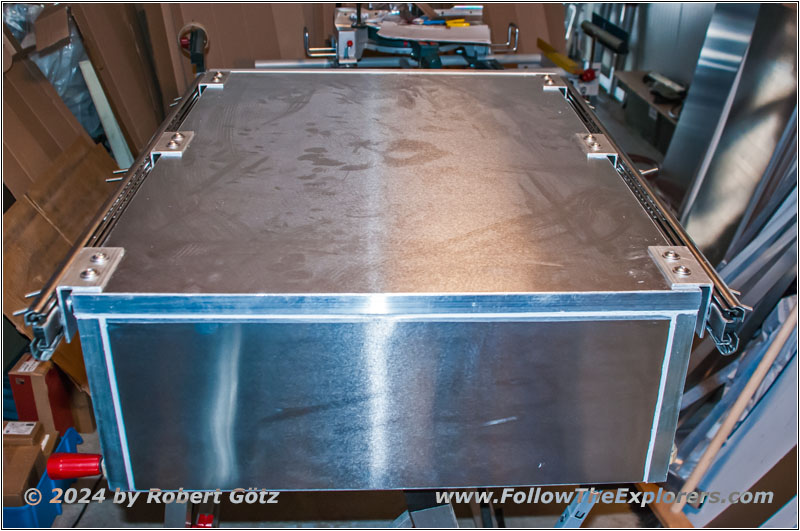
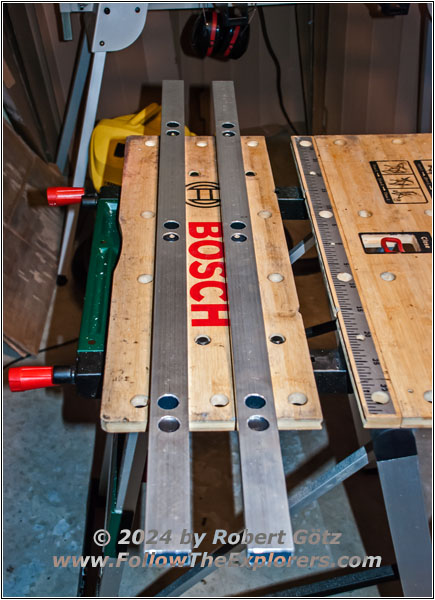
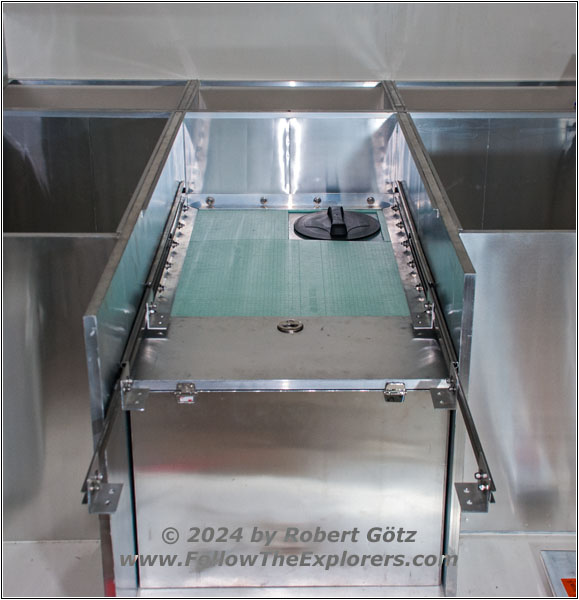
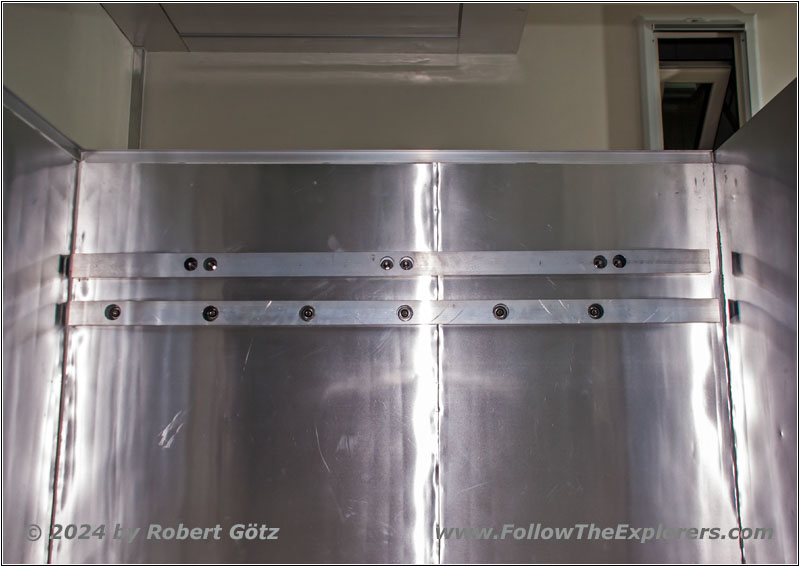
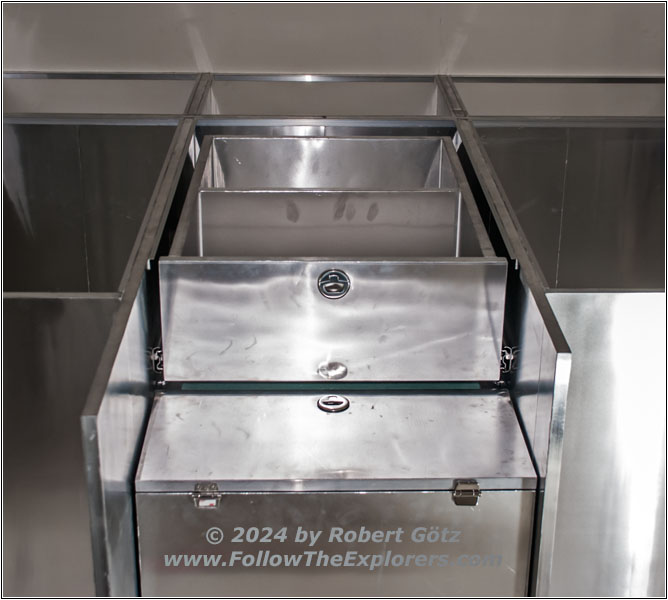
Next I start building the drawer above the water tank. For this I ordered some heavy duty runners. Unfortunately, you cannot remove the inner runner and there is no chance to screw the drawer in from the side. Therefore I must build some angle brackets that I am able to mount the drawer from below. As usual, the head of my countersunk head screw is too high, so it collides with the runner mechanic. Therefore I must grind down the head of 12 screws. Then I can start building the drawer itself. As usual I start with the frame around the XPS–carrier. Then the aluminum sheets are added. Next are the blind rivet nuts in the bottom carrier and the big hole for the handle. Now I can glue everything together. Next I must drill the mounts for the runners counterpart. Then I can start the final assembly.
Shelter bed, lower cover
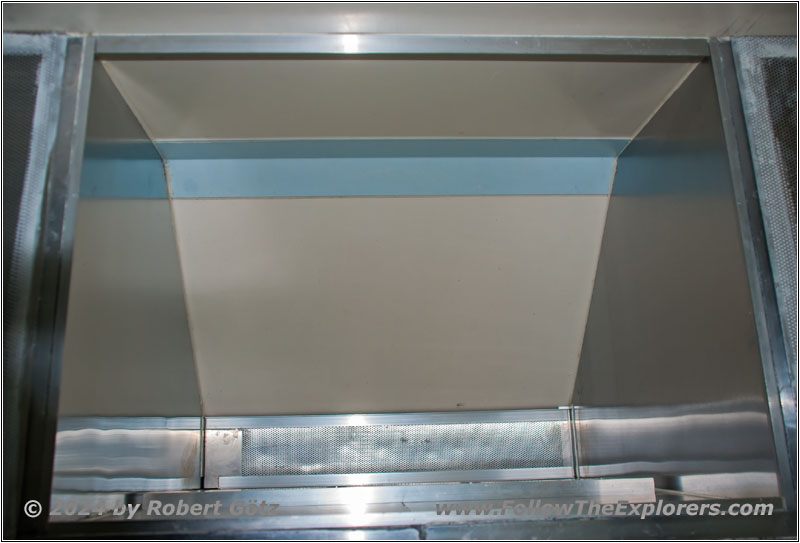
Shelter bed, lower cover
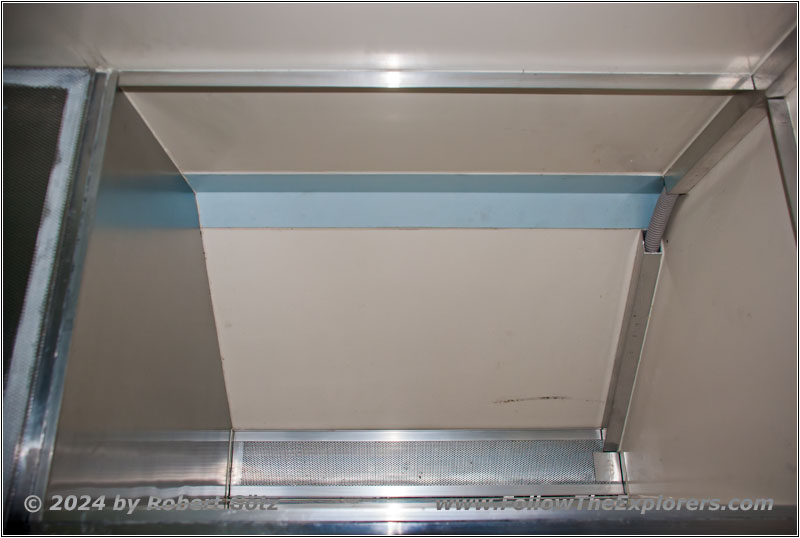
Shelter bed, lower cover
Shelter bed, upper cover
Shelter bed, upper cover
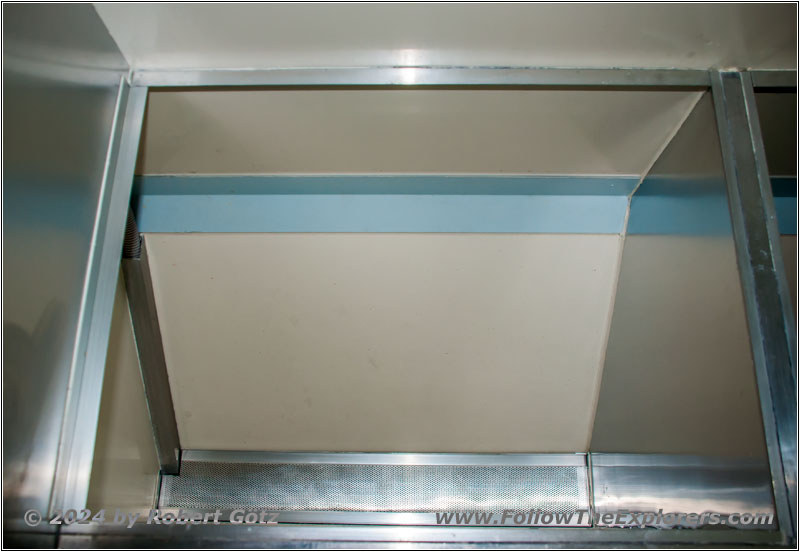
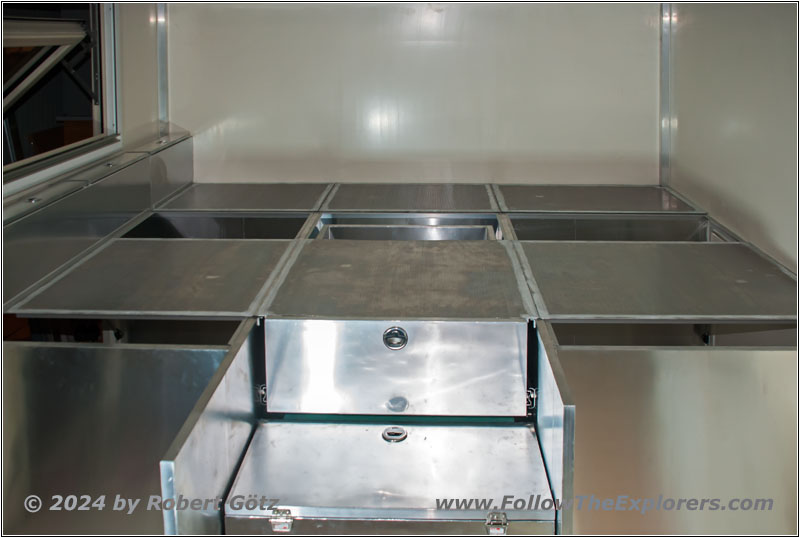
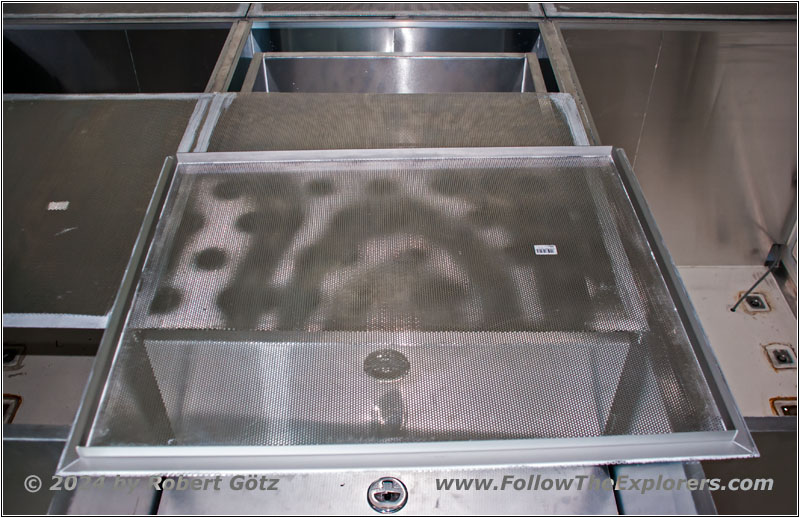
Now I am back at the lower cover. There I glue on a second L–profile to make things more stable. Also I need to glue another cover in the middle part, because I do not longer need the hole for the water hose anymore. I will run this one directly from the side. Then I start the work on the upper cover where later my mattress will be put on. First I cut these 6 sheets and glue on the L–profiles for the lower fixation. The other three sheets must wait until the separation walls to the front are installed. Also the upper L–profiles for the mattress fixation must wait until this is done.
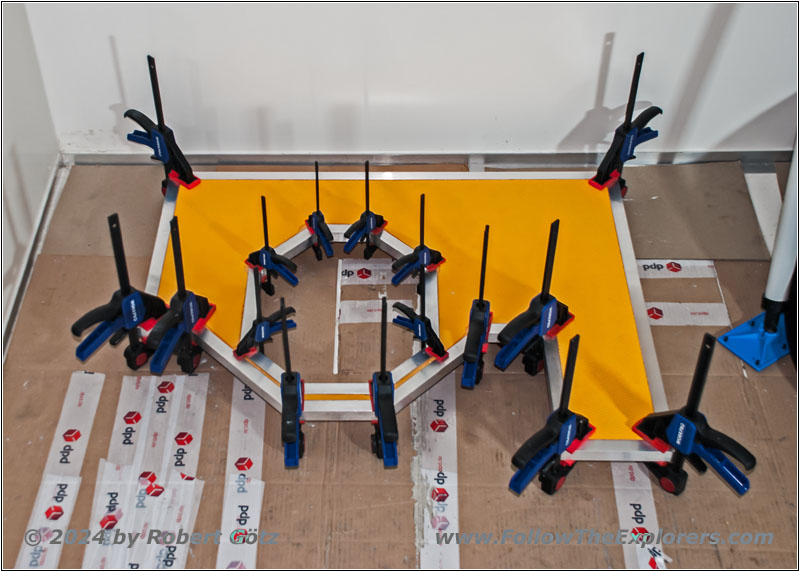
Shelter toilet seat
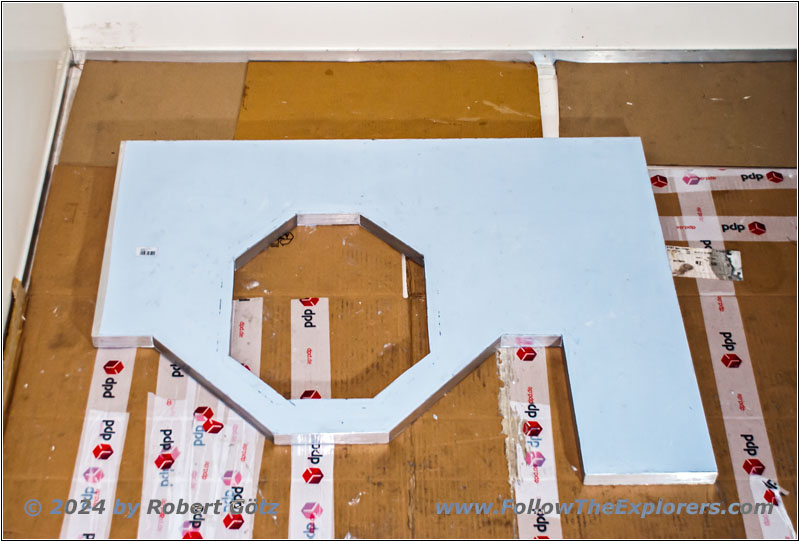
Shelter toilet seat
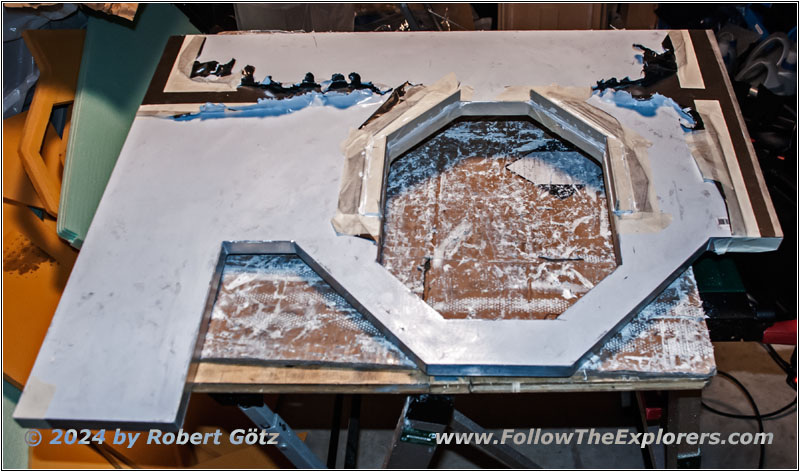
Shelter toilet seat
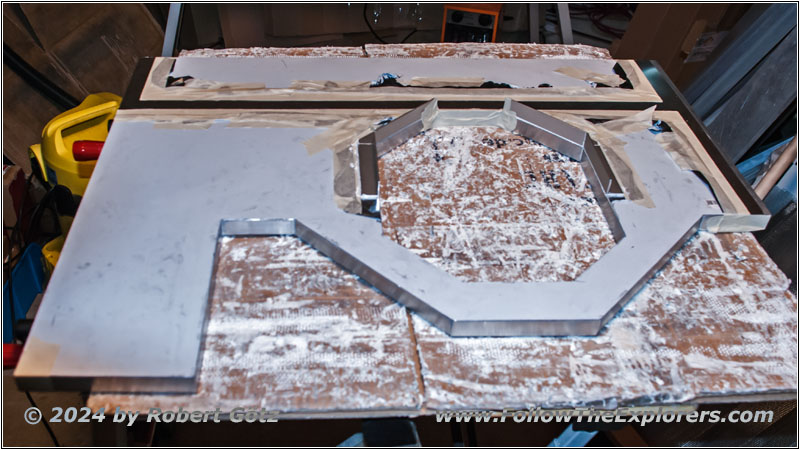
Shelter toilet seat
Shelter toilet seat
Shelter toilet seat
Shelter toilet seat
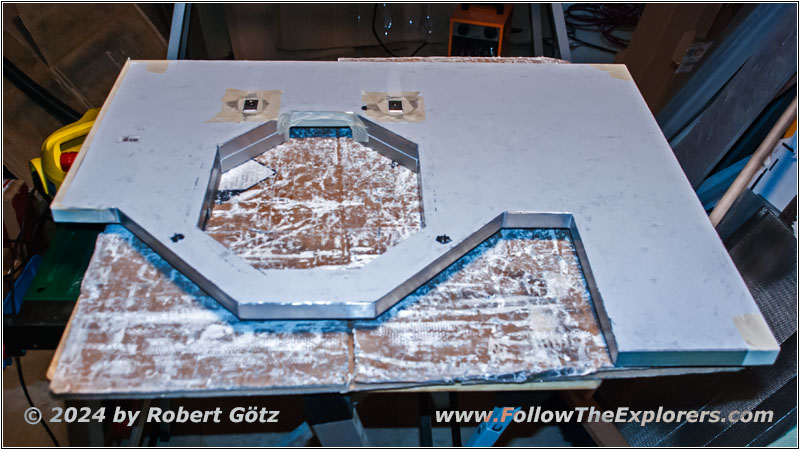
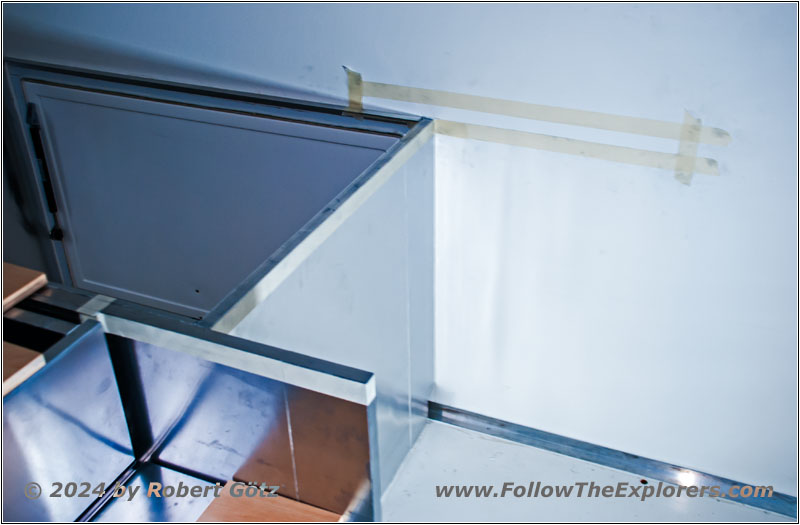
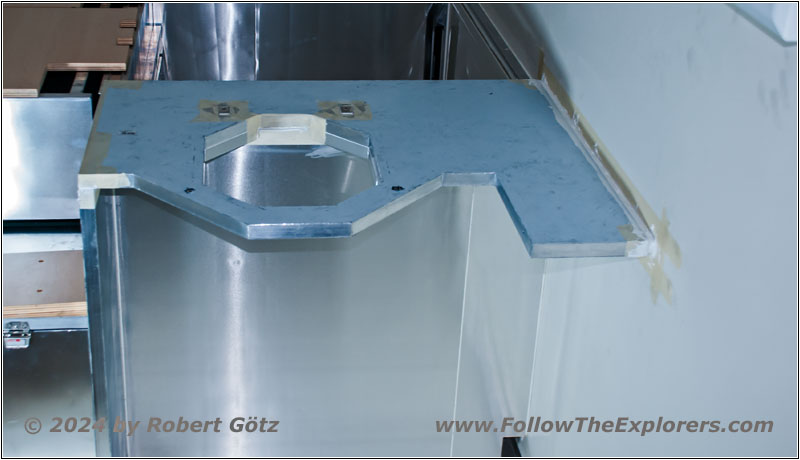
Now it’s time to start the toilet area. First I must build a pretty complex shape for the toilet seat and the cover. As usual, everything starts with the XPS sheets and the aluminum frame. Then the aluminum sheets on top and bottom are glued on. To later mount the bag I glue L–profiles on the underside. Later I will glue on magnetic tape to hold the bag magnetically. On the top I must place 4 blind rivet nuts to screw the main toilet seat on. Then I can start to glue everything in place.
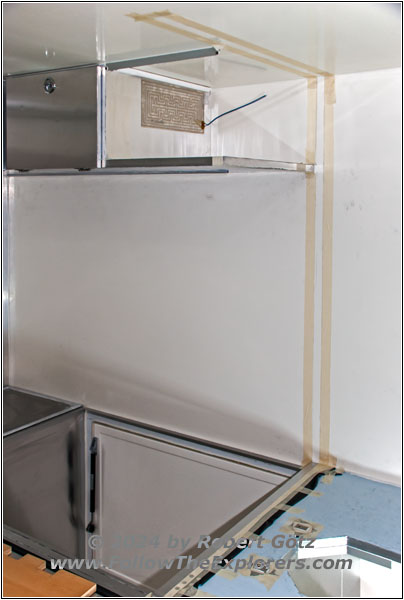
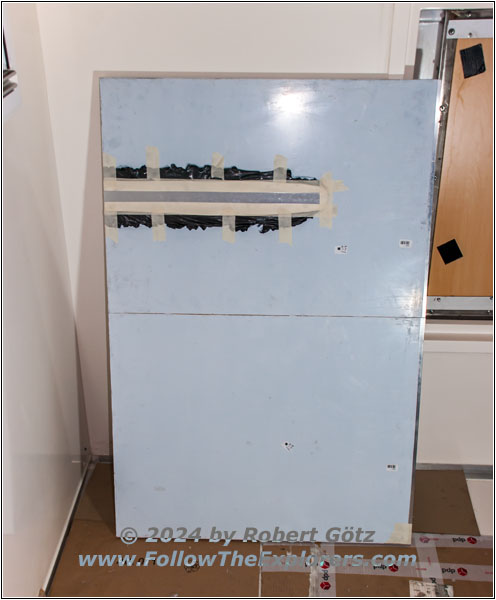
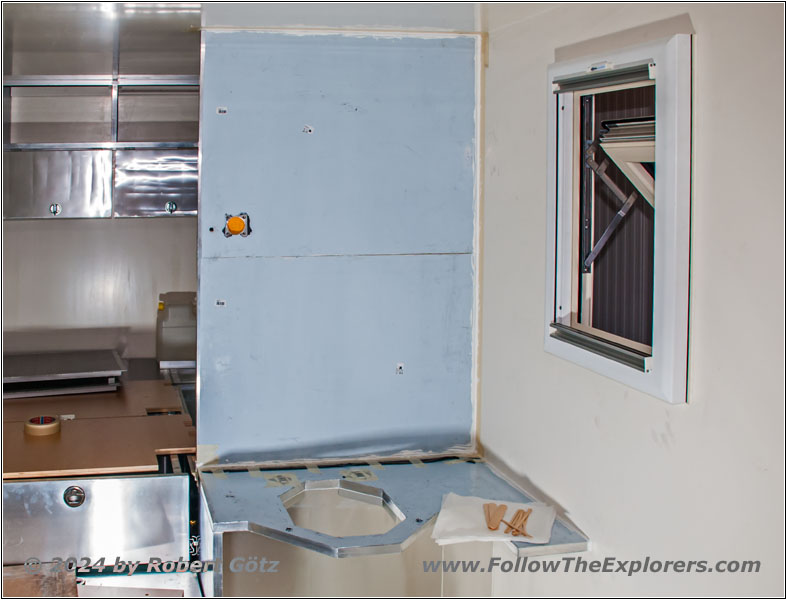
Shelter separation wall restroom and bed area
Shelter separation wall restroom and bed area

Shelter separation wall restroom and bed area
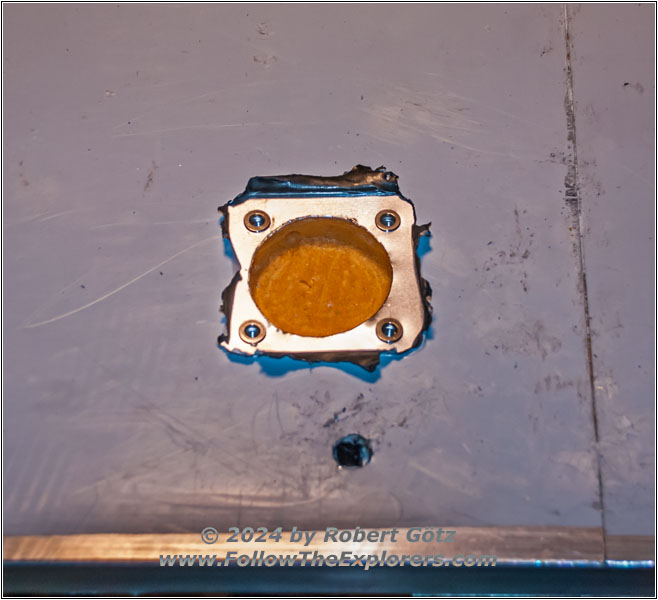
Shelter separation wall restroom and bed area

Shelter separation wall restroom and bed area

Shelter separation wall restroom and bed area
Shelter separation wall restroom and bed area

Shelter separation wall restroom and bed area
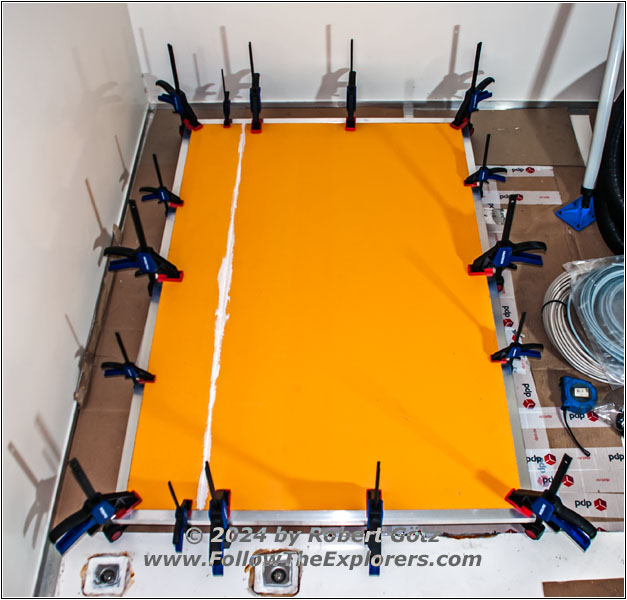
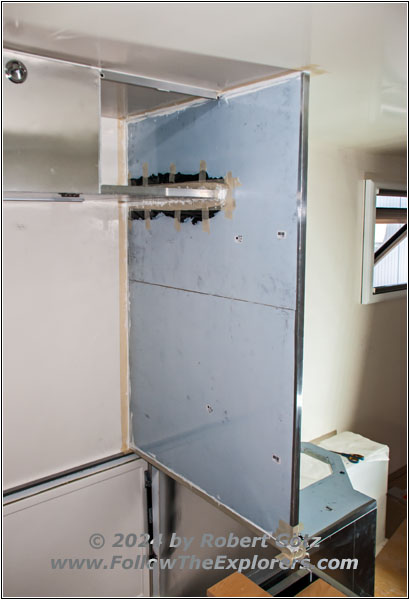
Then I start to work on the upper part of the separation between my bed room and the restroom. As usual, everything starts with glueing the aluminum frame on the XPS sheets. Then I mill the light switch cutout and the according cable entry. Next everything must be covered as preparation for the glueing step. Then I can glue the wall in. Slowly you can see the dimension of the sleeping area.
Shelter bathroom sink, separation wall restroom

Shelter bathroom sink, separation wall restroom

Shelter bathroom sink
Shelter bathroom sink

Shelter separation wall restroom

Shelter separation wall restroom and aisle
Shelter bathroom sink
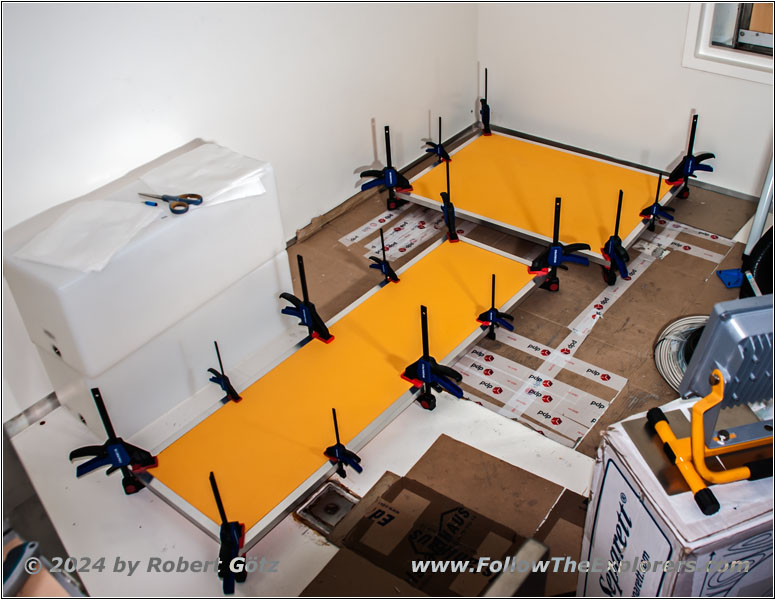
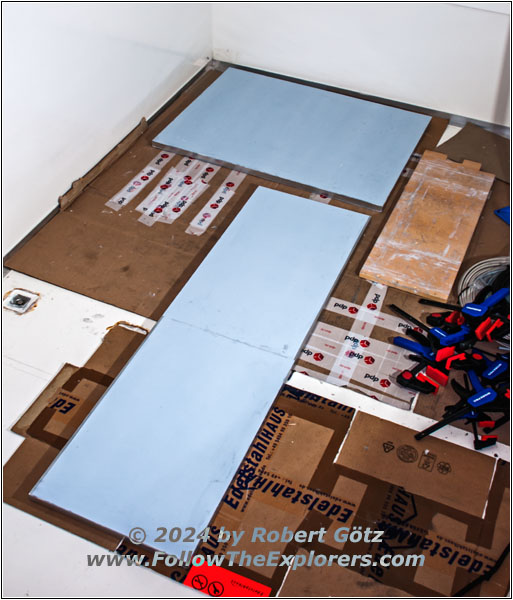
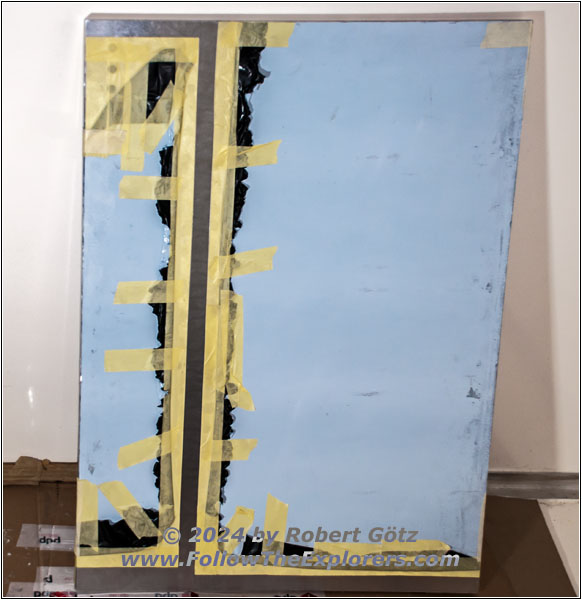
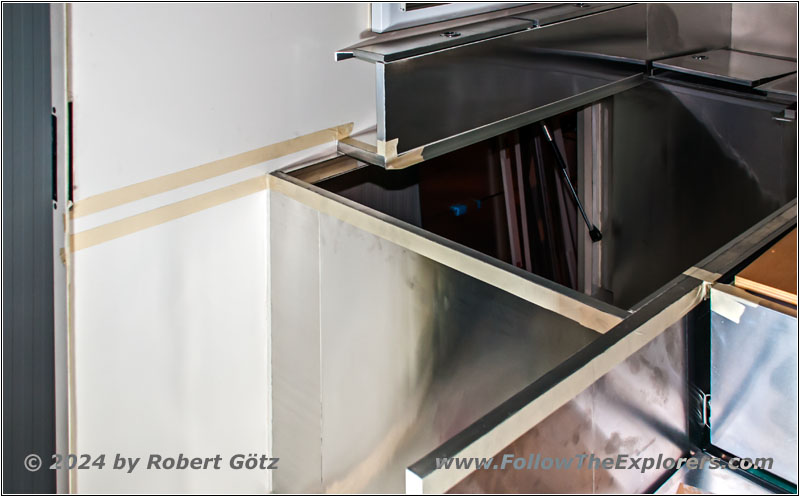
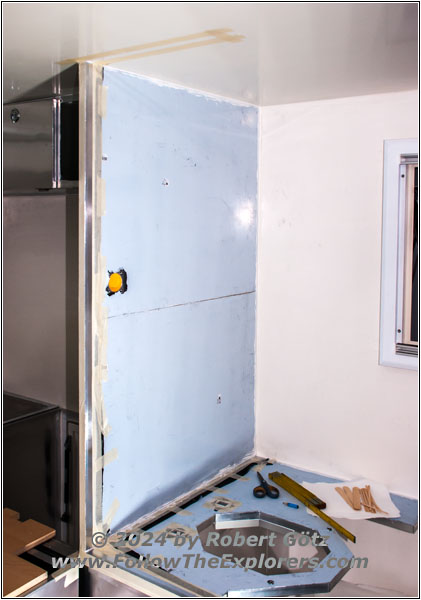
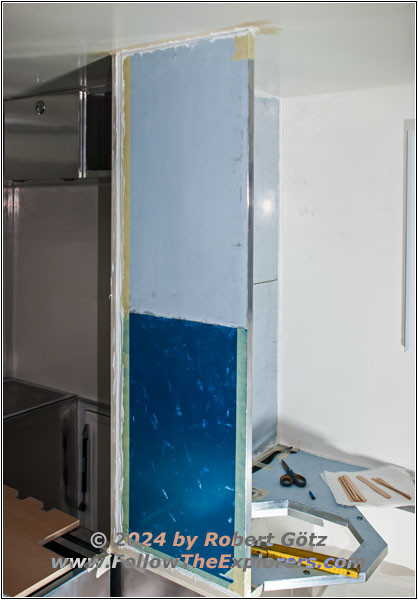
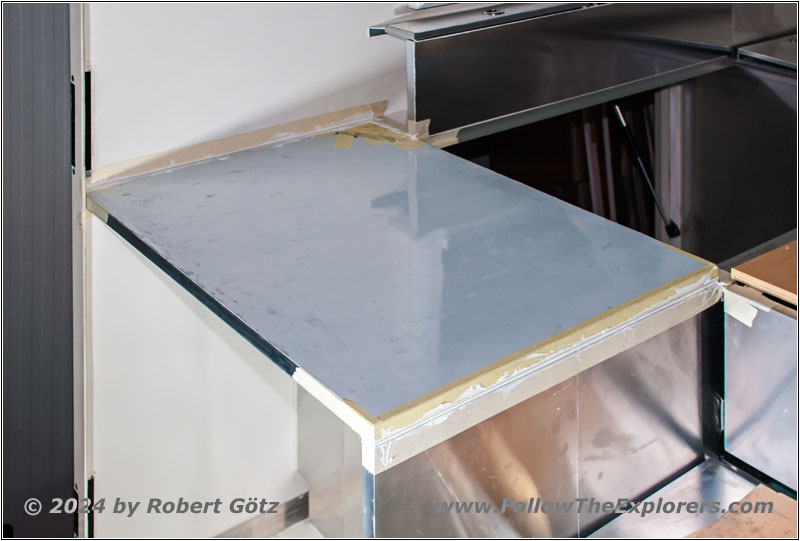
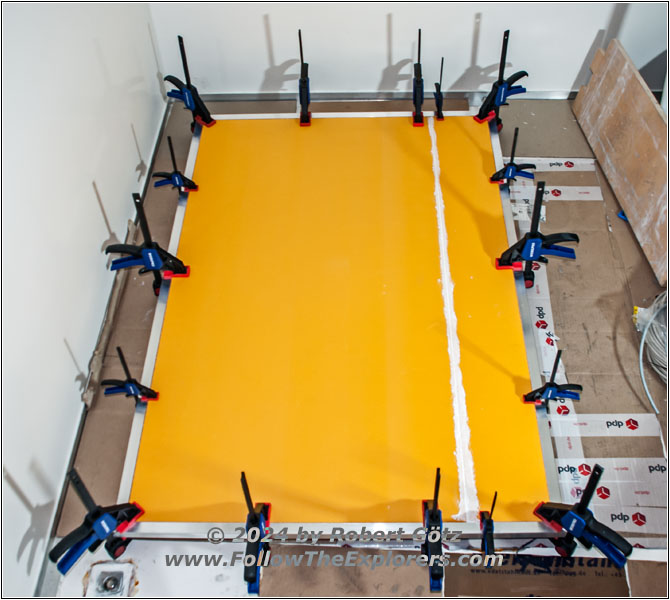
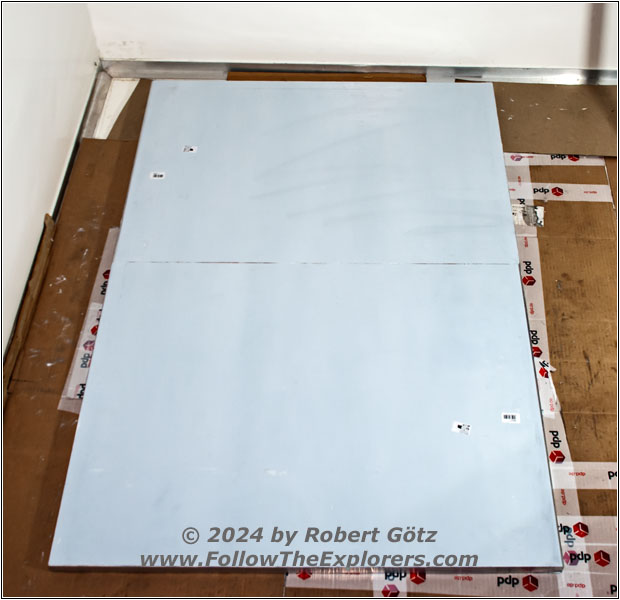
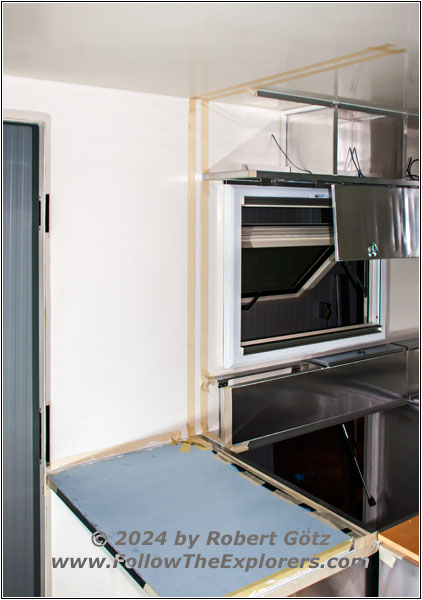
Next I start working on the restroom separation wall to the small aisle and the carrier for the countertop bathroom sink. As usual everything starts with the aluminum frame which will be glued at the XPS sheets. On top I glue the thin aluminum sheets. Then I cover all the glueing area. Then I glue in the separation wall and the carrier for the bathroom sink.
Shelter separation wall bathroom and bed area
Shelter separation wall bathroom and bed area

Shelter separation wall bathroom and bed area

Shelter separation wall bathroom and bed area
Shelter separation wall bathroom and bed area

Shelter separation wall bathroom and bed area
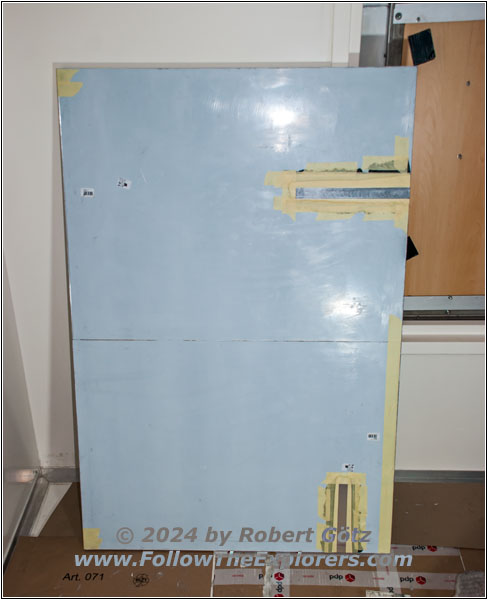
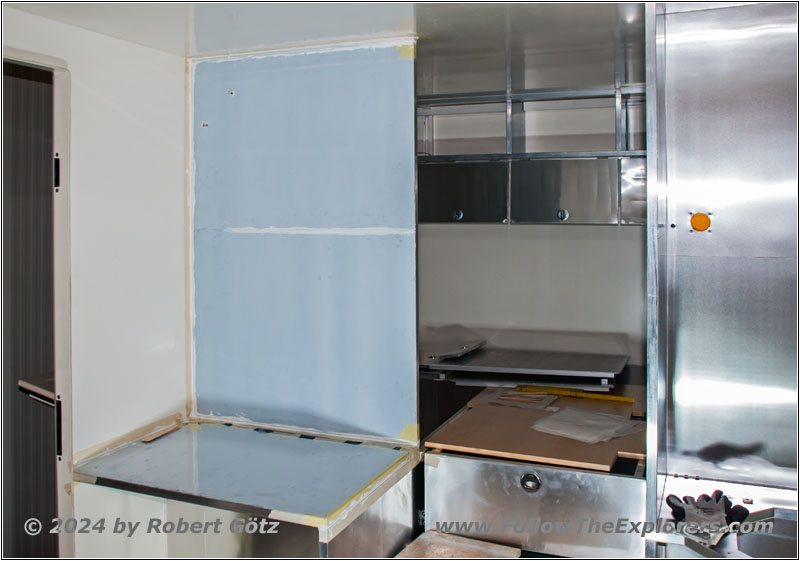
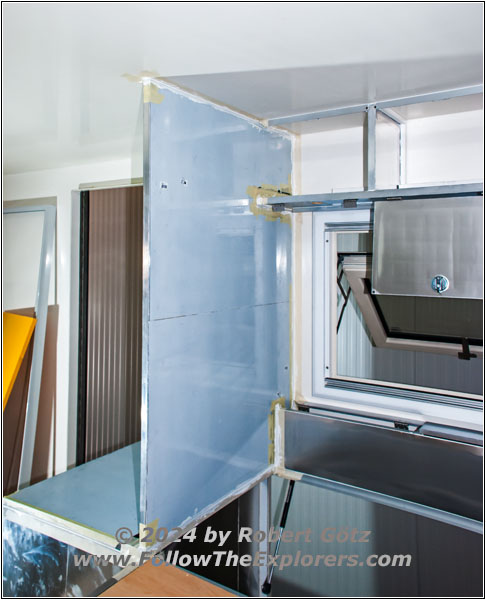
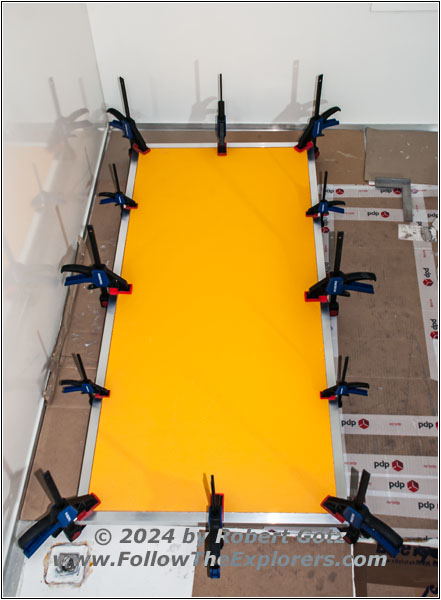
Now it’s the turn for the big separation wall to the sleeping area. Also there we have the usual order of glueing the frame and then glueing the aluminum sheets on. After covering all the glueing area the glueing of the separation wall can start. Slowly things are getting in shape…

Shelter separation wall bathroom and aisle
Shelter separation wall bathroom and aisle
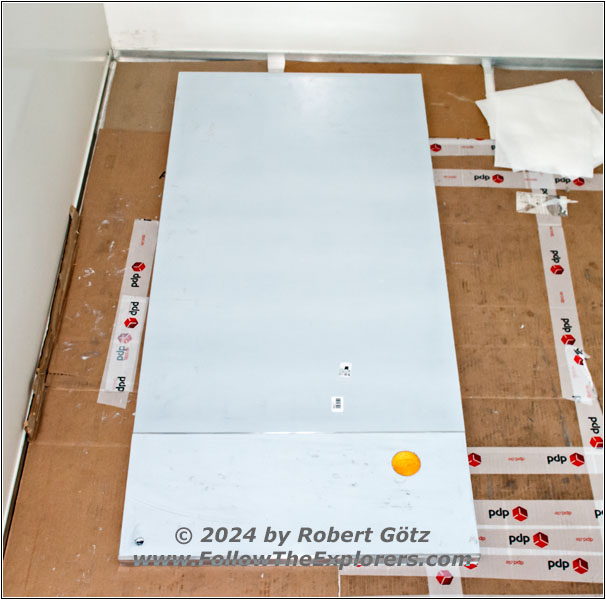
Shelter separation wall bathroom and aisle
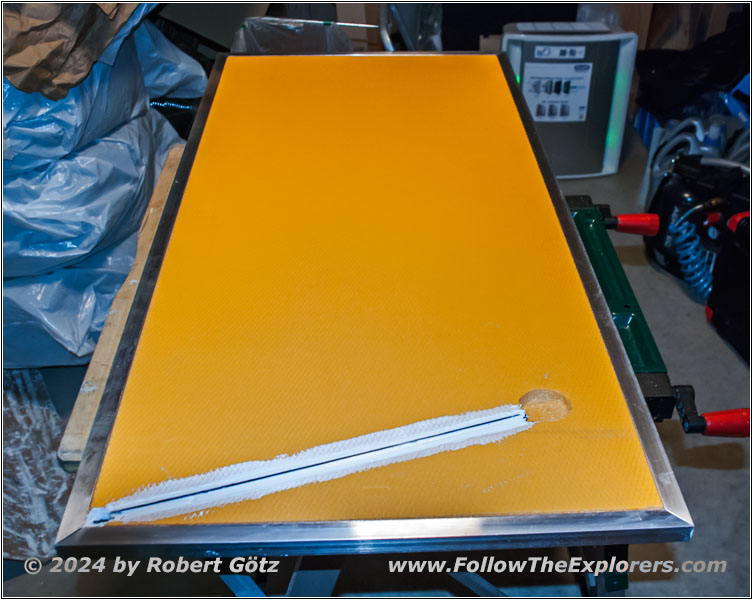
The last separation wall in the rear area is the separation wall between bathroom and aisle. Everything starts again by cutting the aluminum frame and the XPS sheet. Then the frame will be glued on the XPS sheet. Then I mill the cutout for the switch and the empty conduit. Finally, I glue the aluminum sheets on front and back. Unfortunately, the temperatures are now below 50 degrees and therefore it is now too cold and the air too dry to continue with glueing. So it is time to go into the winter break for 2024.
This time frame is now used to program the controller and display for light, water and the upper storage heating. The controller is build around an ESP32-S3 on a WROOM-1-N16R8 ESP32-S3-DevKitC-1 board and the display runs on an ESP32-S3 with a Waveshare board ESP32-S3-Touch-LCD-1.28-B. The development environment is VSCode and the code will be stored on GitHub. This task keeps me busy until the spring time. Then I am eventually able to continue building up my shelter interior.
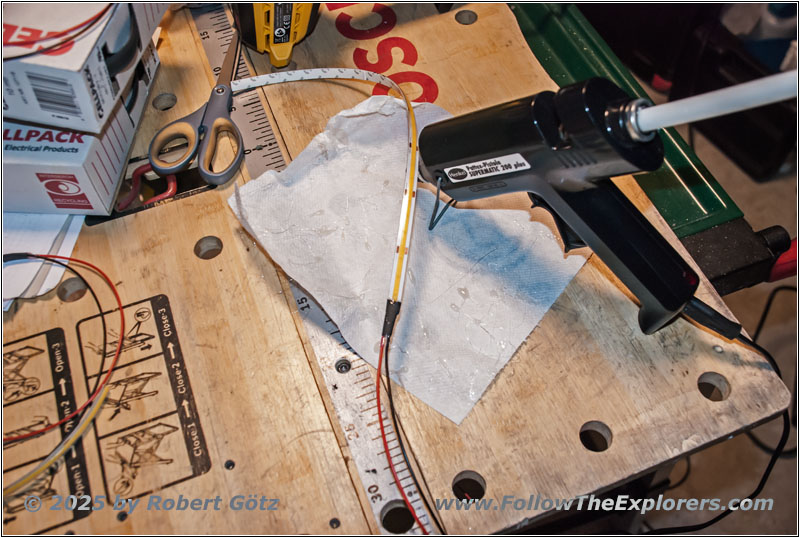
Shelter top bed storage lighting
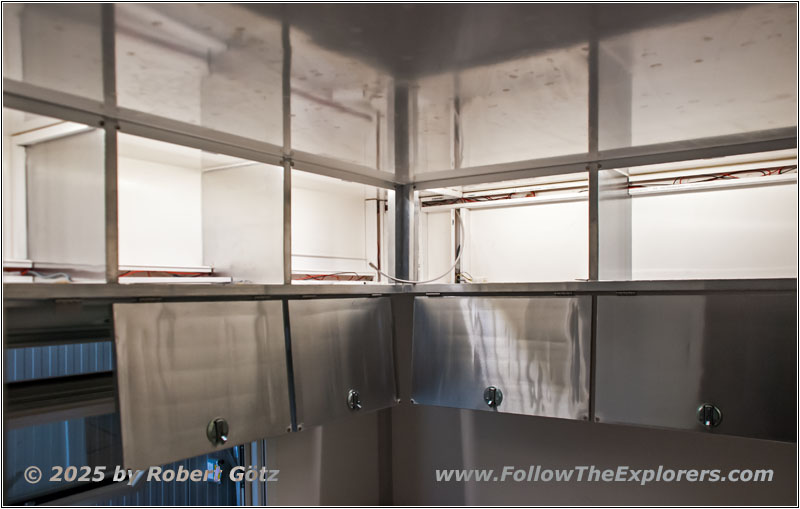
Shelter top bed storage lighting
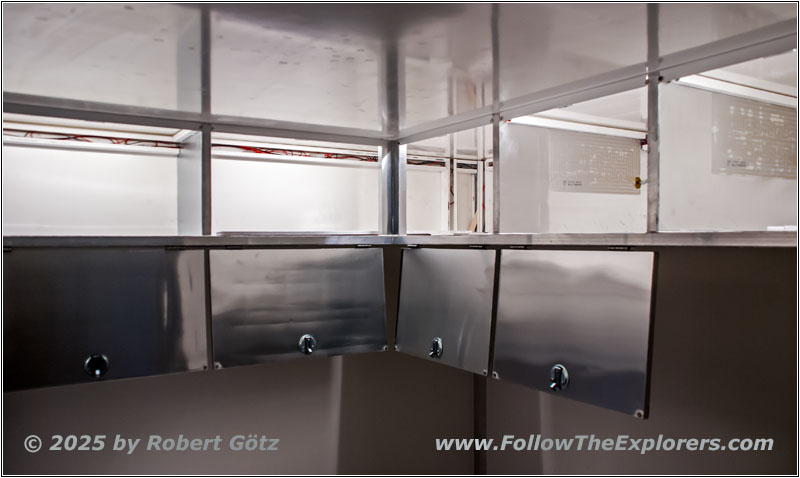
Shelter top bed storage lighting
Shelter bed lighting
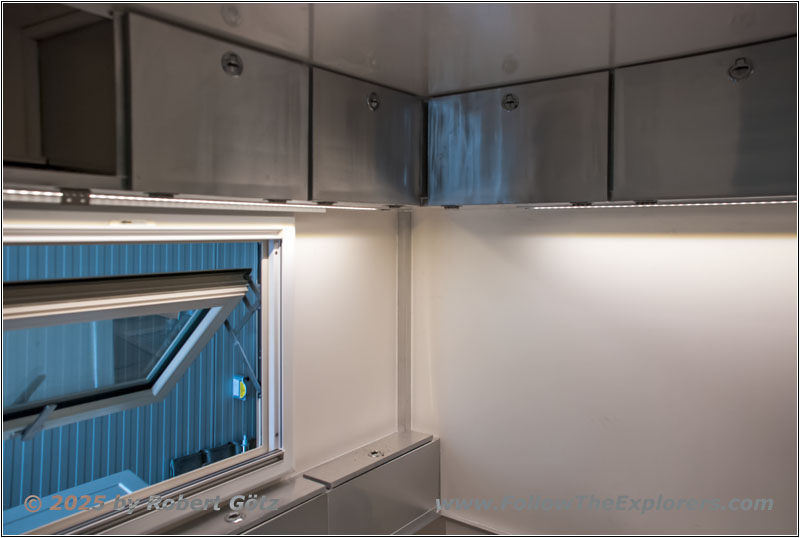
Shelter bed lighting
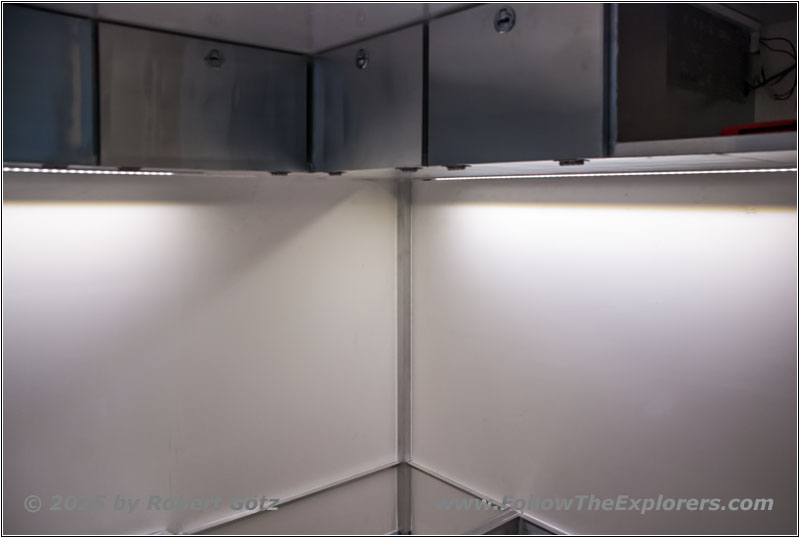
Shelter bed lighting
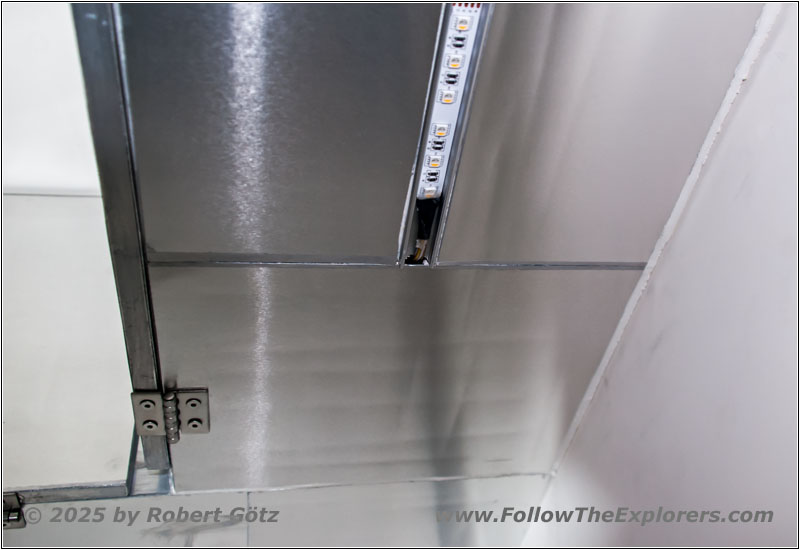
Shelter bed lighting
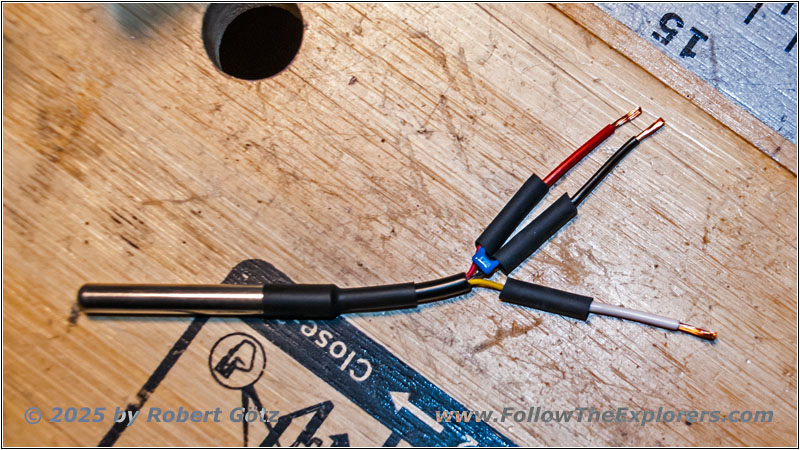
Shelter bed temperature sensor
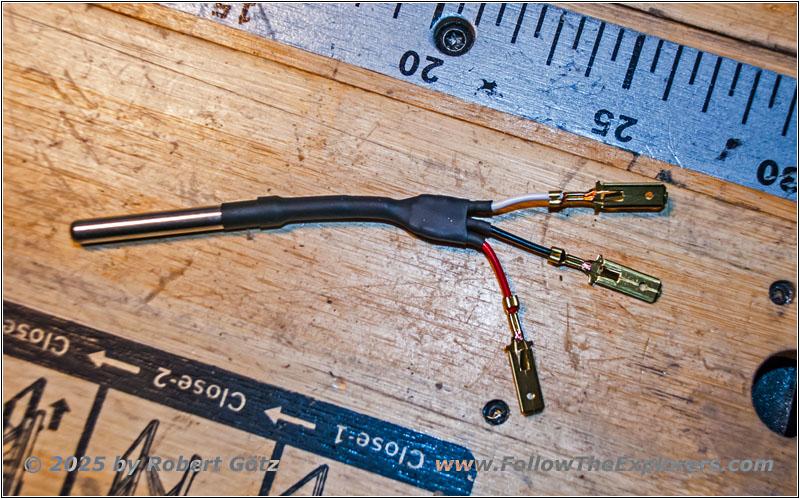
Shelter bed temperature sensor
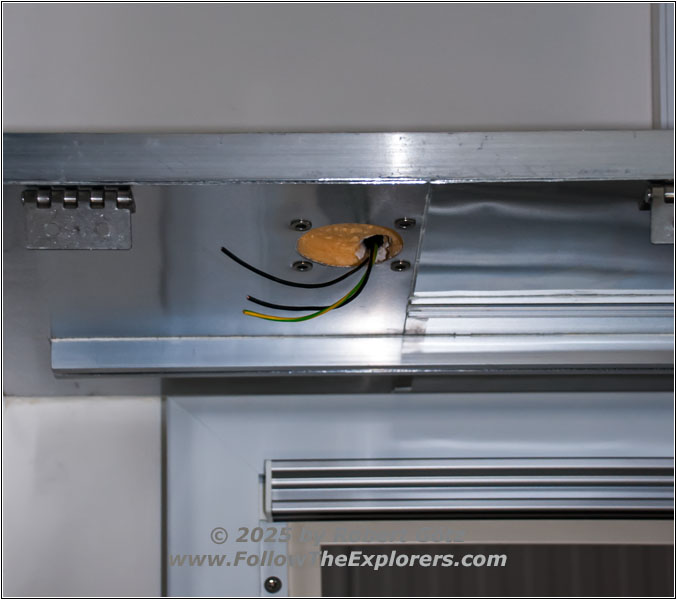
Shelter bed light switch
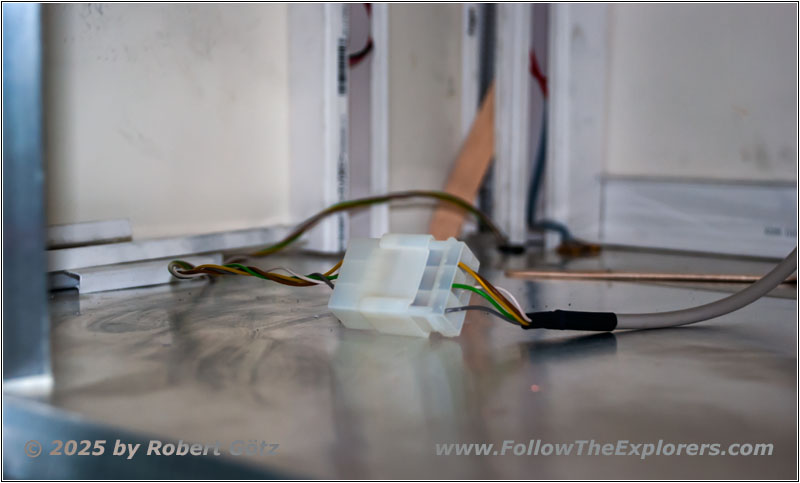
Because the air is still very dry I start with wiring up lighting, temperature sensors, heating and light switch as well as the LED strips and glueing in the last cable conduits for the heating foil wires.
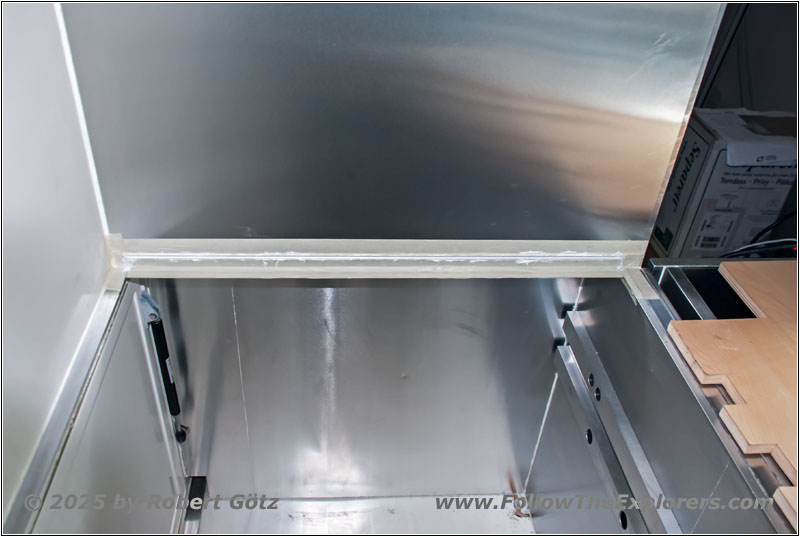
Shelter bed carrier
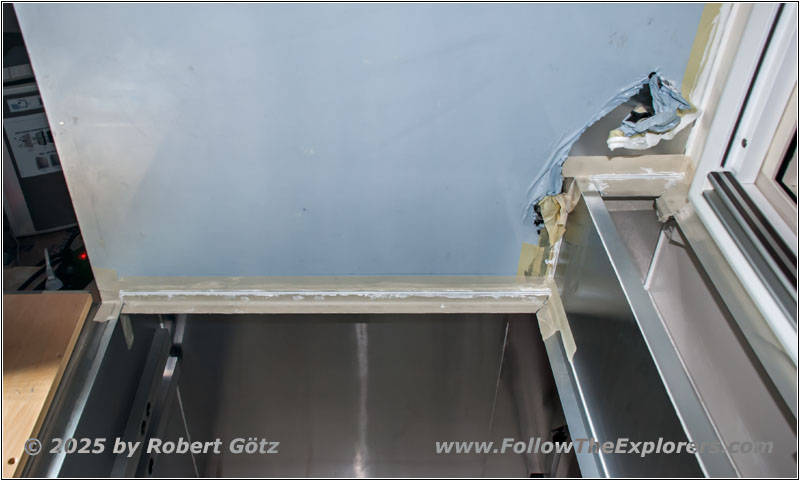
Shelter bed carrier
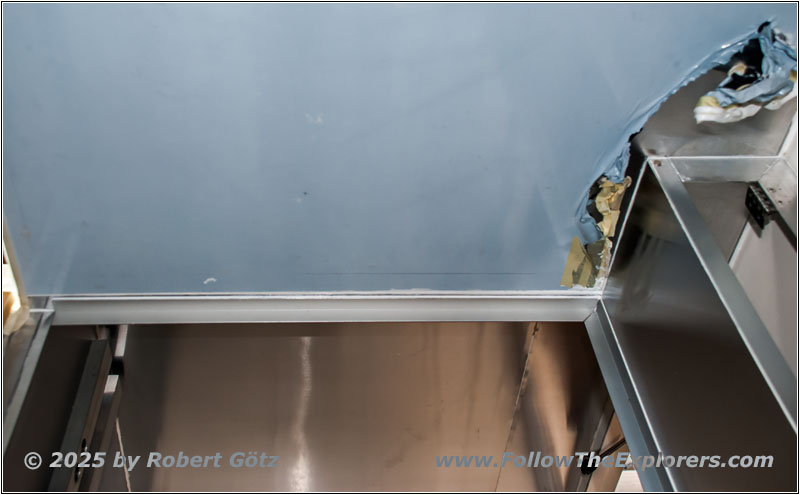
Shelter bed carrier
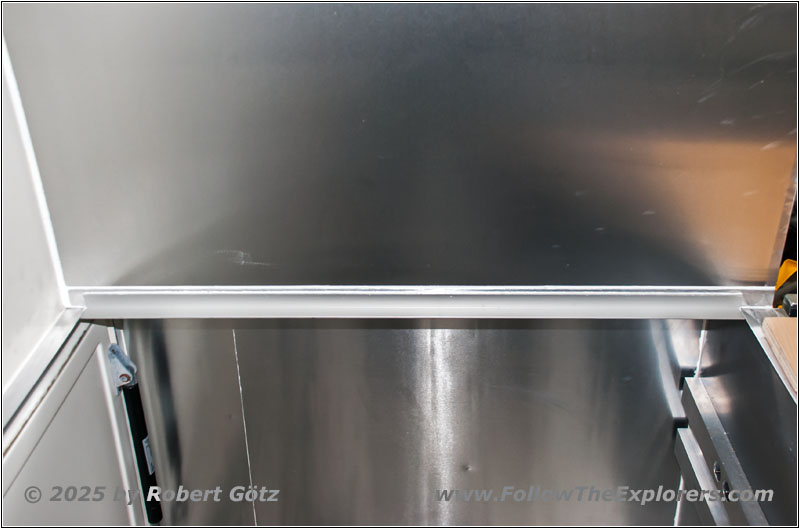
Shelter bed carrier

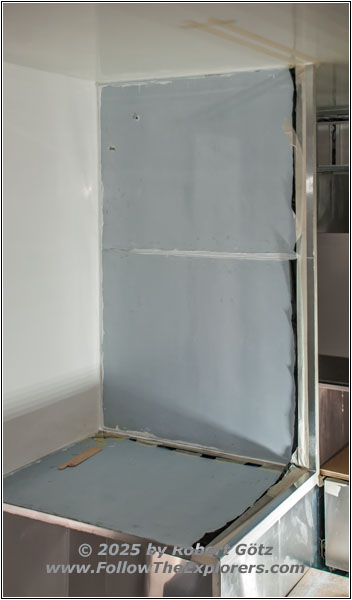
Shelter separation wall bathroom and aisle

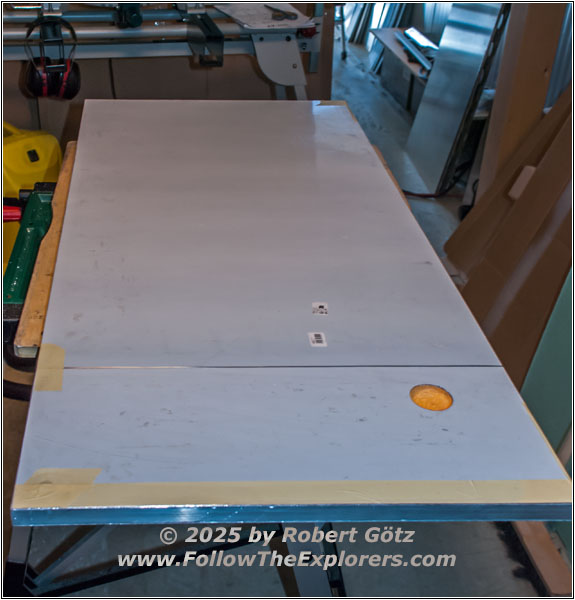
Shelter separation wall bathroom and aisle

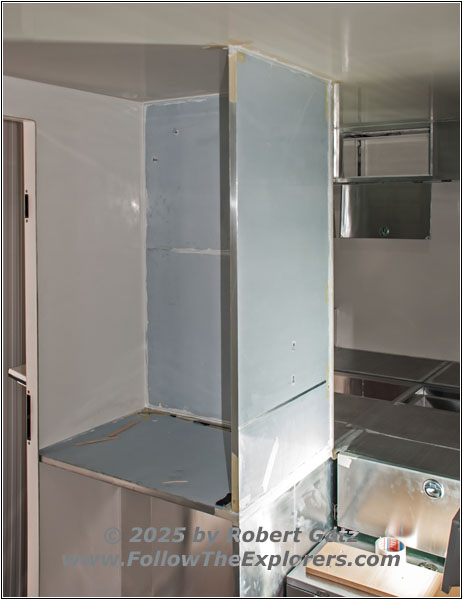
Shelter separation wall bathroom and aisle

Shelter separation wall bathroom and aisle

Shelter separation wall bathroom and aisle

Shelter separation wall bathroom and aisle
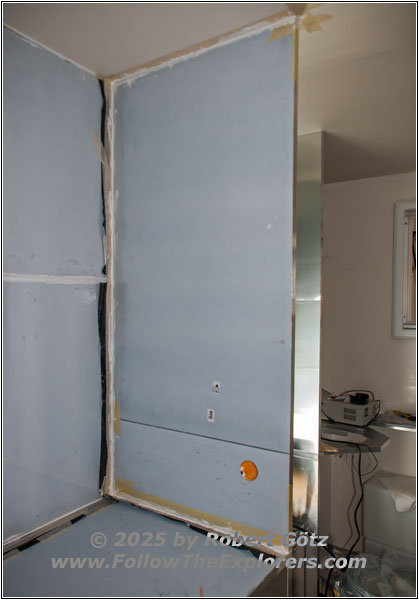
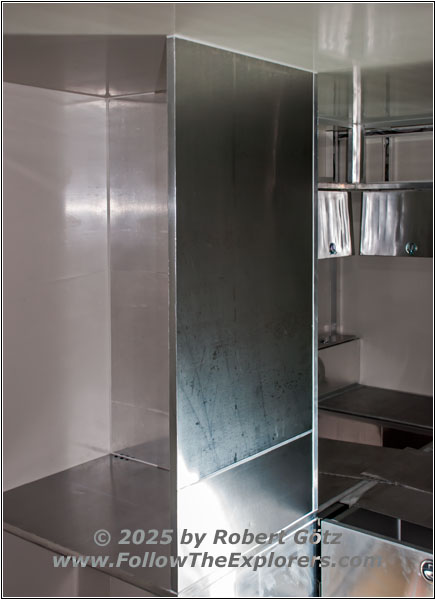
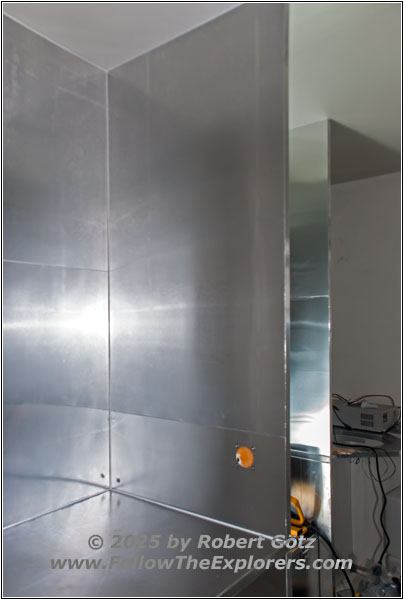
When the air humidity slowly rises I immediately start with glueing in the last bed carriers. As this works now without any issues I am eventually able to glue in the bath and aisle separation wall, which I have already built last year. Unfortunately, I forget to install the blind river nuts for the light switch before I glue the wall in. So I must do this task a bit uncomfortable while the wall is installed…

Shelter mattress carrier
Shelter mattress carrier
Shelter mattress carrier
Shelter control panel frame
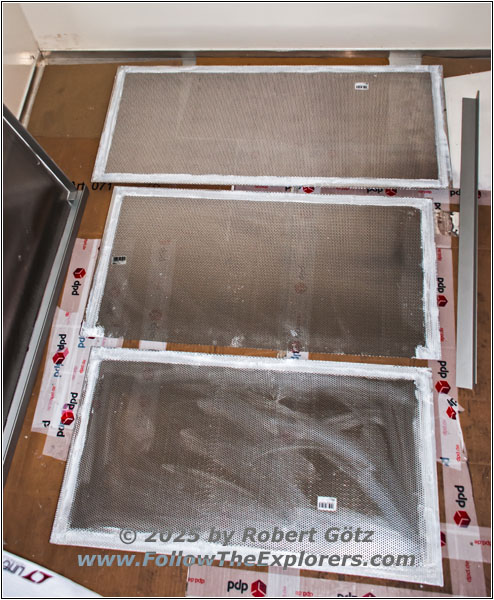
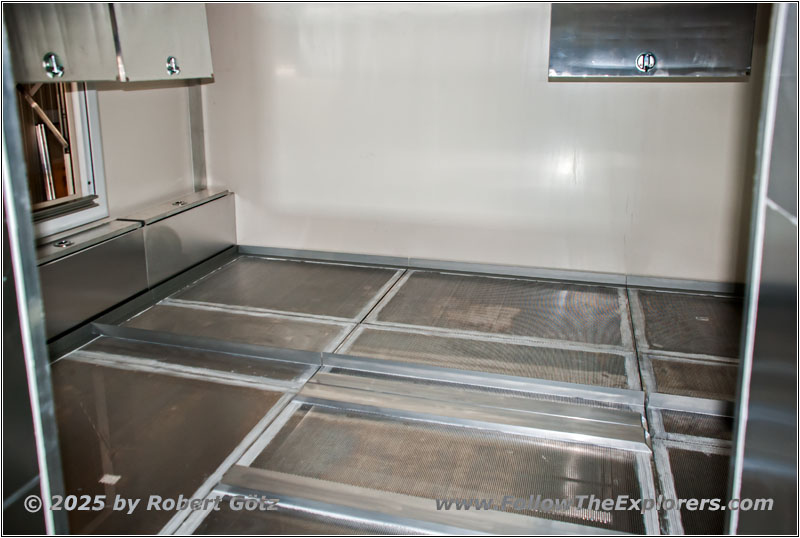
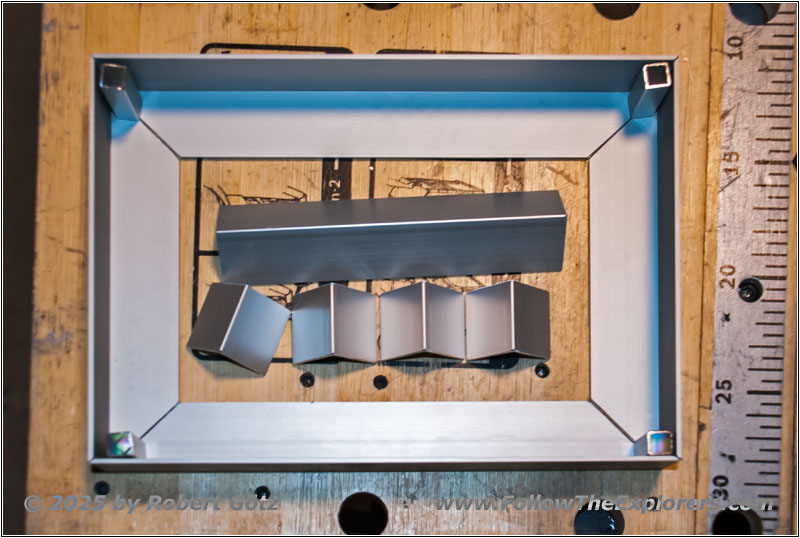
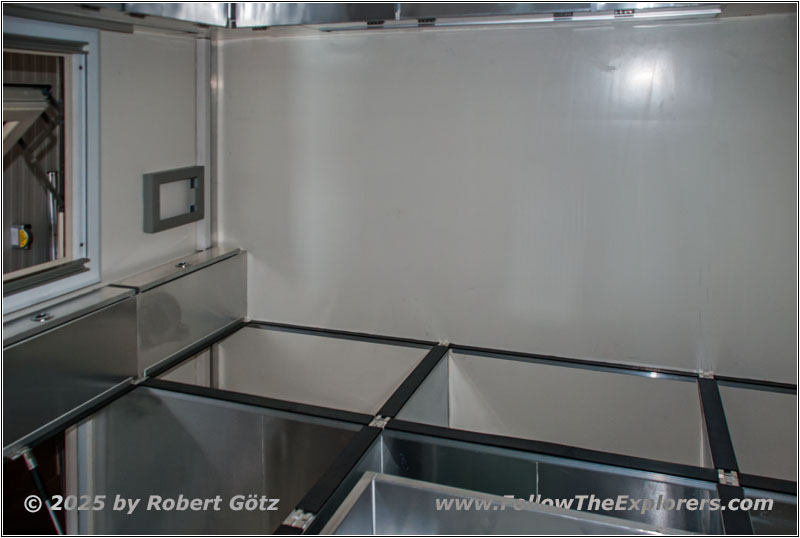
Next I continue with the mattress carrier. Now I am able to cut in the last three segments and glue the lower guide rails on. Then I added the mattress guide rails. They should keep the mattress away from the walls and take care, that the air can circulate freely. Then I add the rubber strips and magnets on the bottom side to keep the segments in their position. Unfortunately, I have ordered not enough rubber strips, so I run out of material. To fill in the time gap, I start working on a control panel frame. Originally I planned to use this small round 1.28 Inch module. But this one has no I2C on the external lines to hook up a humidity sensor. Also controlling this module on that very tiny display is not really comfortable. Therefore I have ordered now a 7 Inch module, the Waveshare ESP32-S3 7inch Capacitive Touch LCD Development Board. Unfortunately, I must now adapt my firmware for this new module.

Shelter bedroom door
Shelter bedroom door

Shelter bedroom door
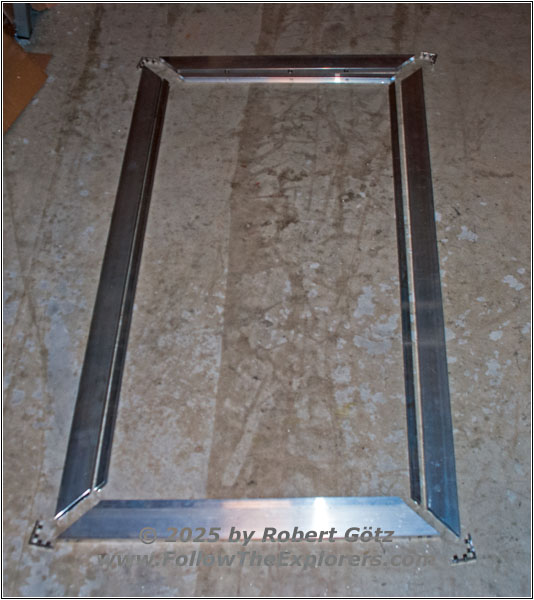
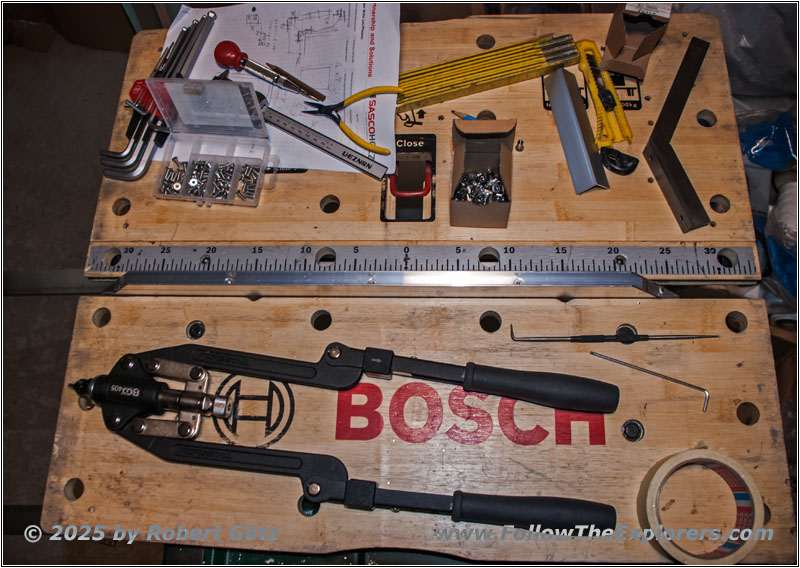
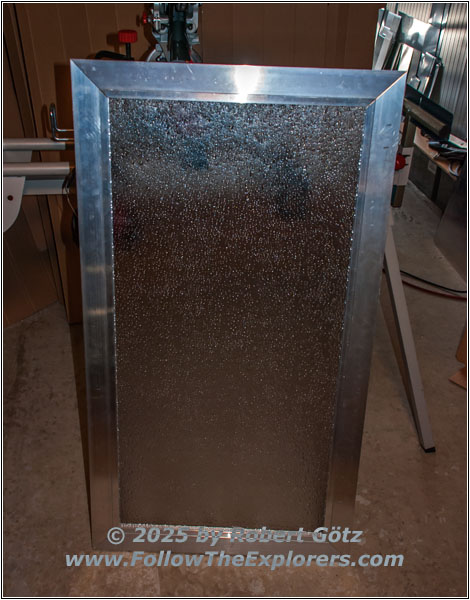
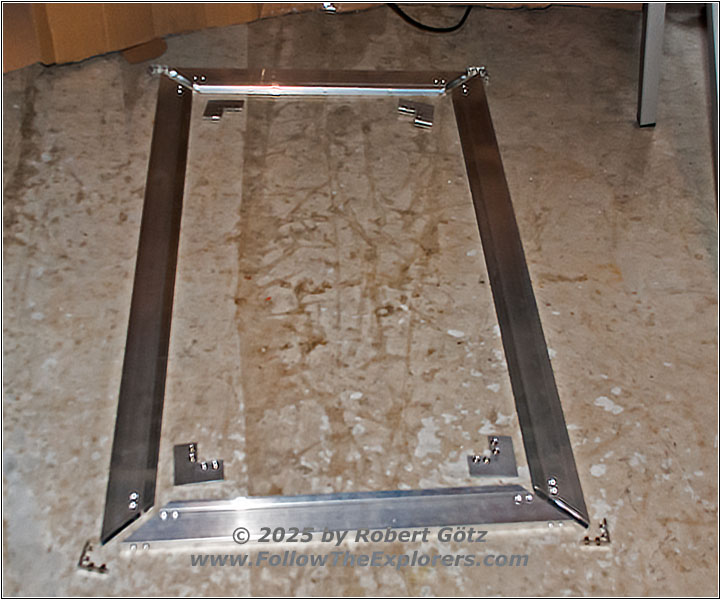
The next couple of weeks, I am working on multiple projects because I always run out of material and must order new stuff. First, I start working on my bedroom door. The frame will be a square profile, which I screw together with small brackets at the corners. The plastic window will be installed in a U–profile and fixed with a beading. Unfortunately, my beading with 6mm is too thick. I expected that I can compress it way more. Therefore I must order the next smaller size with 5mm.
Shelter mattress carrier

Shelter mattress carrier
Shelter mattress carrier
Shelter mattress carrier
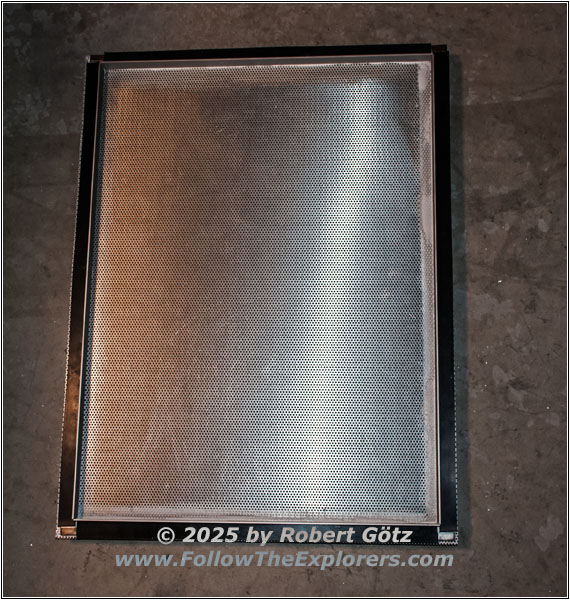
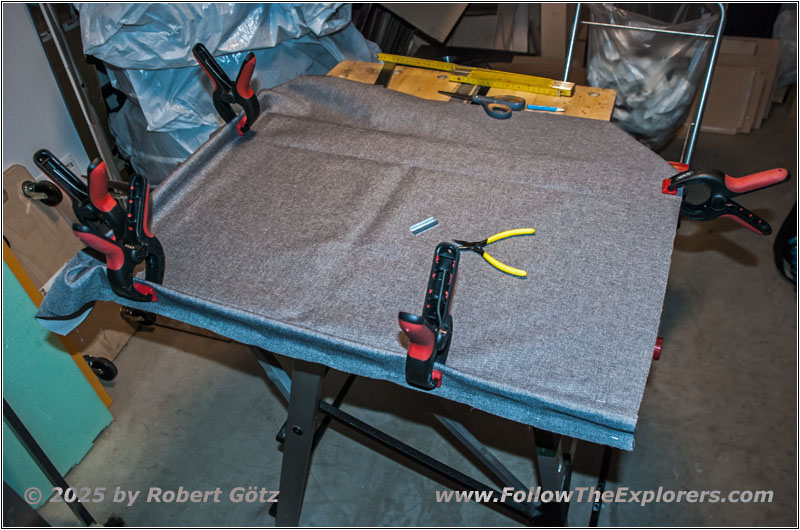
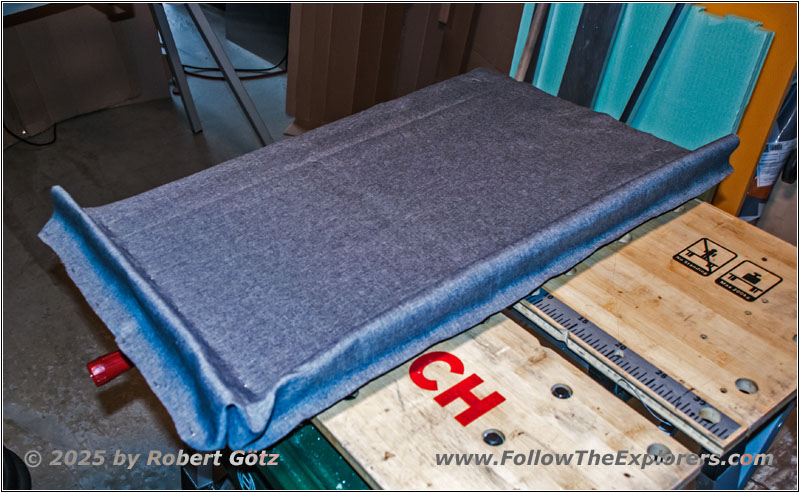
This time can now be used to continue my work on the mattress carrier. First, I glue the rubber and magnets on the lower carrier frame and the mattress carrier. Then I start to cover the first two mattress carriers with fabric to avoid that the mattress will lay directly on the perforated aluminum sheet and to protect the mattress this way. The fabric will be fixated by stainless steel staples which I must install by hand. Because I didn’t knew if this will work out with my fabric, I have only ordered a small amount for testing. As everything works perfectly I immediately order the necessary rest of fabric to finish my work there.
Shelter control panel mount
Shelter control panel frame
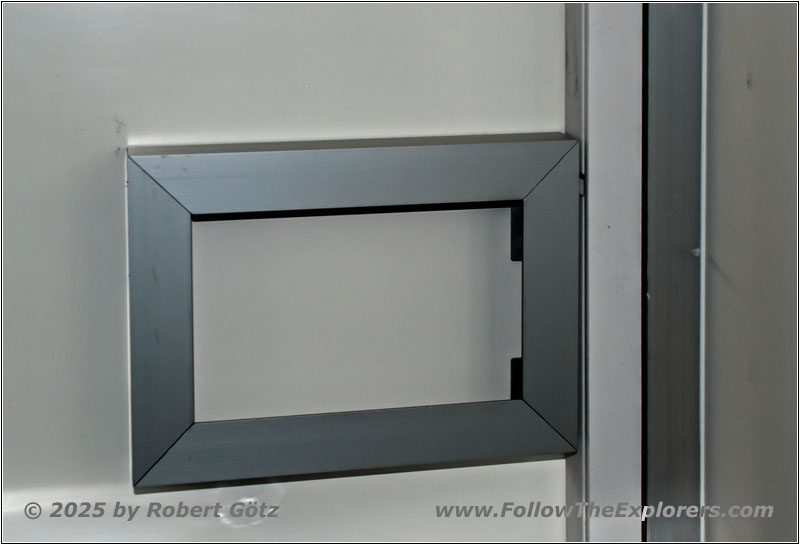
Shelter bedroom door
Shelter bedroom door

Shelter bedroom door
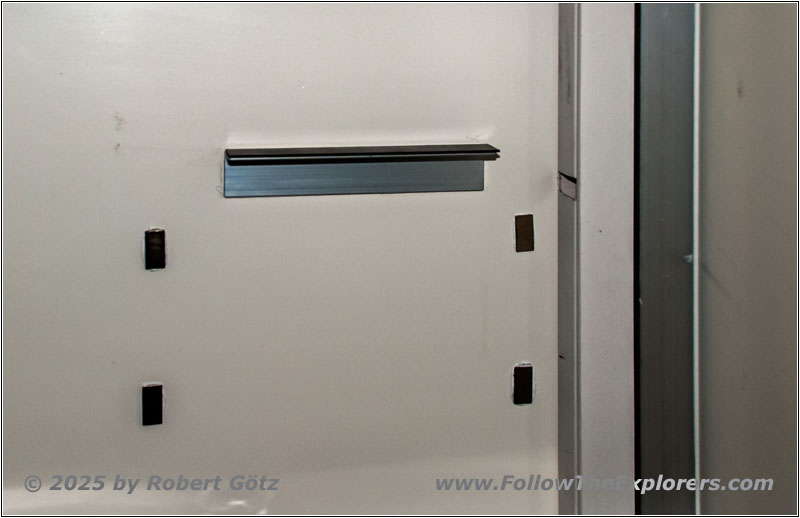
Then I finish my control panel frame and glue the carrier with rubber on top and the 4 magnets on the wall and the 4 magnets on the frame itself. Additionally, I must install a cable conduit for the control panel power supply.
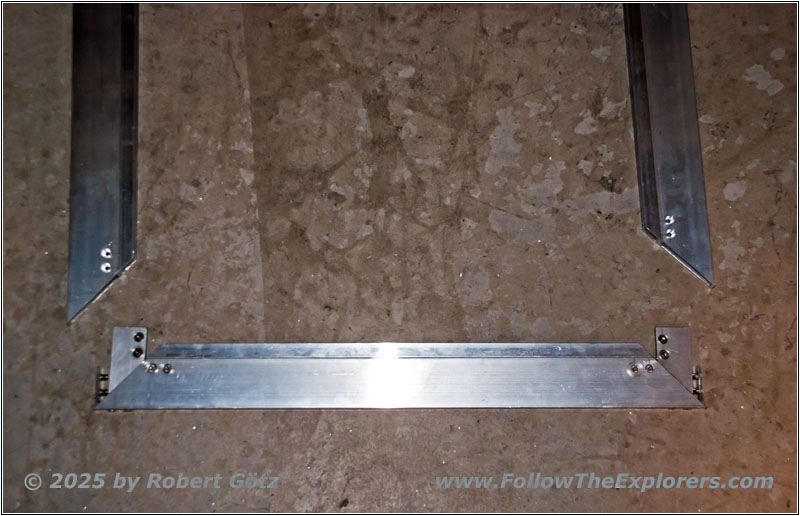
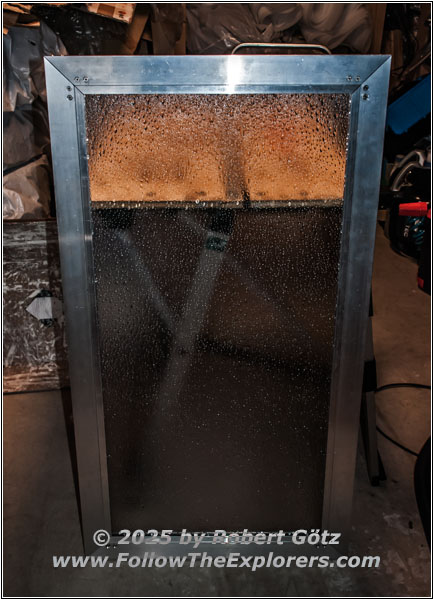
In the meantime the correct beading arrived (after I had to order again an even smaller size). Now I can eventually continue my work on the bedroom door. Unfortunately, the plastic window is not stiffing the frame out enough. Therefore I must disassemble everything and add additional brackets at the inner corner of the square profiles. With these additional brackets the door gains enough strength to be usable.
Shelter water installation mount
Shelter water installation mount
Shelter water installation mount
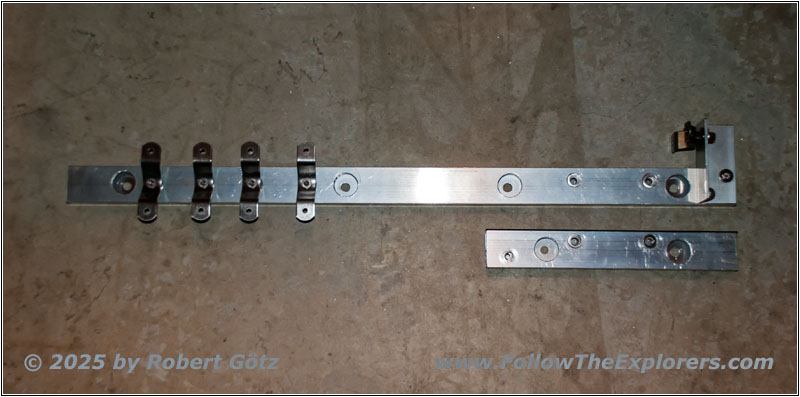
Shelter water installation mount
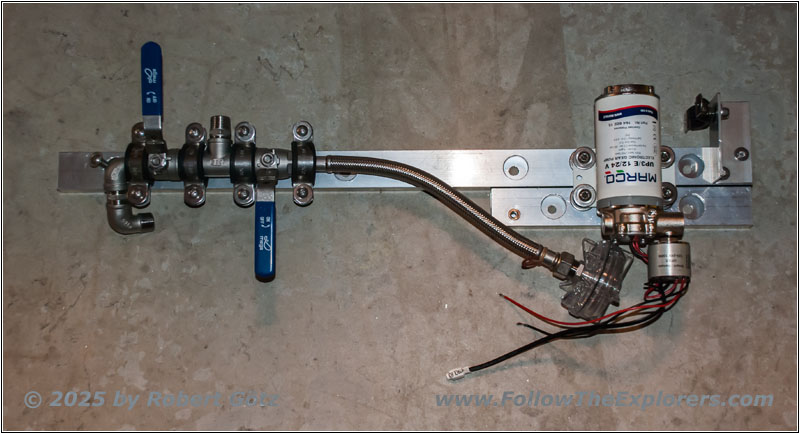
Shelter water installation
Shelter water installation
Shelter water installation
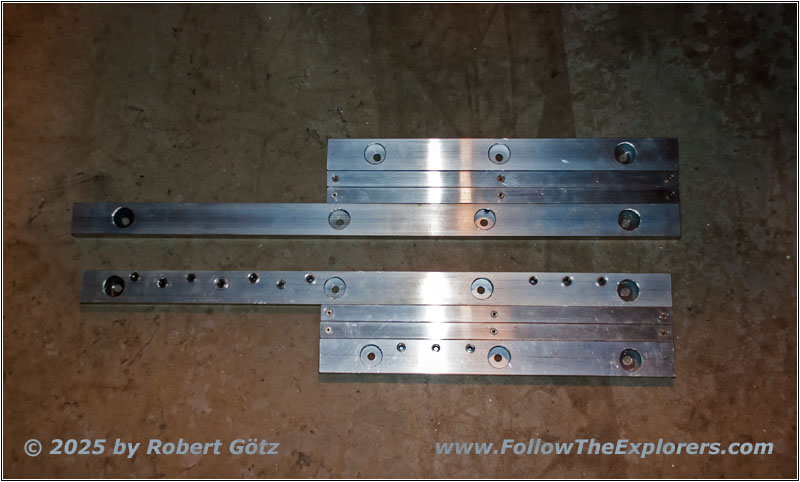
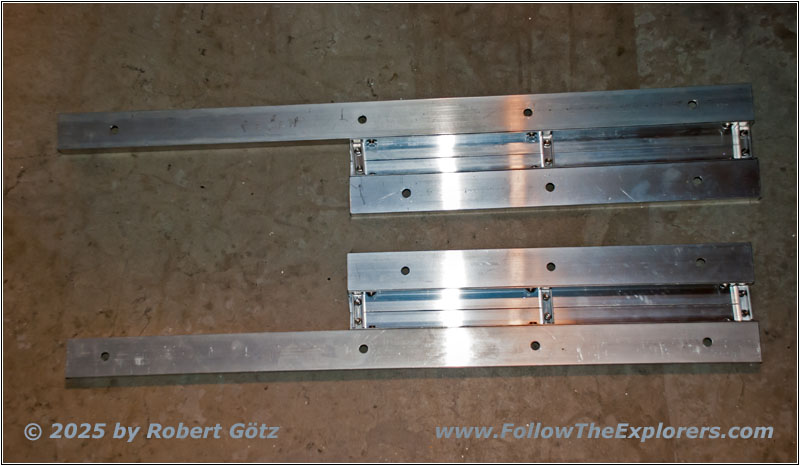
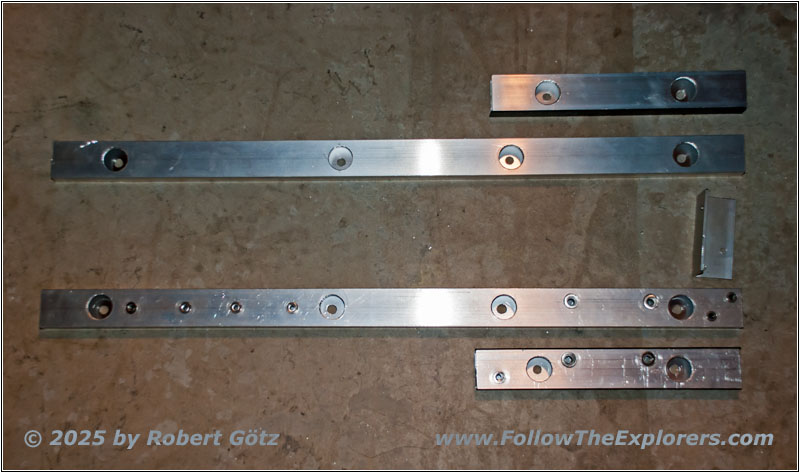
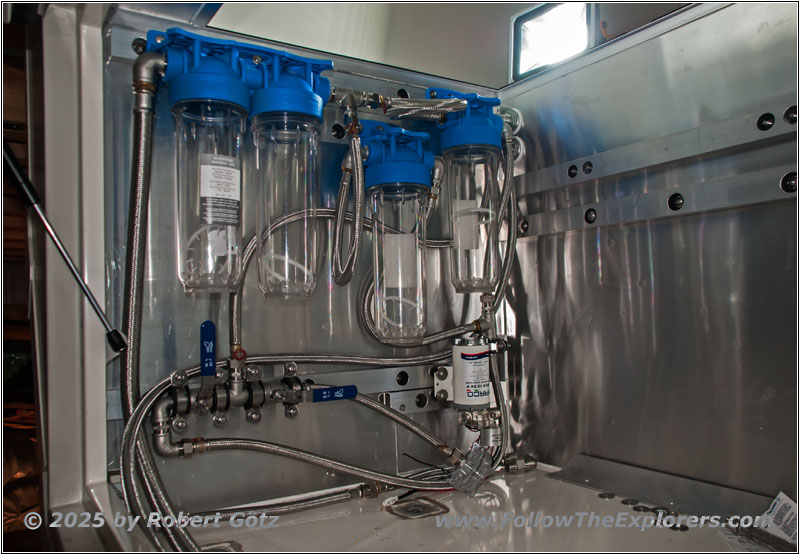
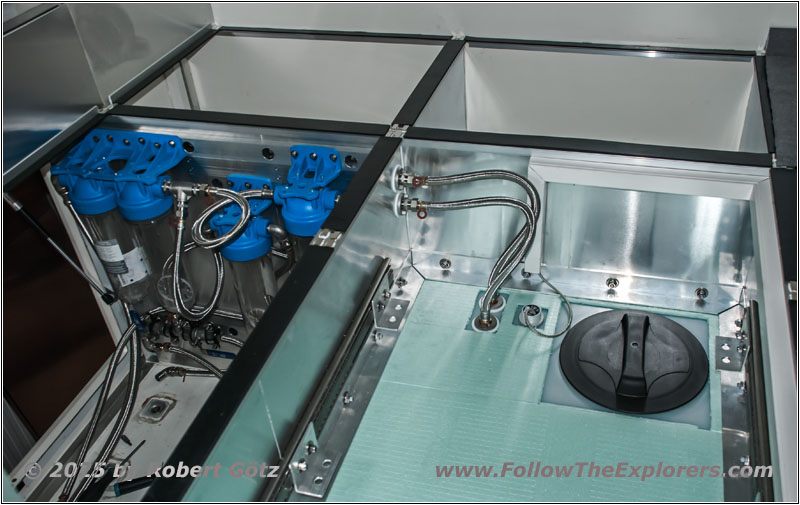
Because I already started my water handling planing and installation in the waiting time I continue my work here now. For the water filters and pump I build again mounts, which will be screwed on from both sides at the separation wall. Then I also add a switchover, which changes from taking water out of the tank to fill the tank. Because I must unmount everything again when putting on the foil, I hook the lines on just temporary to see if everything fits with the connections and bending radius.
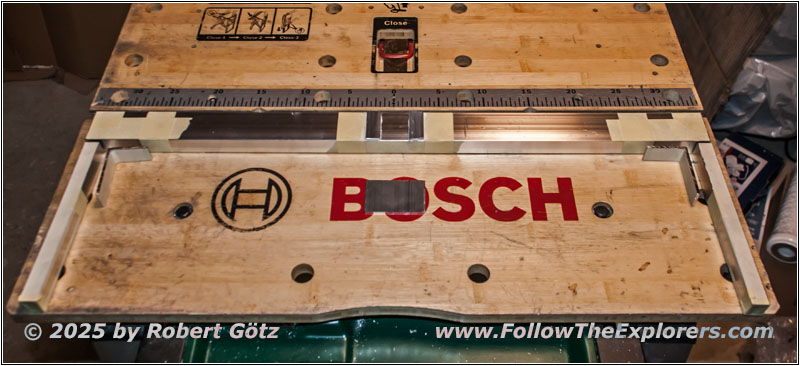
Shelter bedroom door frame
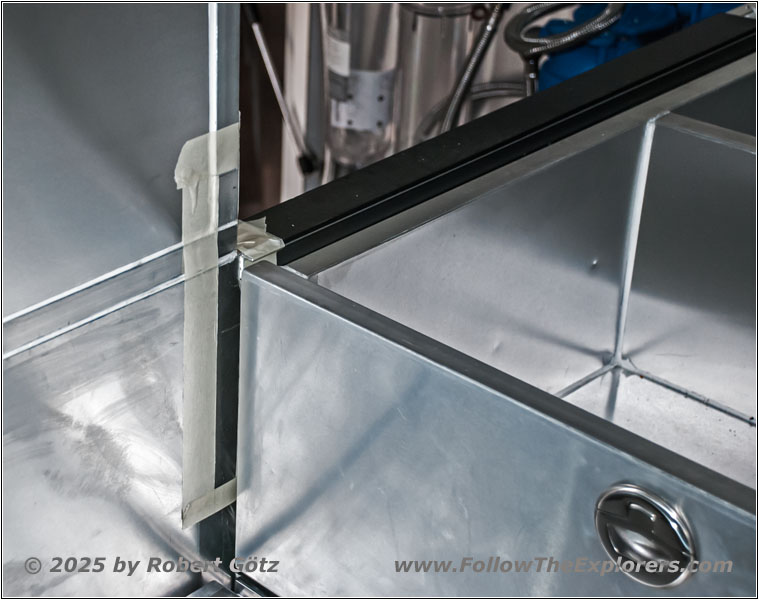
Shelter bedroom door frame
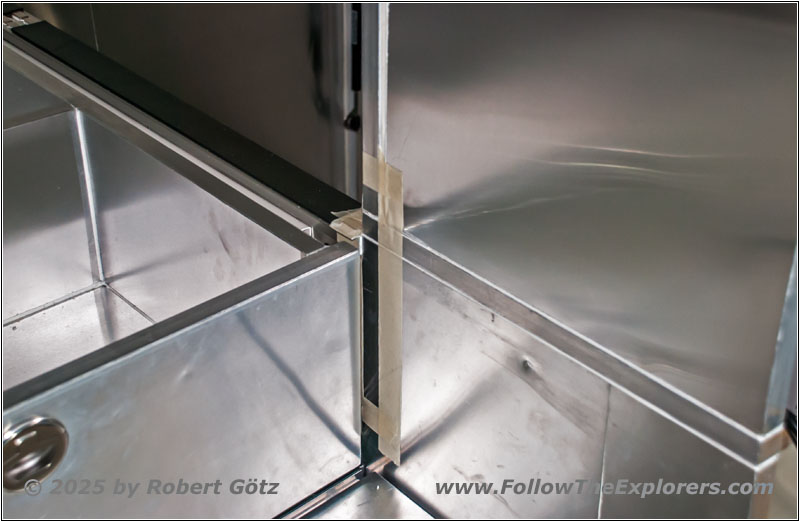
Shelter bedroom door frame
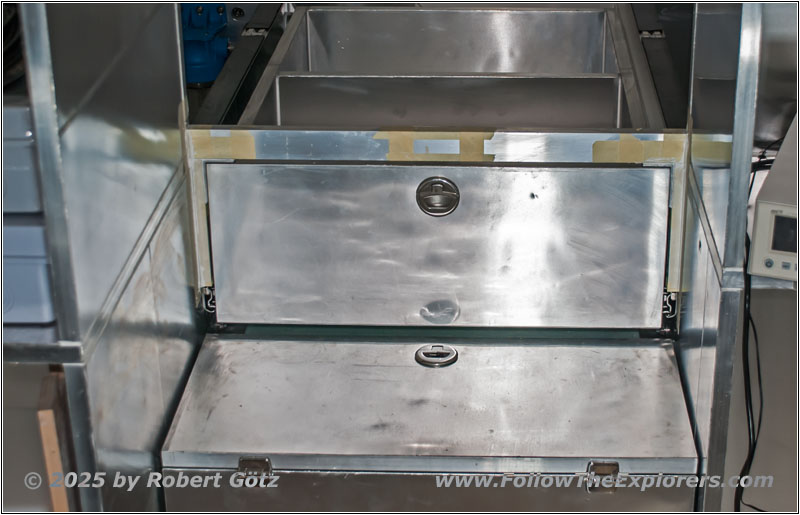
Shelter bedroom door frame
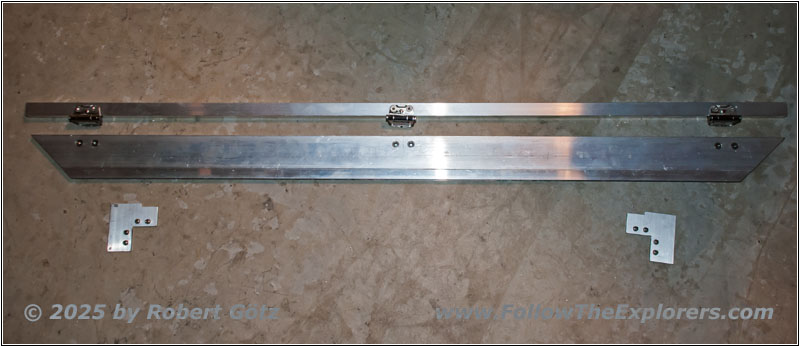
Shelter bedroom door hinge
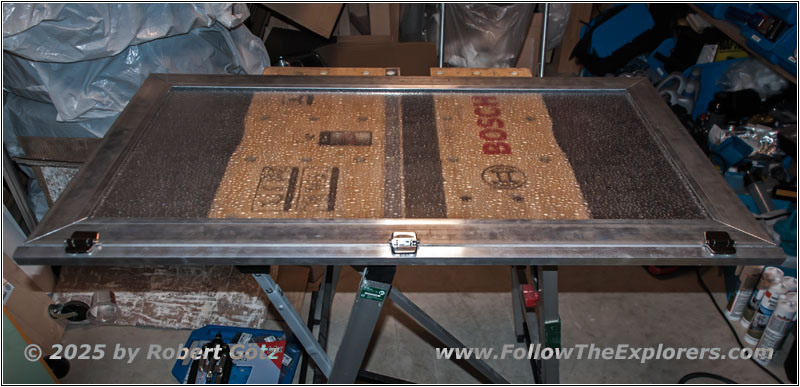
Shelter bedroom door hinge
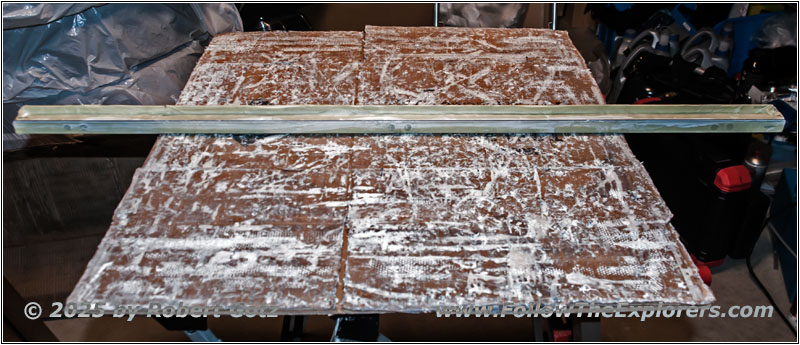
Shelter bedroom door hinge
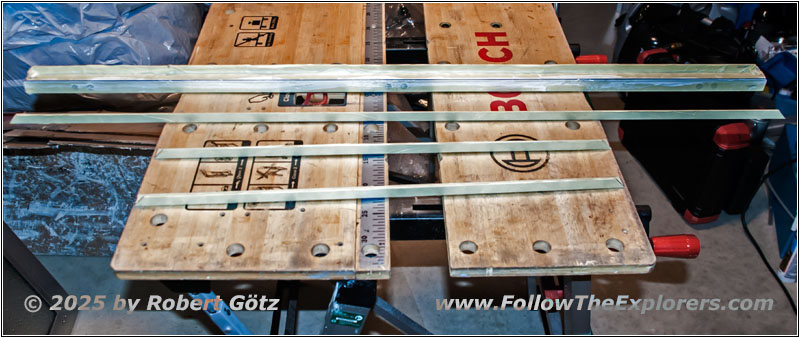
Shelter bedroom door frame

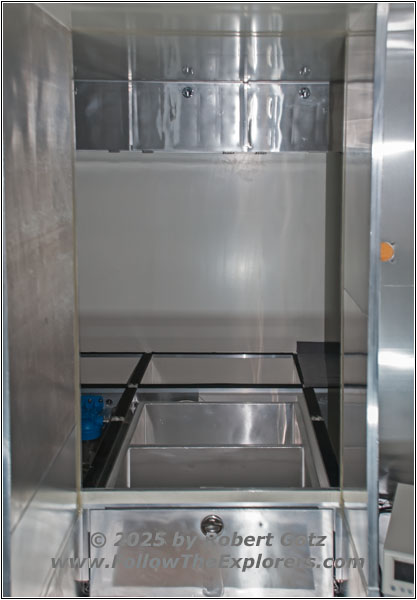
Shelter bedroom door frame

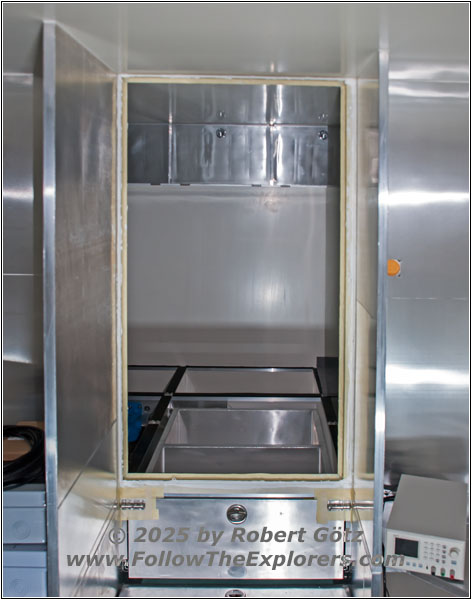
Shelter bedroom door frame and drawer lock

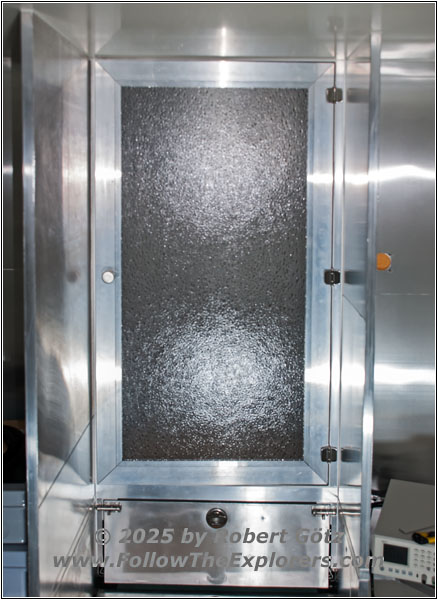
Shelter bedroom door and drawer lock
After finishing the water setup installation I continue my work on the bedroom door. Now I am at the point to build the door frame and put on the hinges. Just to be sure I use three hinges to guide the door. To mount the hinges I use again blind rivet nuts. Finally I can glue everything in. As I am already working in this area I also glue on the drawer locks for my big drawer. I hope this will have enough stability to keep the drawer in place in case of a full braking.
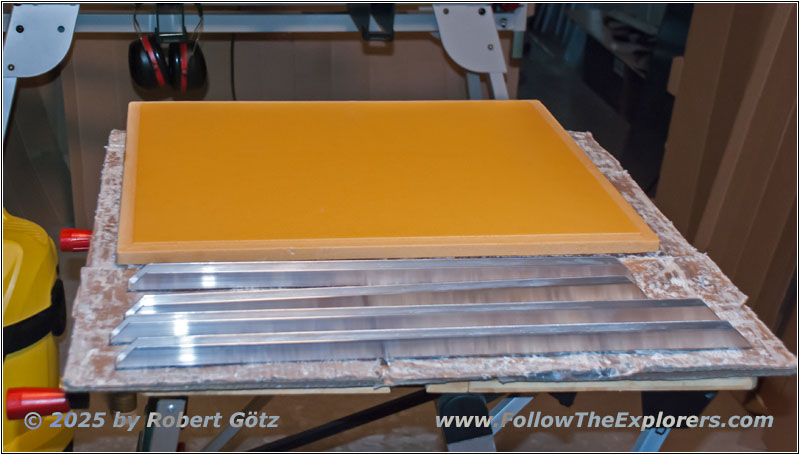
Shelter rear storage separation wall
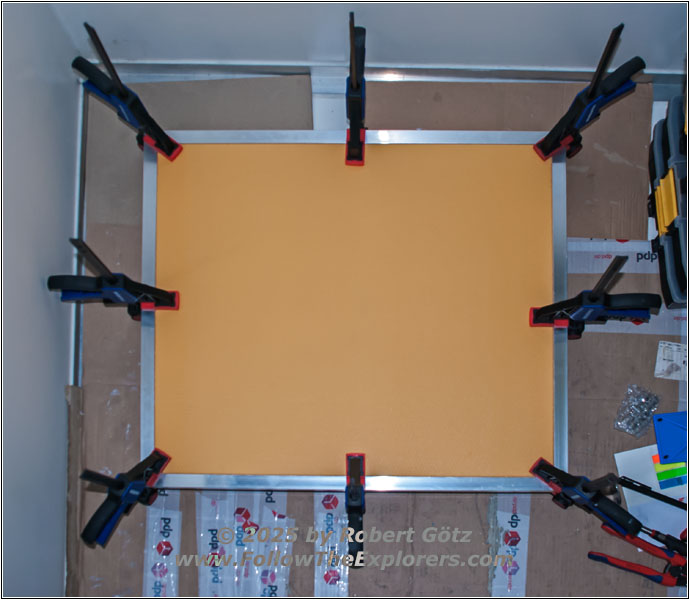
Shelter rear storage separation wall

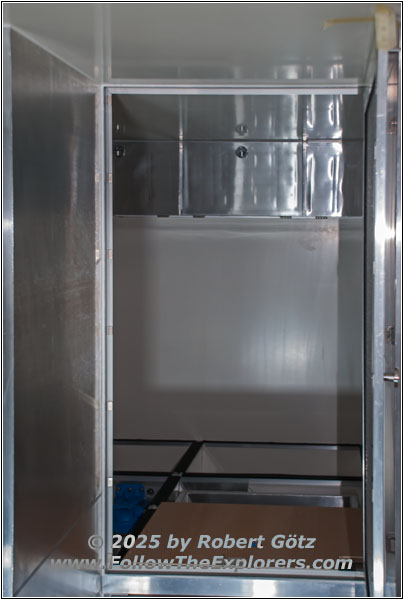
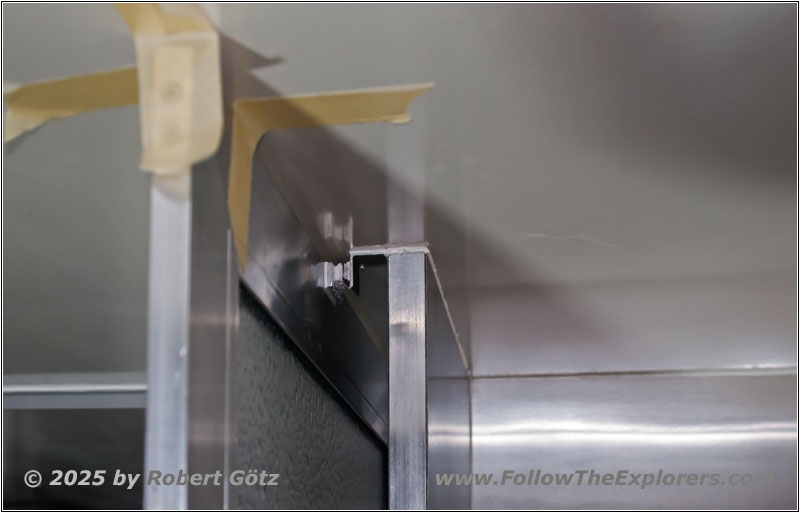
Shelter bedroom door magnetic holder
Shelter bedroom door magnetic holder
Shelter rear storage separation wall
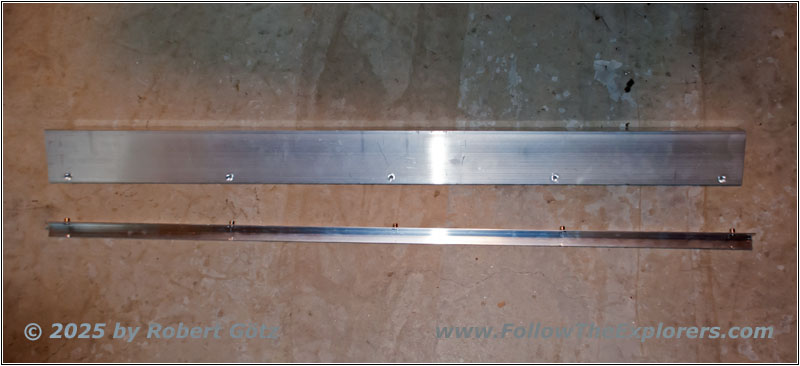
Shelter rear storage separation wall mount
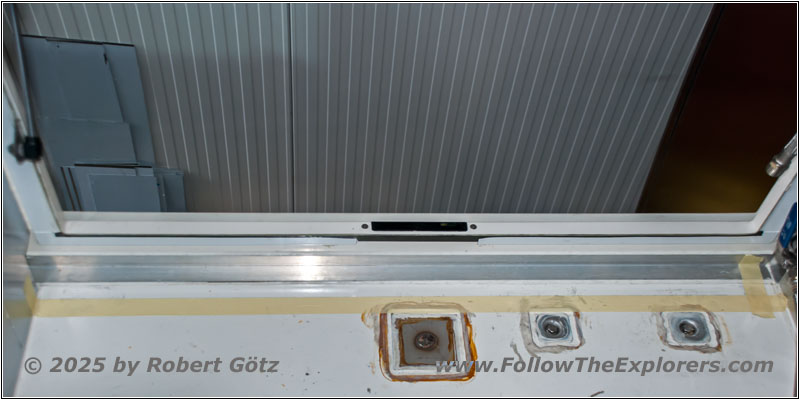
Shelter rear storage separation cable conduit passenger side
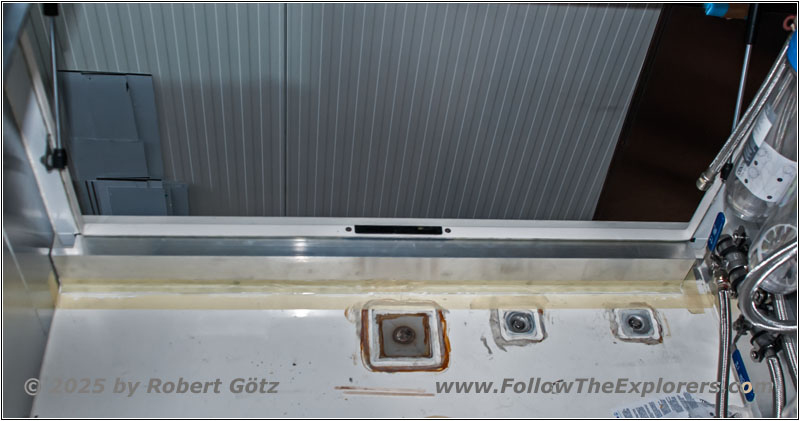
Shelter rear storage separation cable conduit passenger side
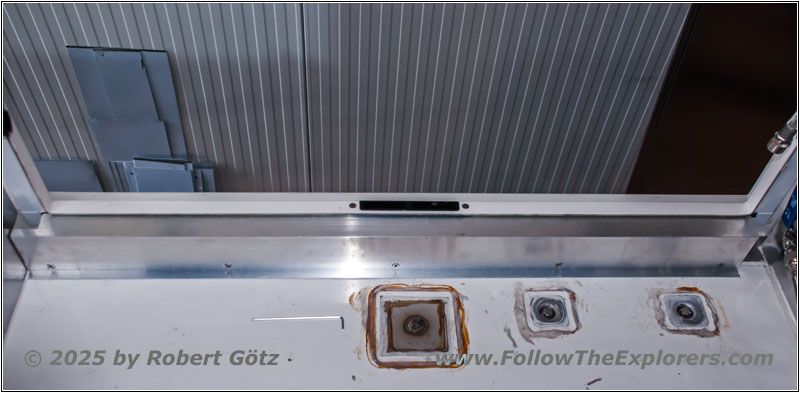
Shelter rear storage separation cable conduit passenger side
Shelter rear storage separation cable conduit passenger side

Shelter rear storage separation cable conduit passenger side
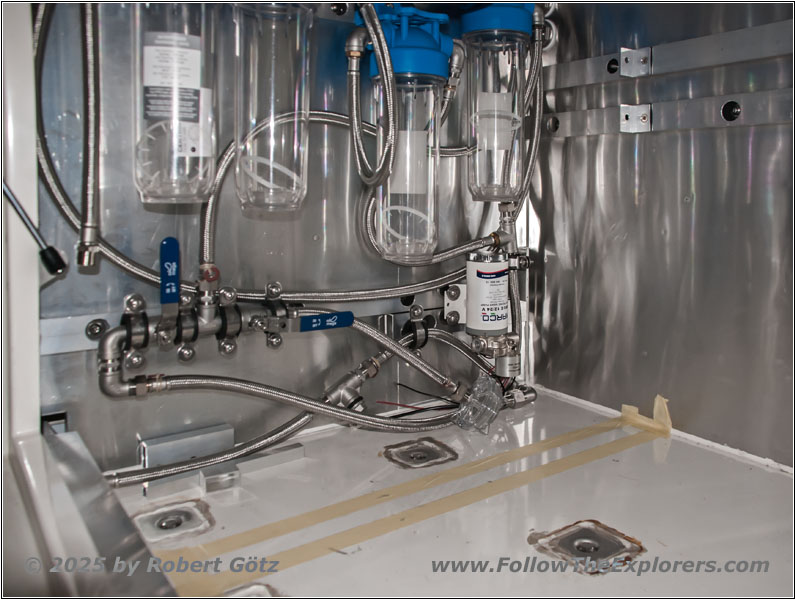
Shelter rear storage separation wall
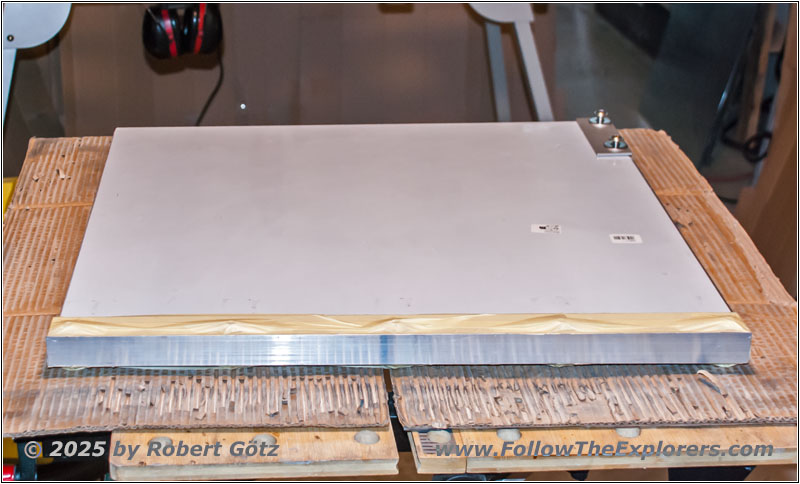
Shelter rear storage separation wall
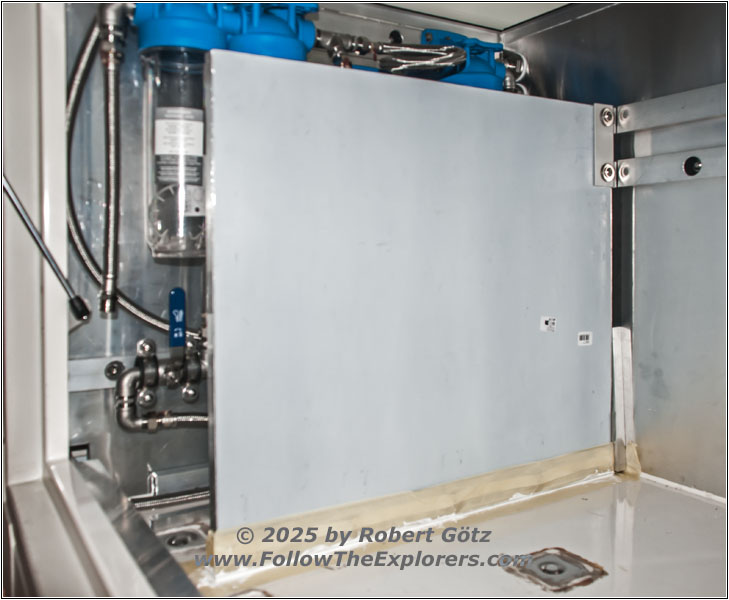
Shelter rear storage separation wall
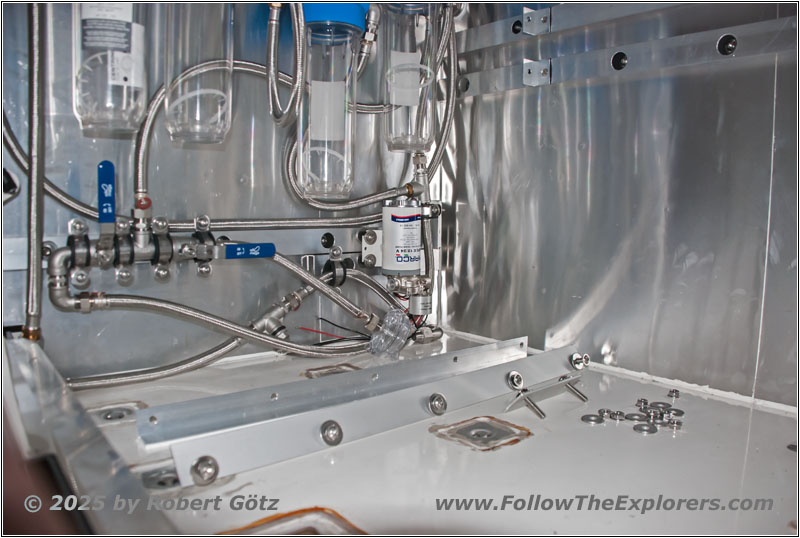
Shelter rear storage separation wall
Shelter rear storage separation wall
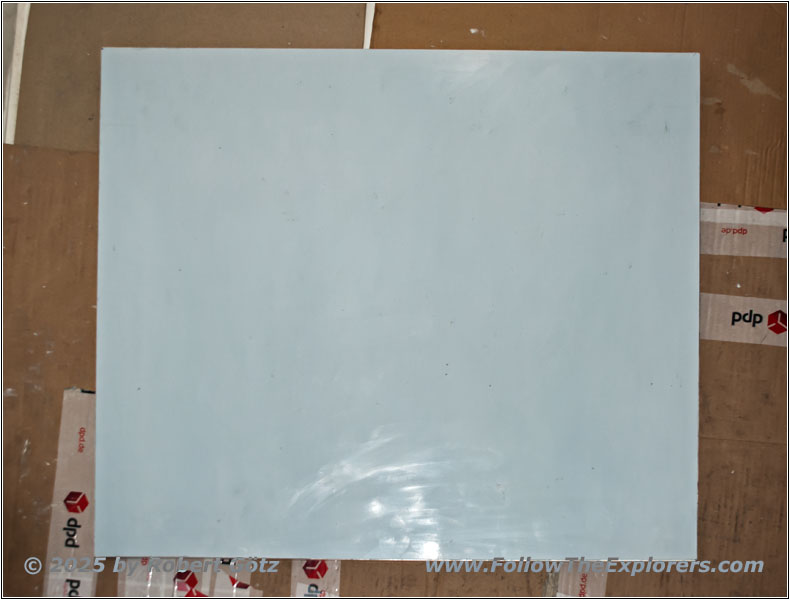
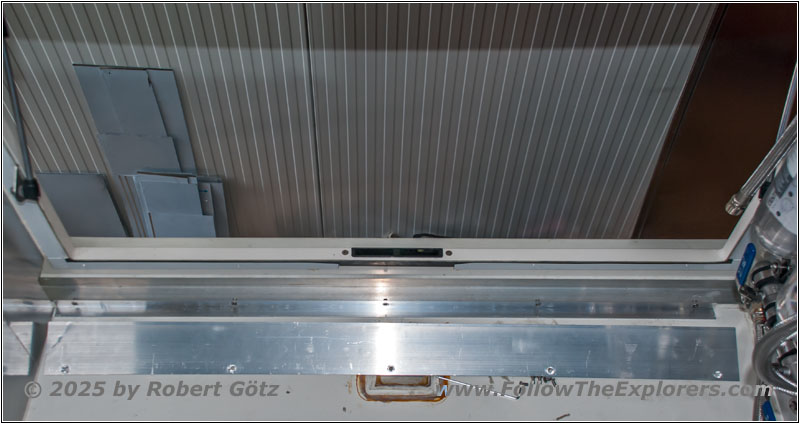
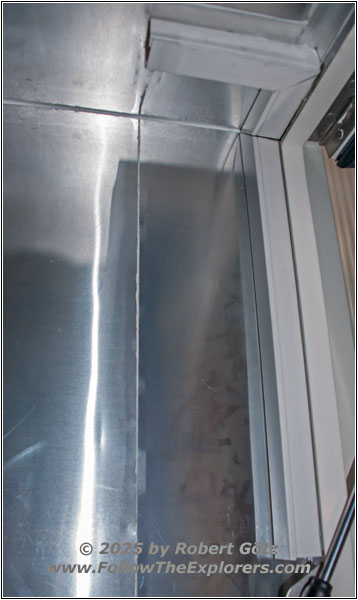
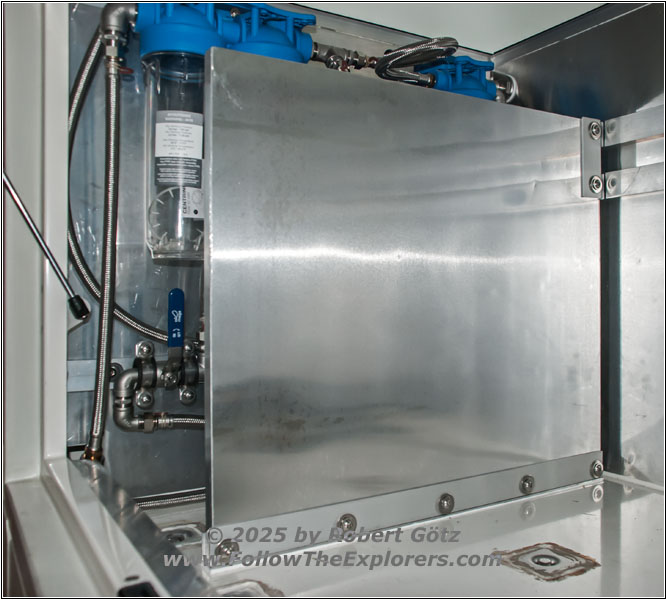
Next is the rear storage separation wall to protect my water installation. This one must not run all the way to the top, because you need space for the wrench to loosen the water filters. While the glue is hardening I build a magnetic holder for the bedroom door to keep it open. Then I can put the metal sheets on the separation wall and I can glue the mounts for this separation wall. To be able to service the water installation, the separation wall must be removable. While also the glue is hardening here, I build an aluminum cable conduit beneath the storage lid.
Shelter USB charger enclosure
Shelter USB charger enclosure
Shelter USB charger enclosure
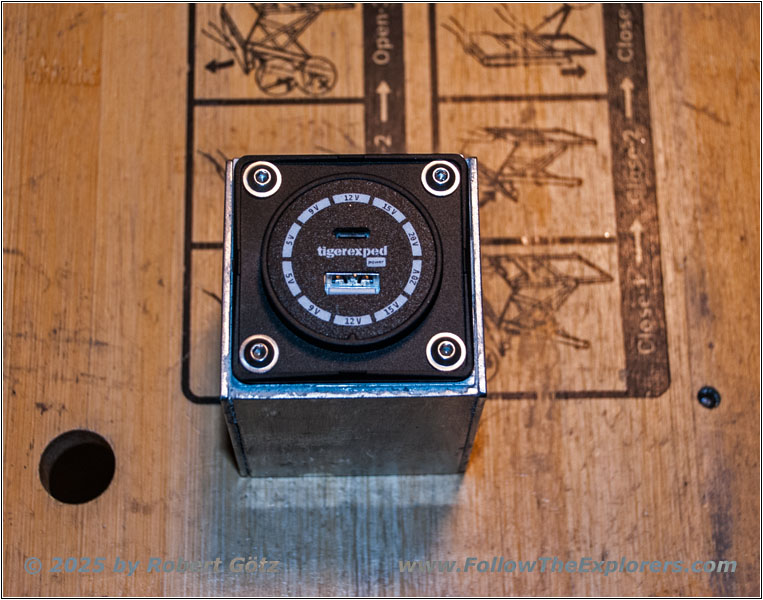
Shelter USB charger enclosure

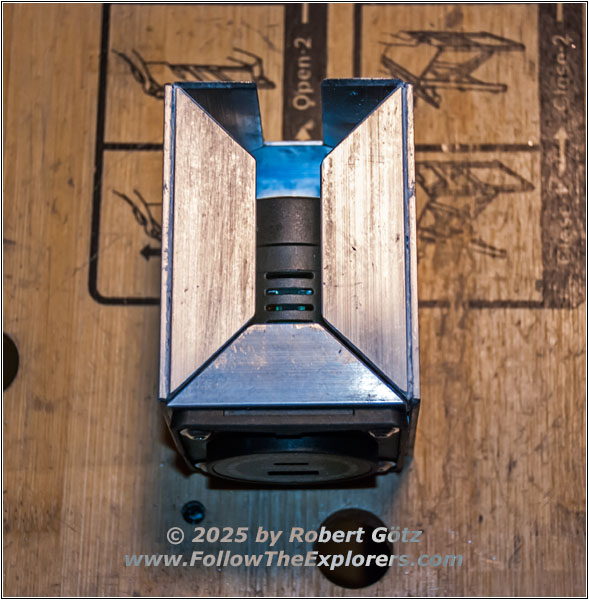
Shelter USB charger enclosure
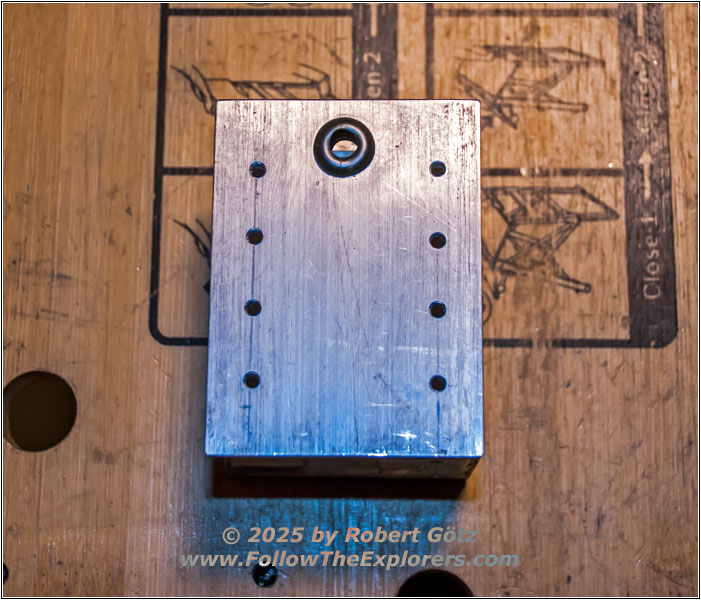
Shelter USB charger enclosure
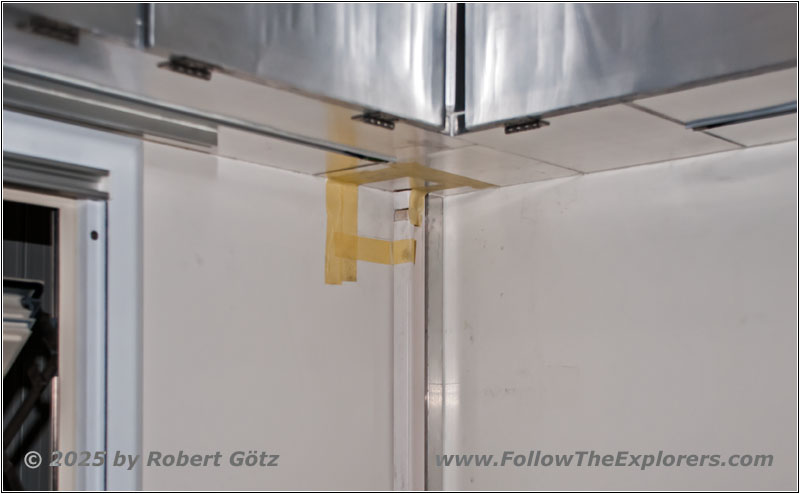
Shelter USB charger enclosure
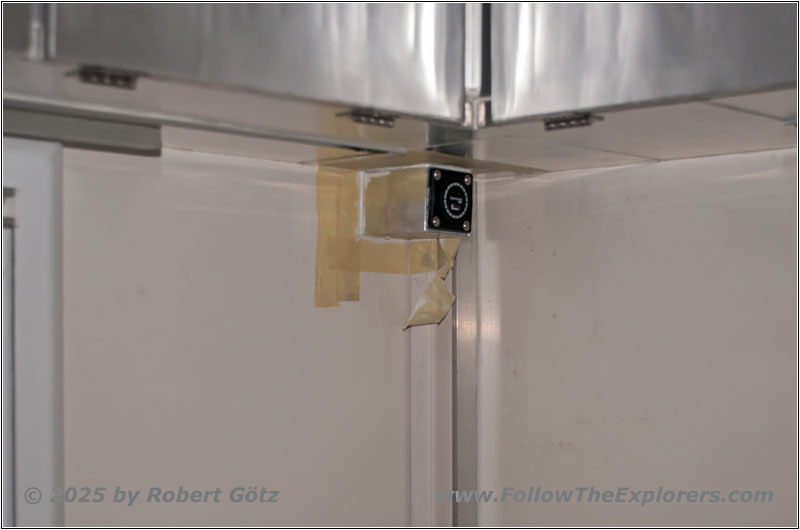
Shelter USB charger enclosure
Shelter USB charger enclosure
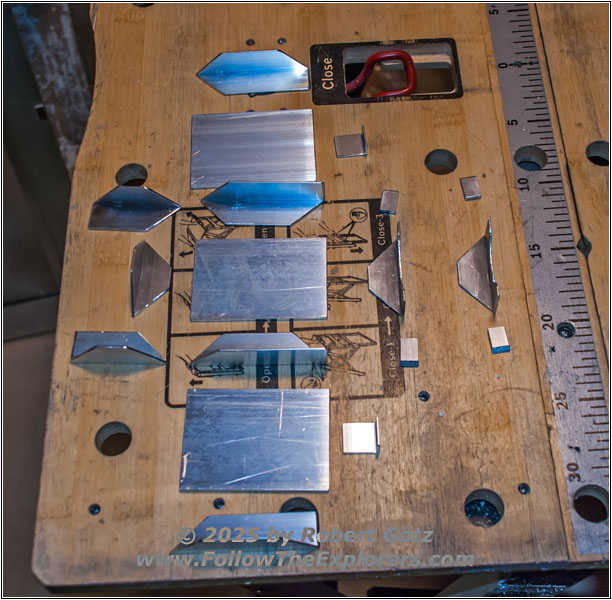
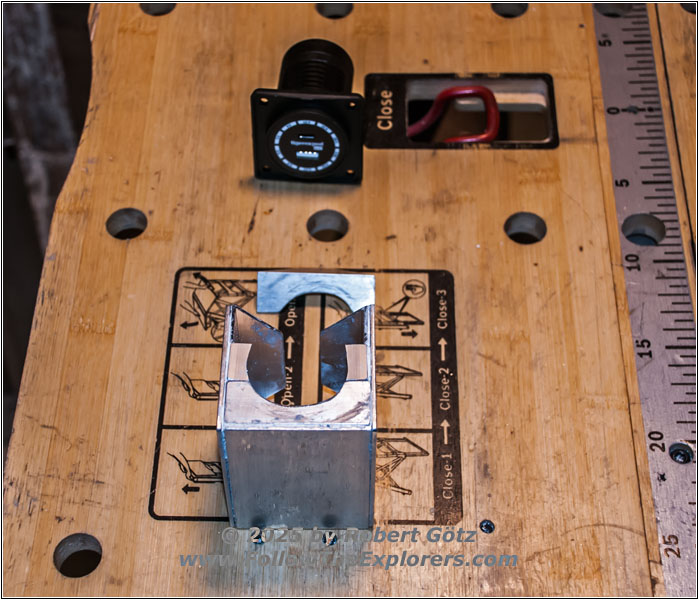
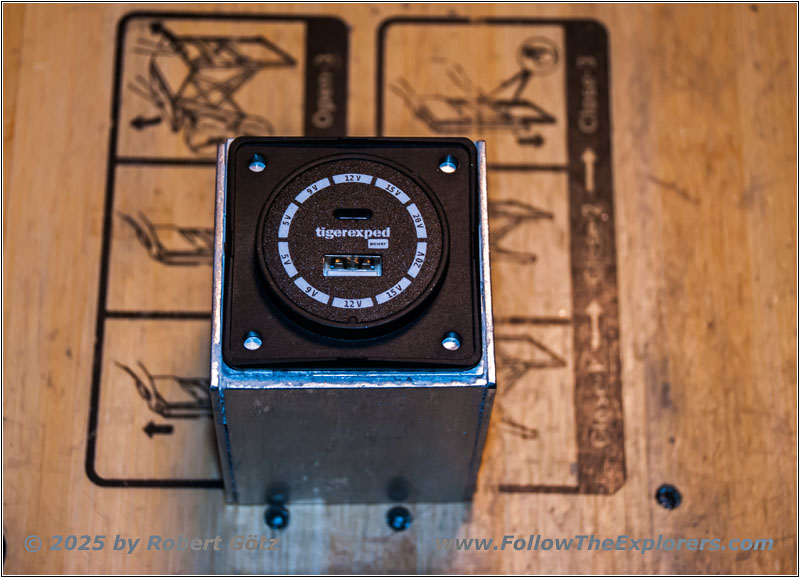
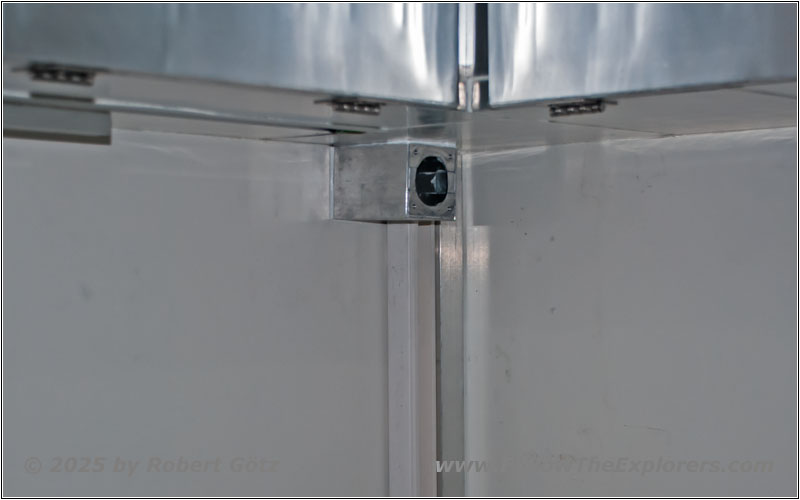
As side project I have found an USB charger, which I can integrate in my bedroom. There I need to build an enclosure, which I glue underneath the upper storage area.
Shelter top bed storage lid foiled
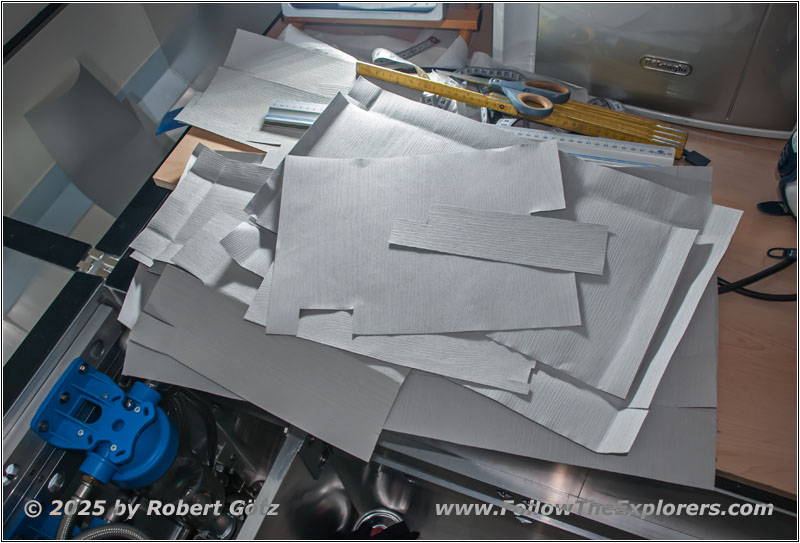
Shelter top bed storage foil preparation
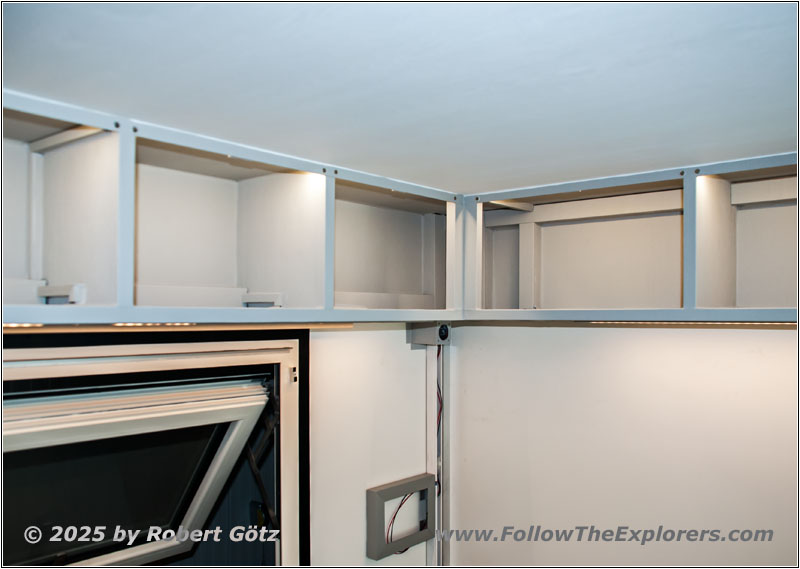
Shelter top bed storage and ceiling foiled
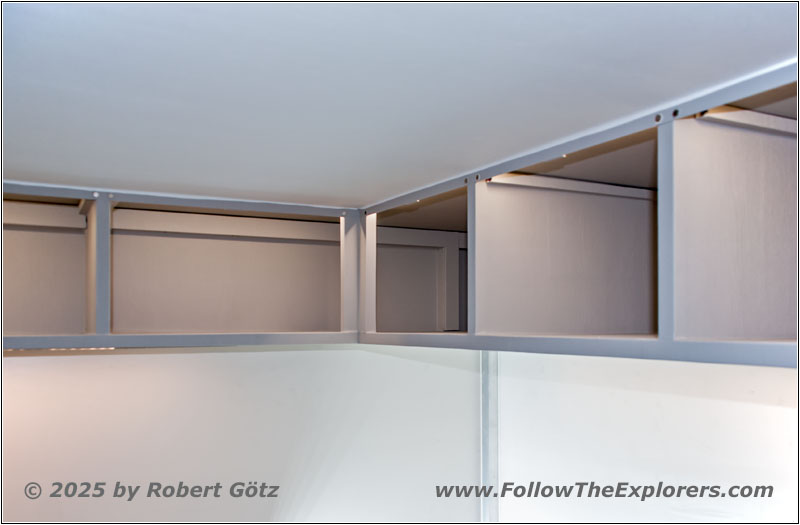
Shelter top bed storage and ceiling foiled
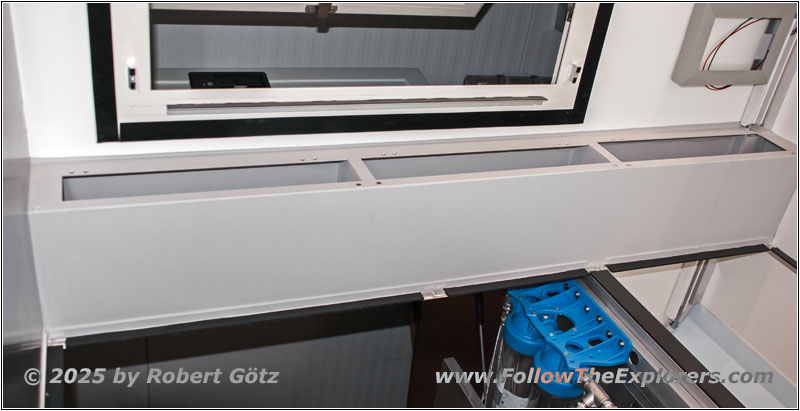
Shelter bed storage foiled
Shelter top bed storage walls foiled
Shelter top bed storage walls foiled
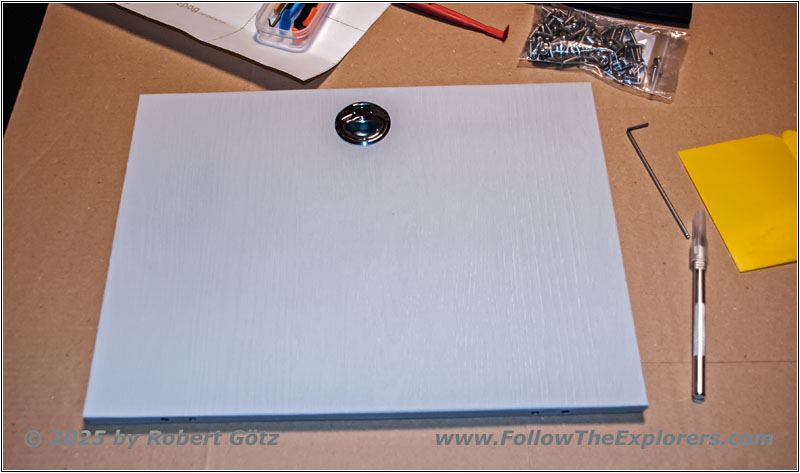
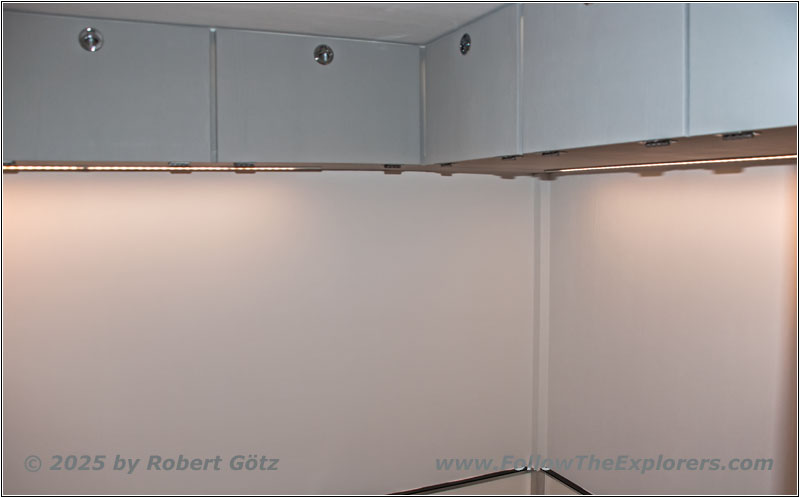
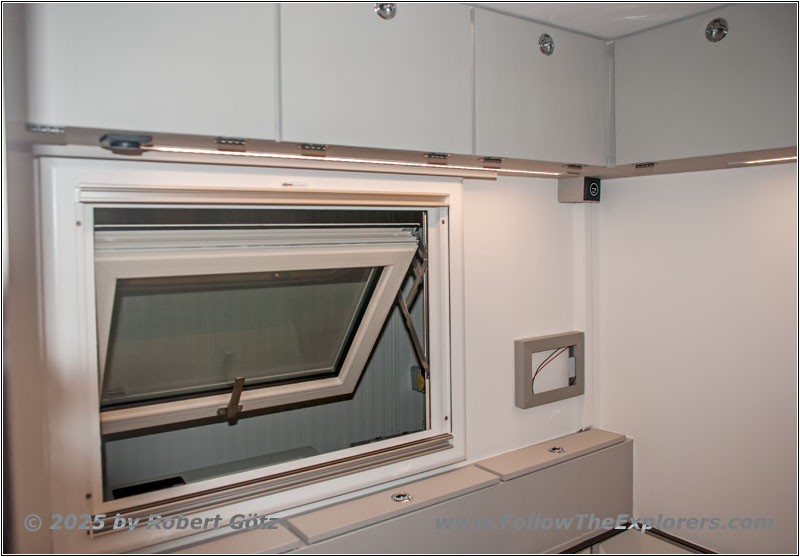
While the glue is hardening I try to foil the first storage lid. Then I start to foil the inside of the upper bed storage area and the other lids. After this I foil the outside and the storage area at the top end of my bed. Then I continue with the ceiling as well as the walls, which will be foiled in white.

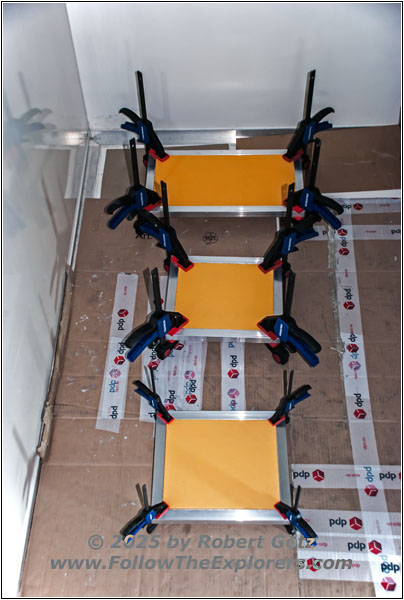
Shelter toilet

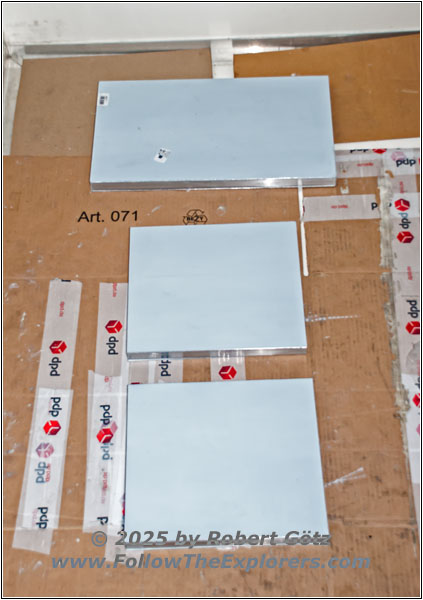
Shelter toilet
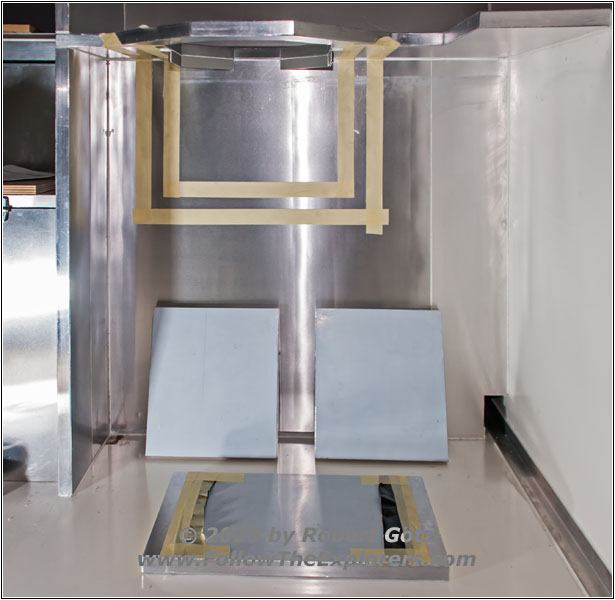
Shelter toilet
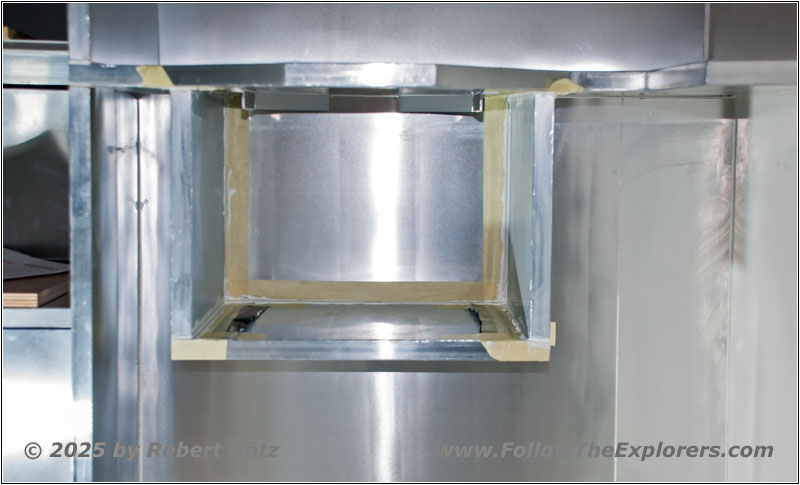
Shelter toilet
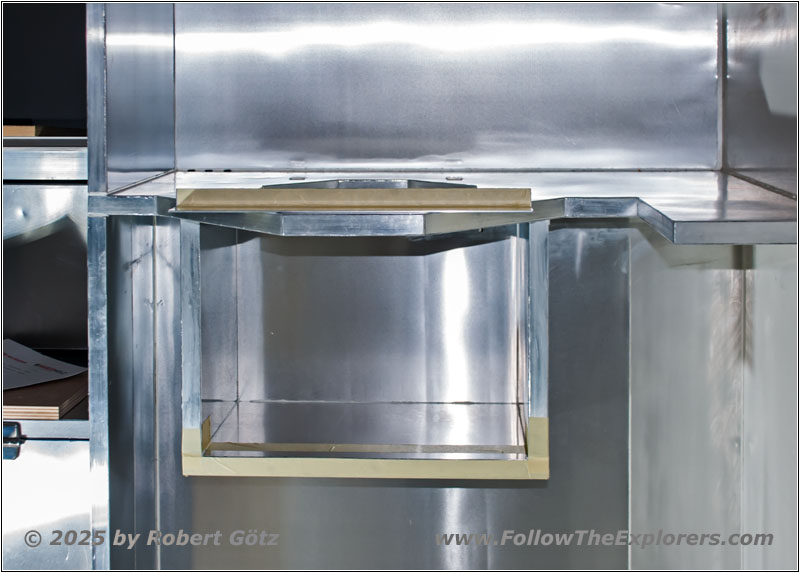
Shelter toilet
Shelter toilet

Shelter toilet
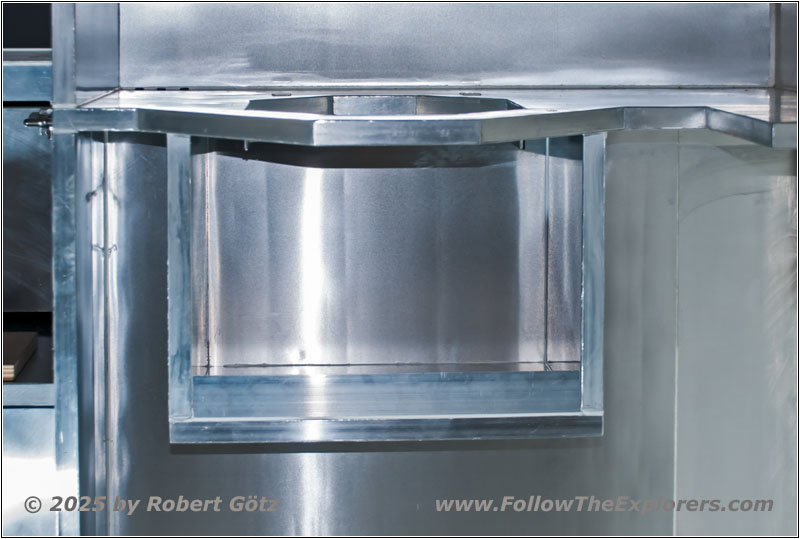
Shelter toilet

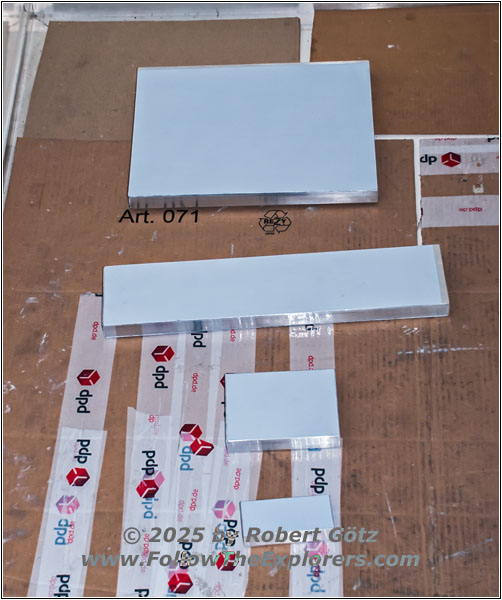
Shelter toilet

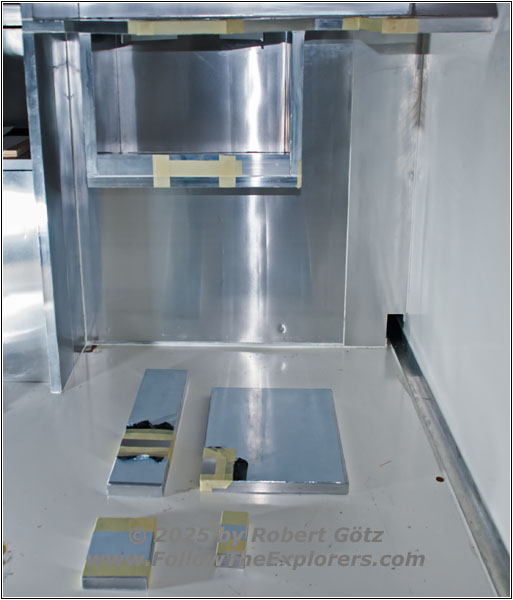
Shelter toilet

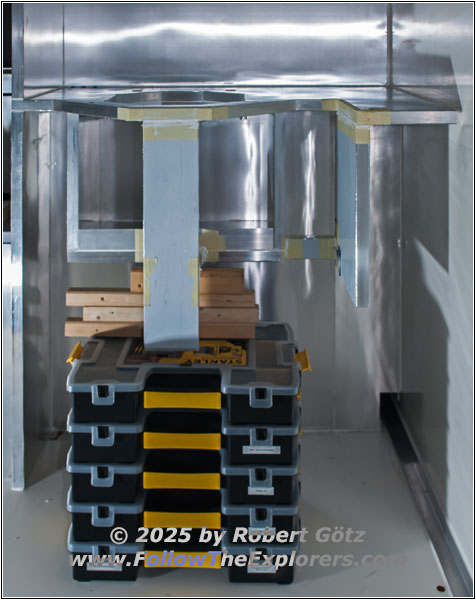
Shelter toilet

Shelter toilet hatch

Shelter toilet hatch

Shelter toilet hatch
Shelter toilet hatch
Shelter toilet hatch
Shelter toilet
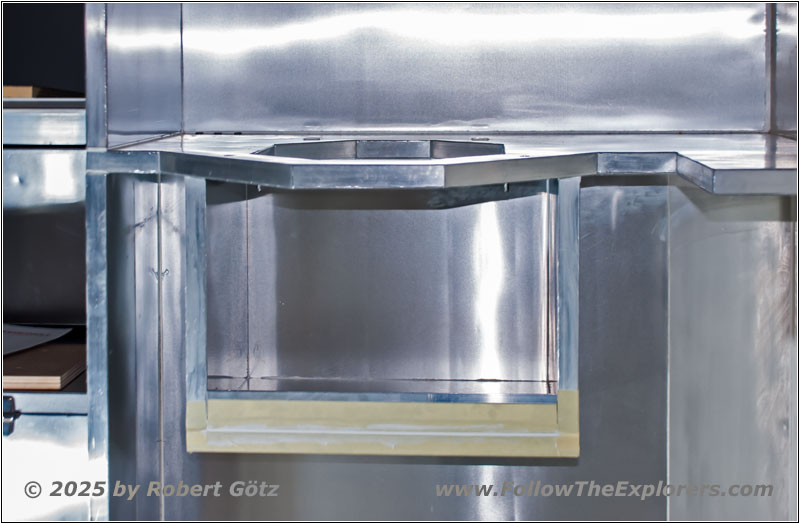
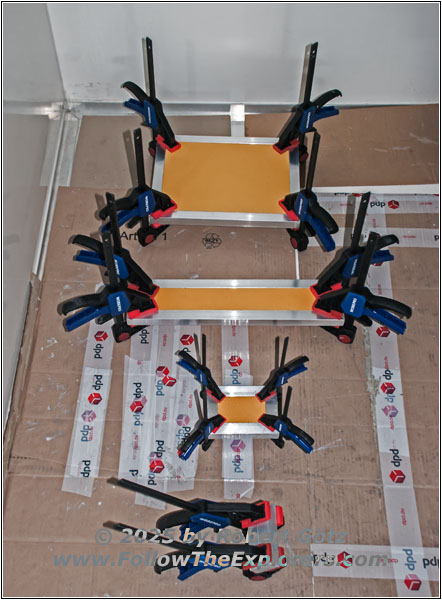
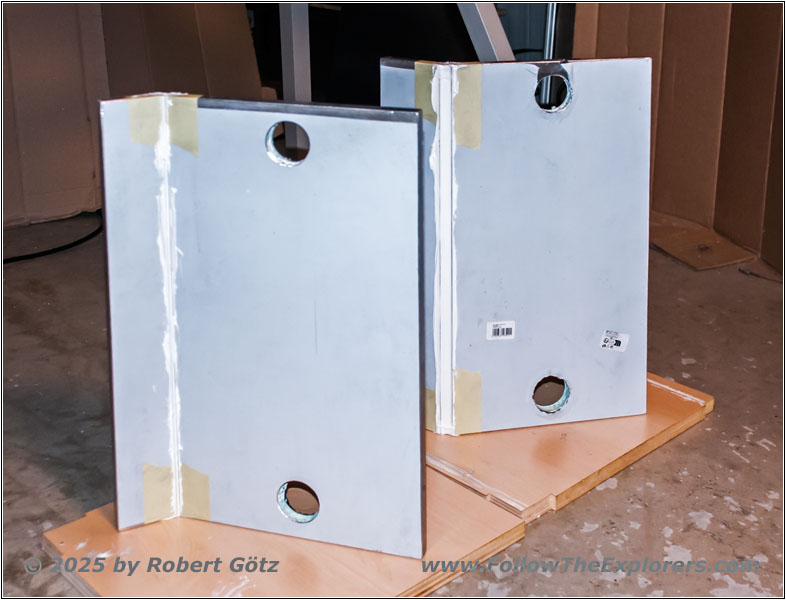
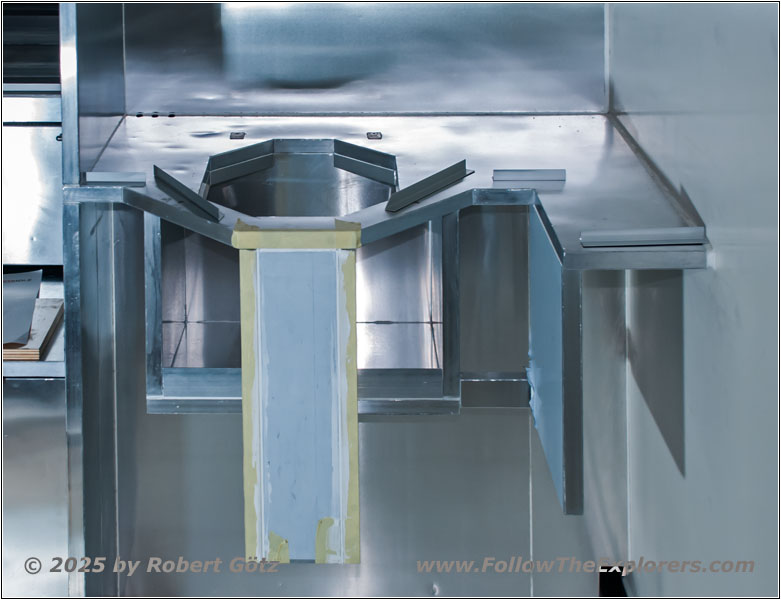
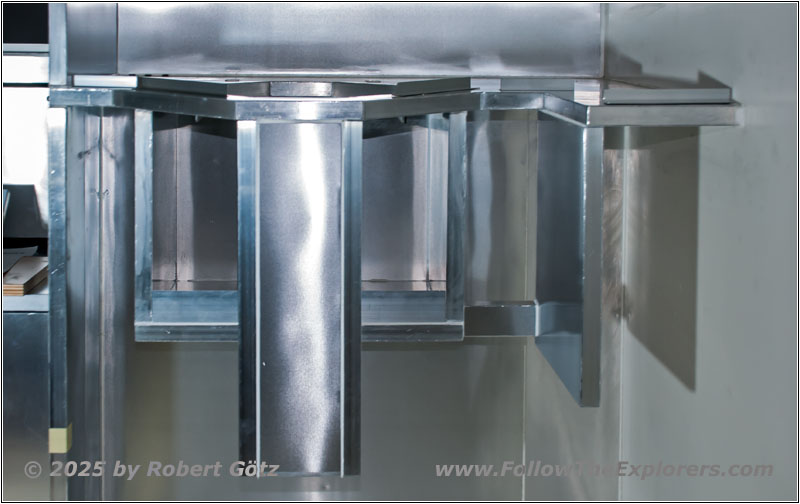
Next I am eventually able to continue with my toilet. First I build the carrier and side walls for the solid stuff. Then I add a limit at the front that the bag cannot fall out while driving. To support the front area, I add a support running to the carrier. Then I can start working on the three hatches. They can be taken out completely to have better access.

Shelter restroom wall

Shelter restroom wall
Shelter restroom wall
Shelter restroom wall
Shelter restroom wall
Shelter battery ventilation
Shelter restroom wall
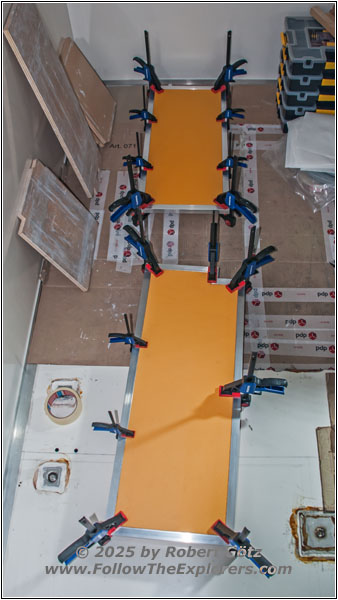
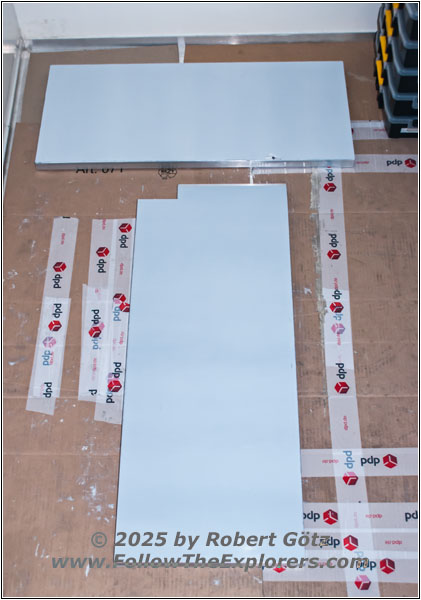
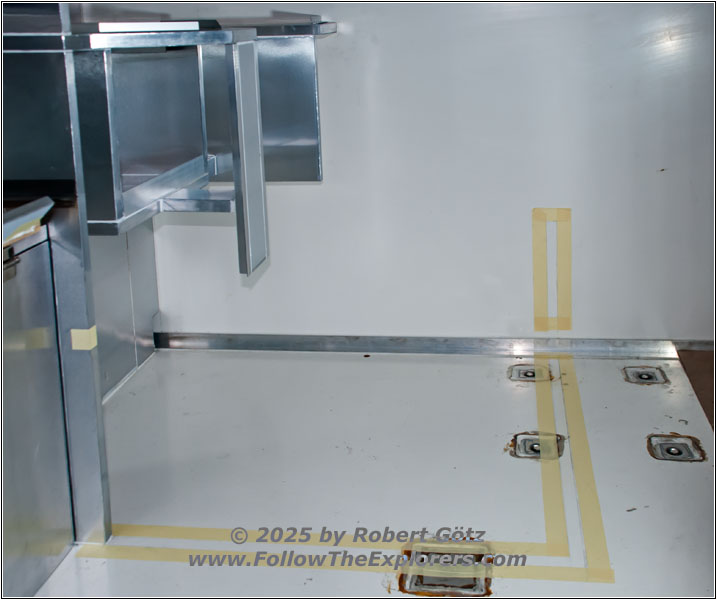
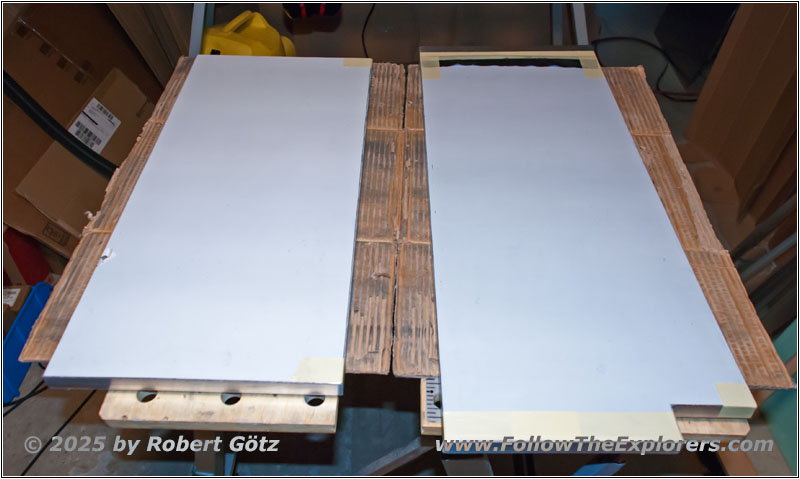
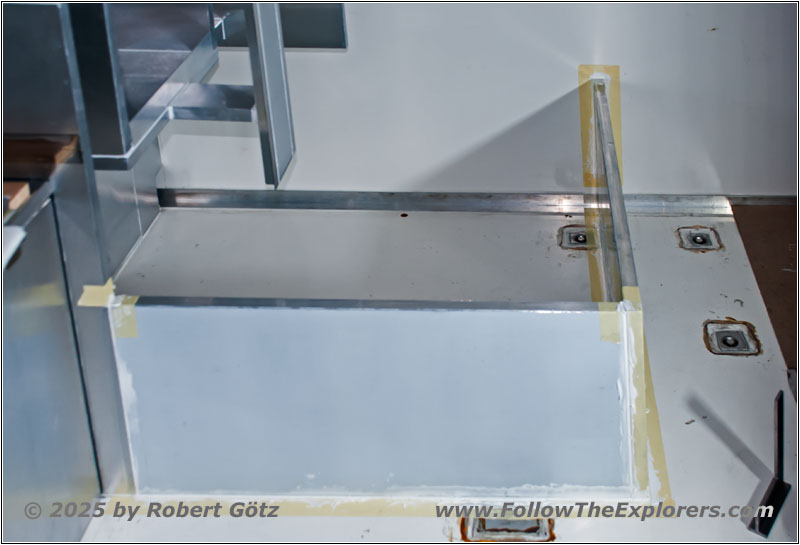
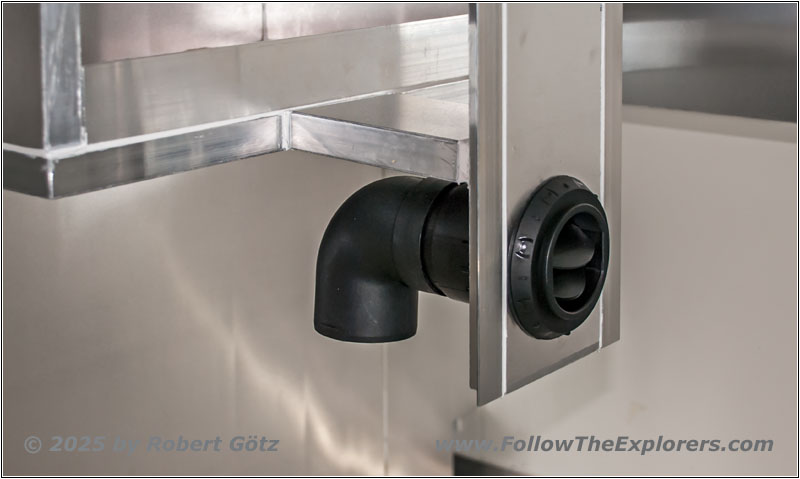
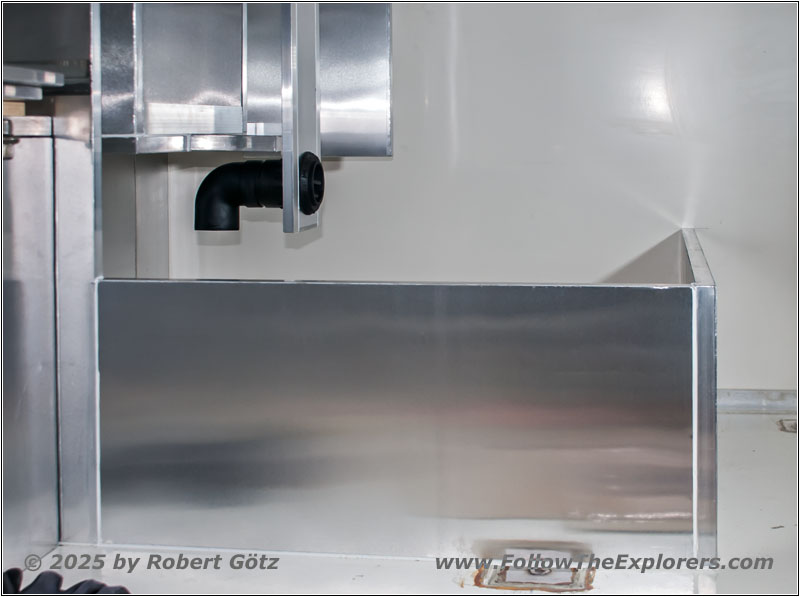
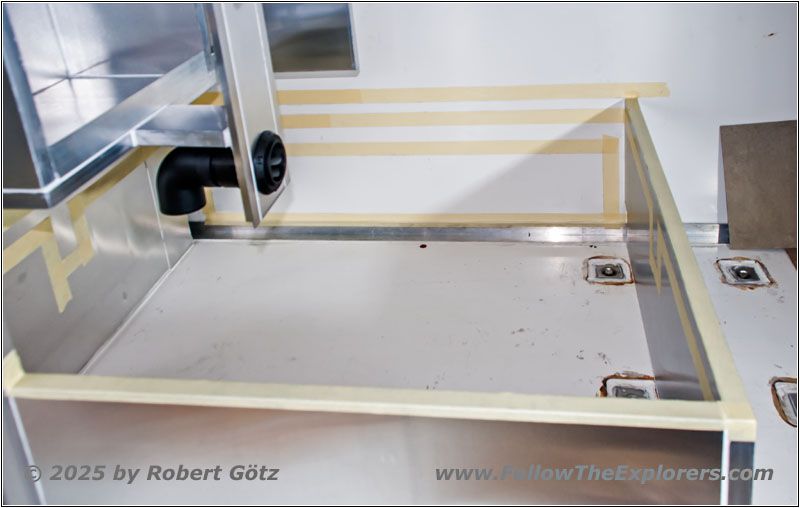
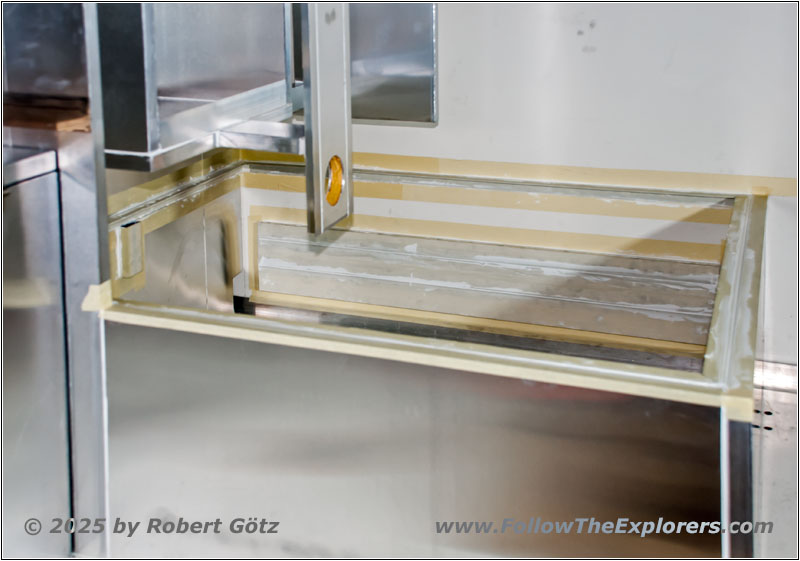
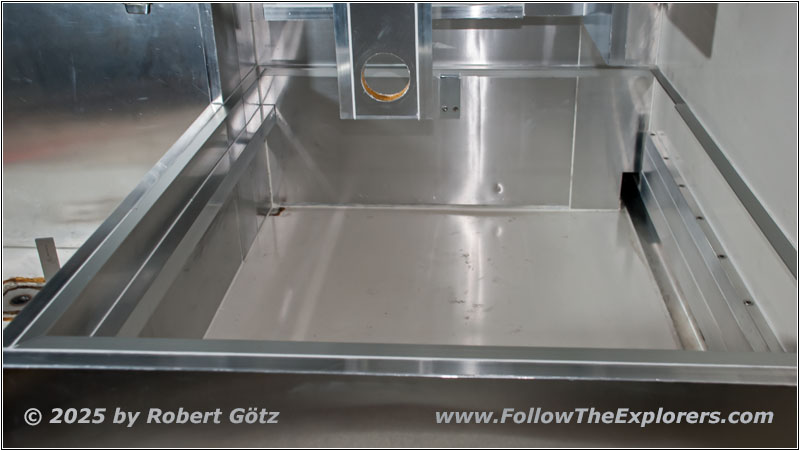
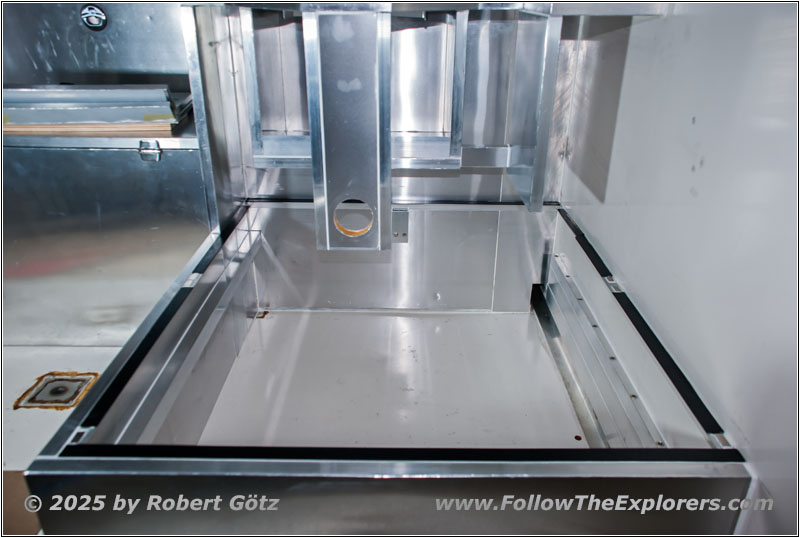
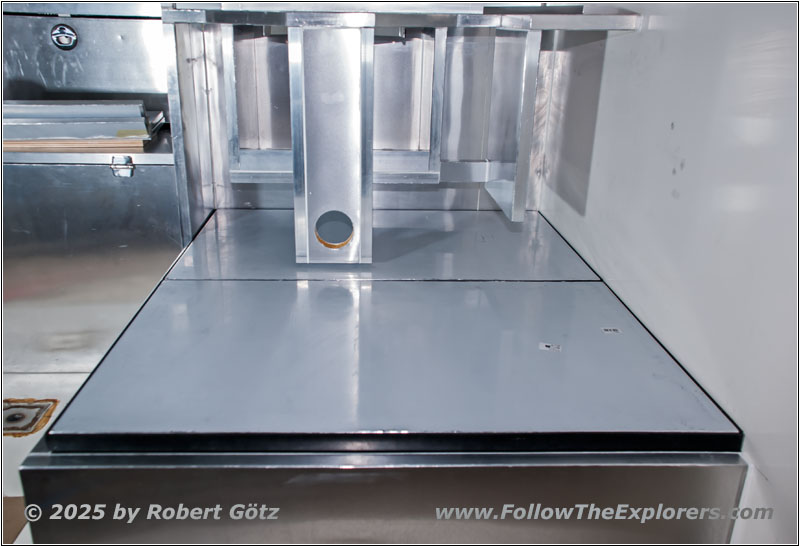
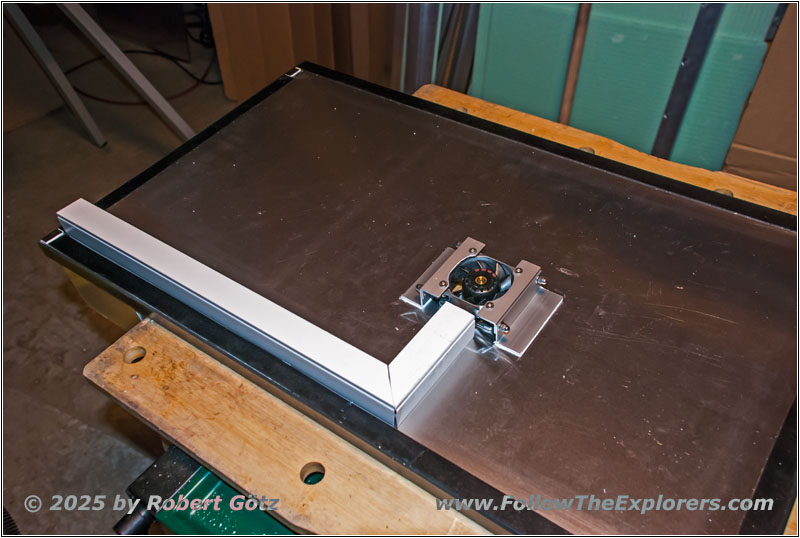
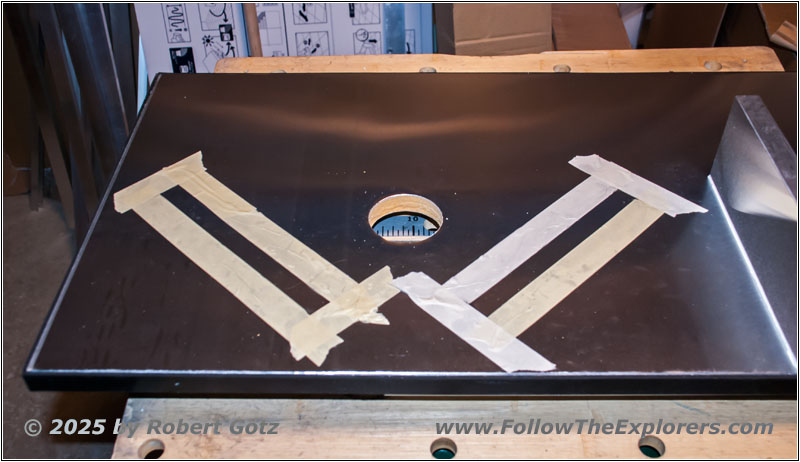
Next I continue with the walls. Because I will have here a false bottom, I first build the 12 inch high stand. When I think about how to realize the battery ventilation I have the idea to use the toilet extension as air outlet and to integrate a 60mm fan in the floor with a connection to the 60mm air hoses.
Shelter restroom floor
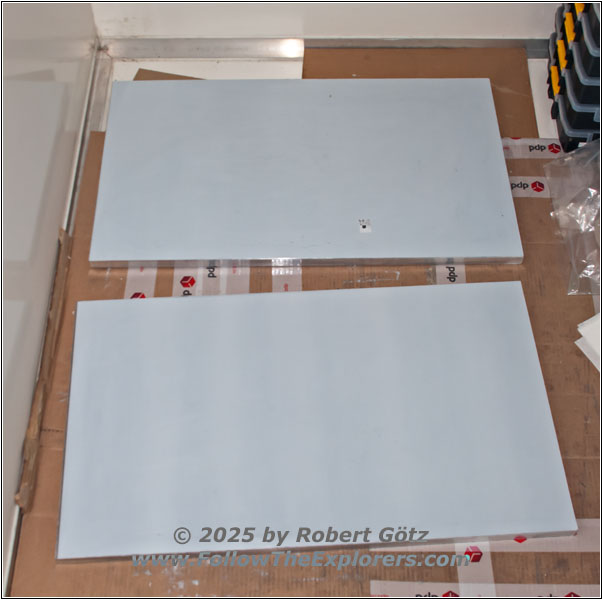
Shelter restroom floor
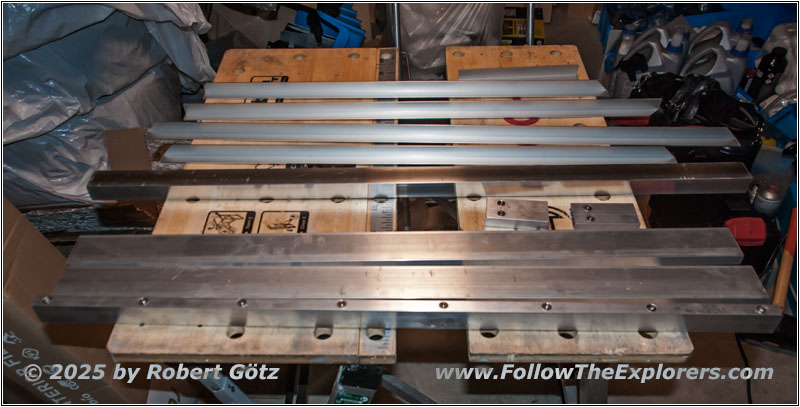
Shelter battery and floor mount
Shelter battery and floor mount
Shelter battery and floor mount
Shelter battery and floor mount
Shelter restroom floor
Shelter restroom floor
Shelter restroom floor
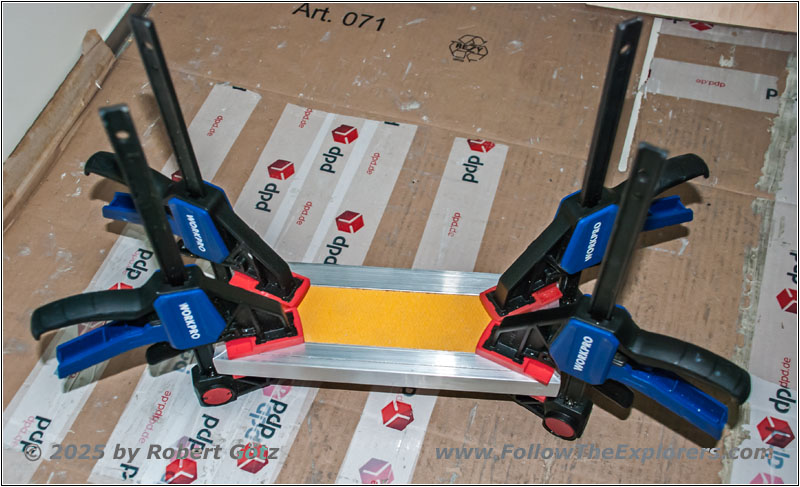
Shelter toilet
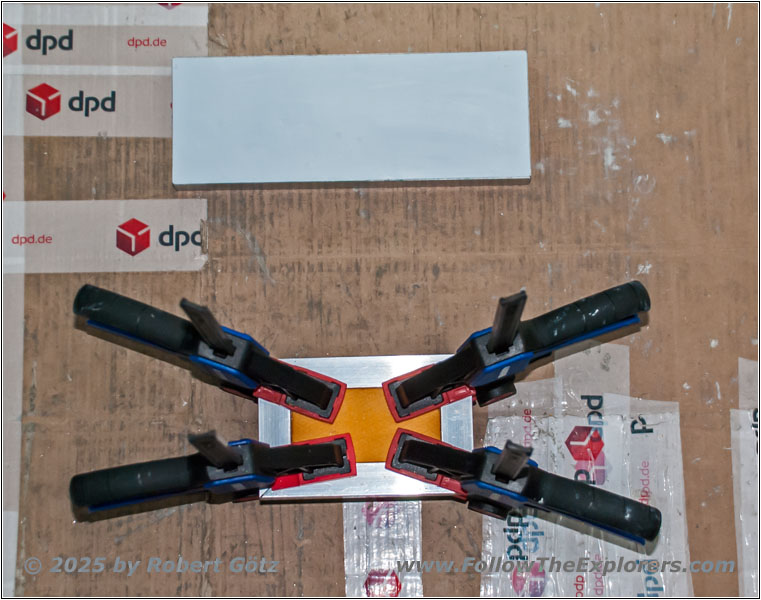
Shelter toilet
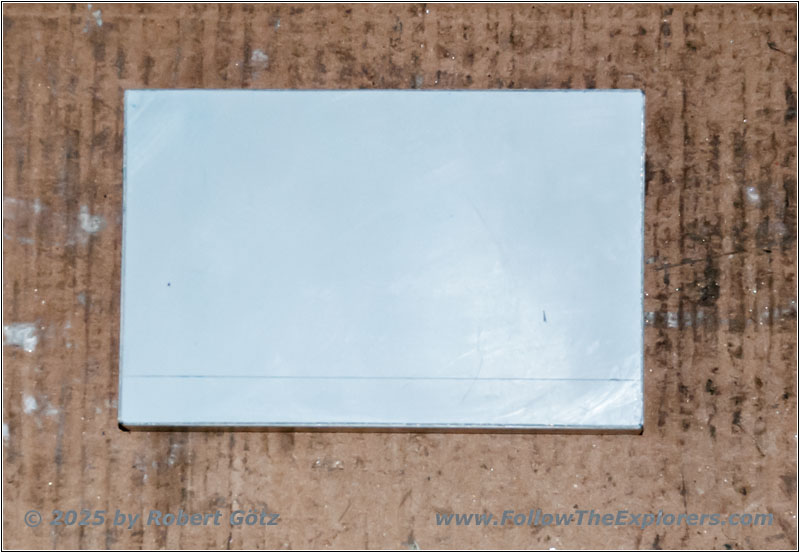
Shelter toilet
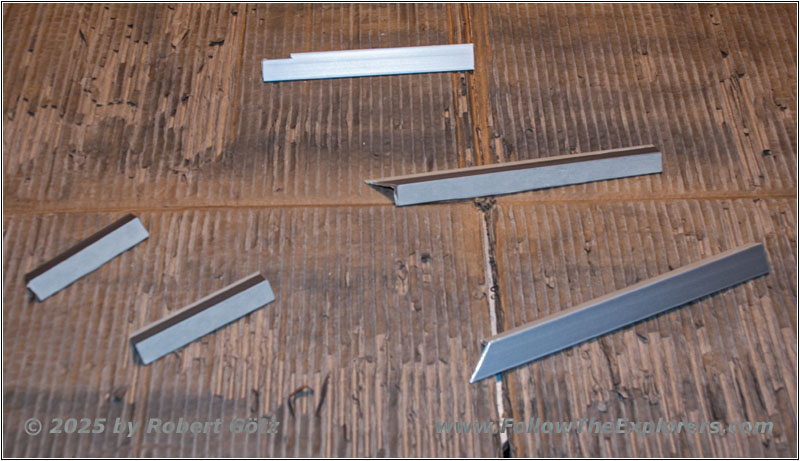
Shelter toilet hatch
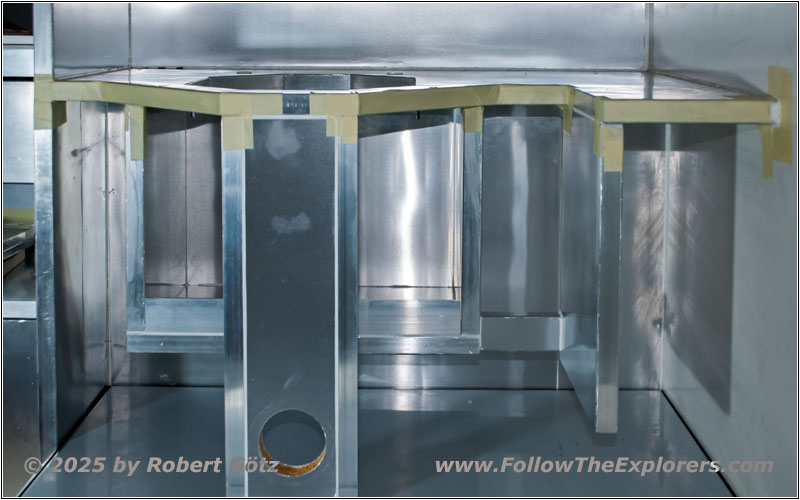
Shelter toilet hatch
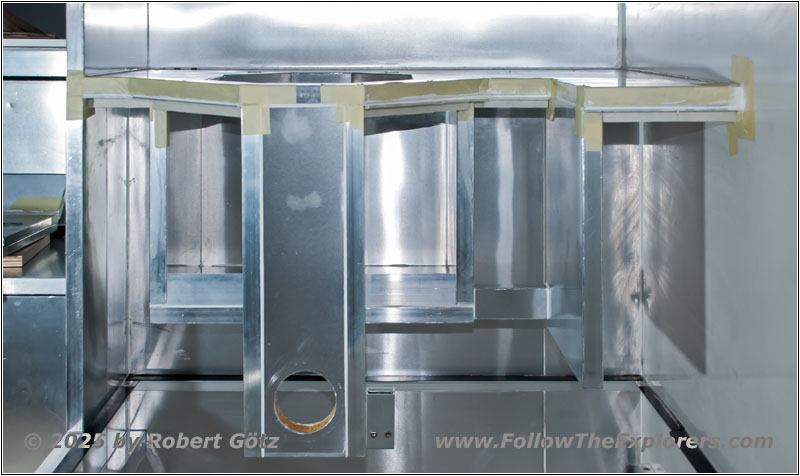
Shelter toilet hatch
Shelter toilet hatch
Shelter restroom floor
Shelter restroom floor
Shelter restroom floor
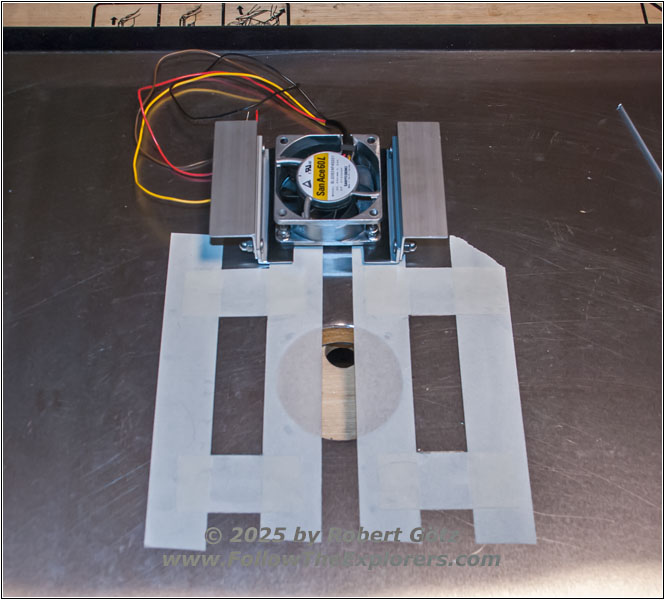
Shelter restroom floor with battery fan
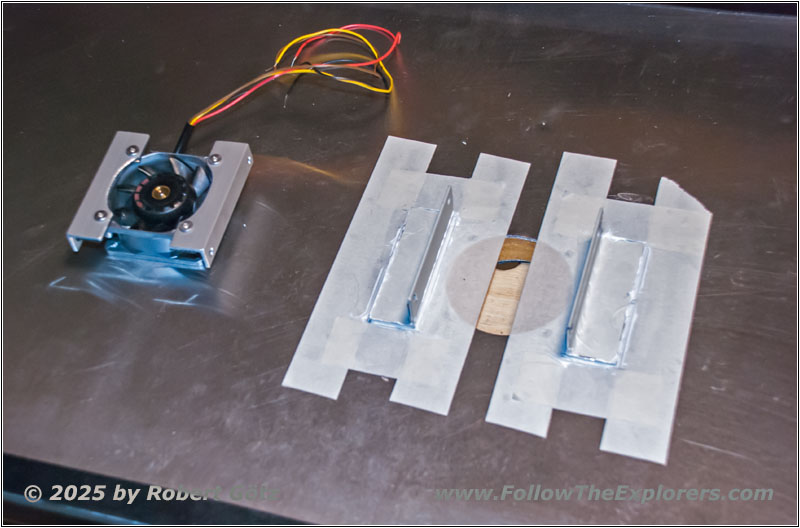
Shelter restroom floor with battery fan
Shelter restroom floor with battery fan
Shelter toilet hatch
Shelter toilet hatch
Shelter toilet hatch
Shelter toilet hatch
Shelter restroom floor
Shelter toilet hatch
Shelter toilet
Shelter toilet hatch
Shelter restroom floor
Shelter restroom floor
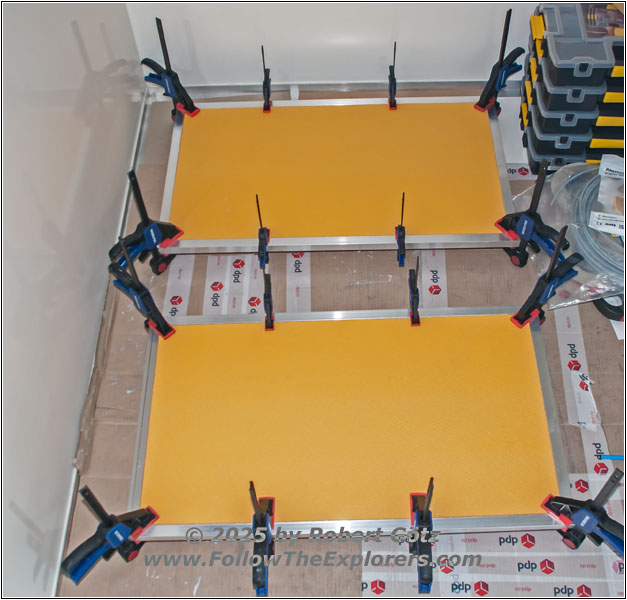
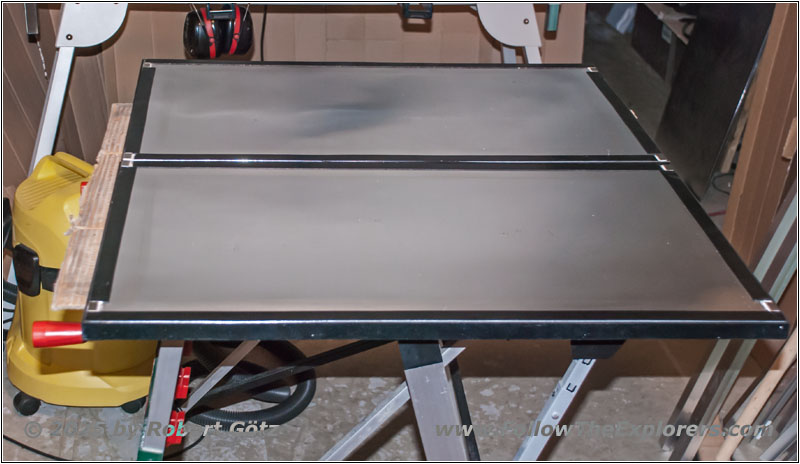
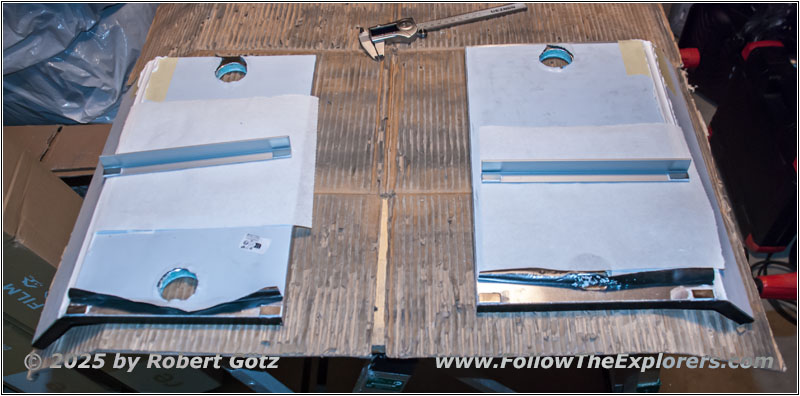
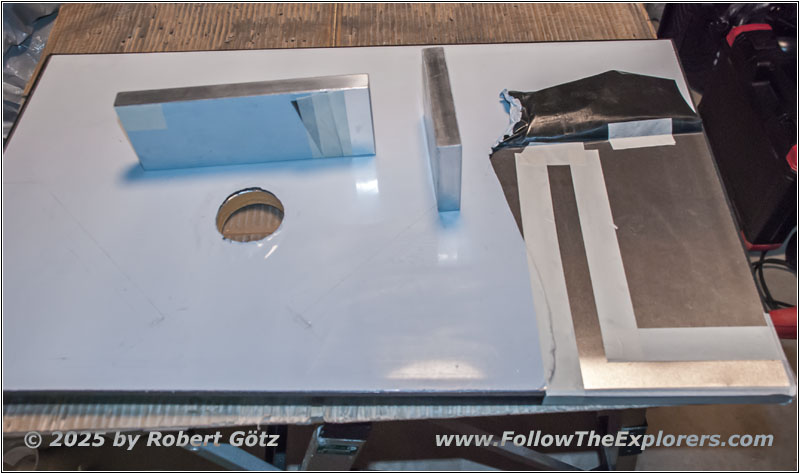
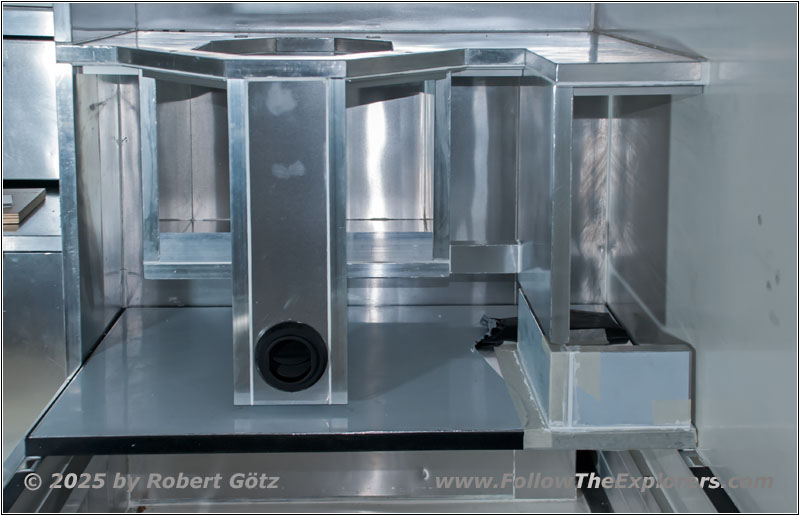
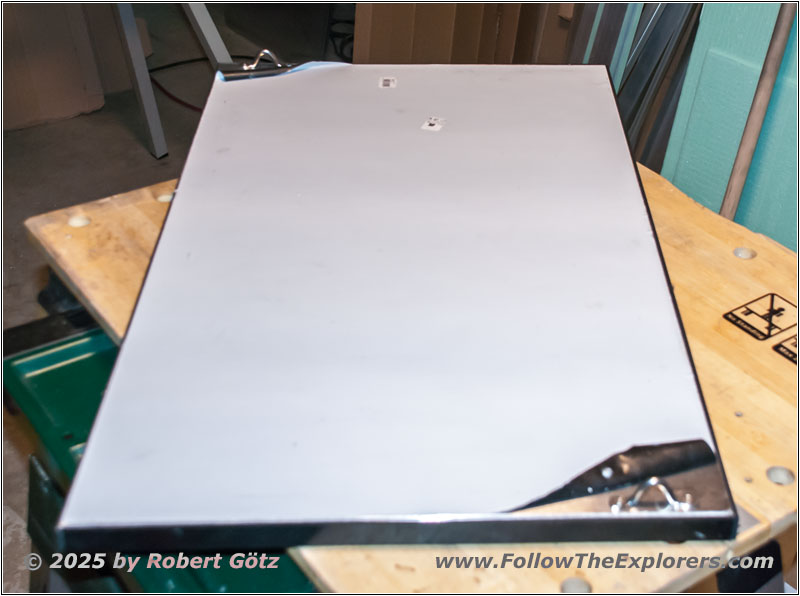
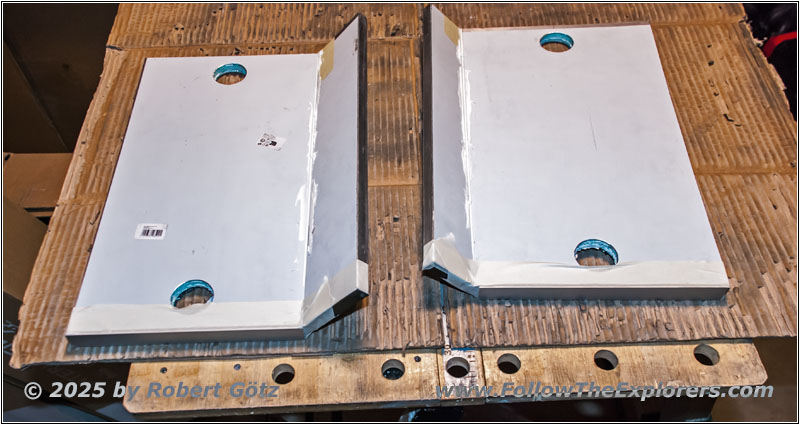
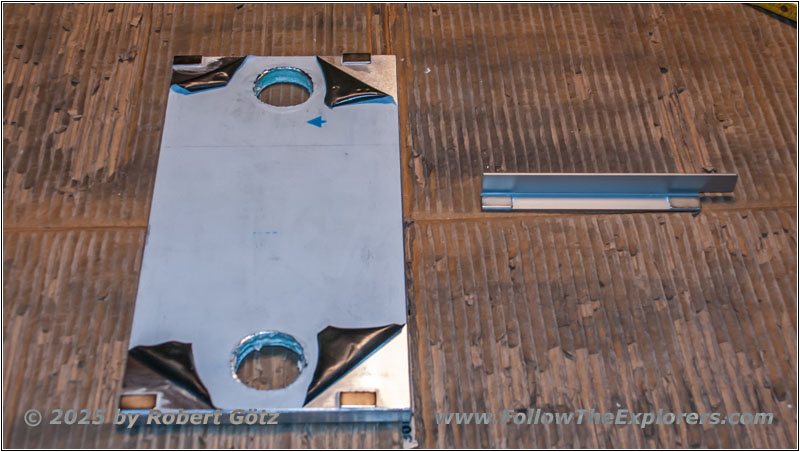
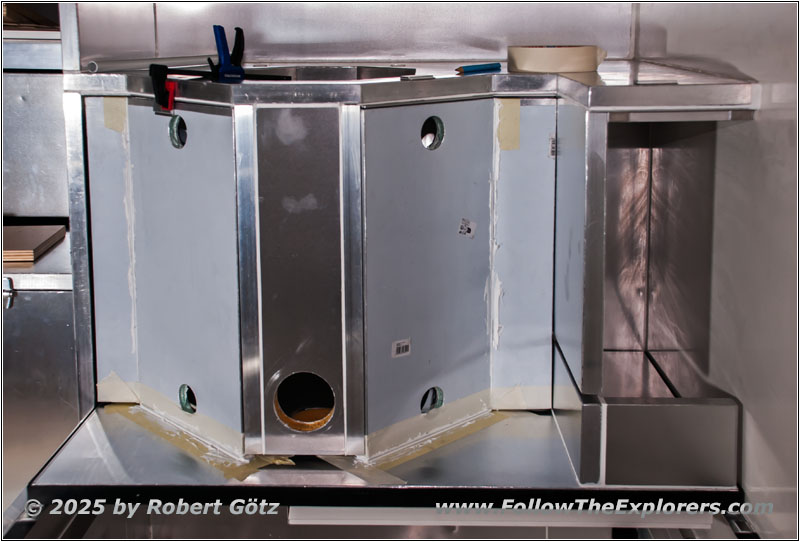
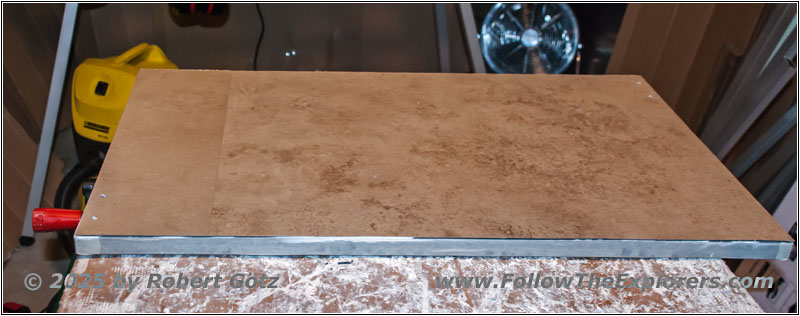
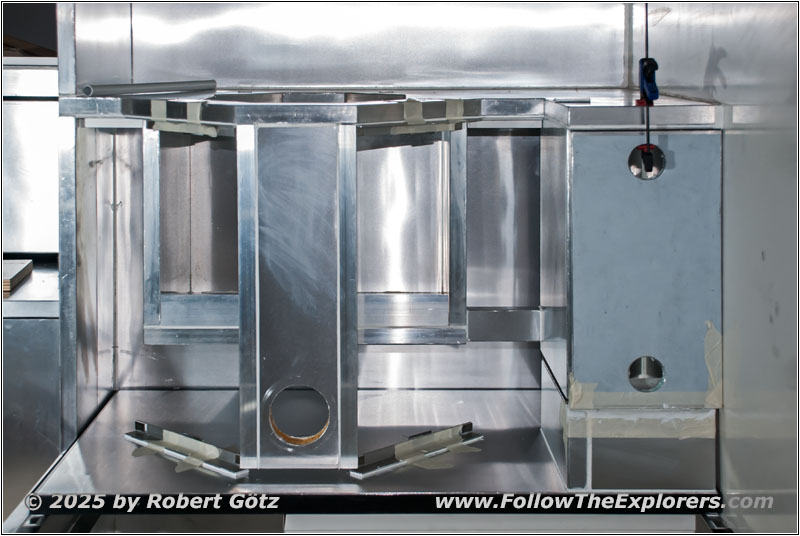
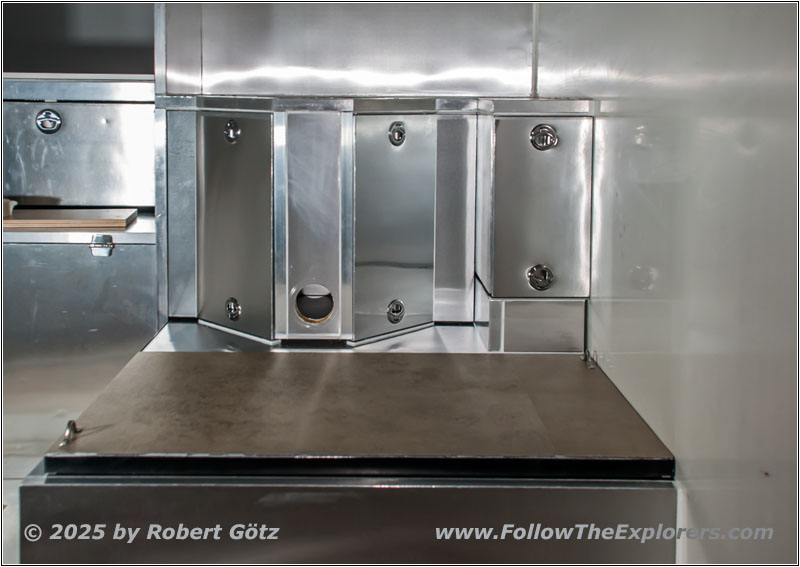
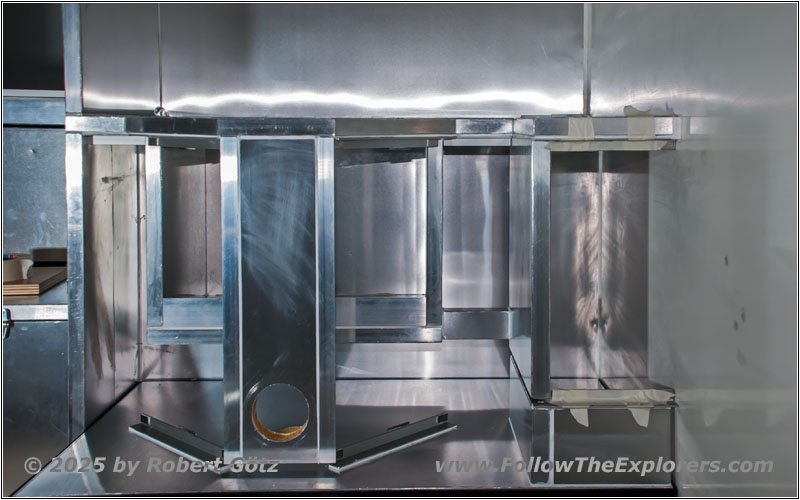
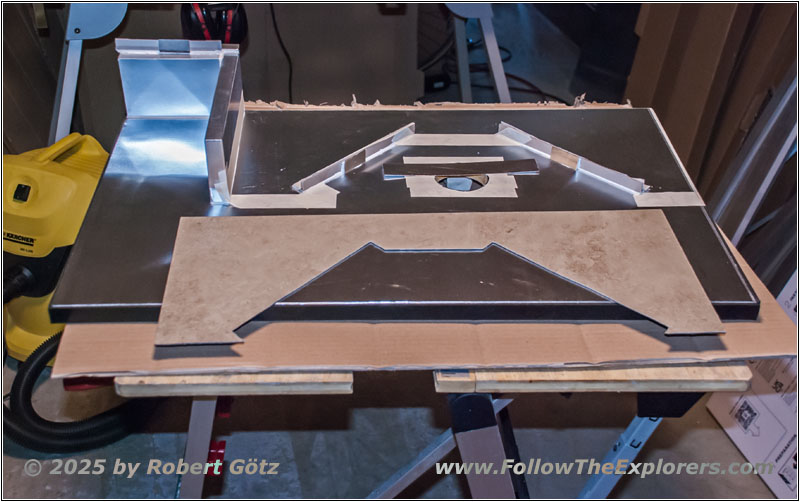
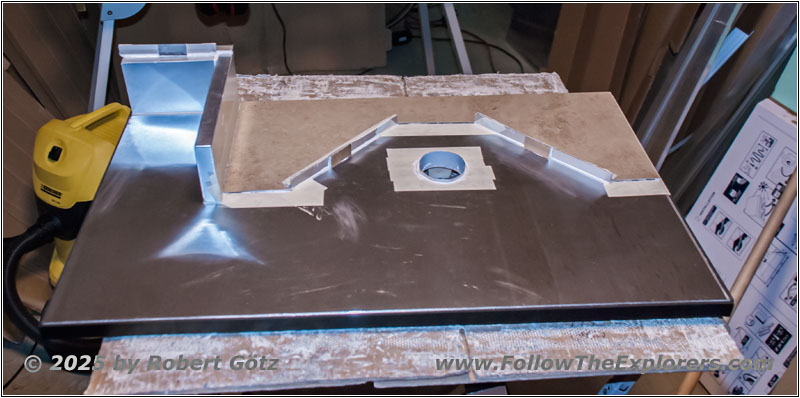
Then I start building the false bottom, which must be easily to be taken out when servicing the batteries. While the glue is hardening out I start working on the battery mounts and the carrier for the false bottom. Then I continue working on the toilet hatches. There I must build the limits and glue the magnets on. Finally I mount the fan in the false bottom and two small handles to be able to lift the front false bottom.
Shelter air duct
Shelter air duct outlet

Shelter air duct

Shelter air duct
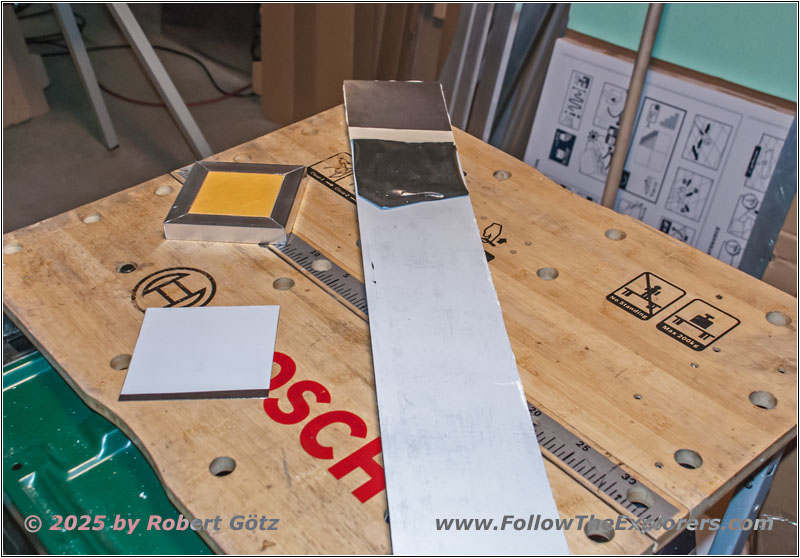
Shelter air duct

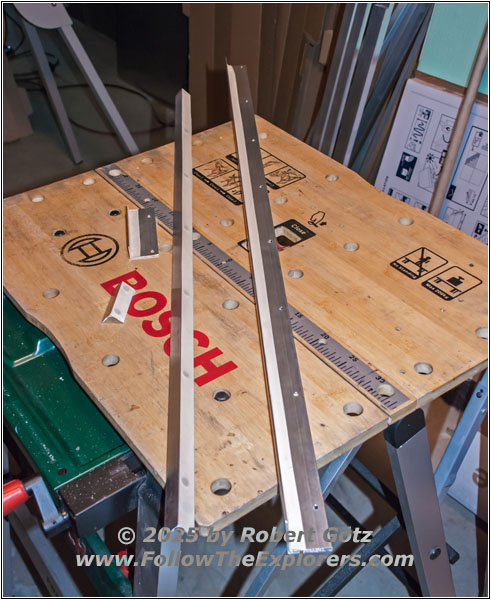
Shelter air duct

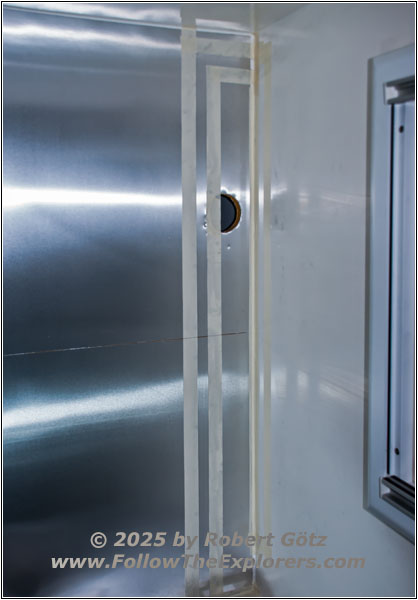
Shelter air duct

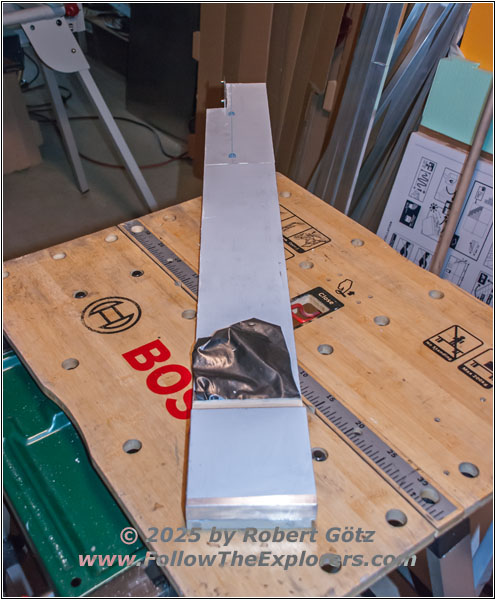
Shelter air duct

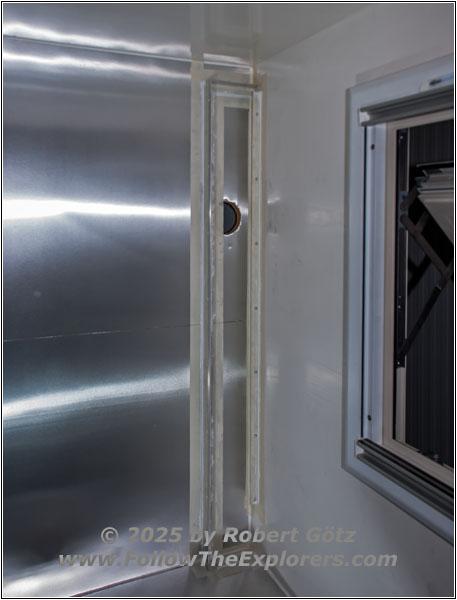
Shelter air duct

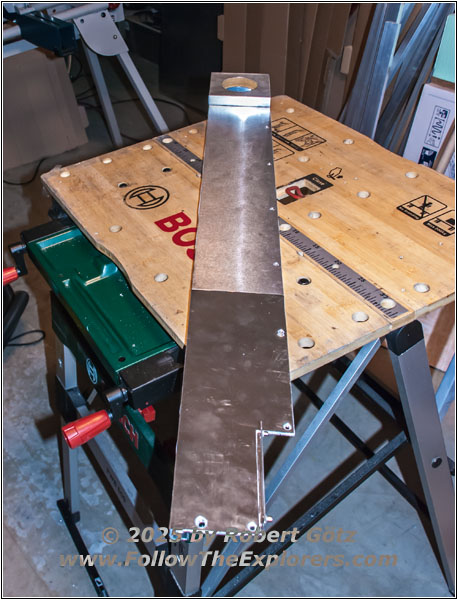
Shelter air duct

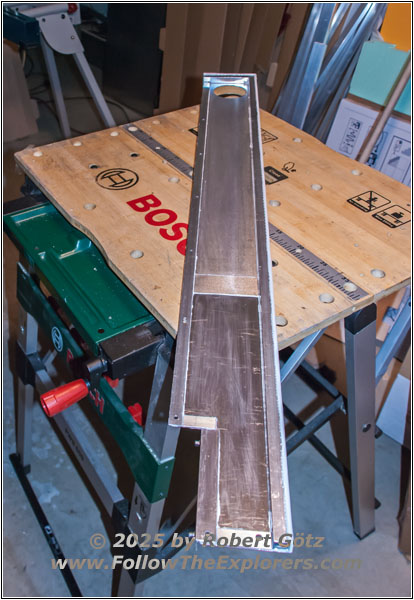
Shelter air duct
Shelter air duct outlet bedroom

Shelter air duct

Shelter air duct
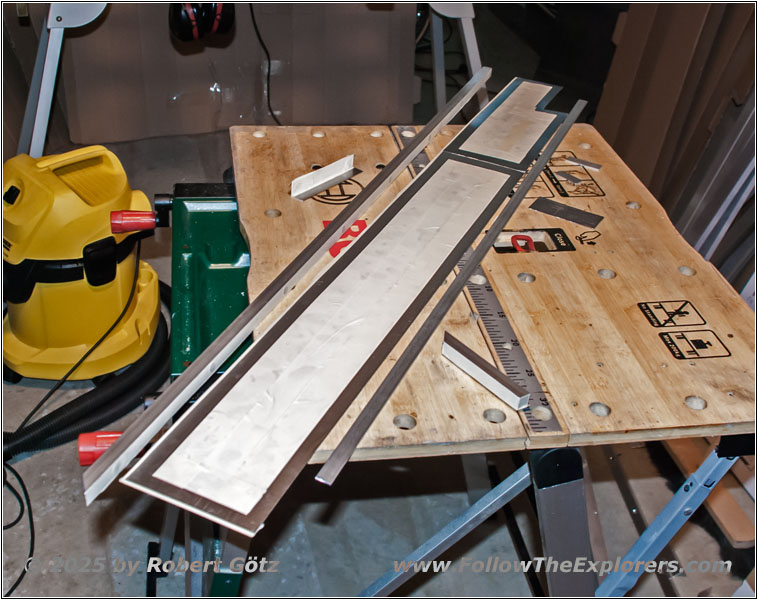
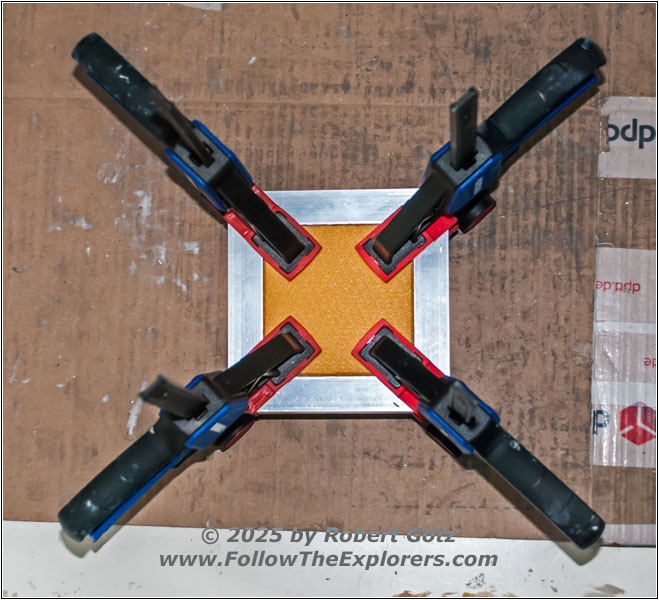
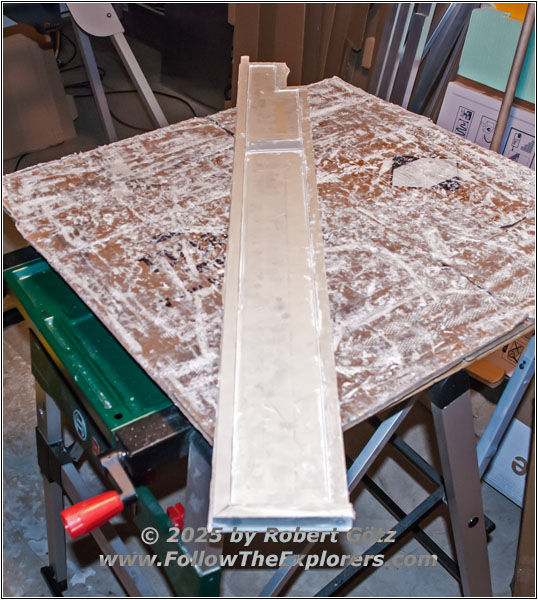
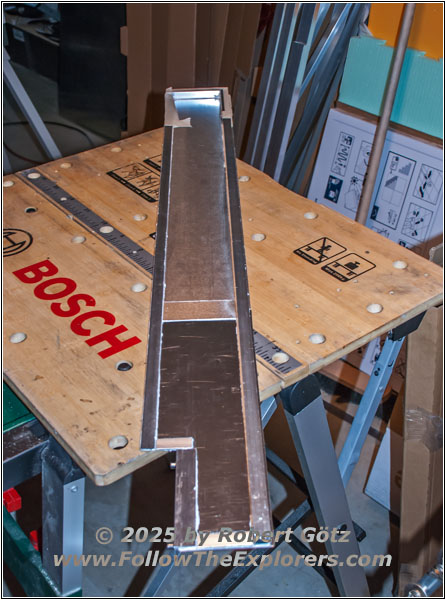
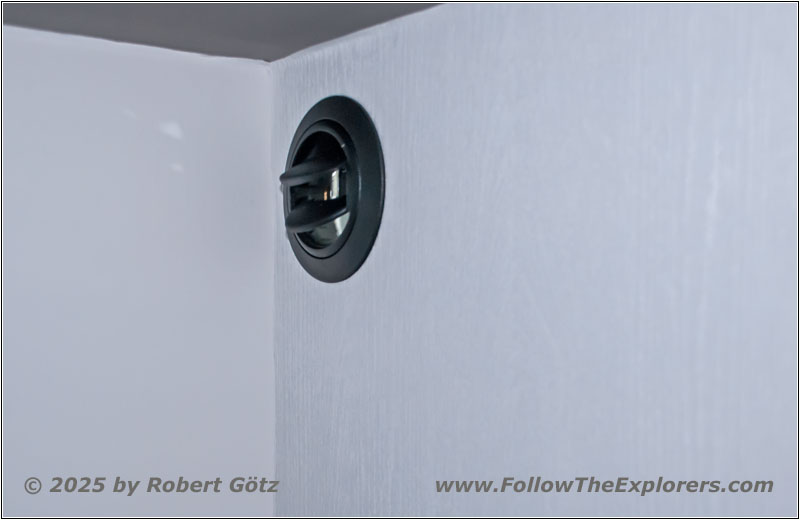
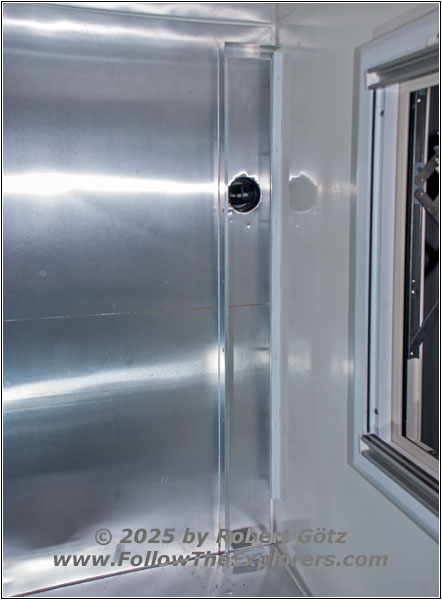
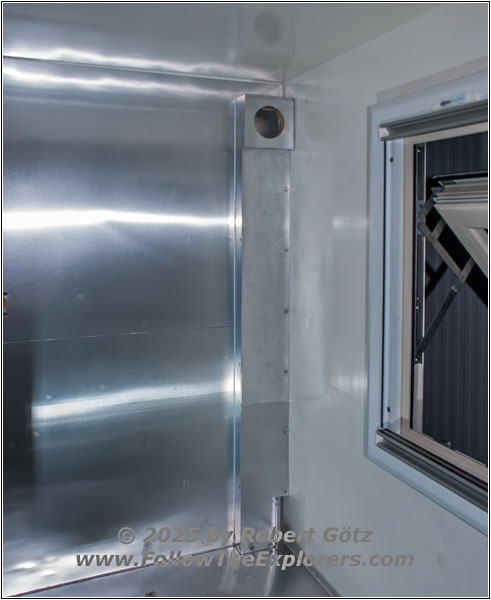
Then I start working on the air duct. This one must be designed to be opened that it can be easily removed in case of a defect of the air outlet.
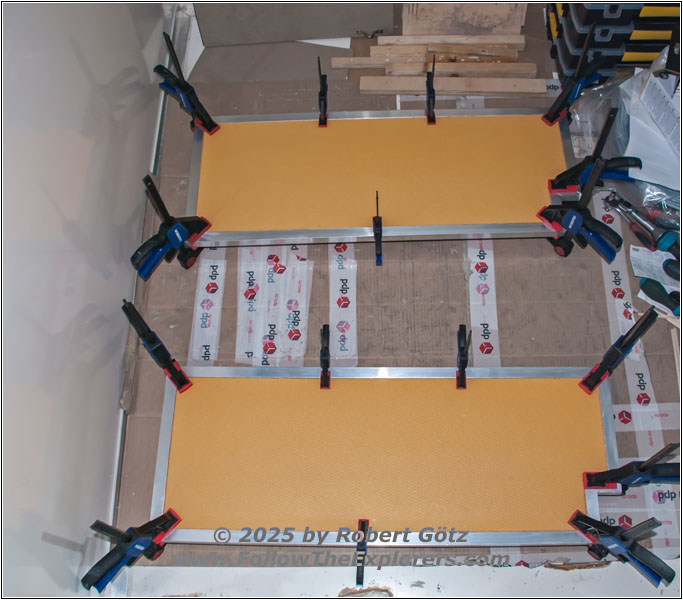
Shelter pedestal support seating
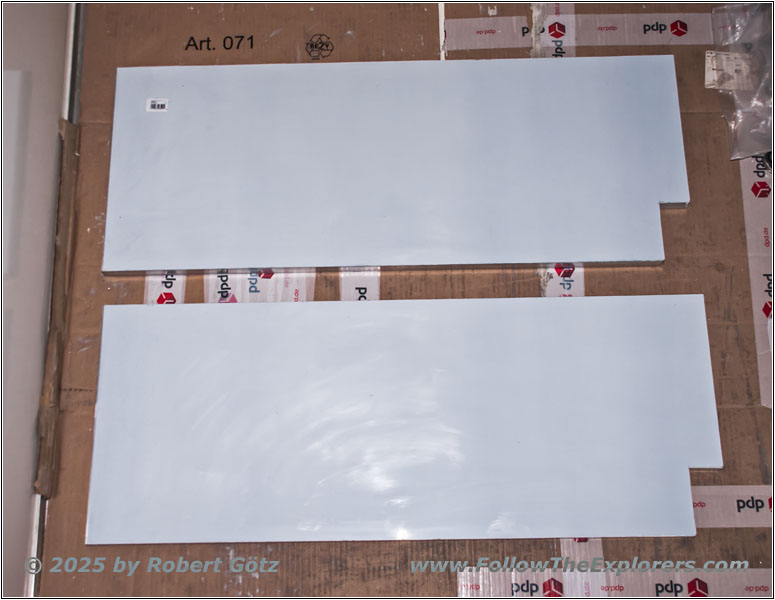
Shelter pedestal support seating
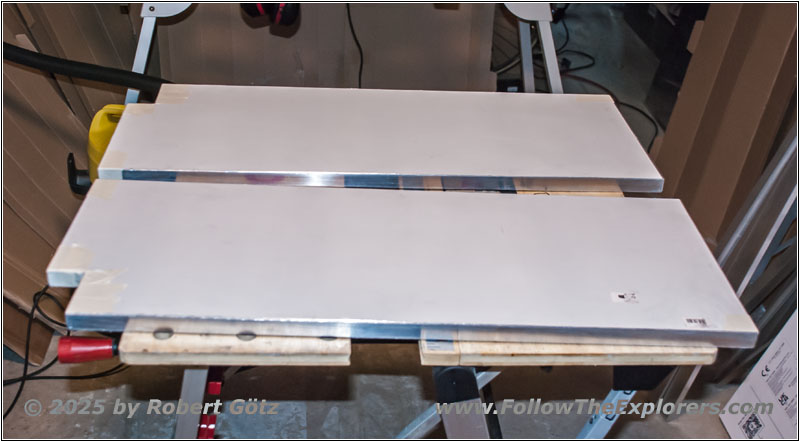
Shelter pedestal support seating
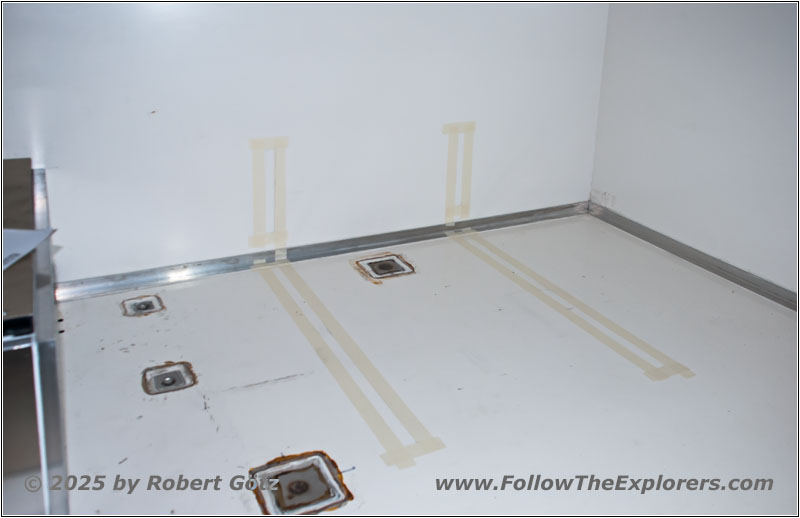
Shelter pedestal support seating
Shelter pedestal support seating
Shelter pedestal support drawer mount seating
Shelter pedestal support drawer mount seating
Shelter pedestal support drawer mount seating
Shelter pedestal support drawer mount seating
Shelter pedestal support drawer mount seating
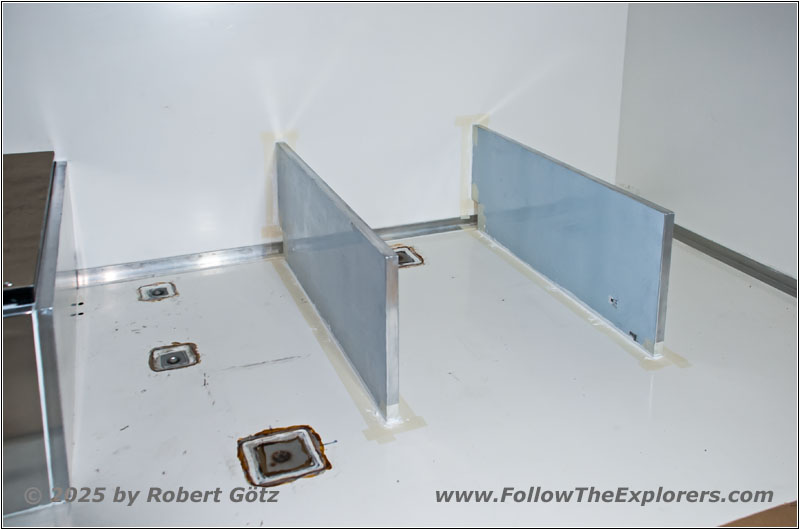
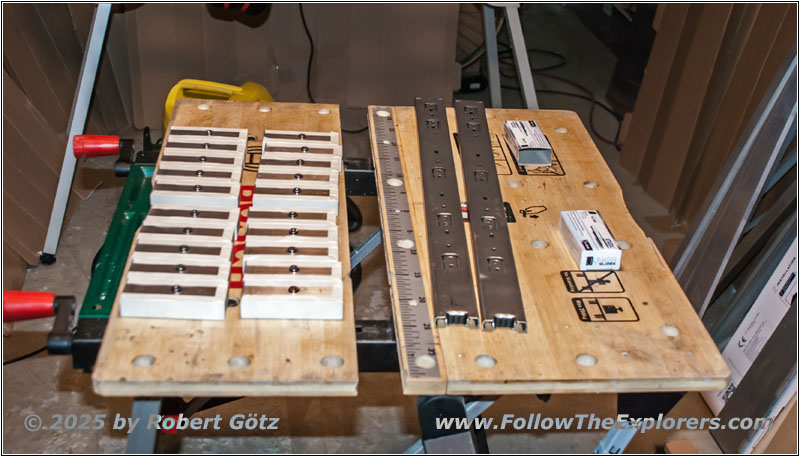
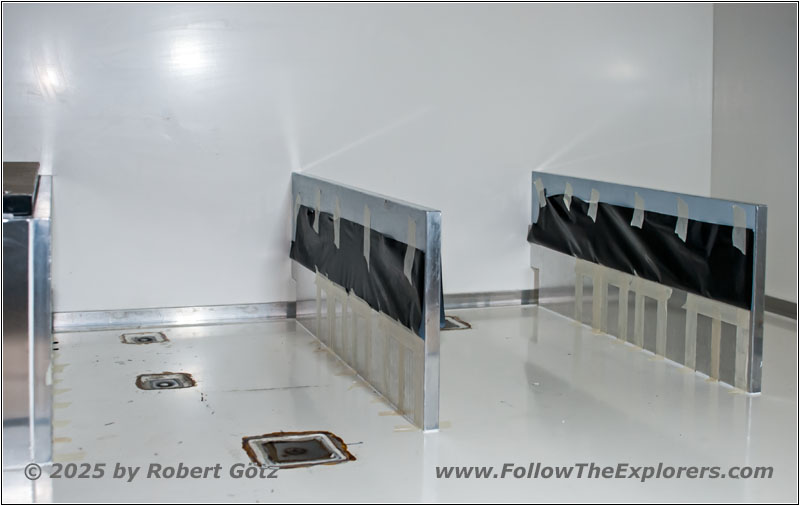
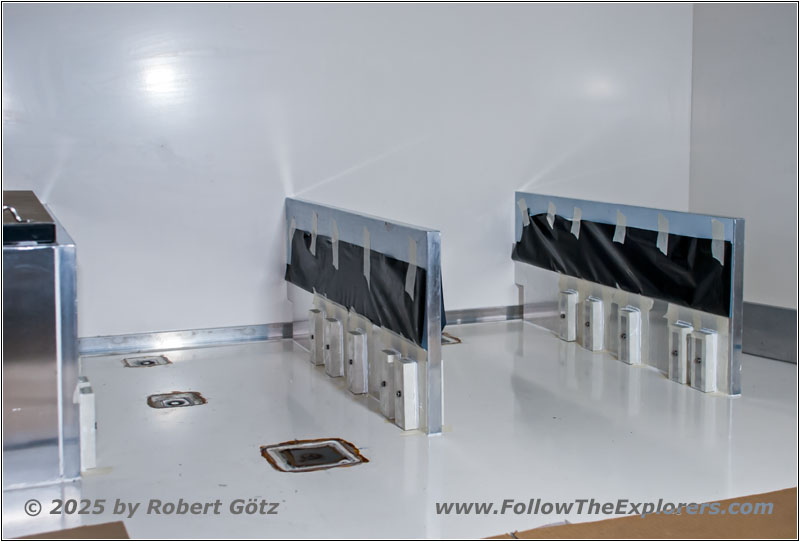
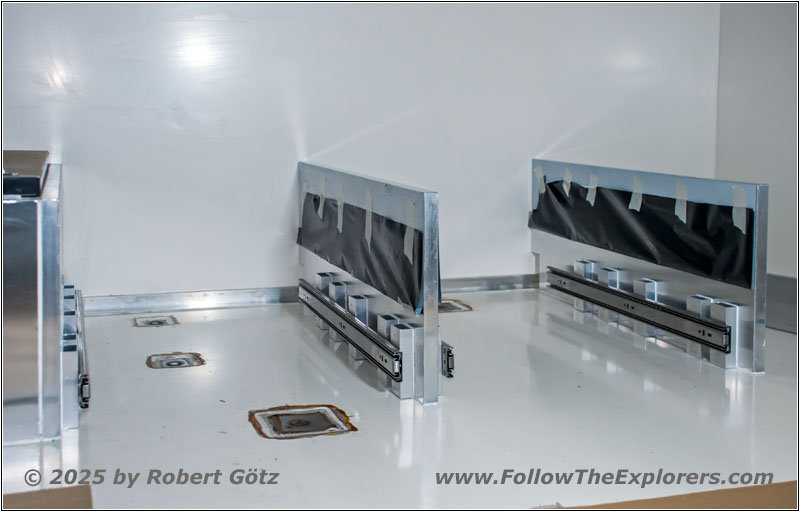
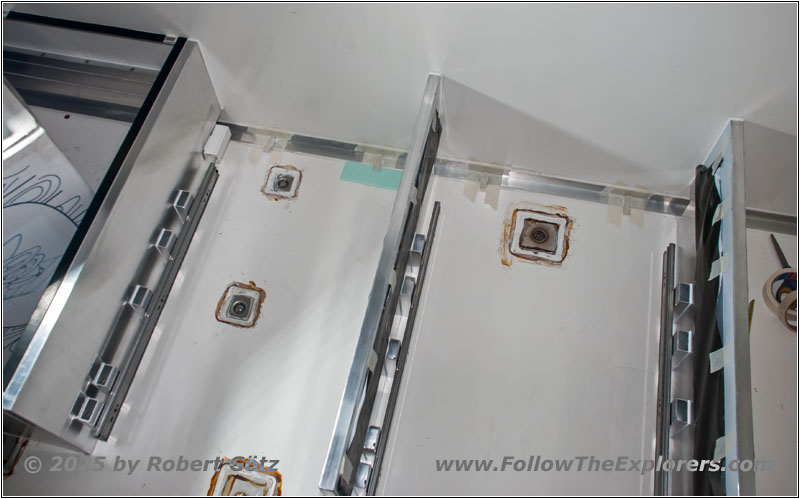
Finally I start working on the pedestal for the seating area. Because the seating area floor will be clamped in the wall, this area must also be started to work on. First I build the supports and glue them in. Then I continue with the drawer mounts. To equalize the forces better, every screw receives its own mount which will be mounted perpendicular. Afterwards, I can mount the drawer slides just for testing. Finally I add a cable conduit for the wires running out of the storage box and a mount for the isolation sheets at the rear end.
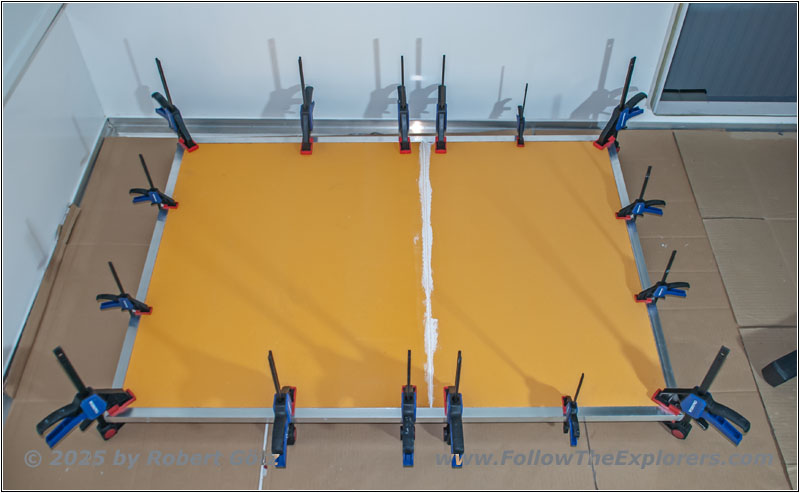
Shelter pedestal floor seating
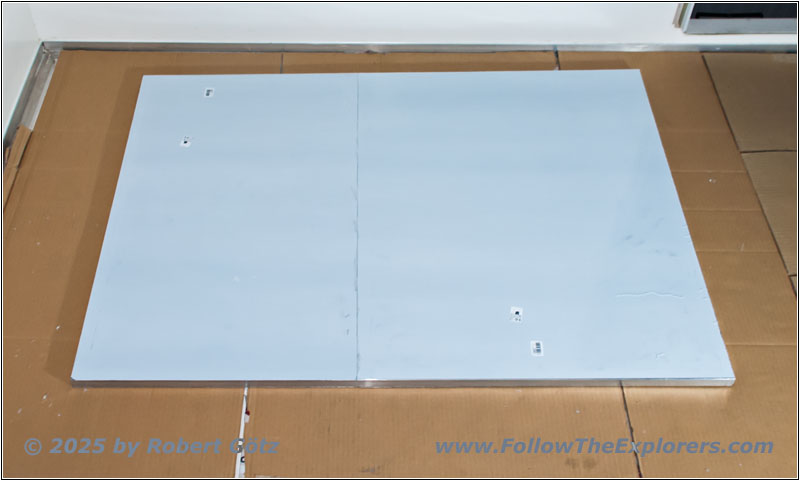
Shelter pedestal floor seating
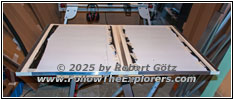
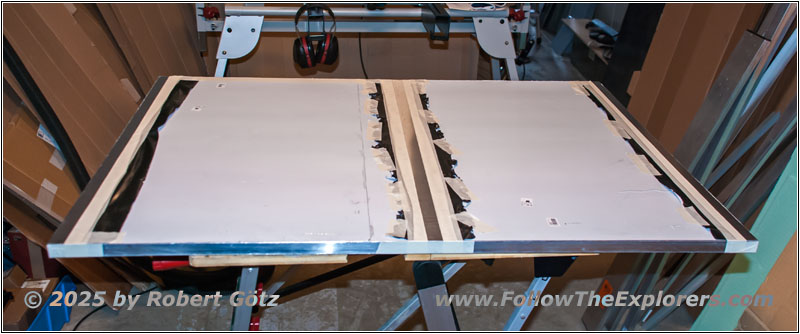
Shelter pedestal floor seating
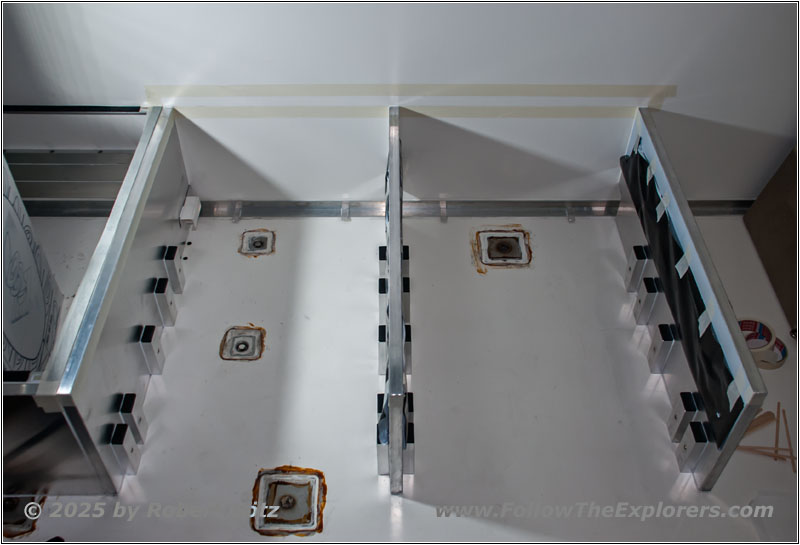
Shelter pedestal floor seating
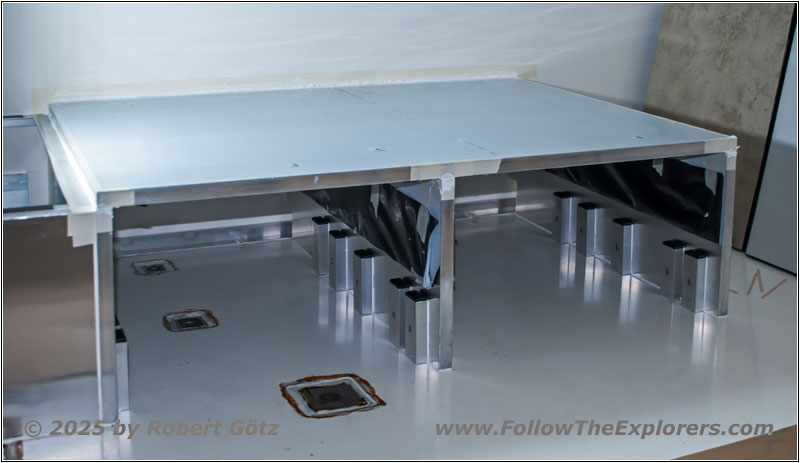
Shelter pedestal floor seating
Next I start building the big floor sheet. This one runs only to the beginning of the rear seating area, because there will be a deeper storage area where I will additionally run the air duct.
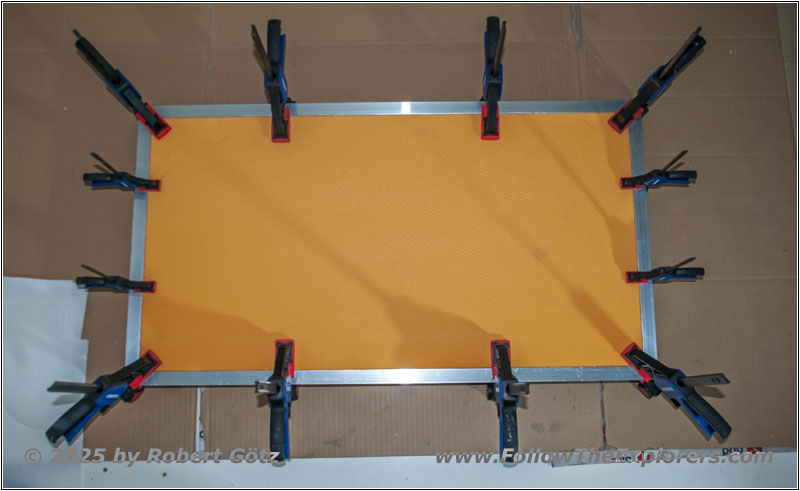
Shelter separation wall restroom and seating
Shelter separation wall restroom and seating
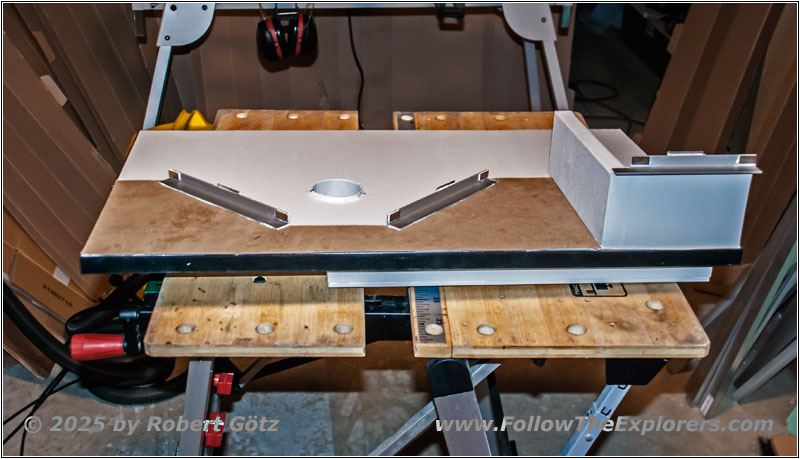
Shelter restroom floor
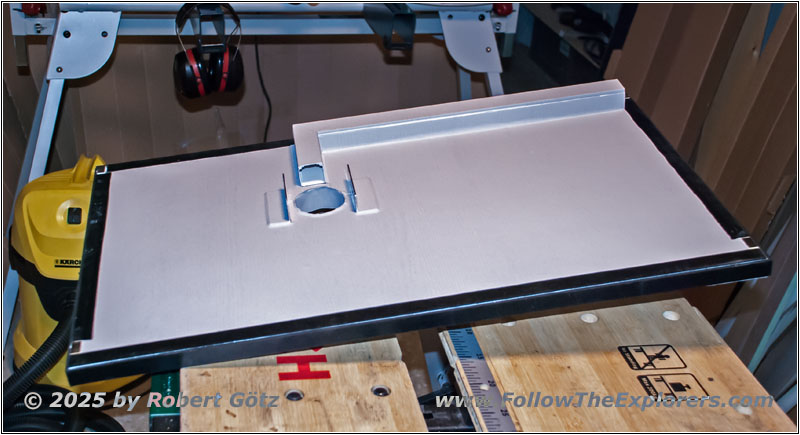
Shelter restroom floor

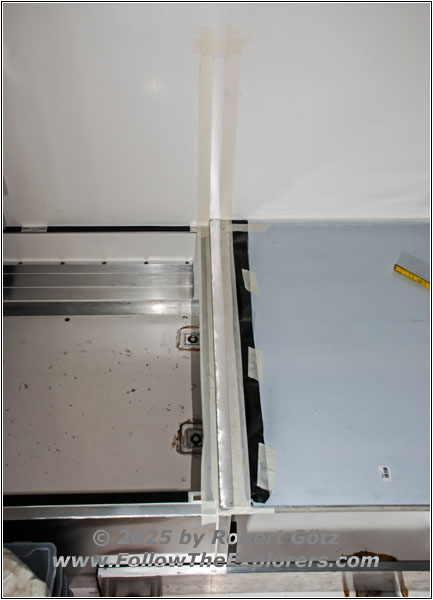
Shelter separation wall restroom and seating
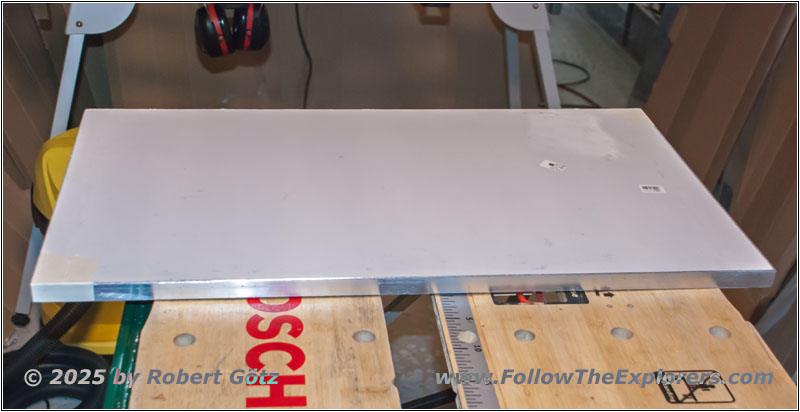
Shelter separation wall restroom and seating

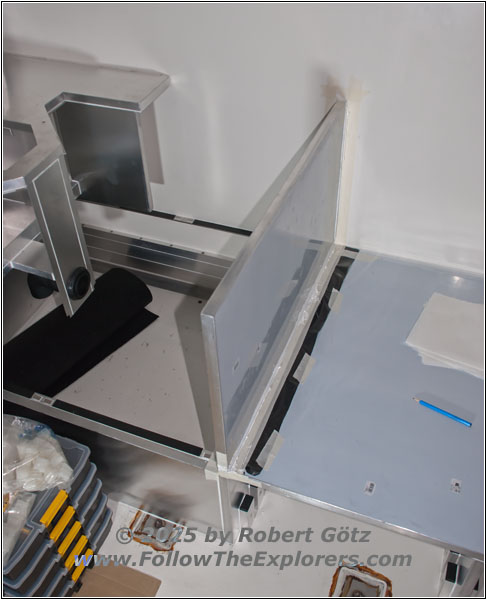
Shelter separation wall restroom and seating
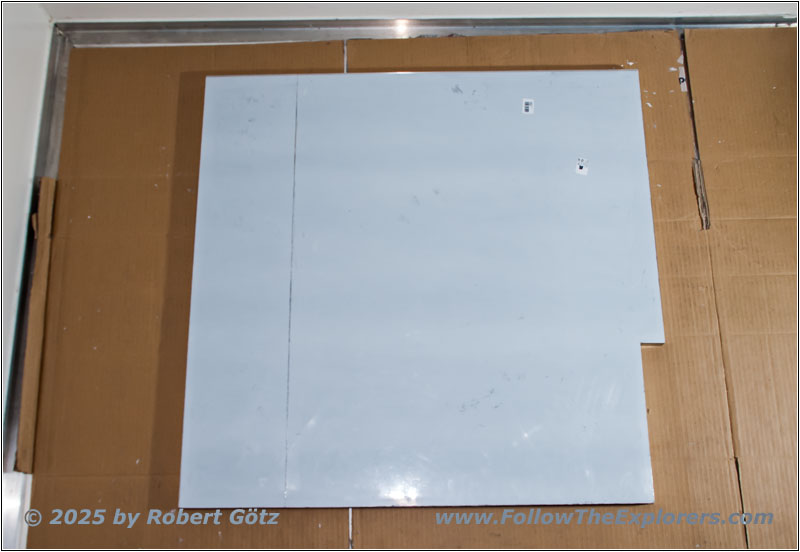
Shelter separation wall restroom and seating
Shelter separation wall restroom and seating

Shelter separation wall restroom and seating
Shelter separation wall restroom and seating
Shelter bedroom door lock
Shelter separation wall restroom and seating
Shelter separation wall restroom and seating
Shelter separation wall restroom and seating
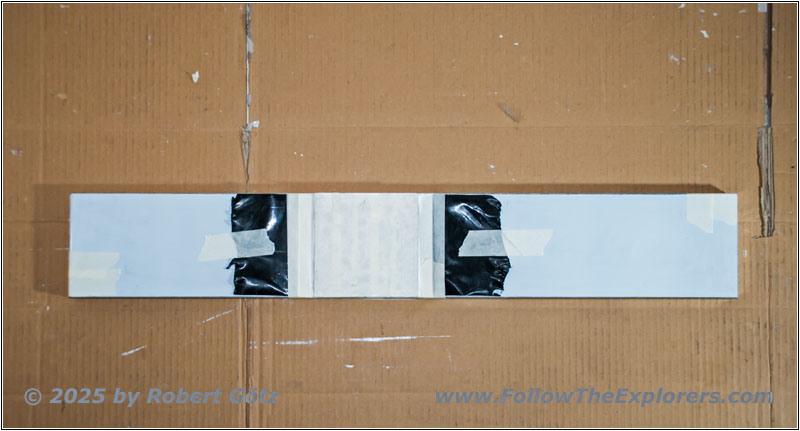
Shelter separation wall restroom and seating
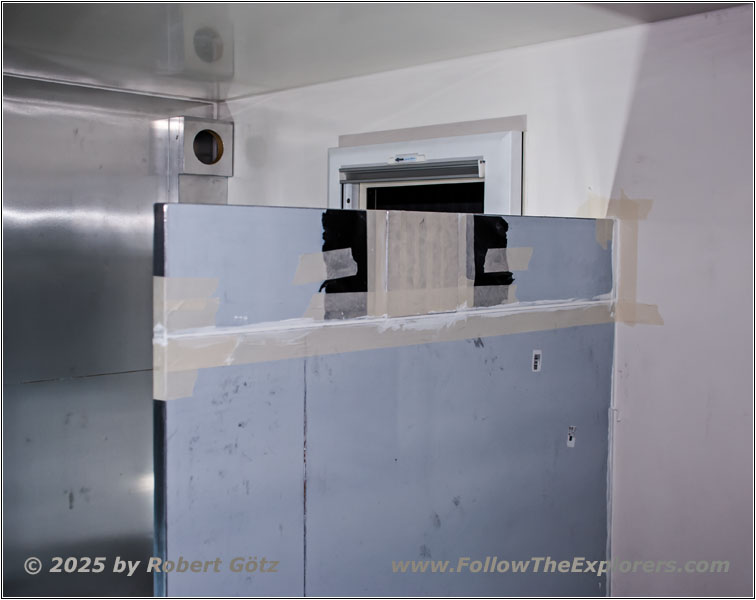
Shelter separation wall restroom and seating
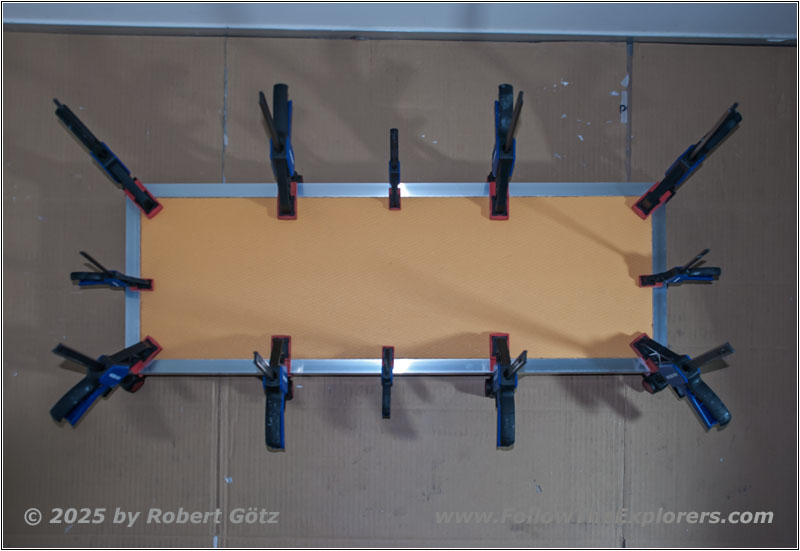
Shelter separation wall restroom and seating

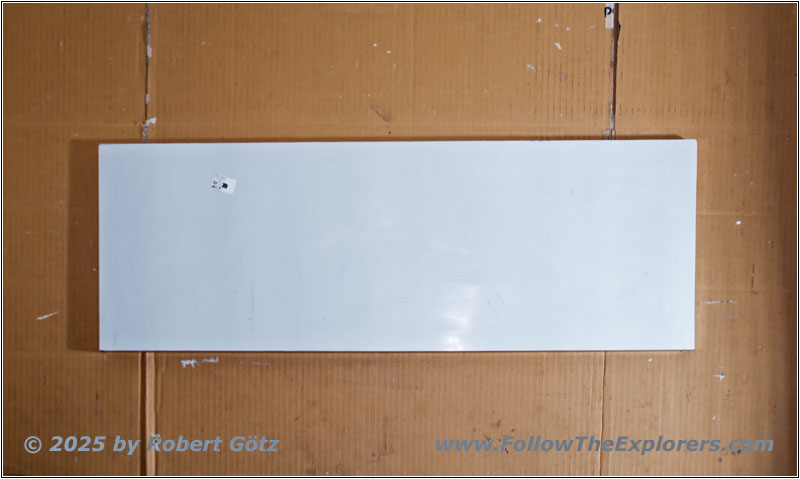
Shelter separation wall restroom and seating
Shelter separation wall restroom and seating
Shelter separation wall restroom and seating
Shelter separation wall restroom and seating
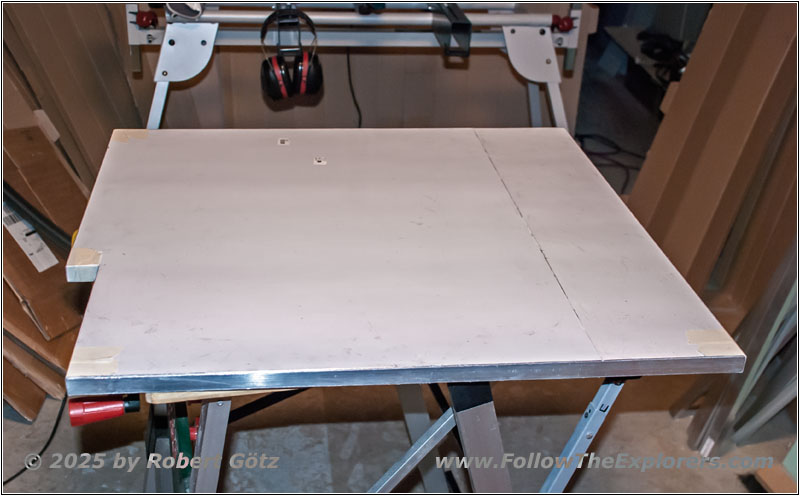
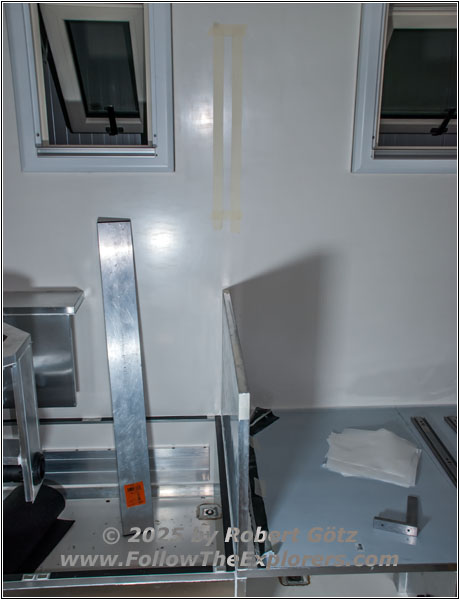
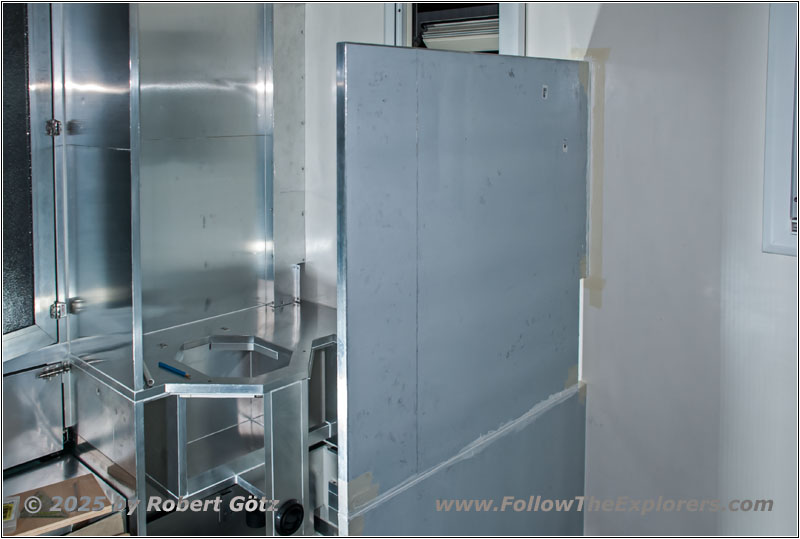
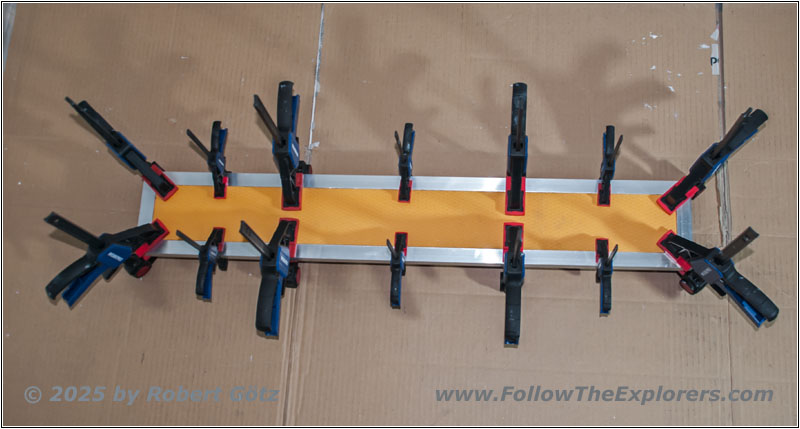
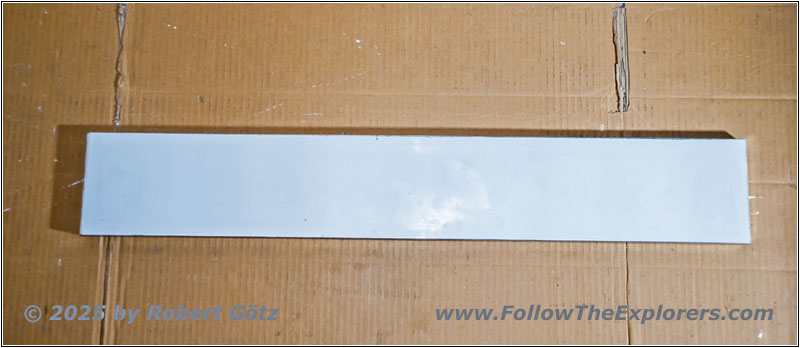
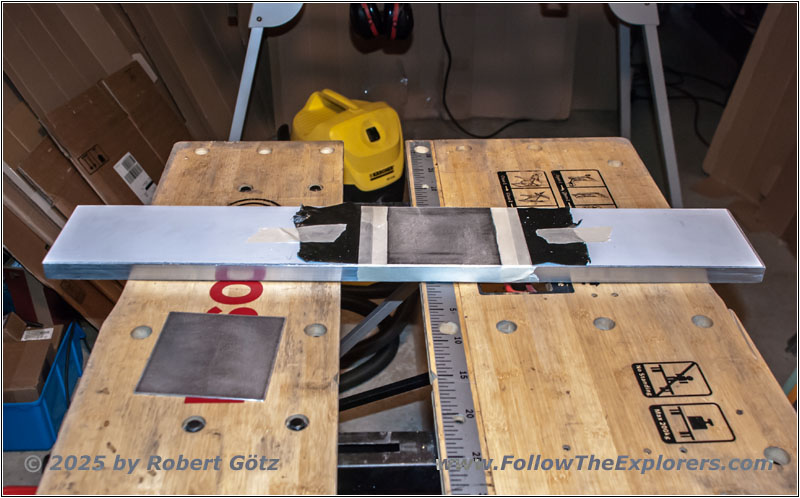
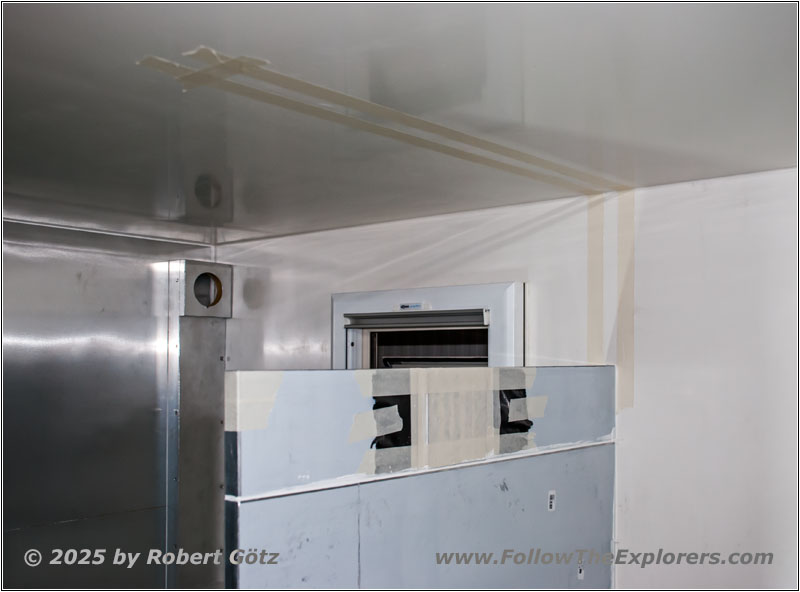
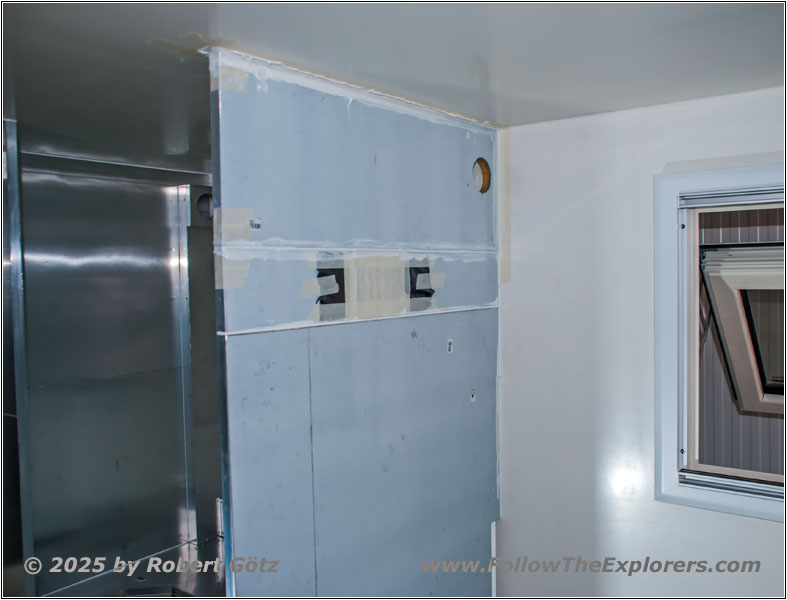
Then I can start building up the separation wall. First I start with the lower part which runs up to the seating. There is the first separation line, because I need a stable counterpart for my seating. Then the bigger part follows which includes the seat back up to the monitor mount. Additionally, two air ducts are running through this wall on the side. Next, the narrow part follows, which just has the height of the VESA wall mount. Also there I need a stable frame to screw the monitor mount on. The final part is the wall insert with the air outlet.

Shelter restroom door
Shelter restroom door hinge

Shelter restroom door frame

Shelter restroom door frame

Shelter restroom door frame

Shelter restroom door frame

Shelter restroom door frame

Shelter restroom door frame
Shelter restroom door frame

Shelter restroom door frame

Shelter restroom door frame
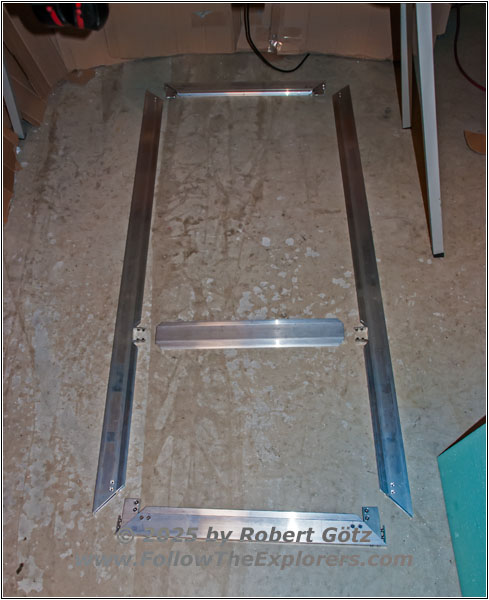
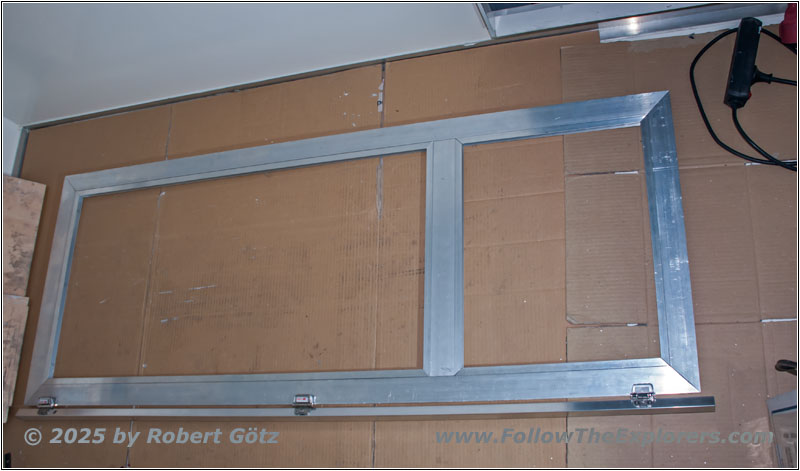
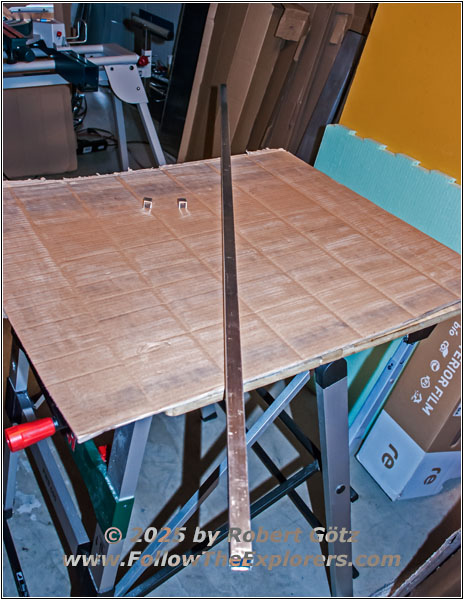
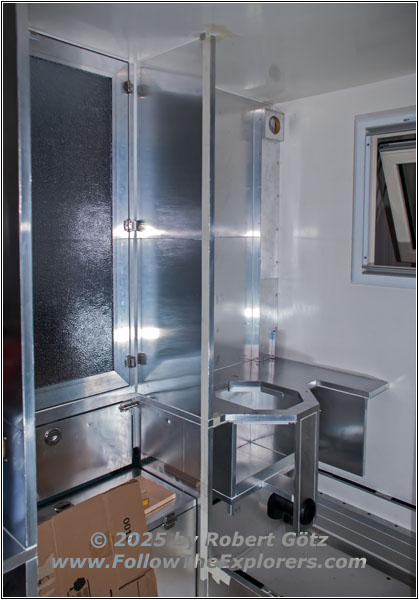
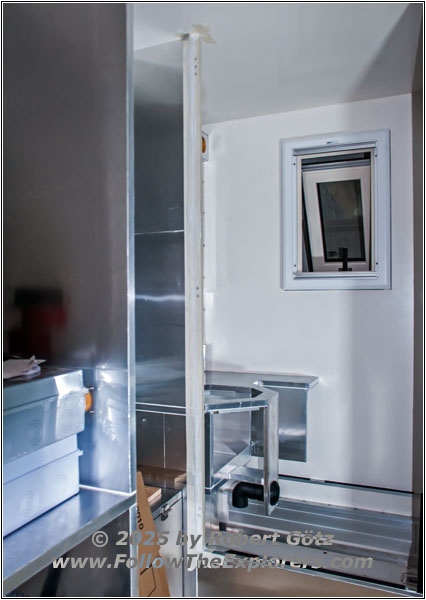
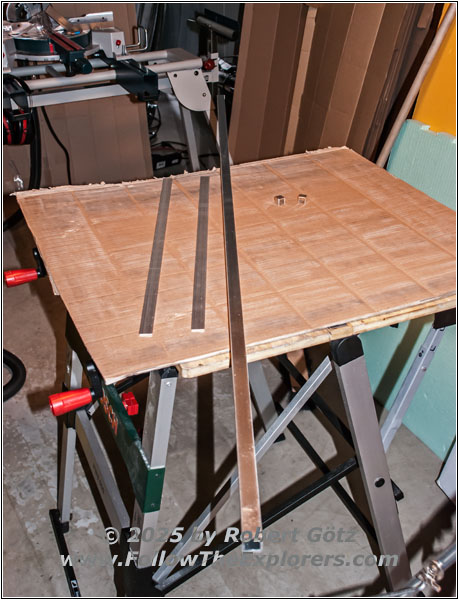
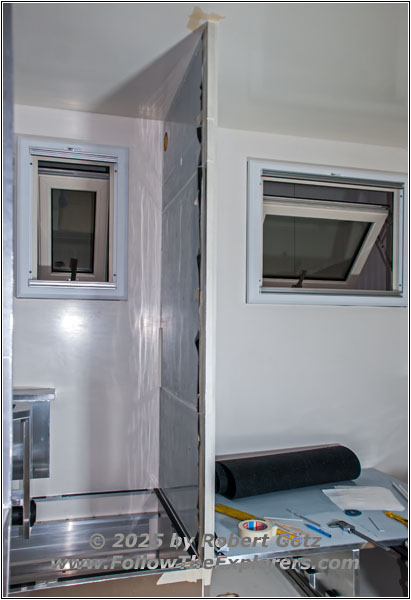
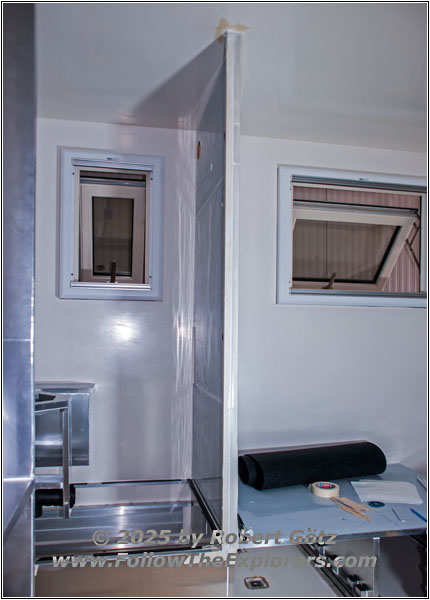
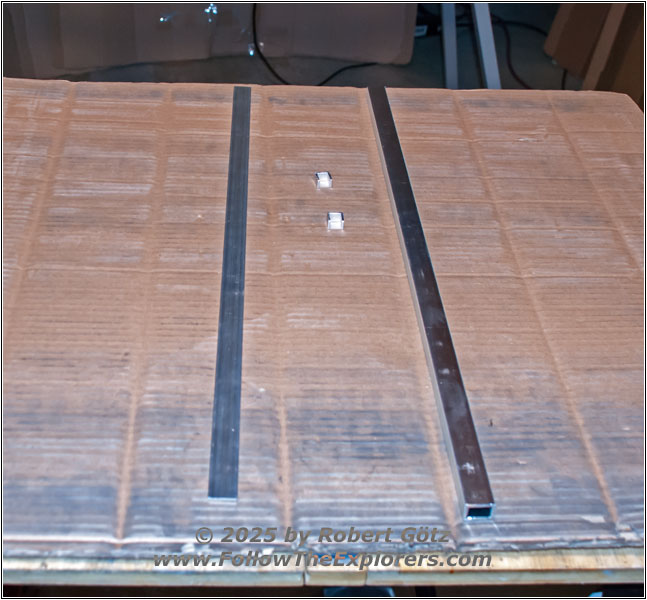
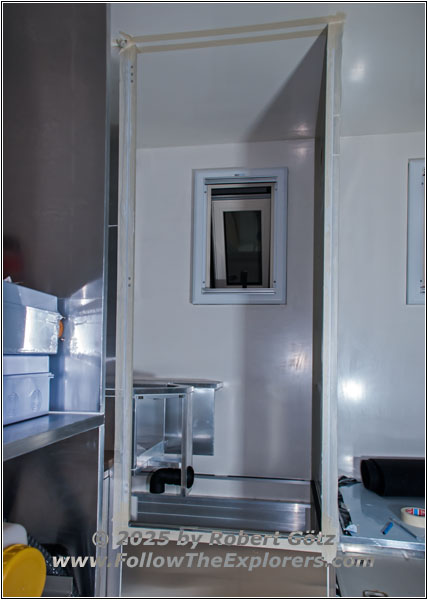
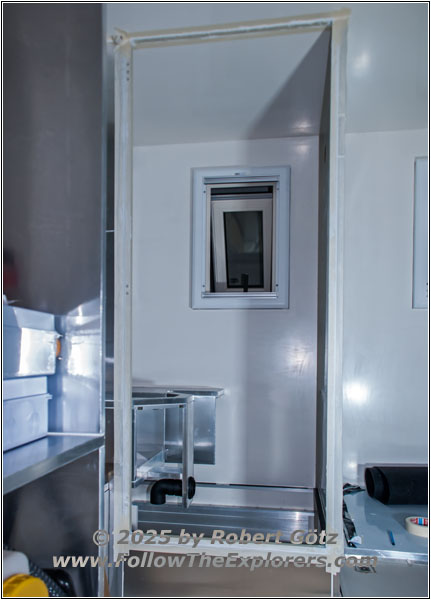
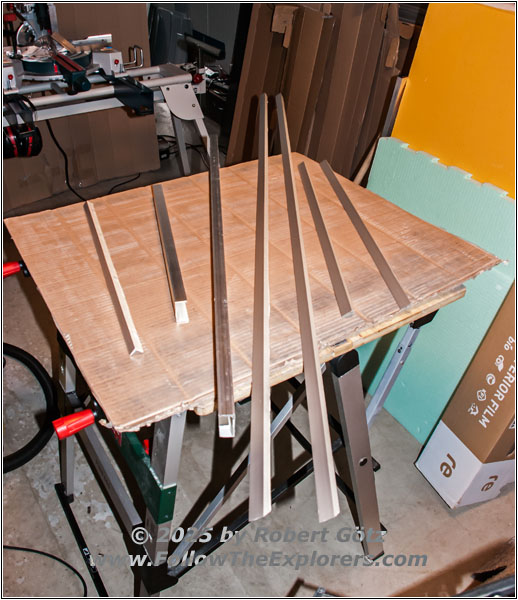
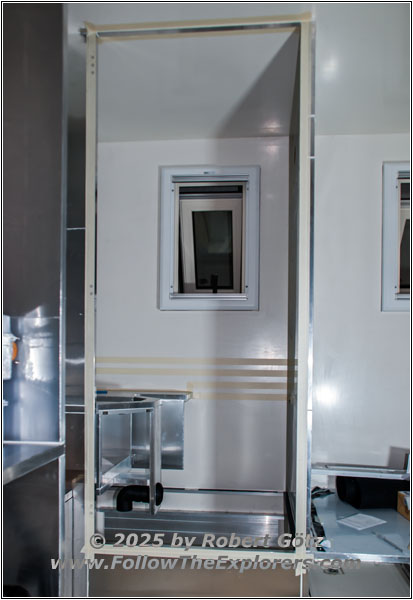
Then I start working on the restroom door and the according door frame. The door is a bit more complicated than the bedroom door, because it has two parts due to the door height. To get the exact size of the door, I must add some square profile.

Shelter restroom air duct

Shelter restroom air duct and door frame

Shelter restroom air duct and door frame


Shelter restroom air duct
Shelter restroom air duct outlet

Shelter restroom air duct cover

Shelter restroom air duct cover

Shelter restroom door

Shelter restroom air duct

Shelter restroom air duct
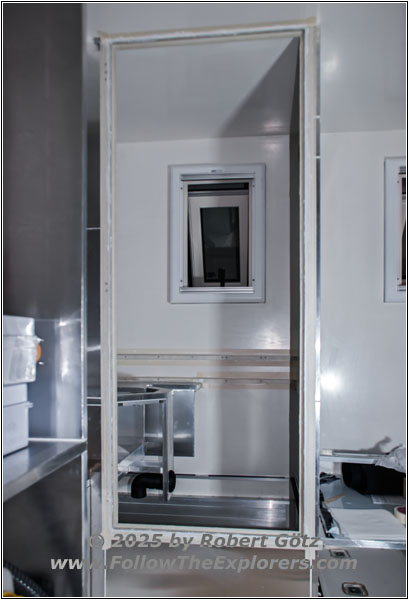
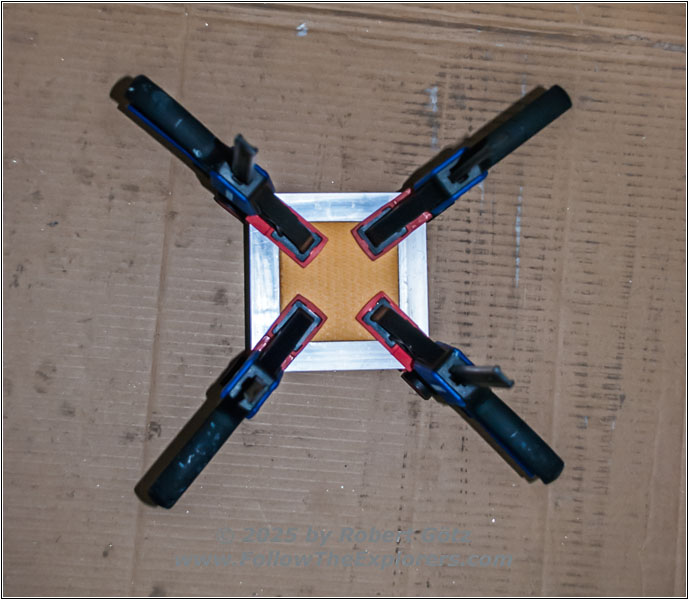
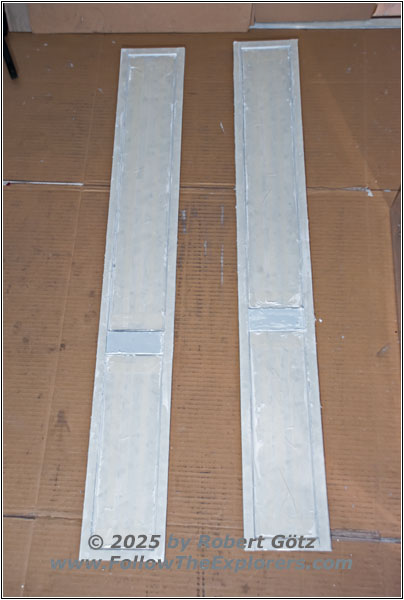
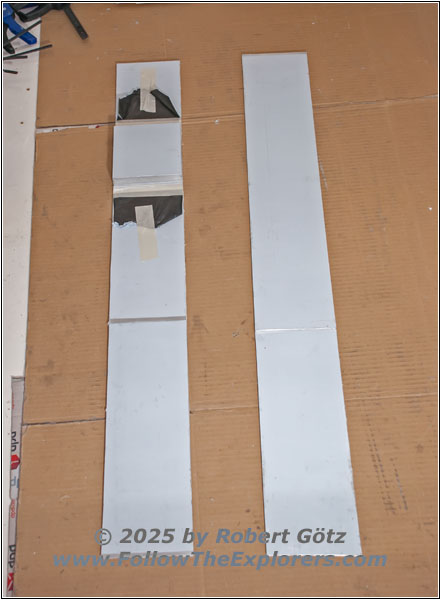
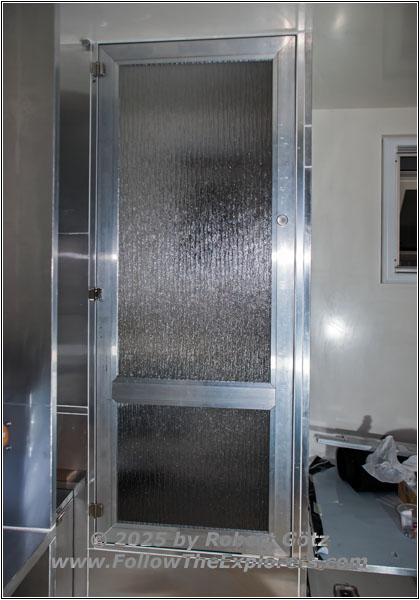
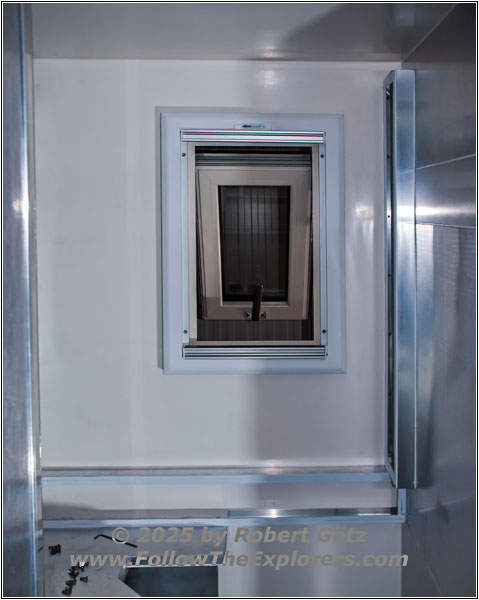
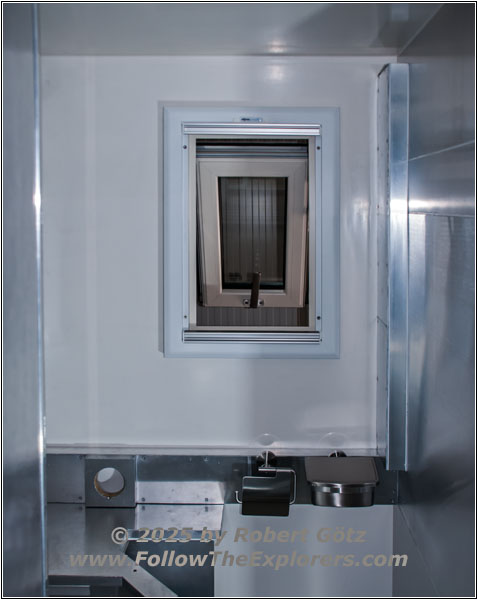
Next I start working on the two air ducts. One is for the restroom itself and the bedroom. The other air duct is for the seating area. The restroom air duct has two outlets: One on top for the cold air and a lower second one for the warm air. Additionally, I mount the toilet roll and wet wipes holder on the air duct. In between, I also mount the restroom door with the plastic inserts as glass pane.

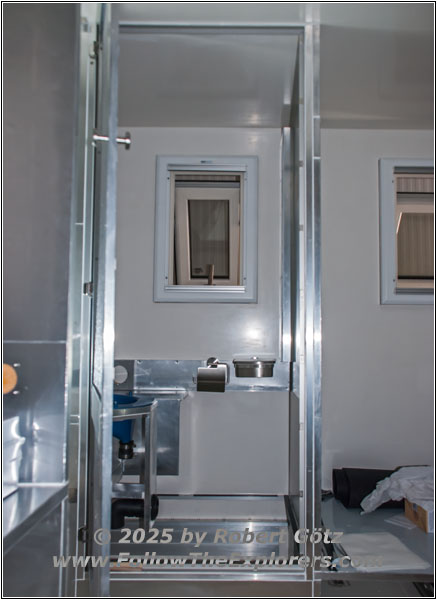
Shelter restroom door frame


Shelter restroom door
Shelter electrical cabinet mount
Shelter electrical cabinet mount
Shelter electrical cabinet mount
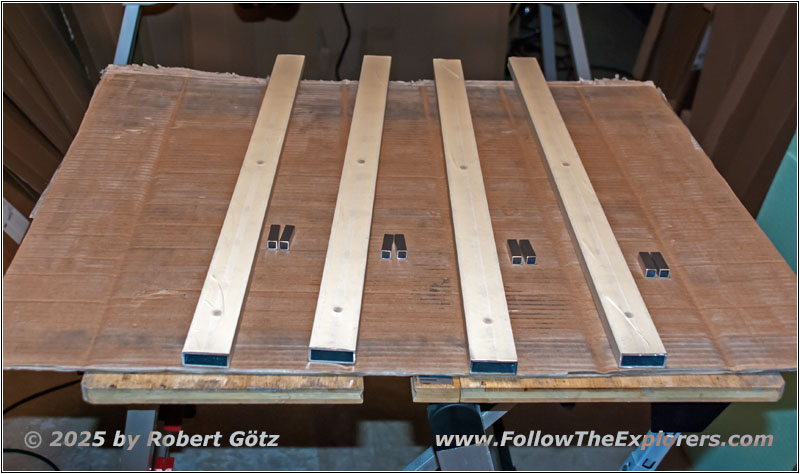
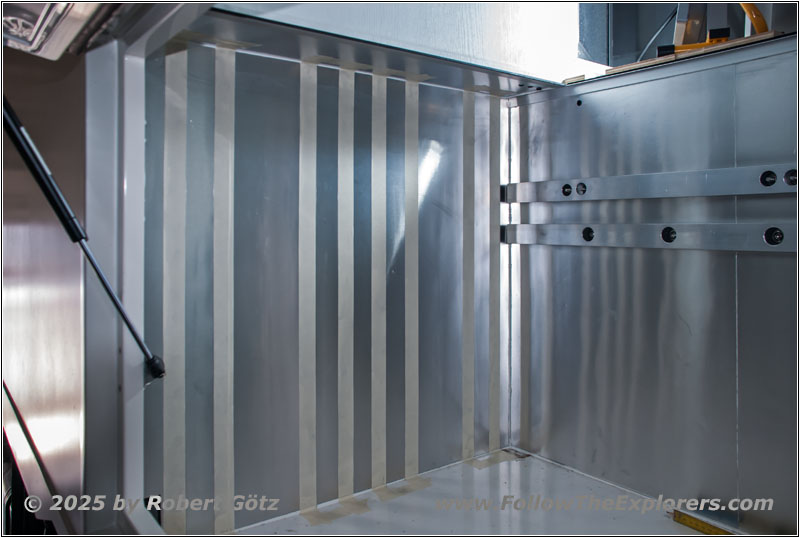
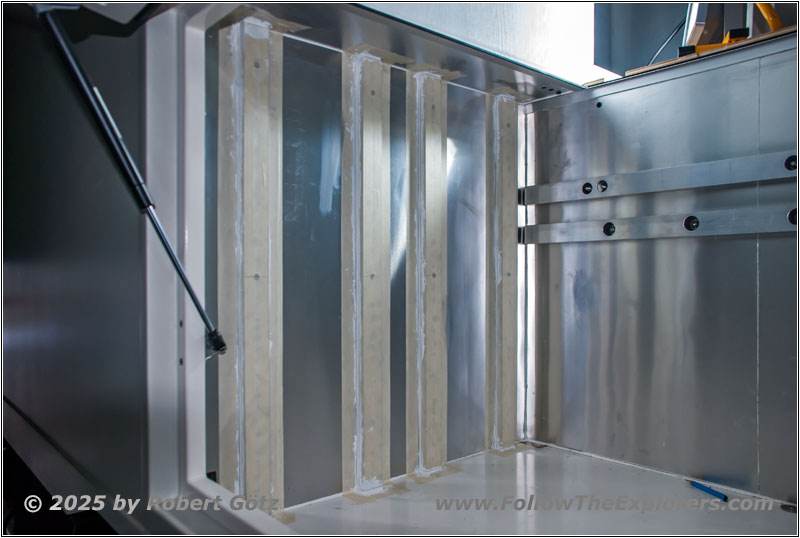
As final task for this year I glue the magnets on the restroom door and frame. Then I glue the mounts for the both electrical cabinets on. As home work I take the mattress carrier with me in order to upholster them with fabric. As second task I take the electrical cabinets with me because I can also already pre–wire them at home.
…to be continued…
