Unimog U1550 Expedition Truck — Shelter Rework
Core Removal


Driving to the truck scale
First I thought I can do some slight modifications to make the truck suitable as expedition truck. But this was far from reality. The interior was build completely useless. You can see that it was built in 2014 from someone doing campers and not expedition trucks. The interior was nice but also way too heavy. That’s why I made the decision to completely remove the interior and build the truck up from scratch…
In August 2018 I went to a scale to see where I am. The result was discouraging. With almost empty water and gas tanks I already had 3.6t on the front axle and 3t at the rear axle. This means there is a lot to do!

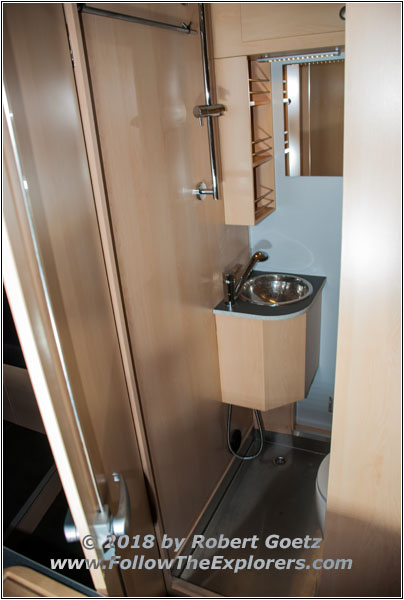
Small Bathroom
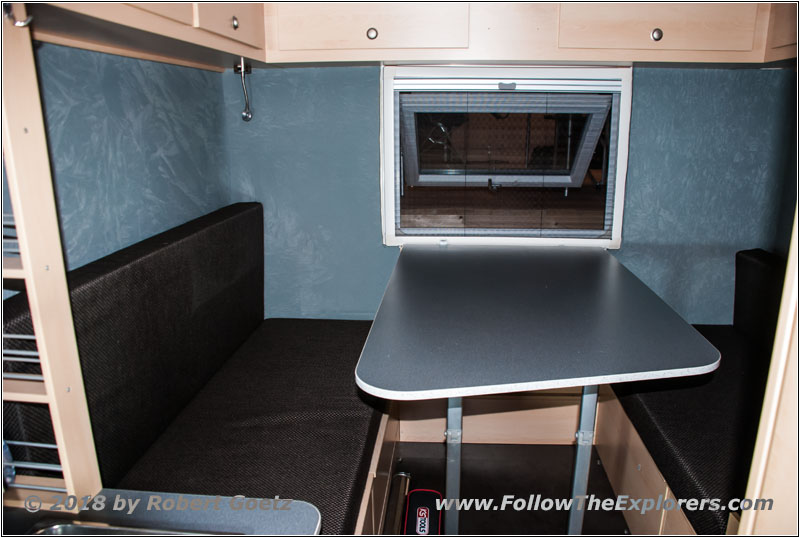
Seating Area and Bed
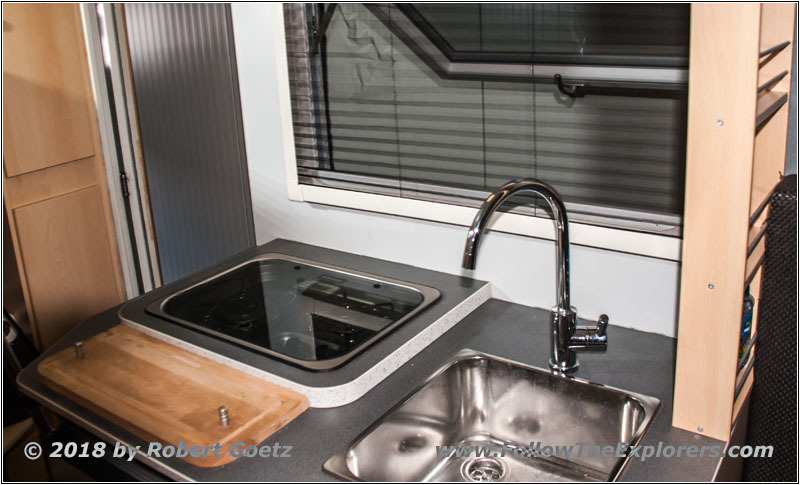
Small Pantry
First a brief demonstration of where we are: The bathroom is so small that it is almost impossible to move in there. Then everything is built so tight that it is not possible to completely open the bathroom door! The seating area is nice and comfy. But if you plan to live for 2 years in your Unimog you don’t want to remove your bed every day completely. Also the pantry looks nice. But the sink is so small you are not able to do dishes reasonably.

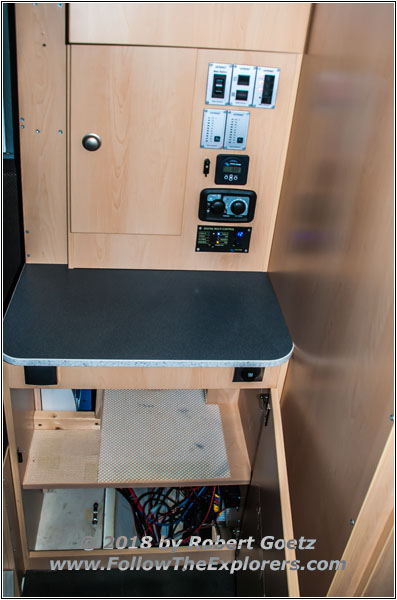
Technical Area
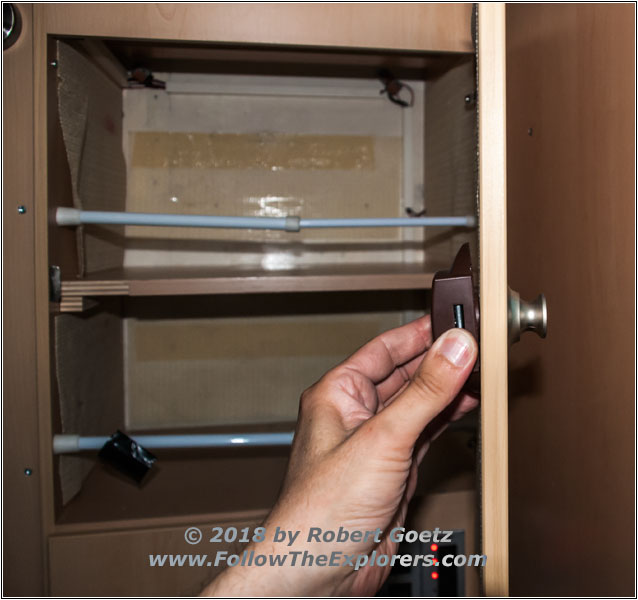
Broken Lock
Storage without Door
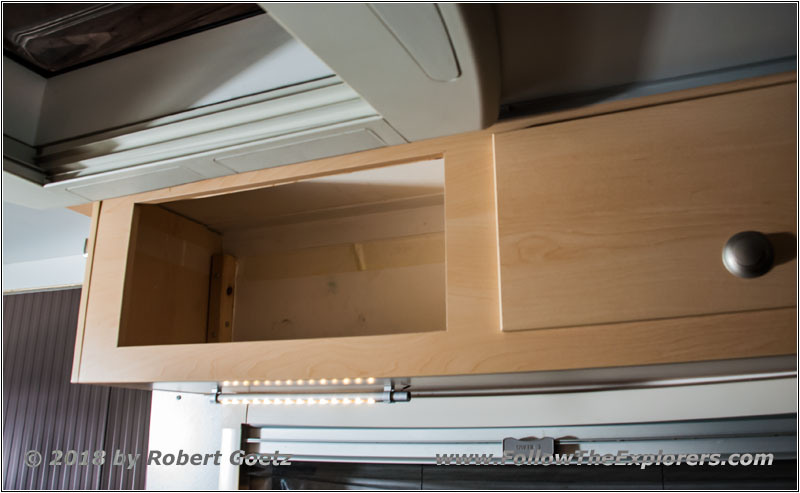
The technical area looks nice. But there is no air flow to cool the electronics when the lower door is closed. This definitely leads to overheating of all power electronics in there. Also the first lock is already broken, because of a wrong screw length. Finally there is an open storage area, which is not suitable for expedition trucks. Everything will fall out when going off–road. When examining why this has been done like that you will encounter that they forgot about the roof window space!

Core Removal Front
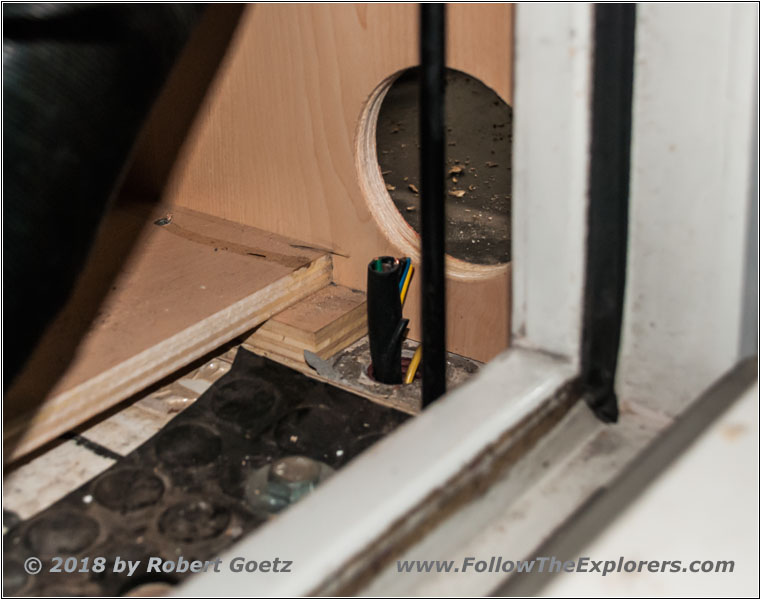
Old Cabling
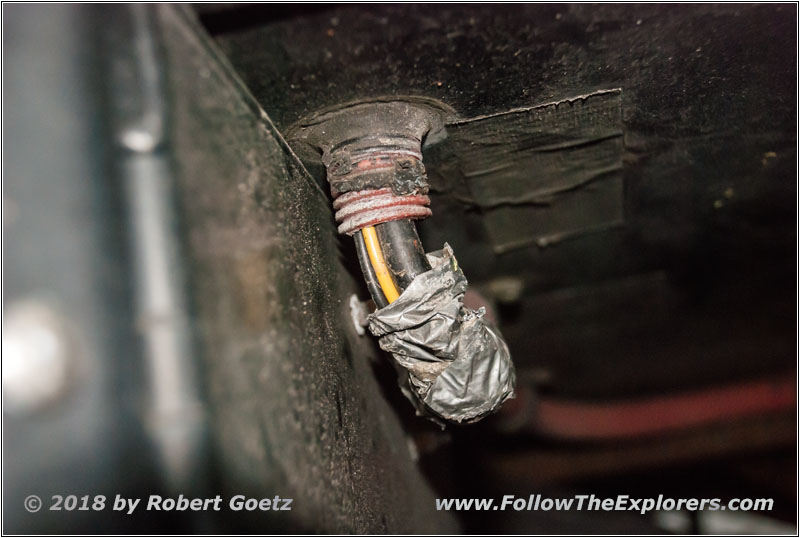
Unsealed Old Cabling
Old Cabling

Core Removal Front
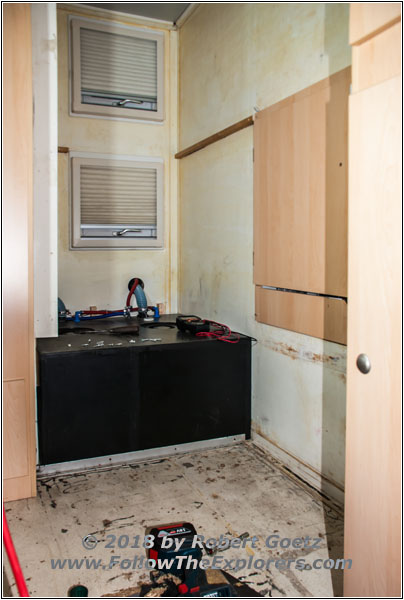
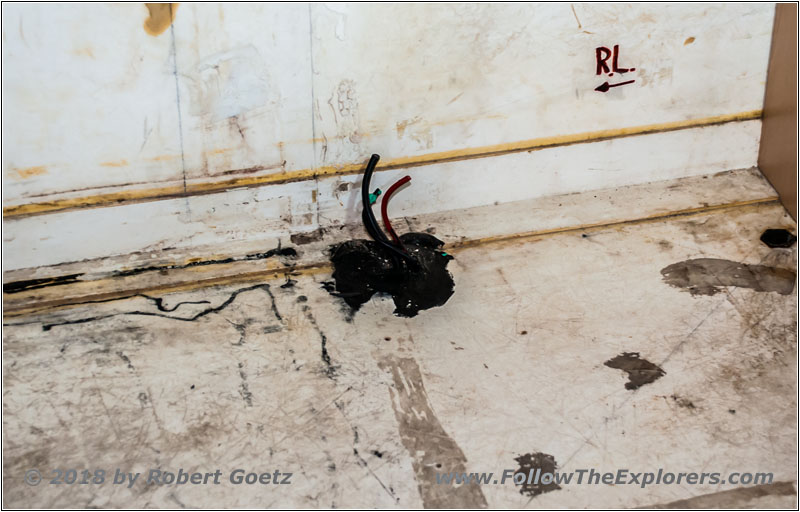
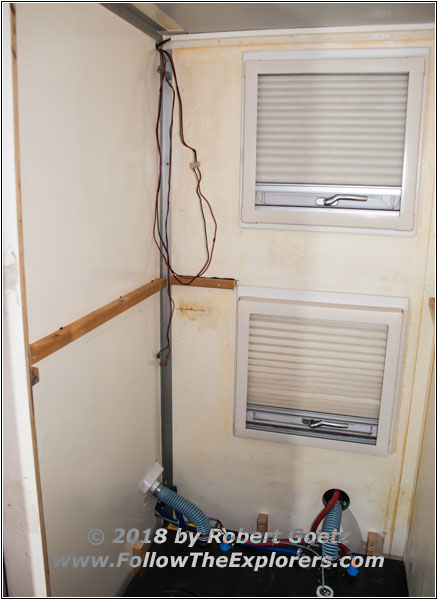
Now it’s time to start with my core removal. First the child beds will be removed at the entry area. Then I remove the whole floor. Now only the fresh water tank is left. While removing the parts I see some old cabling which run into the shelter but have not been removed! Some of them are not even sealed, so that water can penetrate into the shelter itself! Despite that these are thermal bridges to the outside, wasting valuable heating energy.

Fresh Water Tank Removed

Bathroom Removed
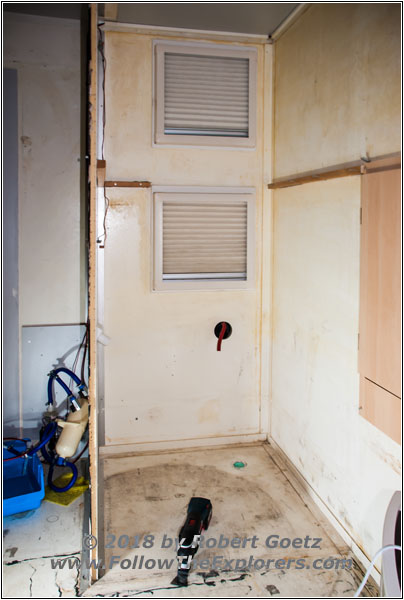
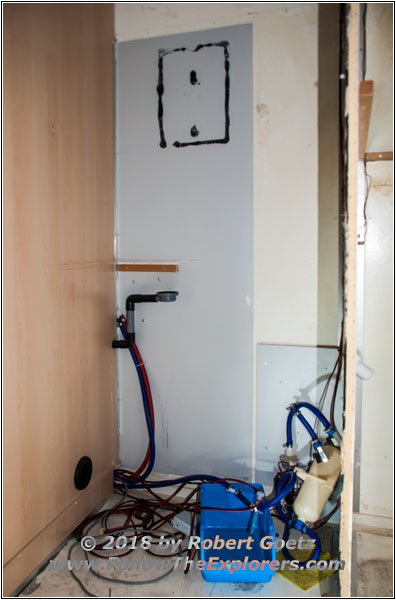
After I had built up my alternate water supply in my garage I was able to remove the fresh water tank from my Unimog. Then I removed everything from the bathroom. This was the point where I start to love my universal tool with scraper. Without this tool it would have been impossible to remove the glued ledges and old glue from the interior of my shelter without damaging the internal cover.

Partial Removal of Electric

Partial Removal of Electric

Pantry Removed
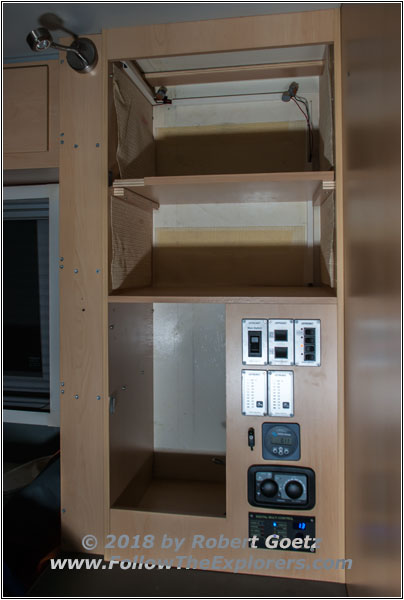
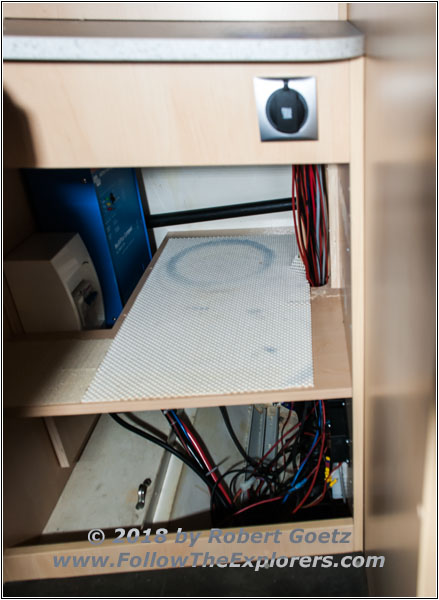
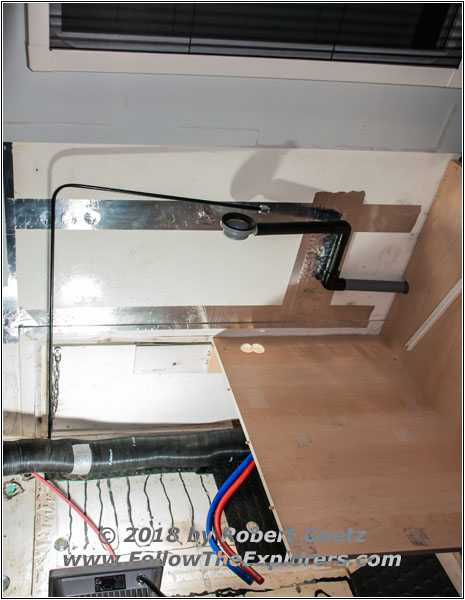
Next I will disconnect all the electrical lines going to the old bathroom and kid sleeping area. I also remove the connection to my solar modules. To be able to remove my old kitchen I also have to disconnect the power lines and especially mains wiring to this area. But I will leave the rest of the shelter as much powered as possible. I am still sleeping in there.


Xmas Tree 2018


Xmas Tree 2018


Xmas Tree 2018

Xmas Tree 2018


Xmas Tree 2018


Xmas Tree 2018
2018 slowly comes to an end now. Currently I am spending most of my time in my garage. Therefore I will have a Christmas Tree in my garage this year. Merry Christmas 2018 to everyone!

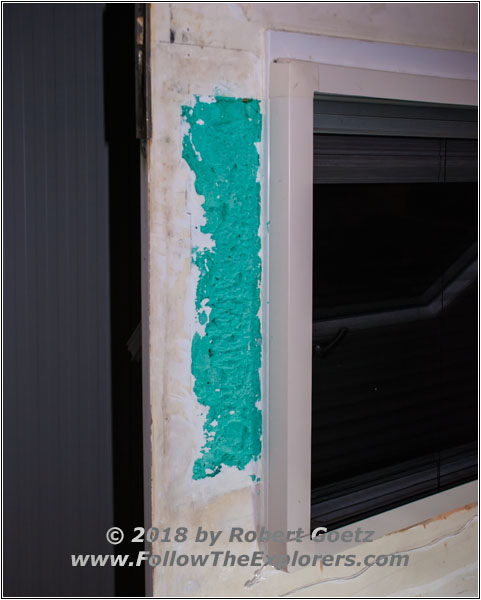
Construction Foam under Cover
Even at Christmas I am working. After removal of the covers I encounter a huge area filled up with construction foam and glue on top. This is not the work of a professional! Therefore I have removed everything.

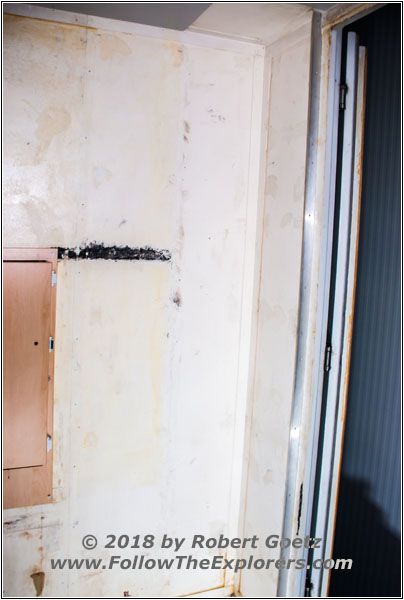
Closet Removed
The next task is to remove the closet beside the entrance door. I already have removed the mains wiring before. Now it is safe to remove this closet. I only leave one aluminum ledge, because a new one would be at the same spot. The old one is thicker than the one I would use but the amount of weight which I will save is not worth the effort. The rest of the aluminum and wooden ledges are quickly removed with my universal tool.
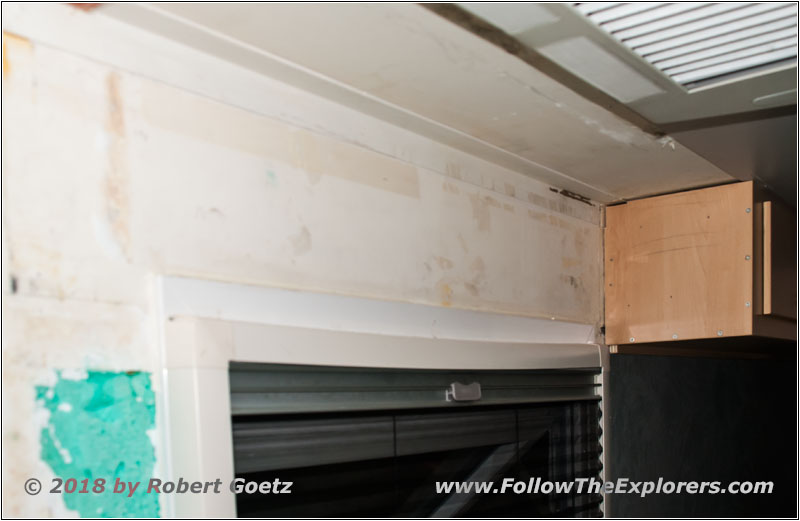
Top Closet Removed
After I have removed this closet I start to work on the first top closet. They were screwed and glued on more difficult, but eventually the first closet gave in. Now I see why it was so hard to remove it: The closet next to it was screwed on the ledge with screws too long! That’s why the first closet was also screwed on at the second one!

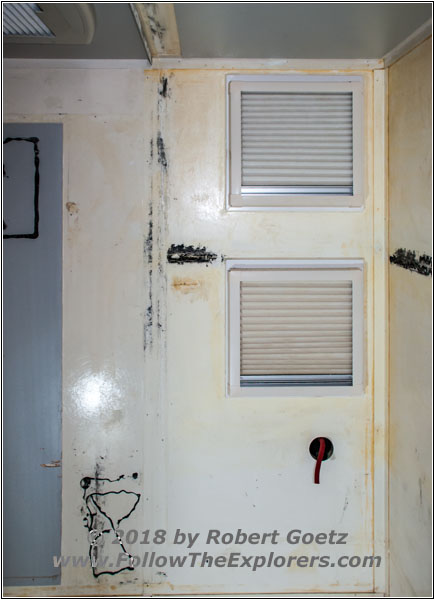
Wall Removed
I also to plan to make my bathroom slightly bigger. There is the chance to have 2 inches more before I hit the skylight. That’s why I have to remove the old separation wall, which is also way too heavy! It weighs 22lbs! Even with a warm water heater I am sure to get the weight lower!

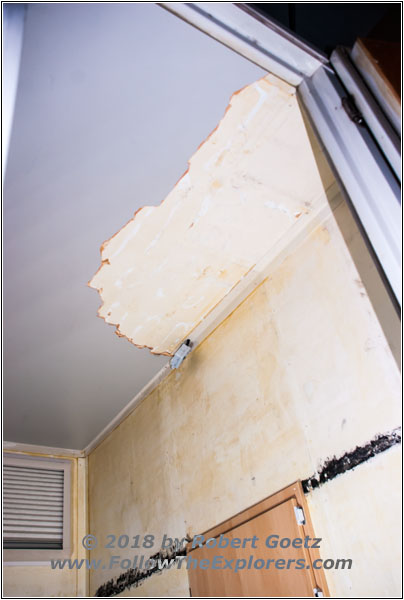
Removing Ceiling
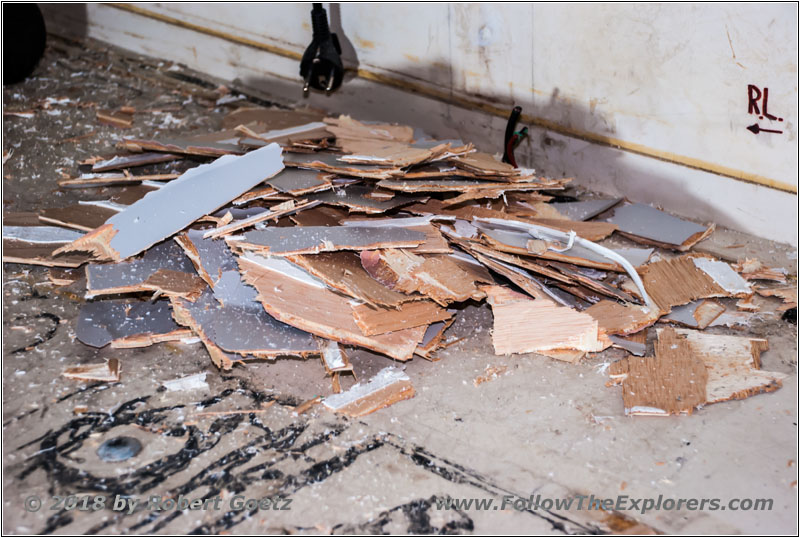
Removing Ceiling
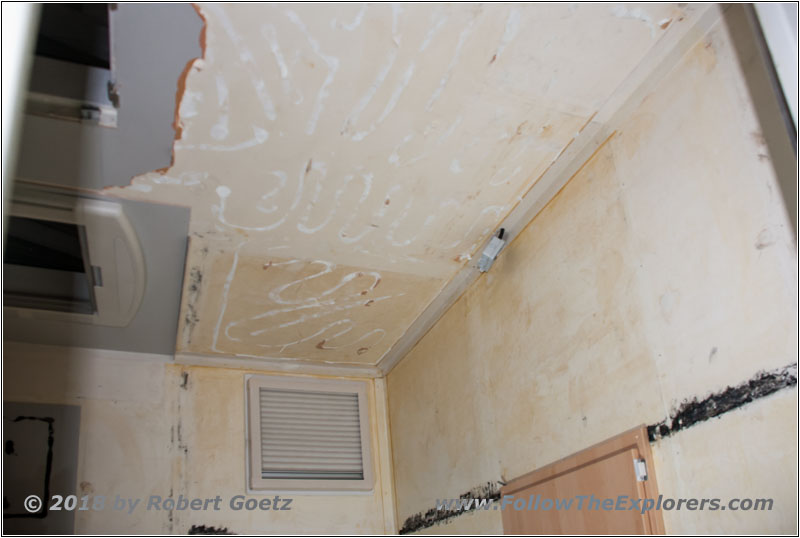
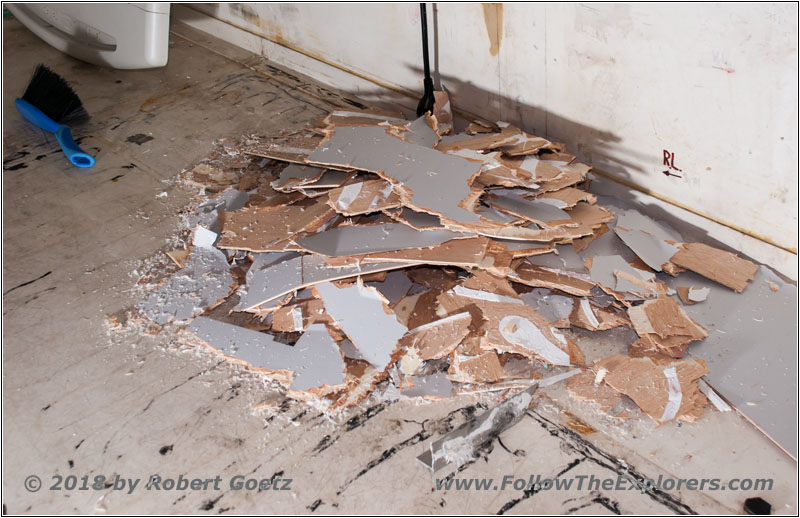
Next is to remove the cover of my ceiling. This is a real ugly job, because it is glued all over with Sikaflex. The only chance is to work in with my universal tool inch by inch and then carefully brake out little pieces from the wood with a chisel. You work all the times with your arms up which definitely safes you from going to the fitness studio.
Bad Skylight Mounting
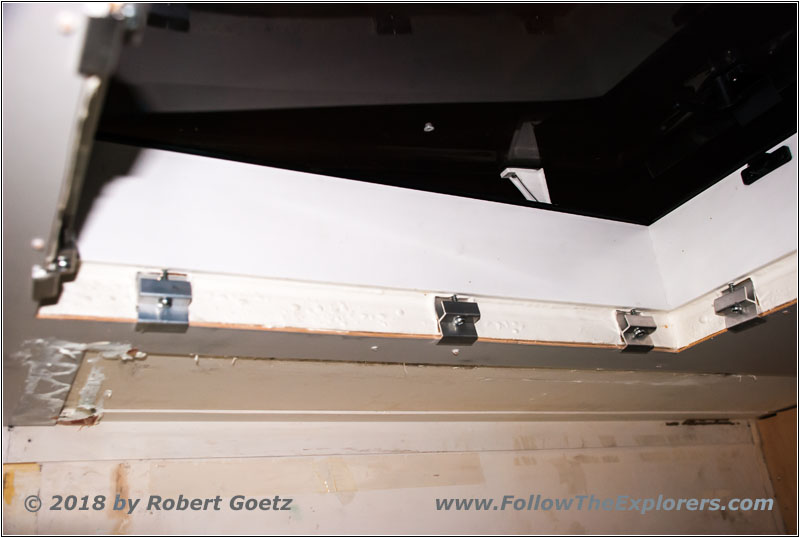
Slowly I am approaching both skylights. That’s why I have to remove the inner frame to be able to remove the ceiling cover there. But I am shocked again when seeing the clamps holding my skylights. Nothing is done right at this truck! The clamps are almost loose and everything has been glued with Sikaflex on the back — the white stuff next to the clamps is very thick Sikaflex glue! Sure this will not hold onto the isolation material. All clamps have now a gap to the bare isolation which gives humidity a perfect chance to penetrate the isolation material! Lucky me this truck seems to have never been used during winter time. Otherwise the condensing water would have rotted all the isolation away!
More Ceiling Removed
More Ceiling Removed

Wall Cover and Front Part of Ceiling Removed
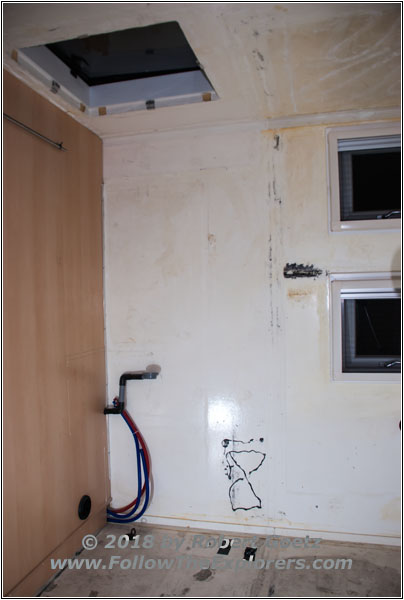
After I have finished removing all ceiling cover in the front I start to work on the last remnants of my former bathroom. There is just one wooden ledge and a wall cover left. It’s great to finally not to have to work above my head! But I am sure, I will have a bad muscle ache tomorrow! At least I have made it to empty out the first half of my shelter completely! Welcome 2019, this was the last job for 2018!
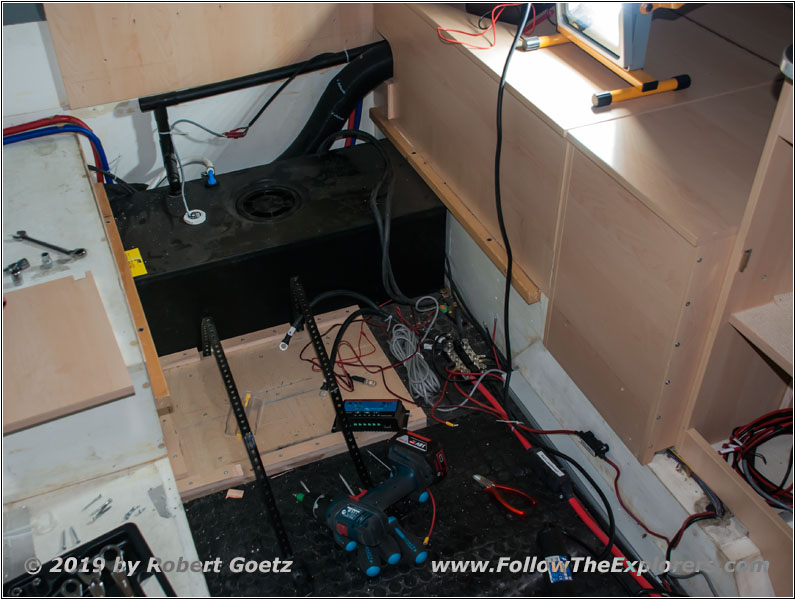
Battery and Electrical Removal

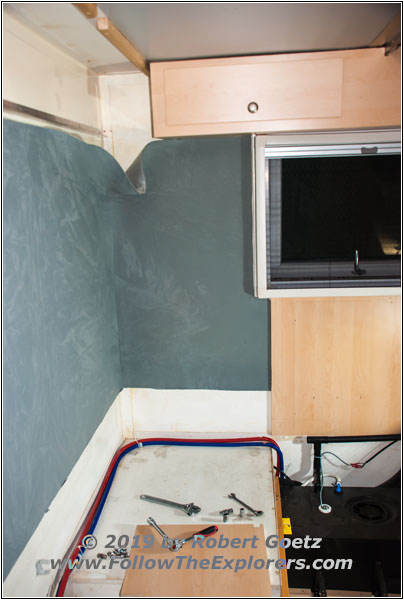
Storage Compartments Removal
Due to the start of my own business I have to delay my Unimog work. It takes me until February to remove my Christmas Tree! Now I have enough room to build up my sleeping quarter here to eventually start the removal of all the parts in the back of my Unimog shelter. First I start to remove the lower storage compartments. Then I disconnect the batteries and start the removal of all electrical parts. But here I encounter the next sloppiness: The screws at the distribution lines have no locking washers. Therefore the solar charging unit connection was completely loose! It’s good that I decided to redo everything…
Then I remove the big 165Ah batteries. This is a real challenge because one of them weighs around 110lbs! The next challenge is to lift them out of the Unimog. But I make it without any accidents. Then I remove the left upper storage compartments. These are quiet easily to remove and I get the whole compartment in one piece. It’s getting more and more empty…
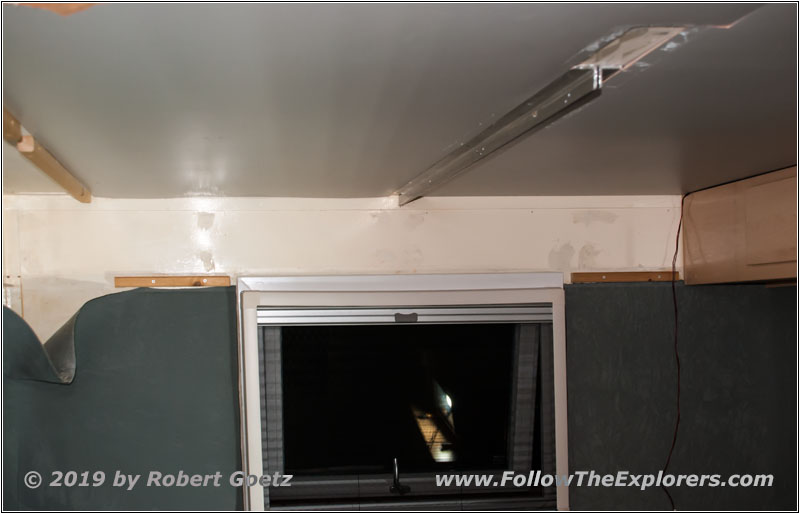
Top Storage Compartments Removal
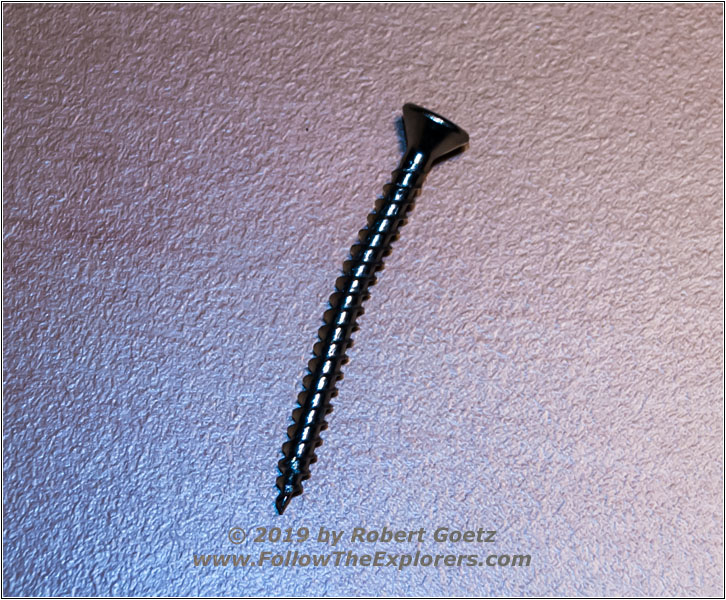
Bent screw!
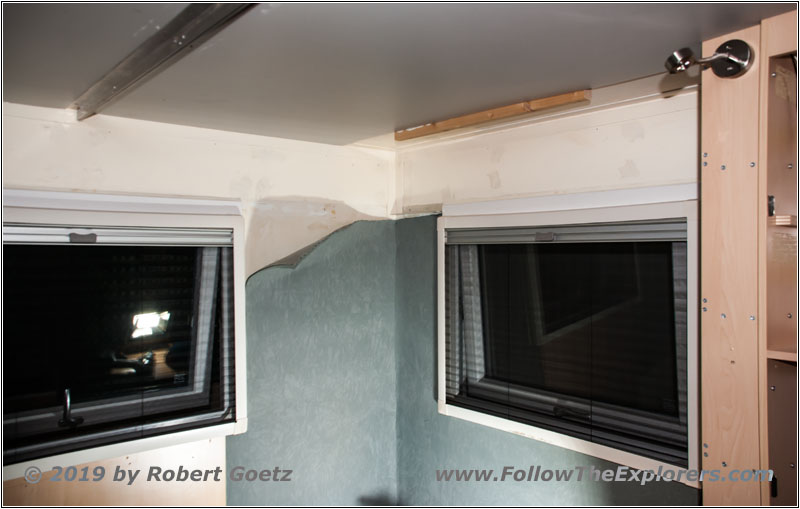
Top Storage Compartments Removal
Lower Storage Compartments Removal
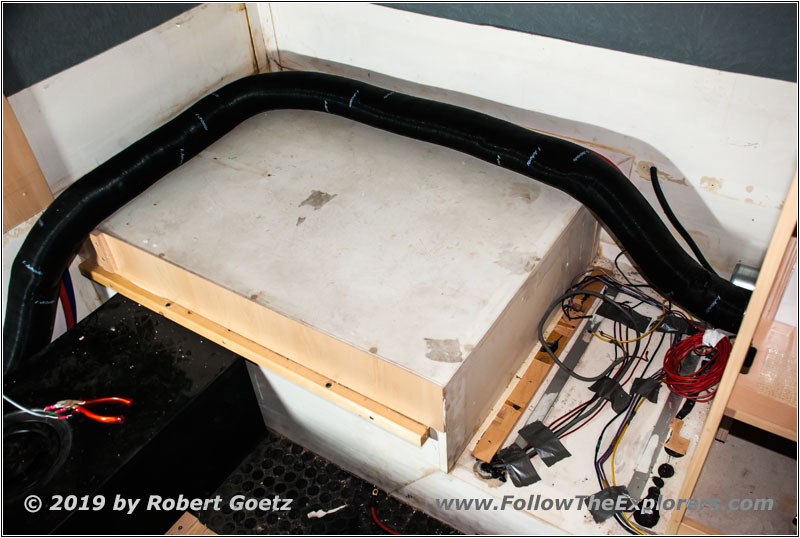
Now it’s time to remove the middle and right top storage compartment. While unscrewing everything I am wondering why one of the screws is so hard to remove. When I see the bent screw I know why — and this has been a professional company doing the interior! But the lower storage compartment has no further surprises.

Lower Cupboard Removal

Top Cupboard Removal
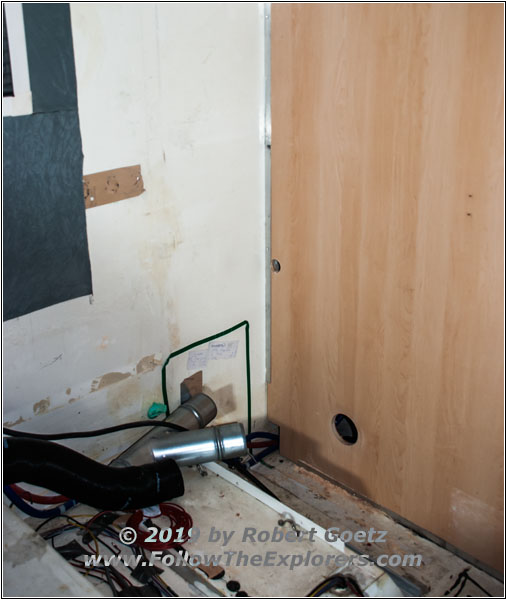
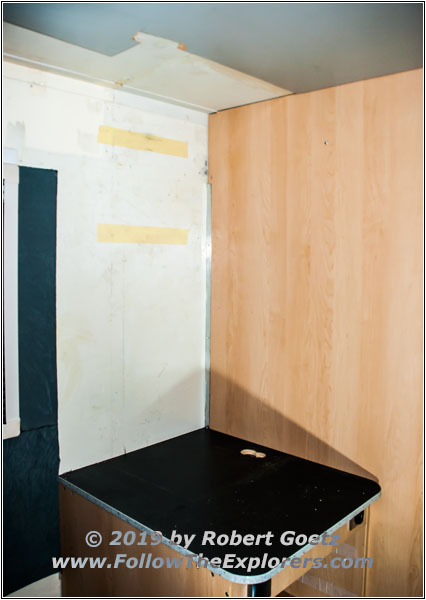
Time for the final removals. The last cupboard has to be removed. I start with the top part and then the lower part with the rest of the electrical installation. Now it’s getting really empty. Only all these unconnected wires are worrying me. I am not sure if there is really no power on these lines…
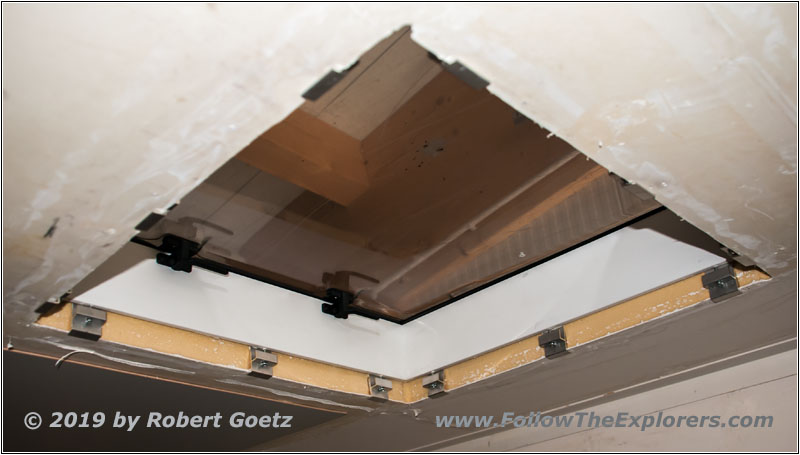
Original mount for roof window
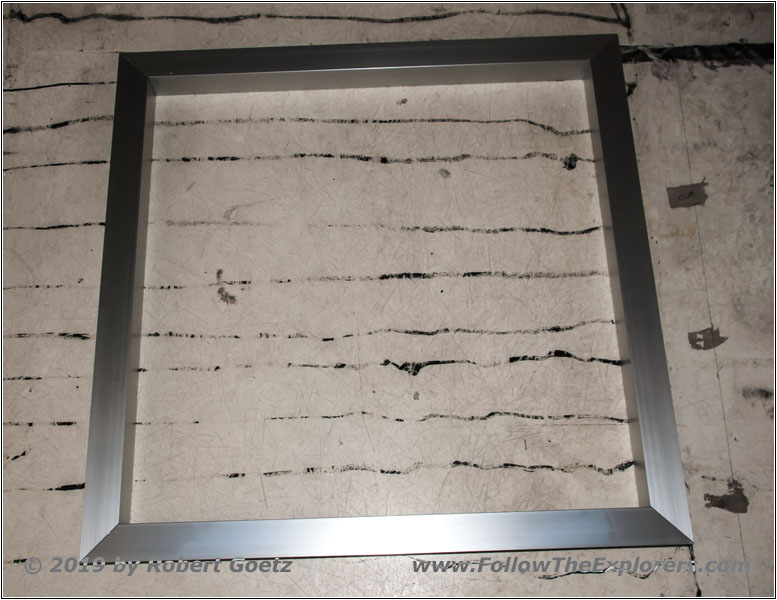
New mounting frame for roof window
New mount for roof window
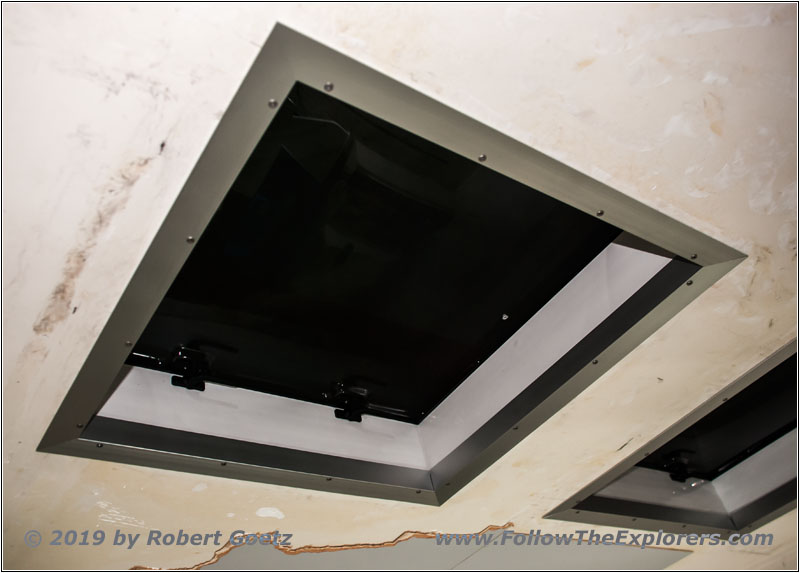
After a couple of months work on the truck electric — which gave me the chance to really be sure to have no power on these lines, except the power wire from the alternator — I start to rework the roof window mounting. You see on the first picture that this was really crap. Therefore I made a nice aluminum frame which holds my windows exactly and reliable in place. When I am covering my ceiling this will then be put under this frame.
Glued wood removed

Glued wood removal
Removed ceiling cover
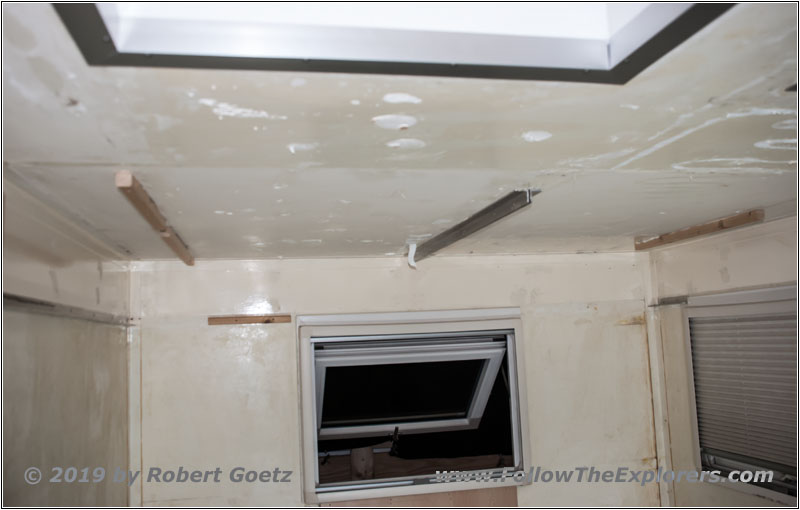
Ceiling cover removed
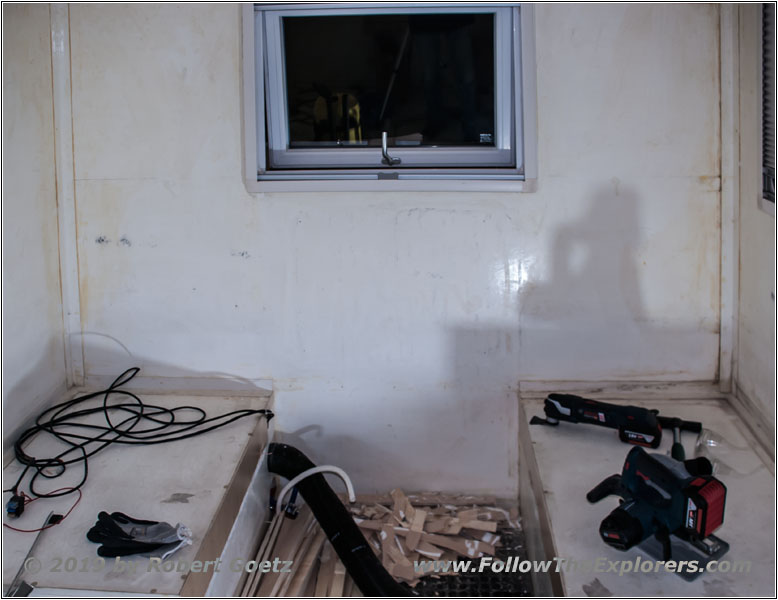
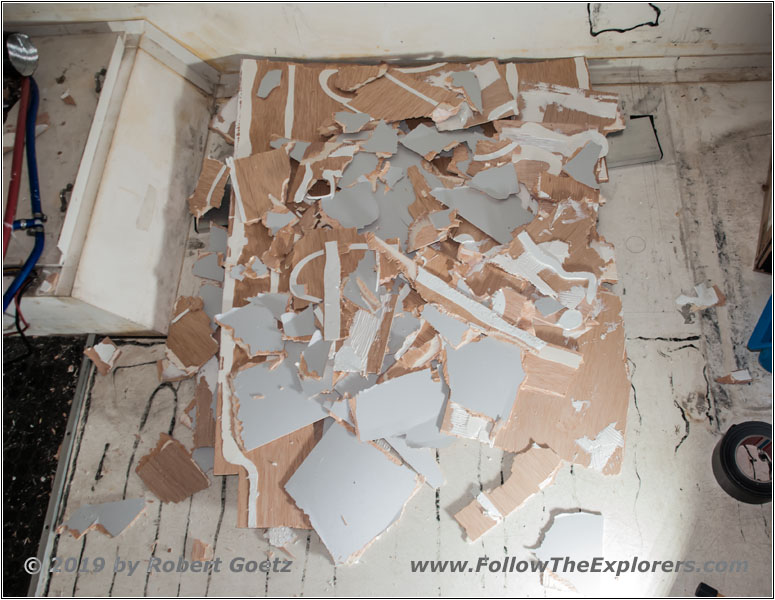
Now I am ready to remove the last glued parts on wall and ceiling. I also realize that a lot of areas of the ceiling have not been really glued. It was just applied, but held nothing. But the wood gluing on the wall was really tough. I have no other chance than to use my buzz saw to mill the wood and then use my chisel to remove the wood in stripes. This is a slow and ugly job…
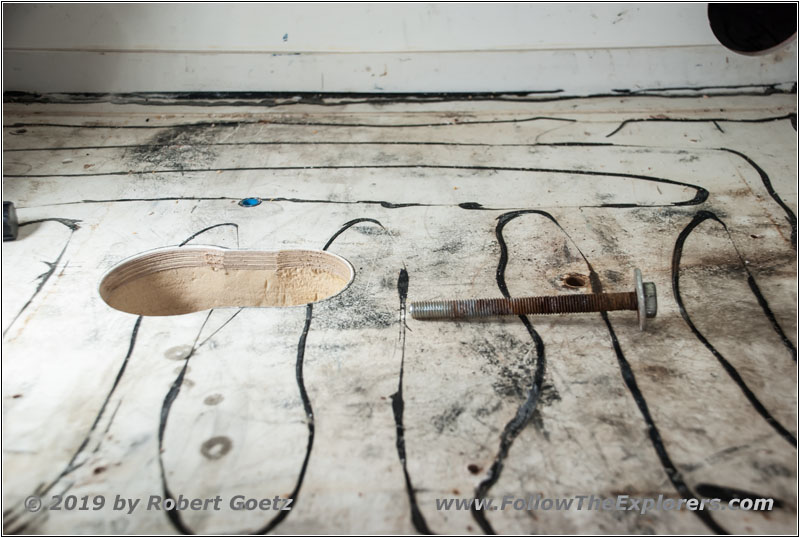
Heater in storage area removed
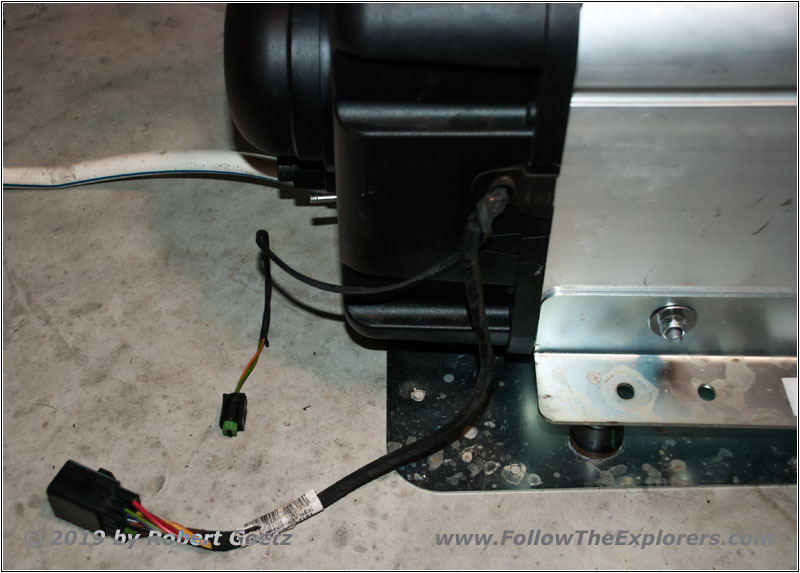
Heater Removed
The finish line approaches slowly. The last big job is the heater removal in my storage area. This is another strenuous job, because there is not much room to work in this storage area. Additionally, some of the screws are terribly rusted in the wood. I need a lot of patience, force and tricks to get them removed. Next, I cap the diesel line until I install the new heater.
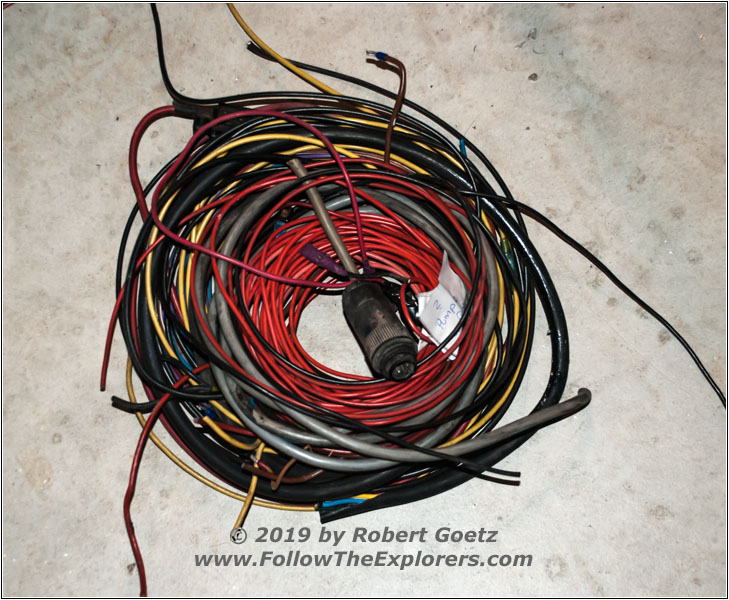
More unused cables removed
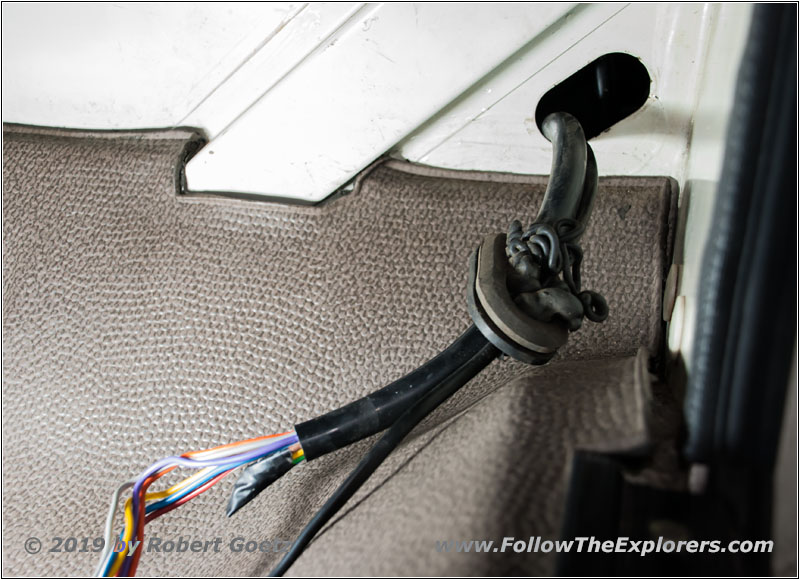
Glued cable entrance
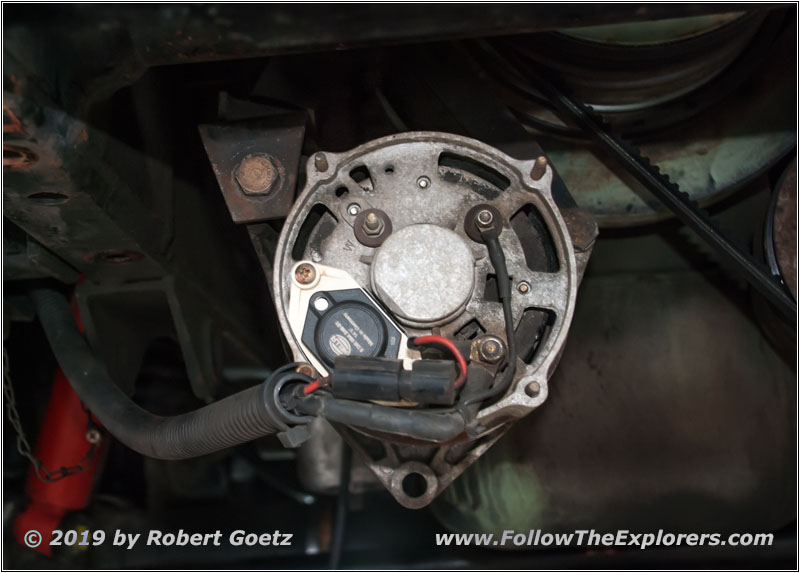
Additional 12V alternator removed
The last job brings me back to the wiring. Again, I remove cables running into the drivers cabin. I will need some wires, but not as much as currently installed. Therefore, I want to save weight and remove all unused wiring. It also helps to keep the electric less confusing. Then I remove the second 12V alternator, because I plan to install a more powerful main 24V alternator. Also this second alternator is mounted way below the fording depth!
All in all I removed almost 1300lbs. This sounds much, but it is way less than I hoped to remove. It would be good to have one ton, because I plan to install some new features, which haven’t been installed before. So, this is now a challenging task to realize everything with the given weight budget…
