Unimog U1550 Expedition Truck — Truck Rework
General Work
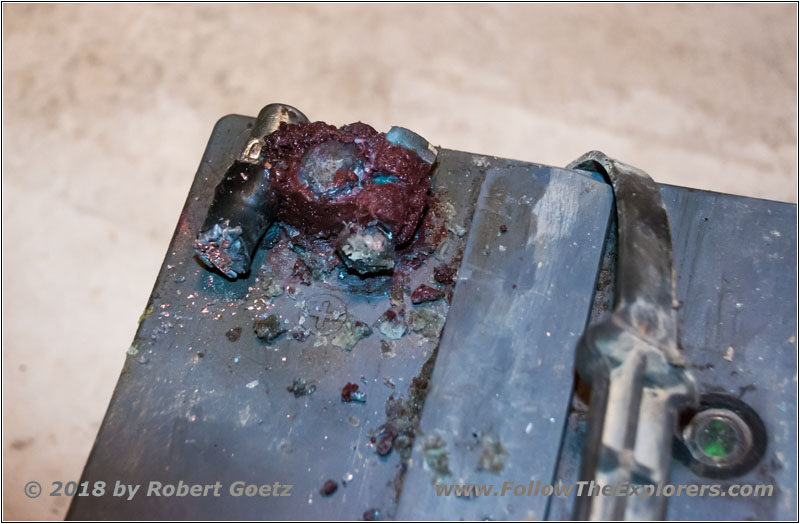
Corroded Battery Contact
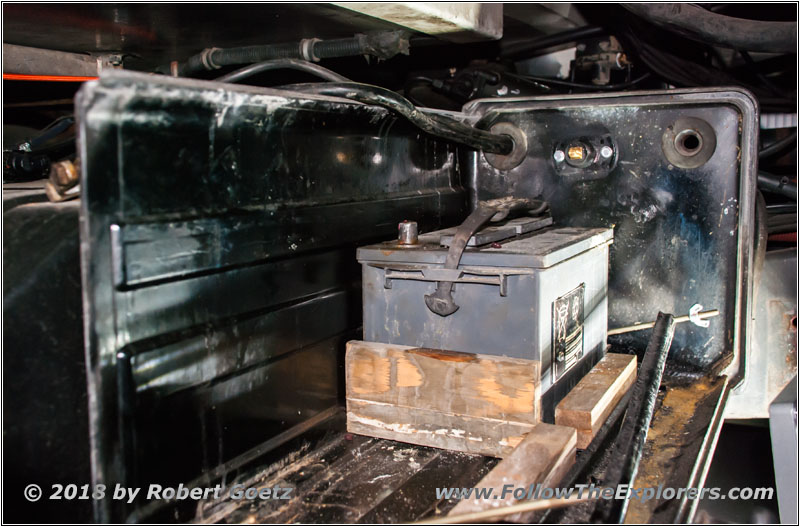
Old Battery Setup
New Battery Setup
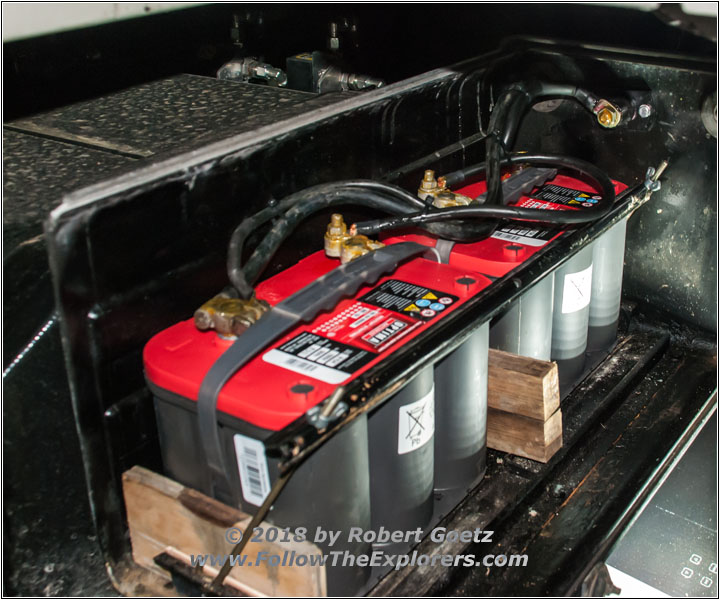
I already saw that one battery contact is not sealed anymore when I bought the truck. But I didn’t expected it to be this worse: Half of the contact was already corroded away and the rest melted together with the battery clamp. I was only able to cut the cable and use a new one. When I was doing the battery job I also switched to the Optima Red Top Batteries, which are specifically designed for tough offroading.
Broken Connectors at Fuse Box
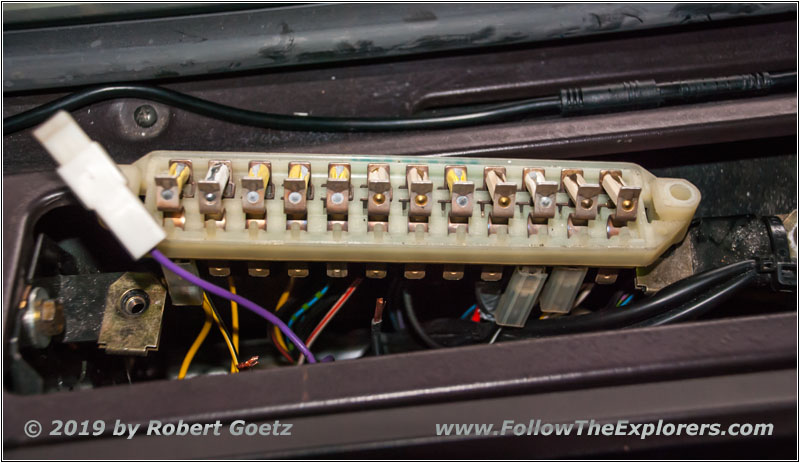
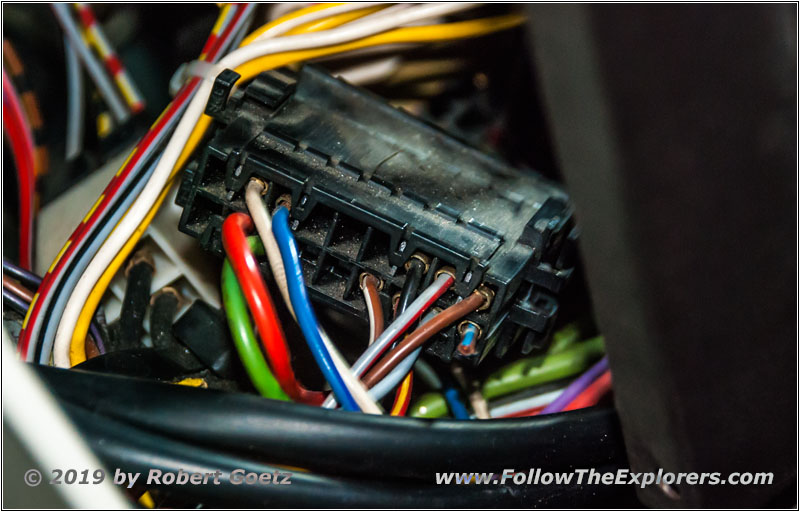
I have almost finished my work to empty out my shelter. To get ready for another drive I plan to install a rear view camera. It’s too risky to back up alone. Someone could be hidden behind my truck, where I have no chance to see him. Usually this is not a big deal. Everything is fine until I reach the fuse box. After removing the screws and lifting the box up two of the connectors literally fell off! One of them is contact 15, which is the main supply of the truck! Another cable could be easily pulled out of the crimp contact with little force.
First I plan to bend the contact a bit. But due to the bad contact the connector was getting so hot that the material has been annealed and only broke. This was more than close to a cable fire!
Bare Cut Wire at Connector
Unused Cables, partly under power
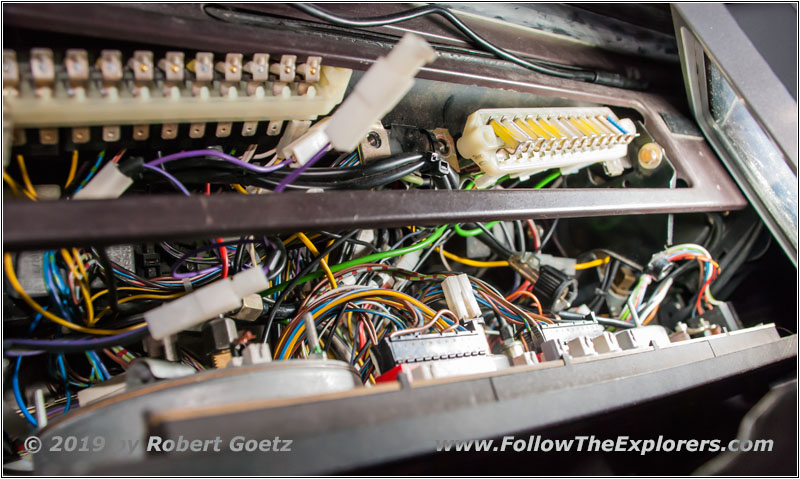
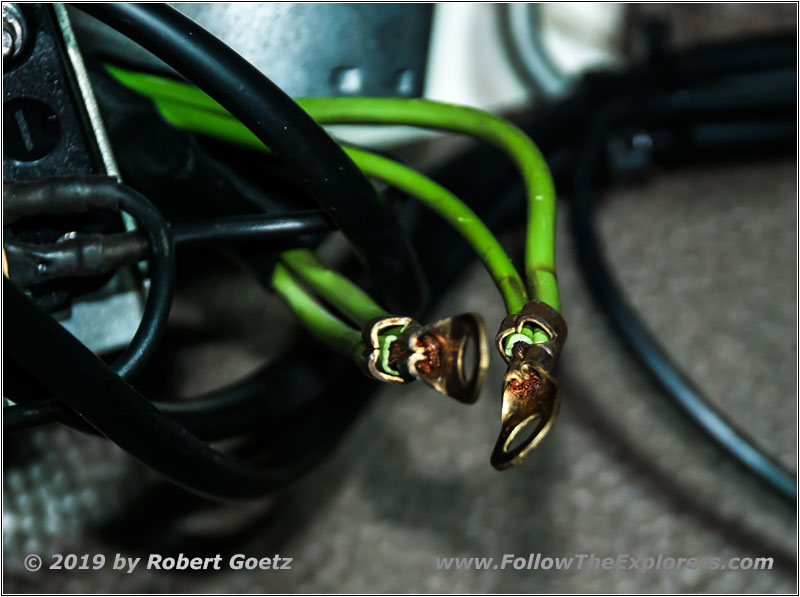
As I am now in the process of taking everything apart I take a deeper look at the other areas and there is more horrible stuff to see. There a bare cut wires at connectors ready for a short! Also a lot of unused cables are laying around but are still under power! Best conditions for a cable fire! Looks like I have to do a real big cleanup.
Bad Crimping at Main Supply!
The next surprise is the main battery line from outside. This line is unfused and goes to a distribution connector without fuses. From there the unfused lines go to the dashboard to switches and accessories and the fuse box. Just think that one of these cables get damaged! I definitely have to install another fuse box here! But when I take a look at the crimp contacts of these wires I see the next surprise: Also this crimping is terrible! It’s more than a wonder that nothing has happened so far.
Electrical Rework
Electrical Rework
Electrical Rework
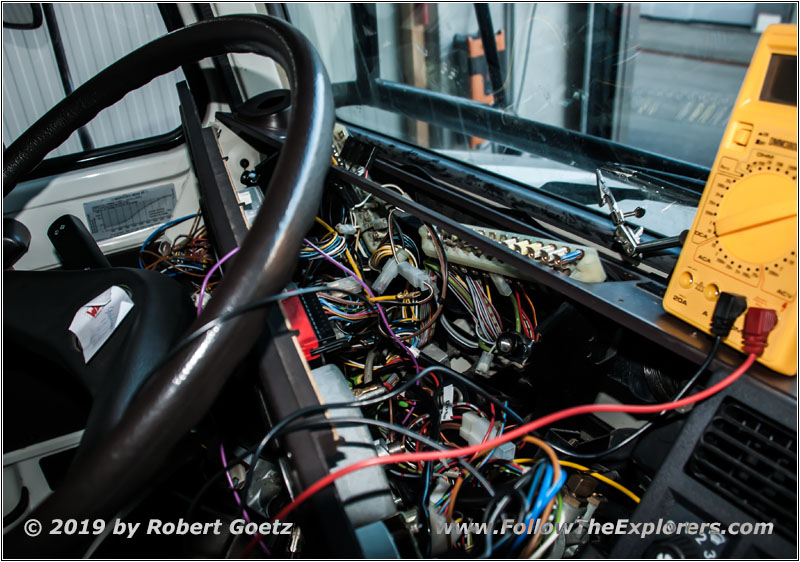
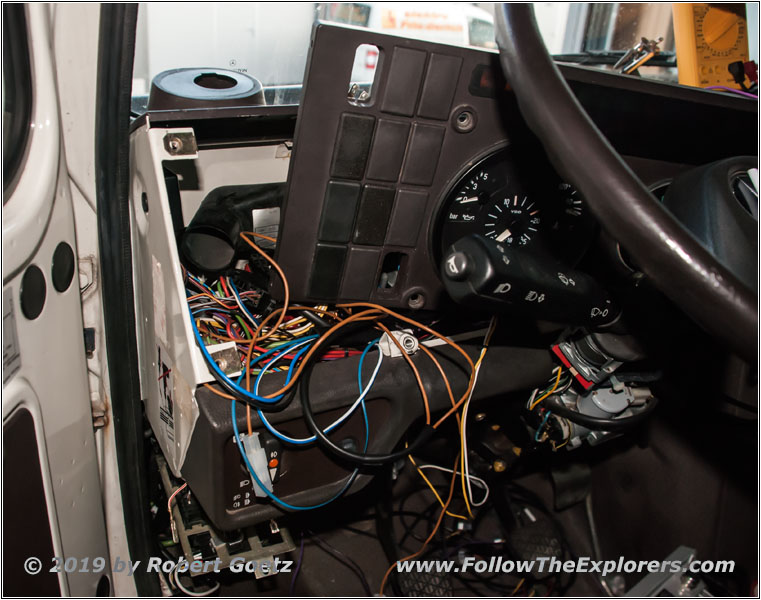
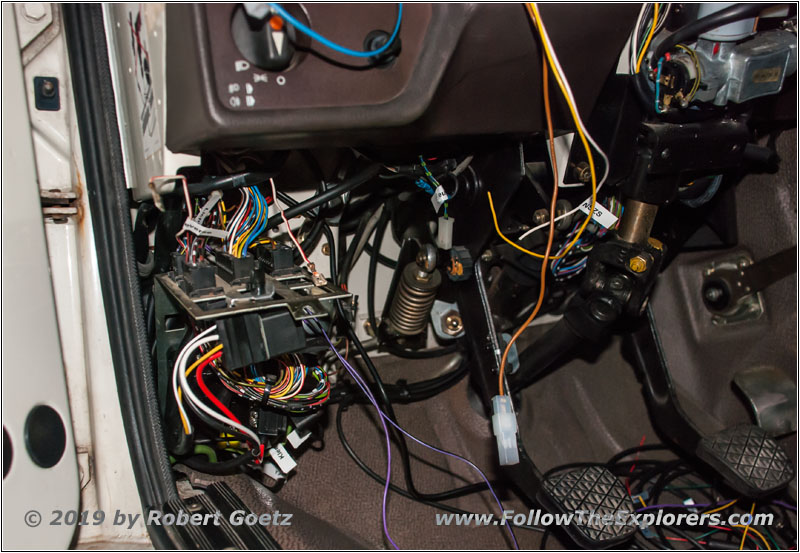
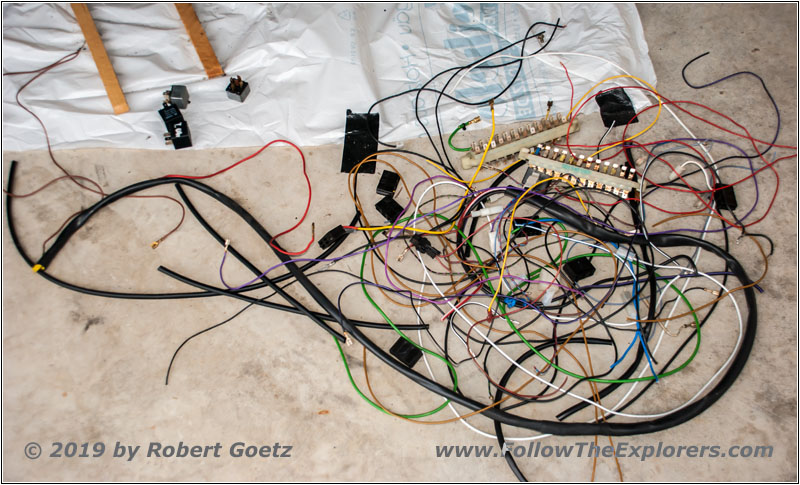
As my dashboard is already removed I start a real good clean up. I also remove unused wiring in the original wiring harness. Every powered and unused cable is a potential risk for a short. While working on the harness I encounter that there is a second generator installed for 12V to power the shelter. There is also a wild relay circuit which powers the control light for this second generator. As I plan to replace the original 30A generator with 50 or 80A I no longer need the second generator and its cabling harness. I really check now every wire from the fuse box to see what is powered by this wire by using a lab power supply and measure the current. It’s a lot of work. But after that I really know what is powered from where. By doing this single checks I realize that the fan was fused only with 8A instead of 16A, while drawing 13A on full speed! But what is even more shocking is the original wiring done by Mercedes: The fan is directly powered from ACC where a lot of other high current consumer are attached. But all is switched by a simple 20A relay! This has to be changed!
Bad contact for engine shutdown relay
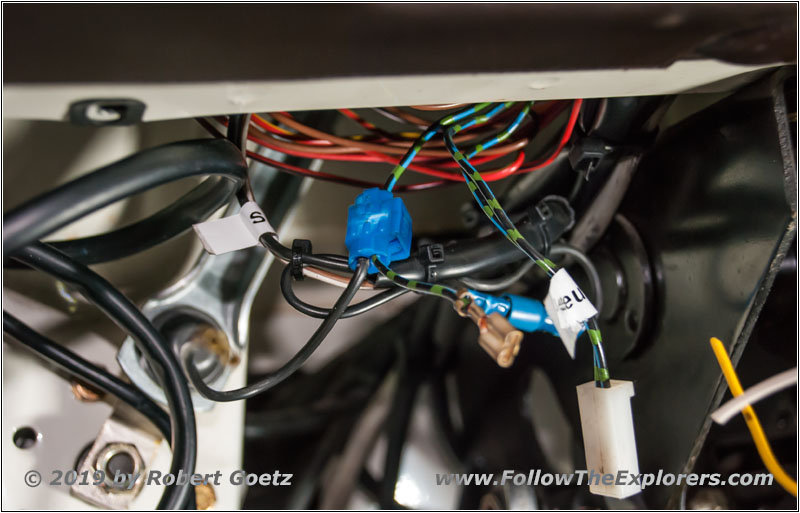
The further analysis has the next surprise for me. The Unimog has been upgraded with an engine shutdown via the ignition key. Unfortunately this has not been done professionally and a power splitter has been used. These parts are well known of having contact issues which I definitely can confirm on my S10 in the US. If there is now a contact issue at this splitter, the engine will shut down immediately. This can be deadly if you are on a rough 4WD trail. So I have to install a reliable power distribution here.
New fuse box for Unimog U1550
Power supply protection for rear view camera
Power supply protection for rear view camera
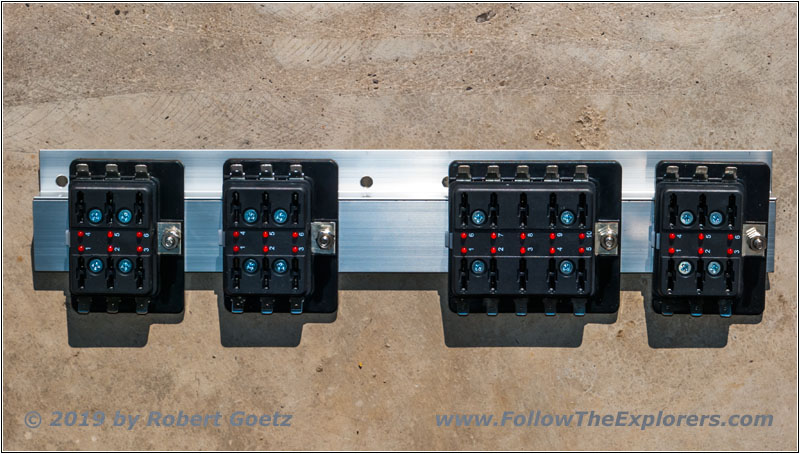
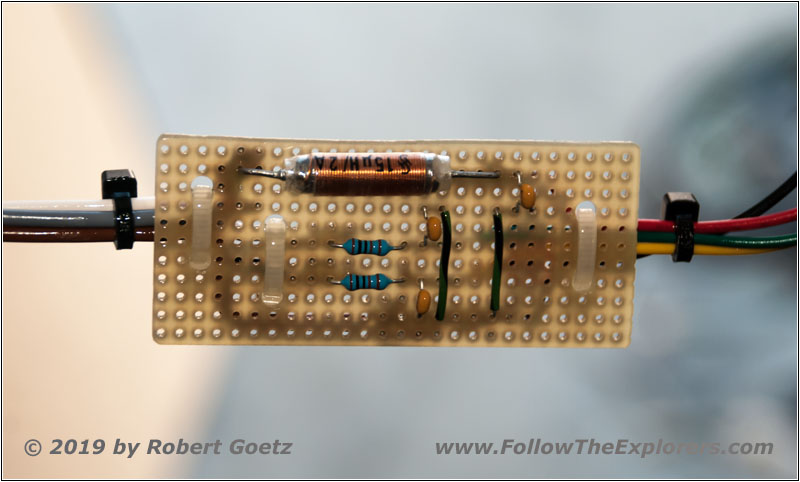
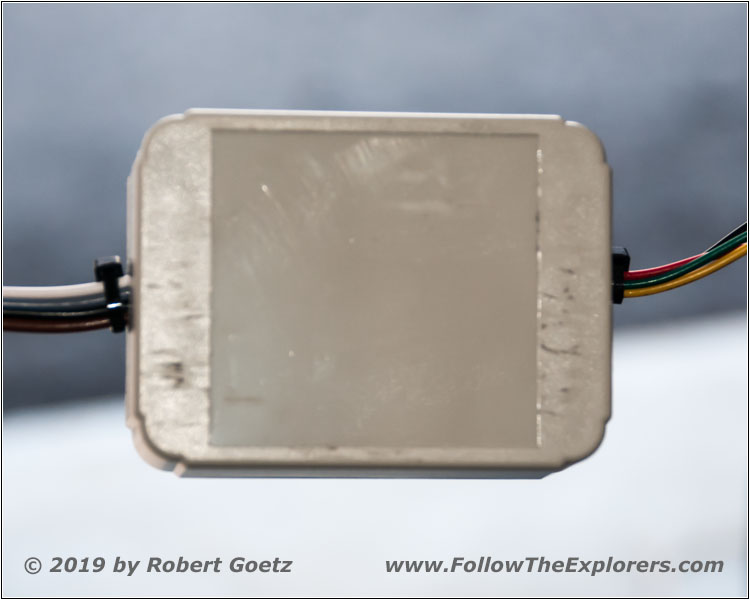
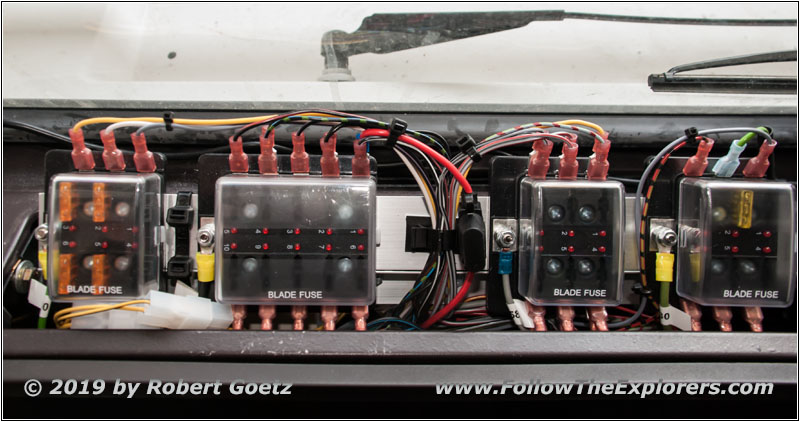
In the meantime I have also finished the new fuse holder for blade fuses. Next is the installation and connecting all wires. Now I am also able to go back to my rear view camera, which was the original start of this project. This is a china device where I don’t trust the power input protection. I doubt that they have completed all necessary automobile testing. Therefore I build a protection circuit on a small PCB and install this in a case.
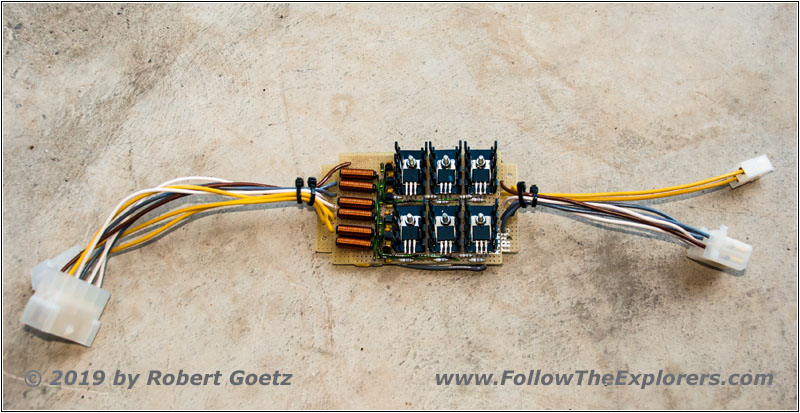
Electronic relay for beams
Instead of using a bunch of regular relays for my beams I build an electronic relay with 6 independent electronic switches. The low beams at my Unimog were fused for right and left with separate fuses. I extend this and also have now single fuses for high beam and (the not yet installed) fog lights.

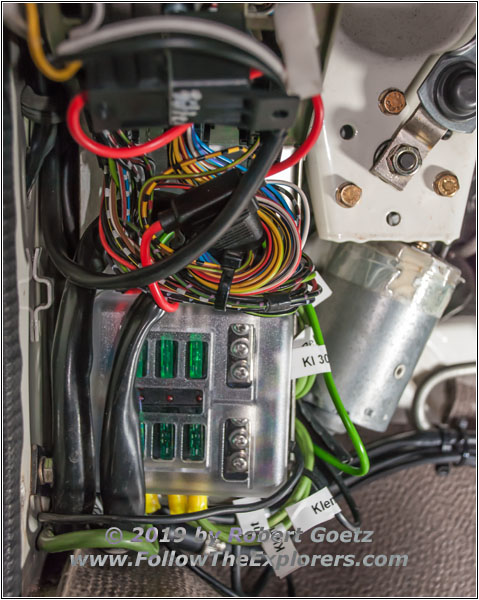
Unimog U1550 new main fuse box
Unimog U1550 new fuse boxes
Trash cables
As last step for all my work I have to install the fuses. But before I verify that everything is hooked up correctly. I also prepared a document showing which fuse secures which part of the electronic. In case my electronic relay breaks I can directly connect the low beam wires with the connector shown on the left in the picture. They are then turned on permanently but still fused separately. Now this part should be ready for an expedition! Especially with all the useless cables removed…
Unimog U1550 new setup
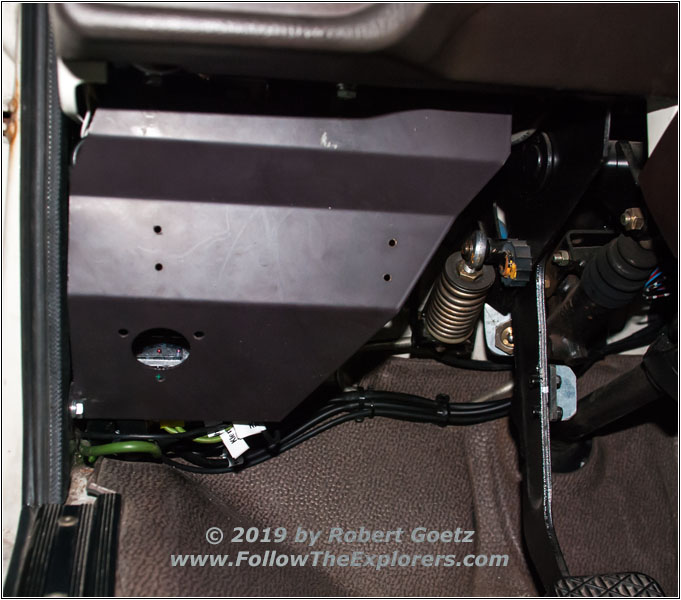
Unimog U1550 new main fuse box installed
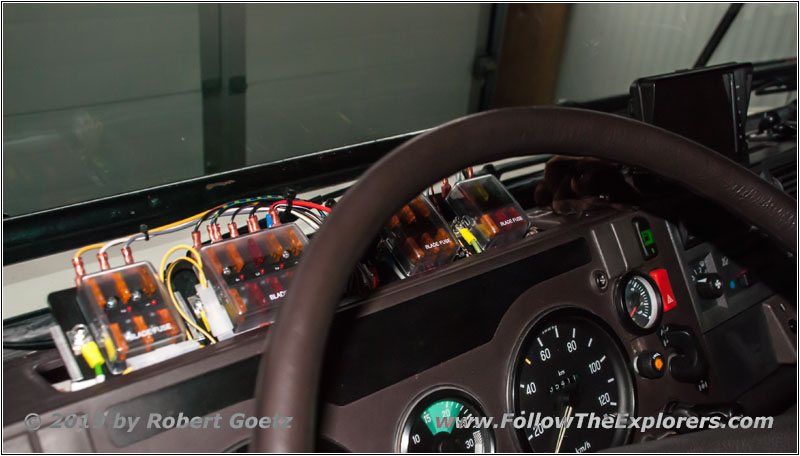
Unimog U1550 new fuse box installed
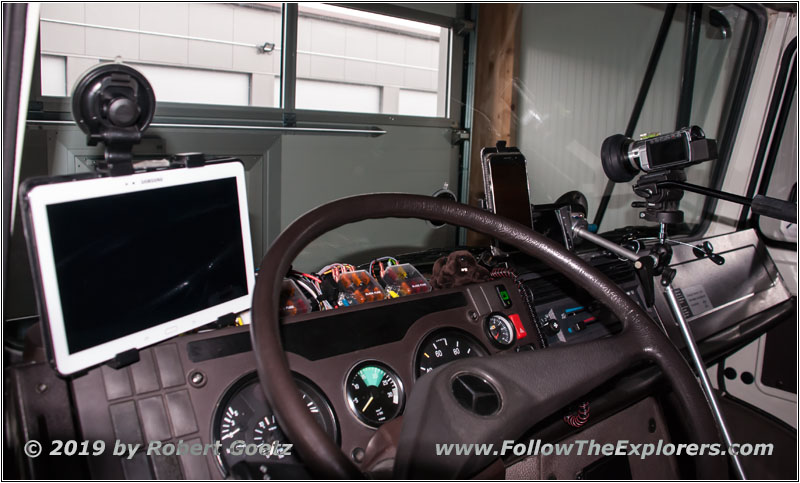
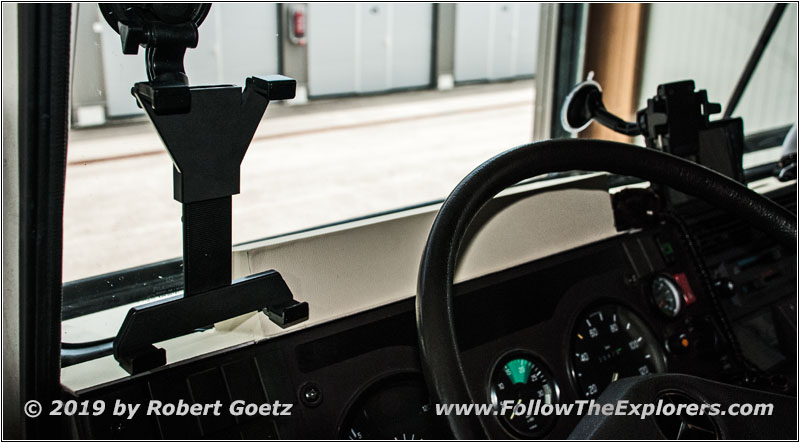
After all covers are installed it almost looks like a truck again! I only have to design a cover for the top fuse boxes. But everything is fine for a test ride now. Everything looks quite nice with my rear view camera, tablet for navigation, mobile phone and video camera. Let’s hope everything is connected correctly and she fires up right away!
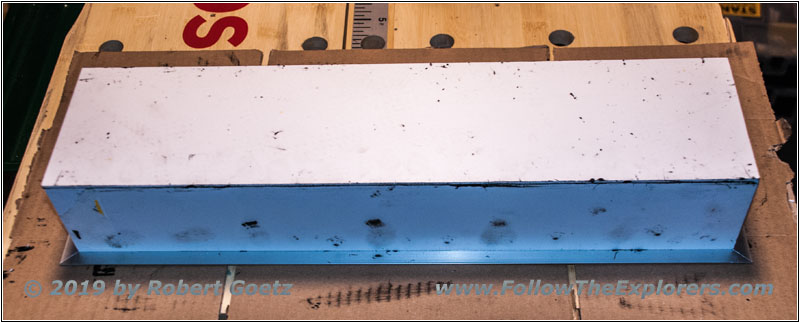
Unimog U1550 new fuse box cover
Unimog U1550 new fuse box cover

Unimog U1550 new fuse box cover with leatherette
Unimog U1550 new fuse box cover with leatherette
Unimog U1550 new fuse box cover with leatherette
Unimog U1550 top dash with leatherette
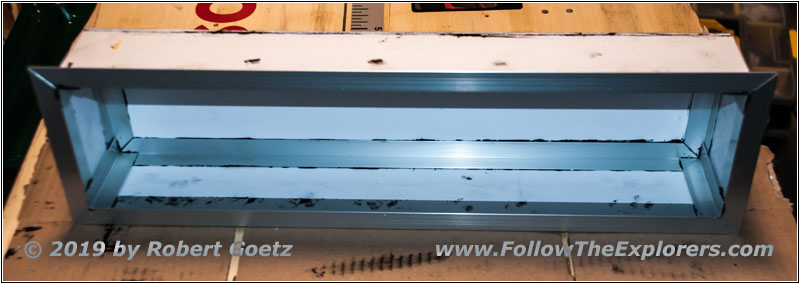
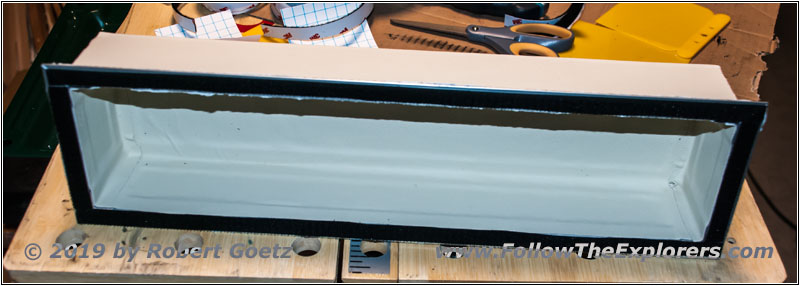
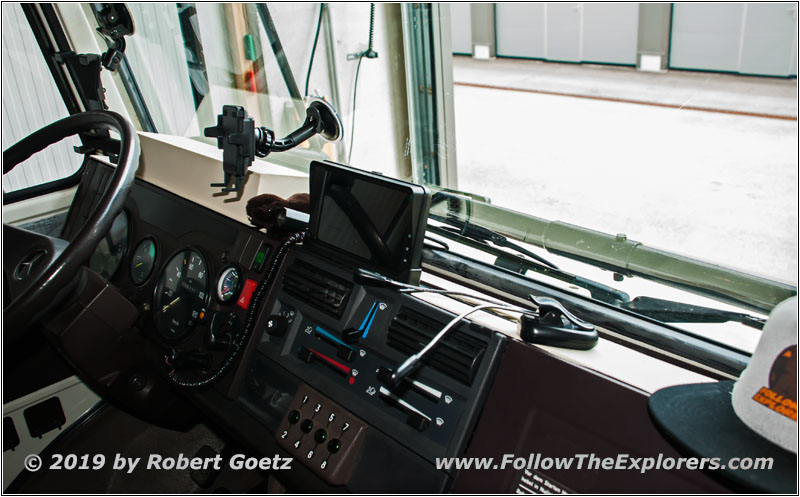
As my truck fired up perfectly and I had a nice drive to a café in the region I started to build a cover for my fuse box. I glued an aluminum frame together and covered it with plastic sheets. Then I put on self–adhesive leatherette. But as with my foils before I had to realize that I still need a lot of training to get things glued on really nice. The whole box will be fixed with a tough hook–and–loop fastener to have easy access to my fuses. To have the whole top of my dash in the same shape I put on bright leatherette on the whole top. I hope it will not mirror too much in my windshield. But my position is pretty high and it looks like all mirroring will be in the view of my hood and should not disturb me.
Also inspection was very happy with the overall condition of my Unimog!
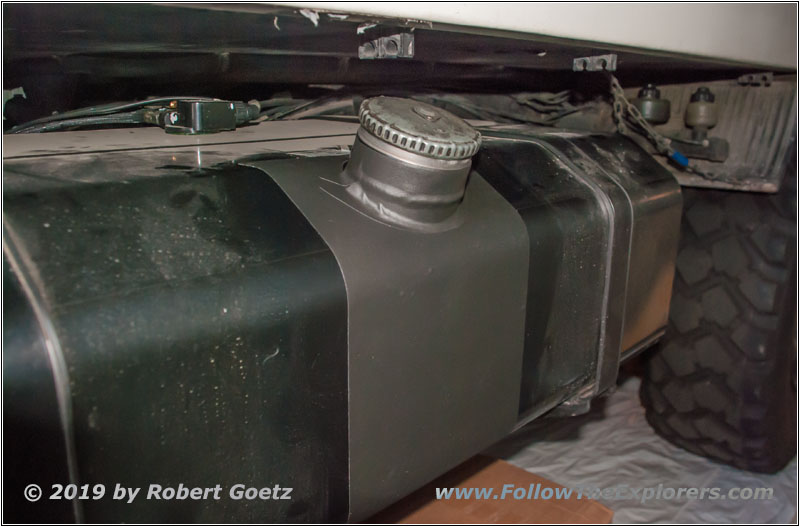
Gas tank protection left
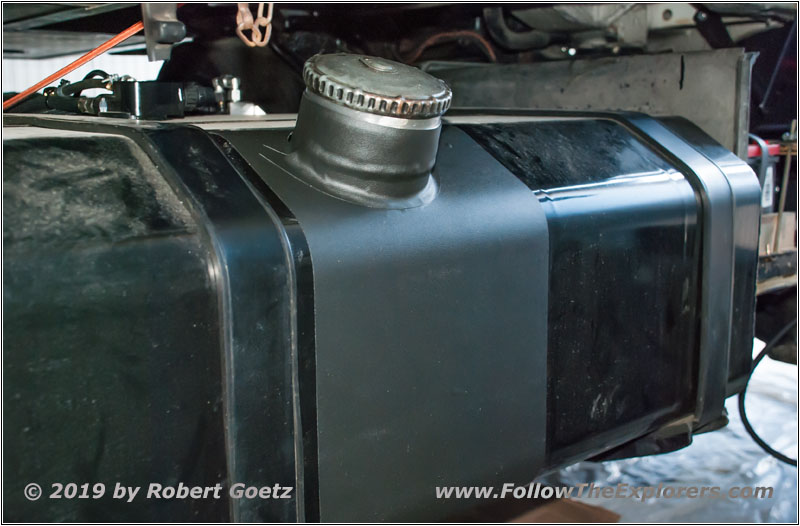
Gas tank protection right
A friend told me that the Diesel, which drops down from filling in, might cause issues with the powder coating of my gas tank. Therefore I installed some protection foil on the side. Not too bad for my first try!
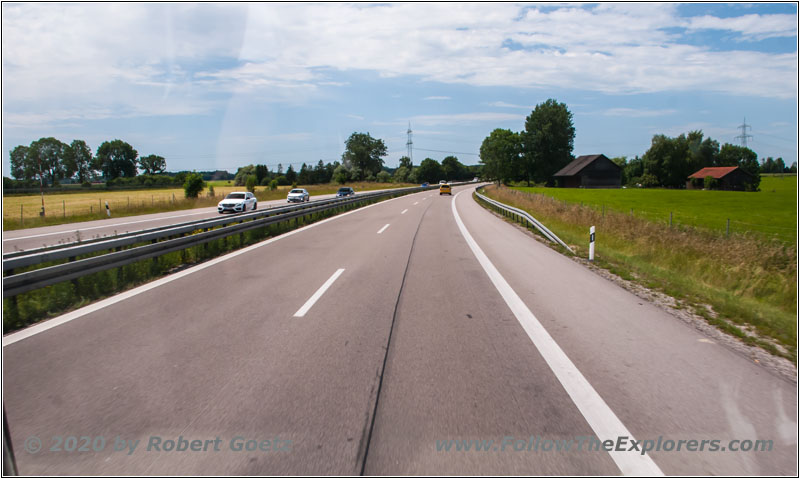
Driving to inspection on A96
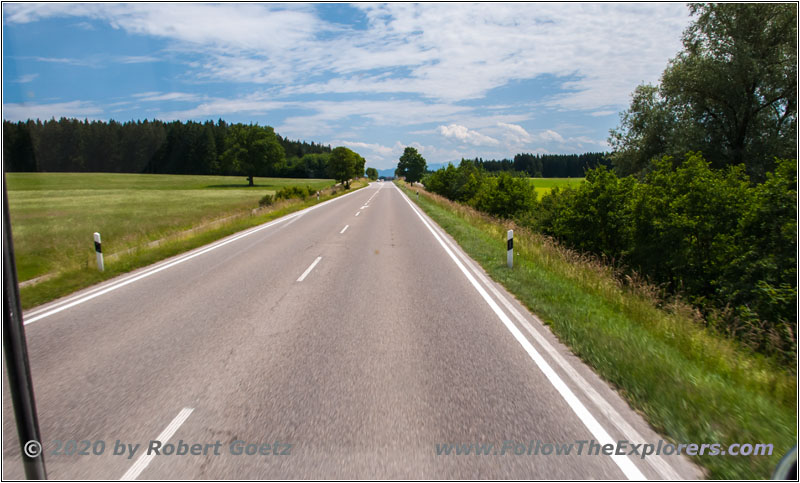
Driving to inspection on B471
And another year is over and it is time for emission and inspection. I am worried that the truck will not fire up after almost one year of storage. But the engine started on the first starter turn! And there were also no issues at inspection, not even something minor!
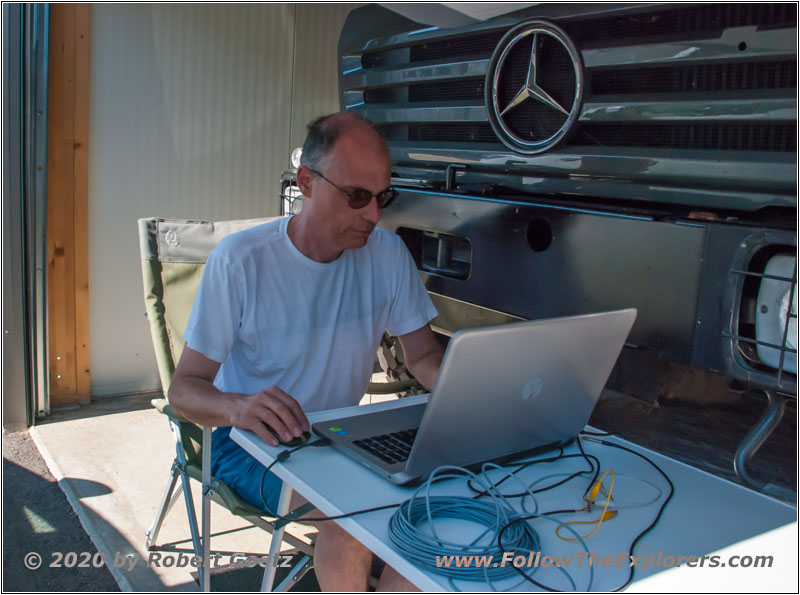
Unimog U1550 temperature gauge programming
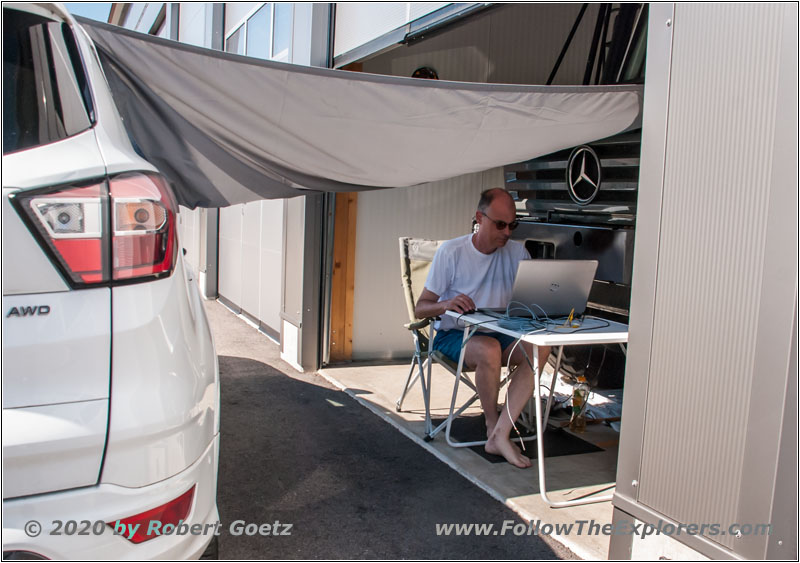
Unimog U1550 temperature gauge programming
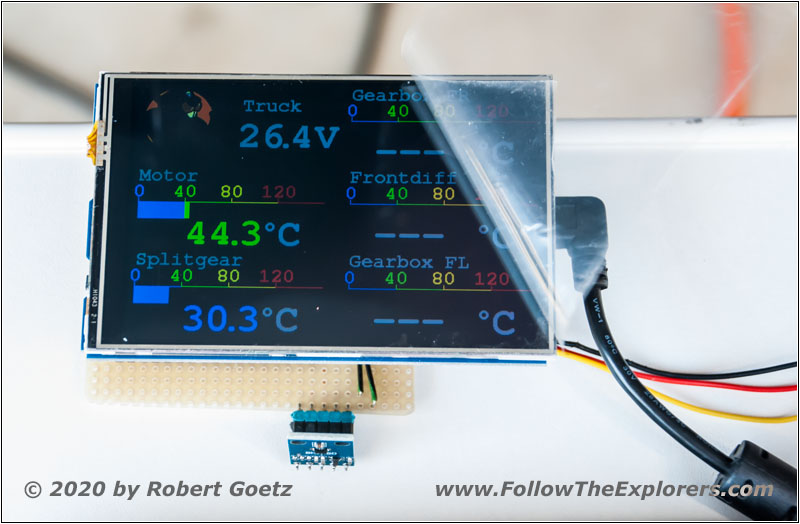
Unimog U1550 temperature gauge night view programming
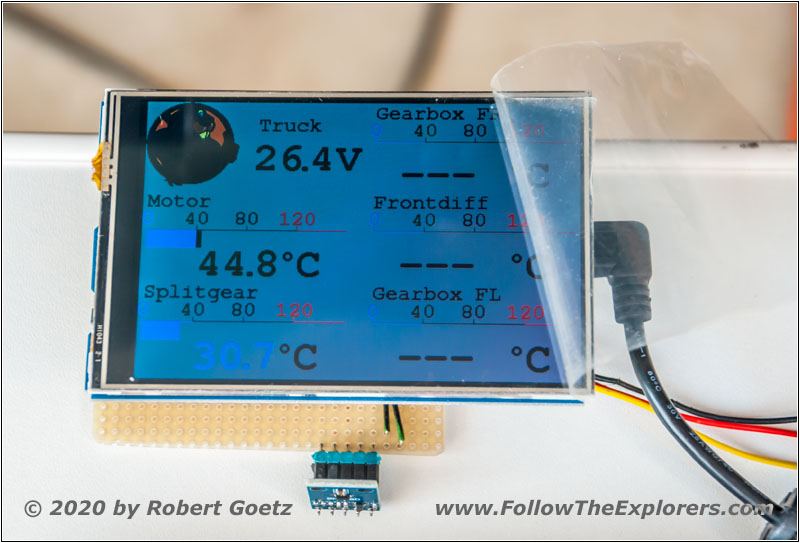
Unimog U1550 temperature gauge day view programming
As I have to wait for my new shelter, I use the time to work on my truck. The Unimog has a whole lot of gears, which should be monitored by their temperature. All in all I will have 10 temperatures to display. That is way too much for analog gauges. Therefore I have to program something digital. Now I only have to figure out how to mechanically install the displays and temperature senders…
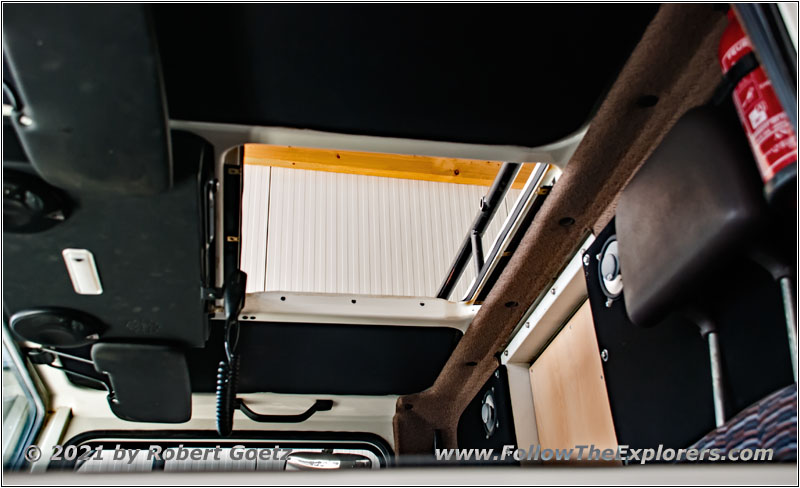
Unimog U1550 removed air condition
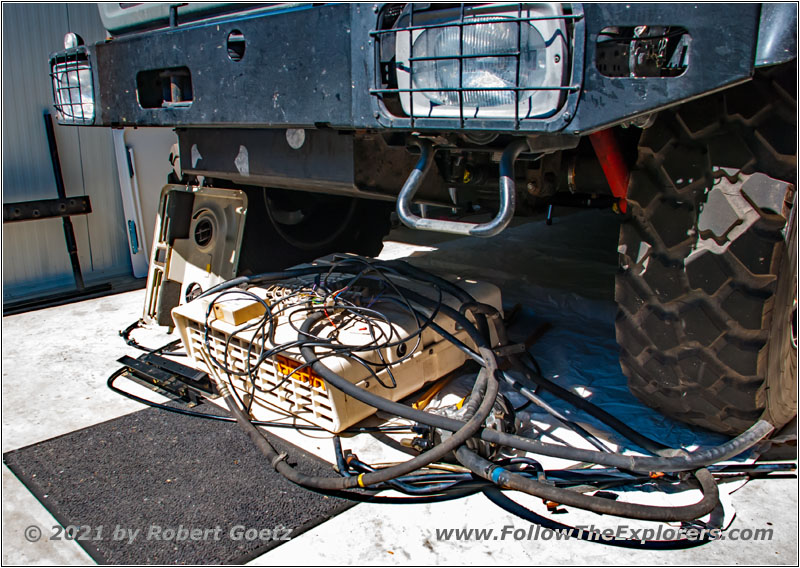
Unimog U1550 removed air condition
In the meantime the new shelter is mounted. But for now I continue working on the truck itself. I plan to switch the air condition to an electrical one. Therefore I have to remove everything, what is not needed anymore. Unfortunately the roof rack has been build in such an idiotic way, that you must destroy it to get the air condition out — not the only thing that was screwed up on this truck…
Unimog U1550 frame for roof window
Unimog U1550 frame for roof window
Unimog U1550 frame for roof window
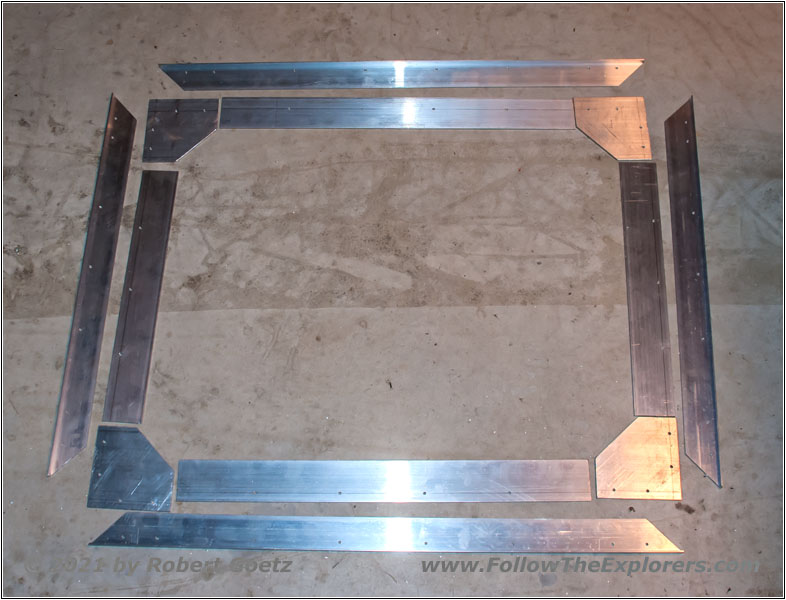
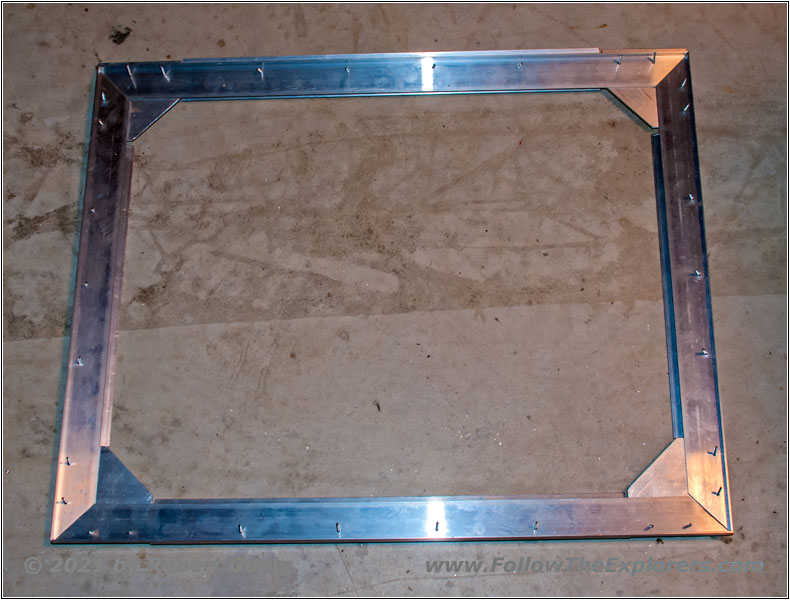
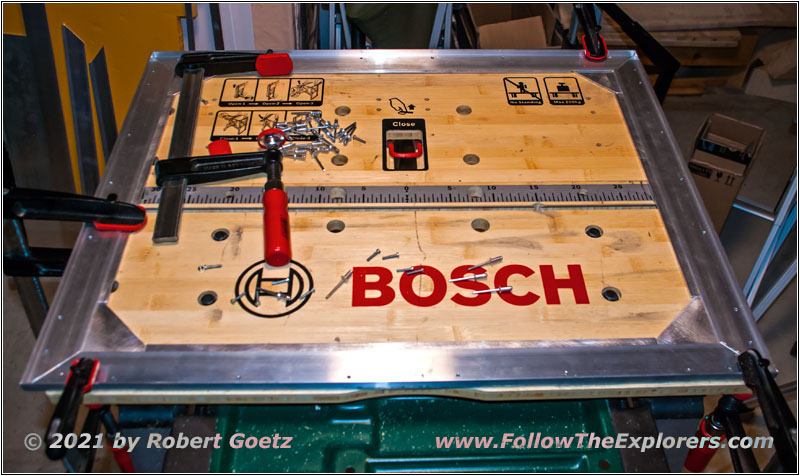
My first task will be to build a new roof window, because I now have a real big hole in my roof. After quite a bit of research I eventually find a dealer, who offers car safety glass, which has the necessary ECE R.43 stamping and will be build according to my drawing. After this is solved I can start building up a stable frame. The glass manufacturer told me, that there should be no torsion forces on the window. Let’s hope that my frame will be stable enough after this UHU Endfest 300 has dried out. Additionally I will put in some rivets.
Unimog U1550 mount side light
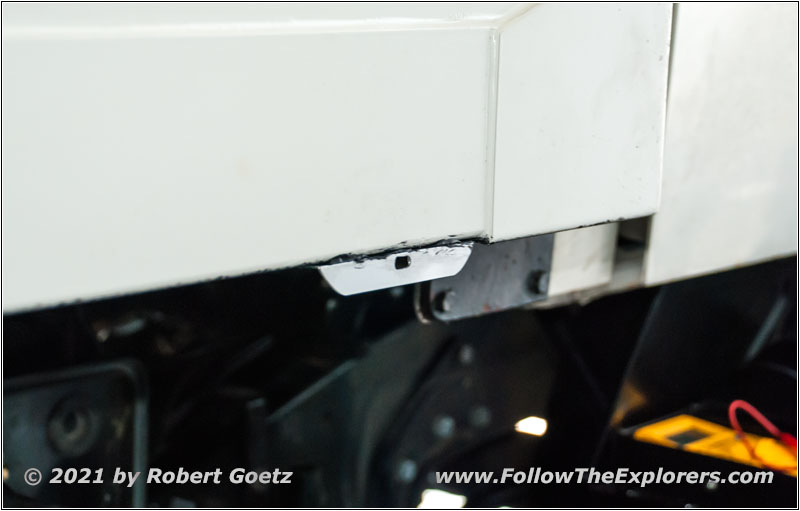
Unimog U1550 mount side light
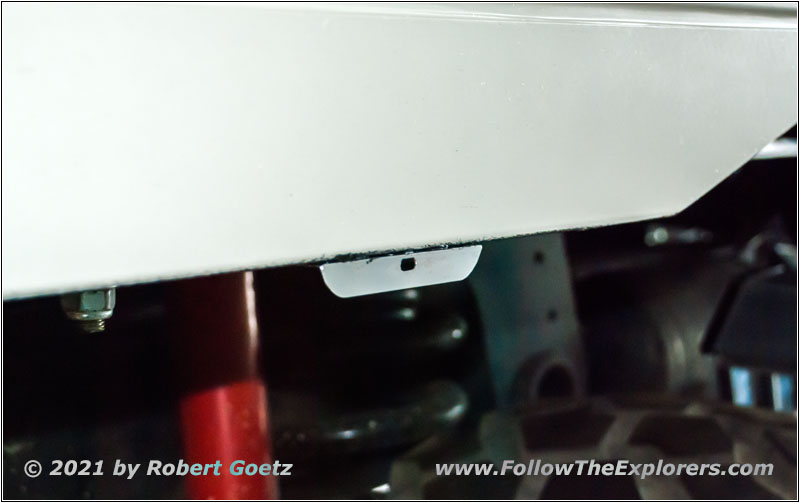
While the glue is drying out, I start working on my side markers. I need additional lights to the side, because my Unimog will be longer than 6m with the new shelter. These can be some simple reflectors. But I decide to go with Hella LED side markers. But I don’t want to drill holes in my new shelter. Therefore I let the wiring run just below the shelter. To stabilize the lights I cut and milled some aluminum brackets, which I glued with Dekasyl below my shelter — another glue that needs some time to dry out…
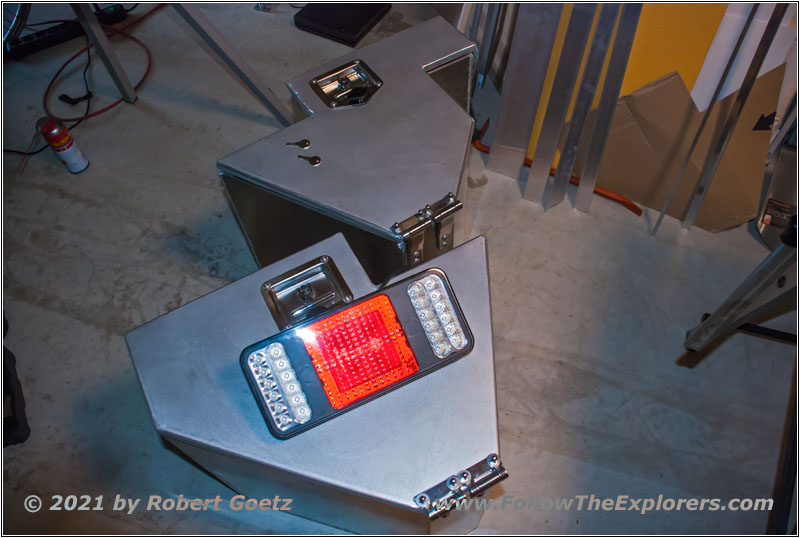
Unimog U1550 rear storage boxes
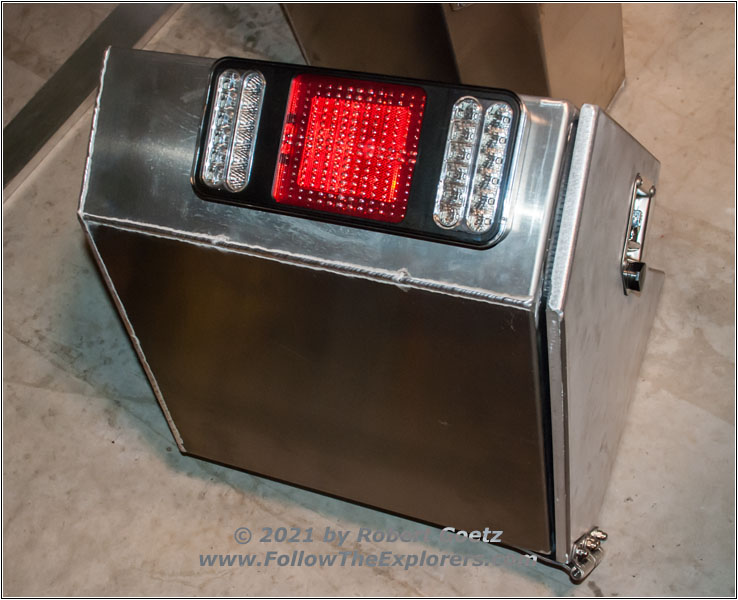
Unimog U1550 right rear storage box
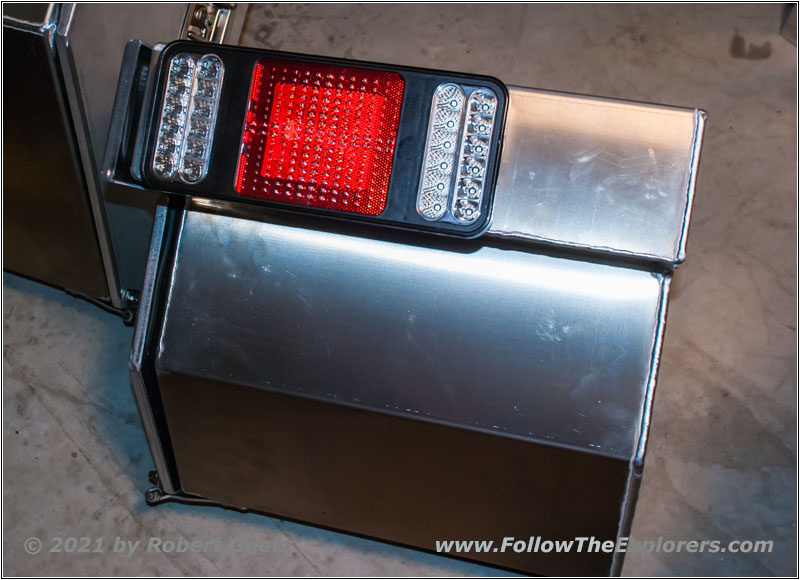
Unimog U1550 left rear storage box
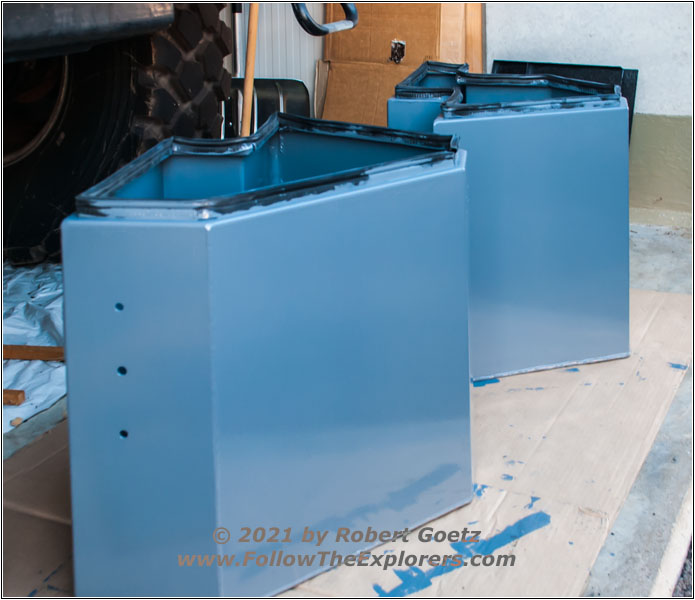
In the meantime my rear storage boxes have arrived. Because of all these angels this was a real challenge for my metal guy. But the result turned out to be awesome. He really did an amazing job. Now I hope, that I made no mistake on my drawings. The first impression is good and so I start to mark the holes for my new Hella LED backlights. When thinking of how much these storage boxes have cost, I measure three times, before I start drilling. But at the end everything works out and the lights are where they must be according to law. Now I have to think on how to mount the license plate illumination on the left storage box.
Unimog U1550 storage box primed
Unimog U1550 storage box doors primed
Unimog U1550 storage box mounts
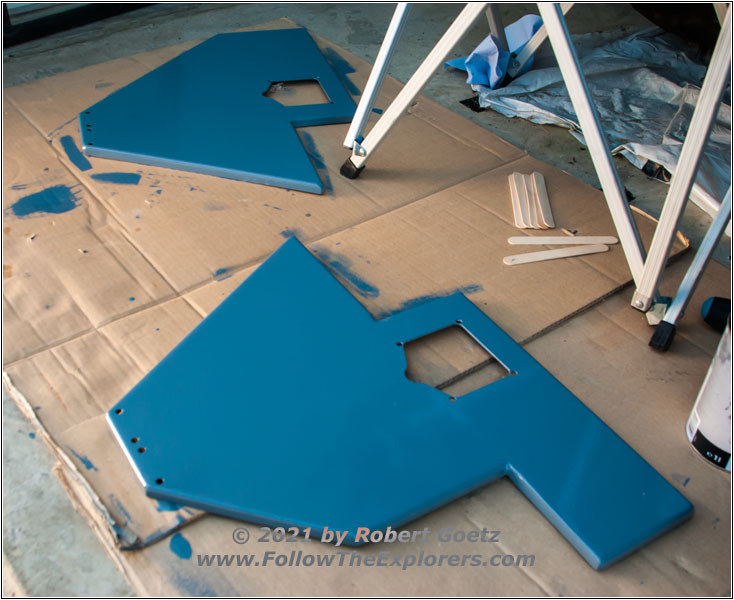
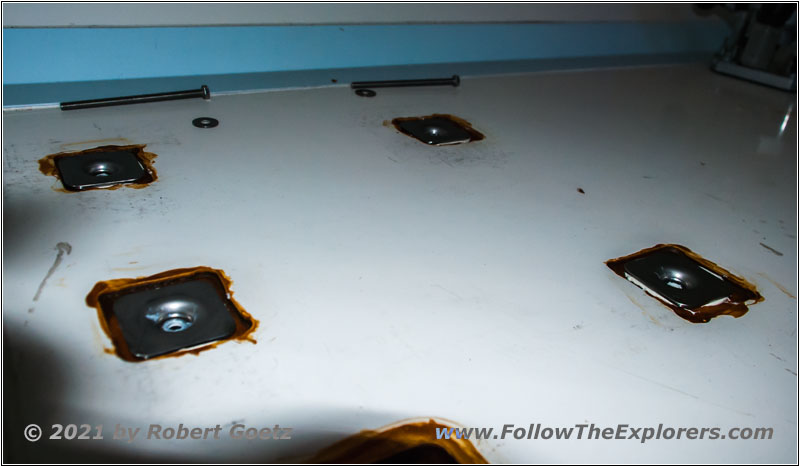
After having built nice mounts for the license plates illumination I start to prime my storage boxes and the doors. Finally I install the mounts for my storage boxes, which I milled out of the floor before and then glued in with Dekasyl MS–5. Also I run the screws through plastic pipes to isolate any water from the floor.
Unimog U1550 roof window carrier
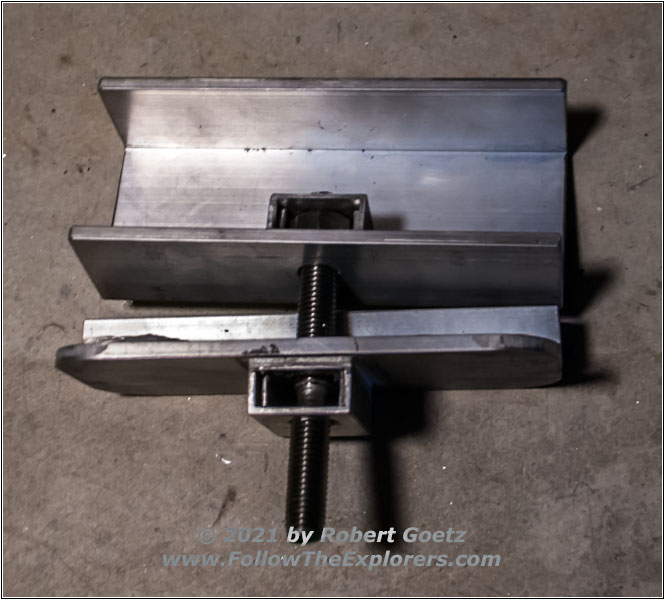
Unimog U1550 roof window mechanics
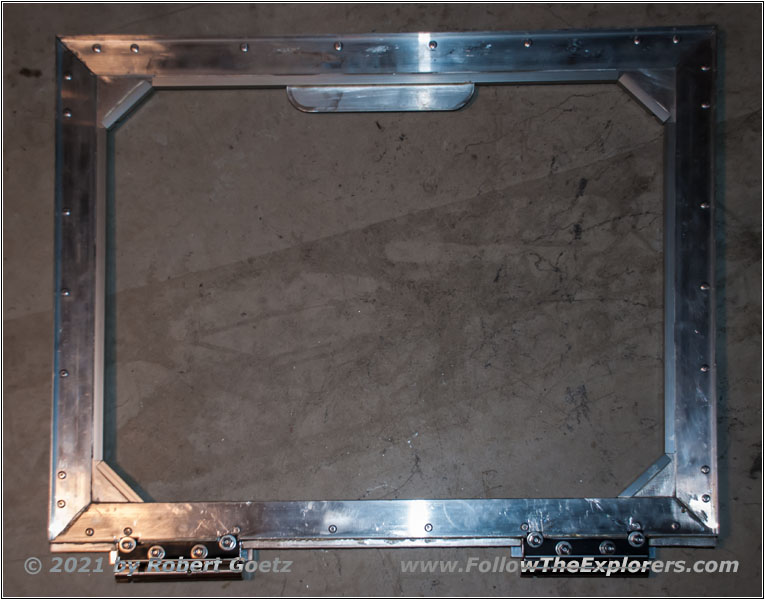
I am also able to finish slowly my roof window for the drivers cabin. The carrier is finished and after priming this also like my storage boxes I can start to put on my Raptor painting to the storage boxes in black and the roof window carrier and the mechanics in white.
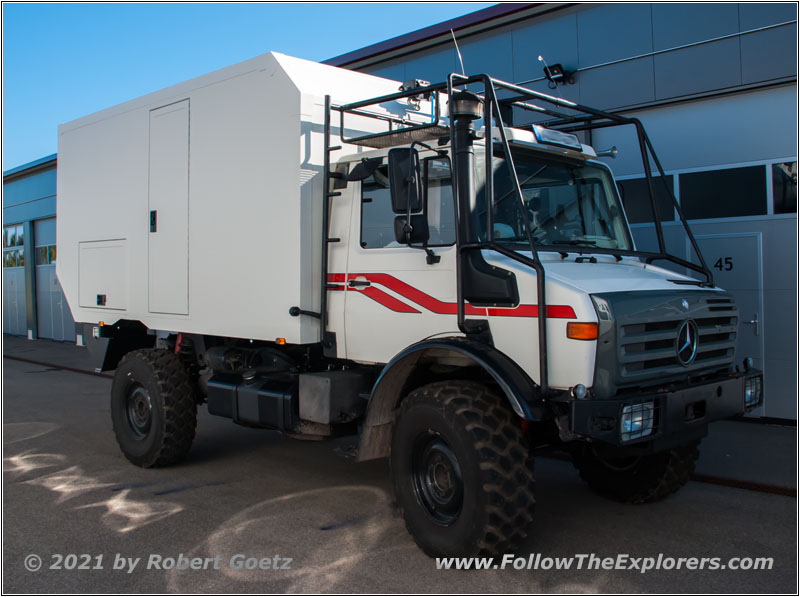
Unimog U1550 new shelter

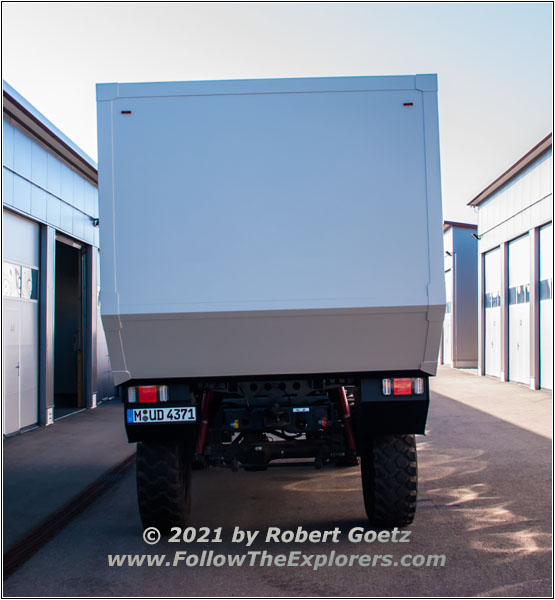
Unimog U1550 new shelter
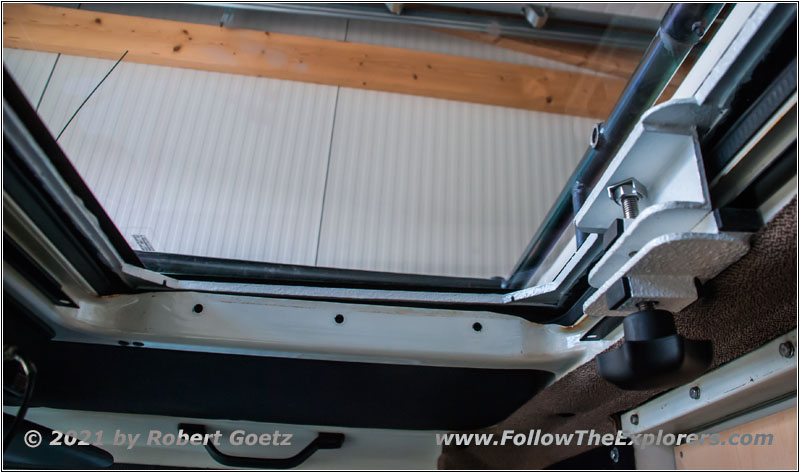
Unimog U1550 roof window
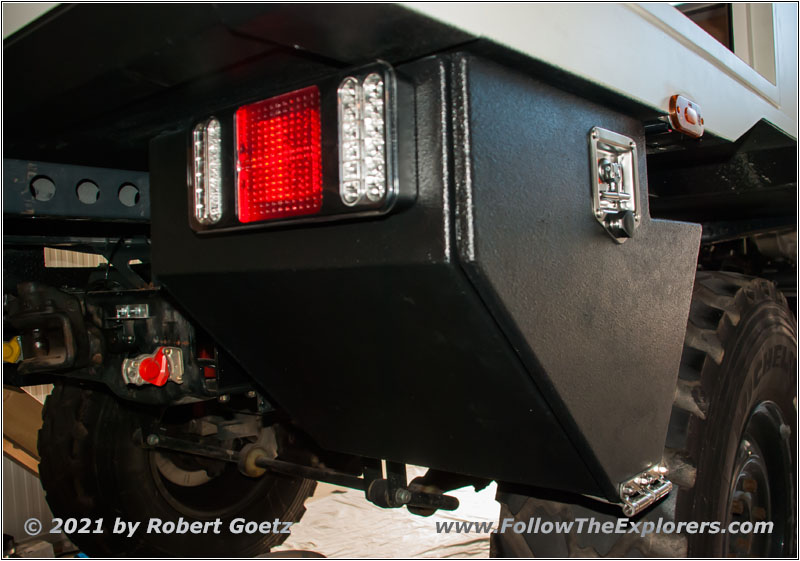
Unimog U1550 new storage box
Mid of October I am eventually able to show my almost five months of work to the TÜV engineer and he is quite happy with my work. Now I can start concentrating on the next tasks.
Unimog U1550 Shelter Entrance Stairs
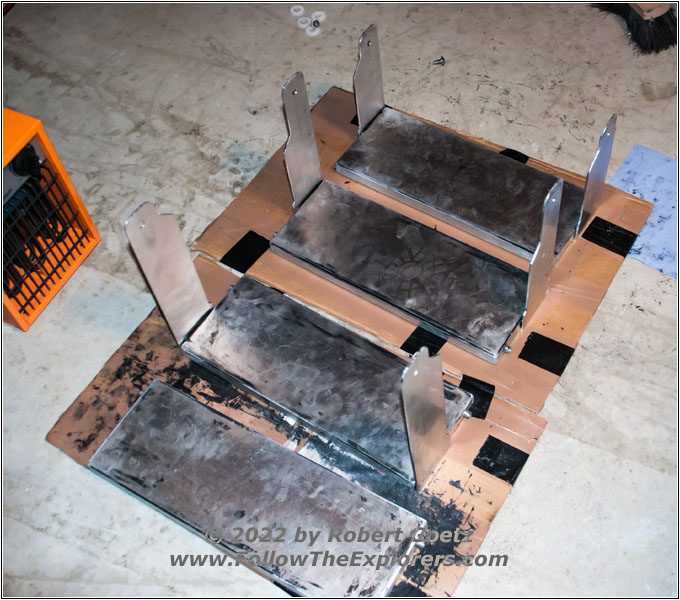
Unimog U1550 Shelter Entrance Stairs

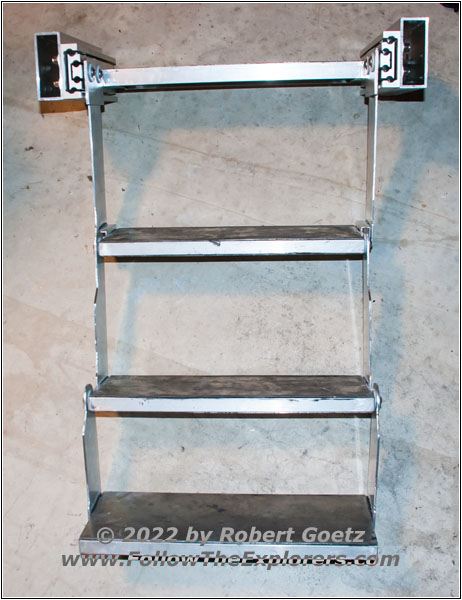
Unimog U1550 Shelter Entrance Stairs

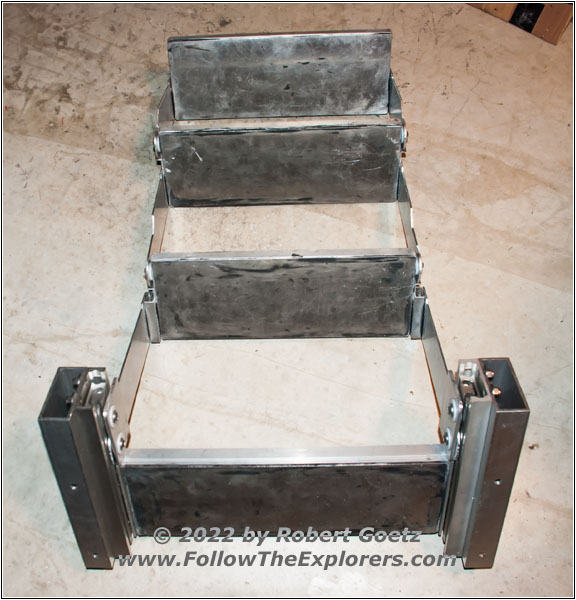
Unimog U1550 Shelter Entrance Stairs
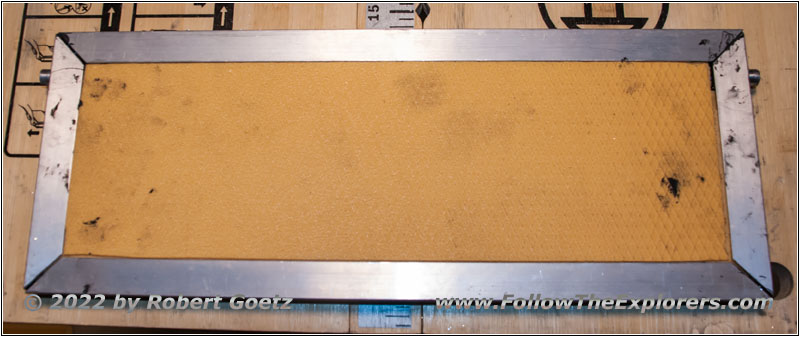
During the winter time I was mainly busy on designing and construction of the entrance stairs. As usual, none of the stairs available on the market have been suitable due to sizes. Therefore I was forced to design something by myself. I am really wondering, if the construction with glued on parts really will hold up!
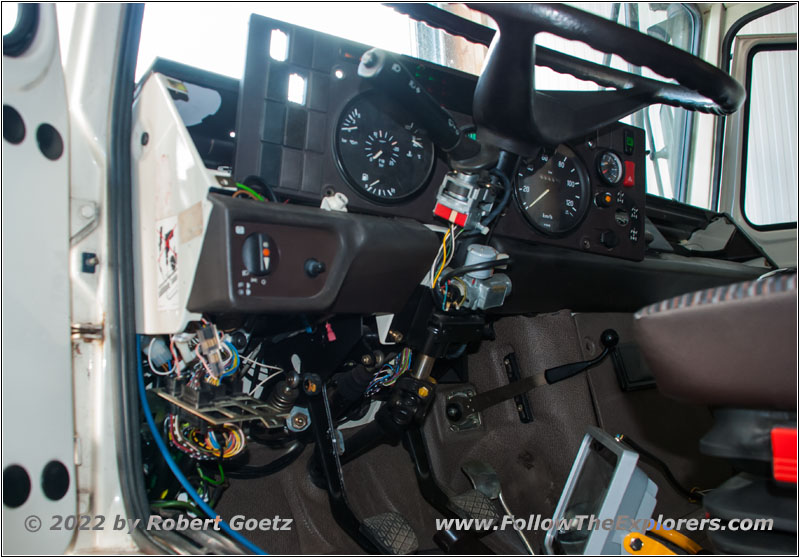
Unimog U1550 Main Electric Supply Rework
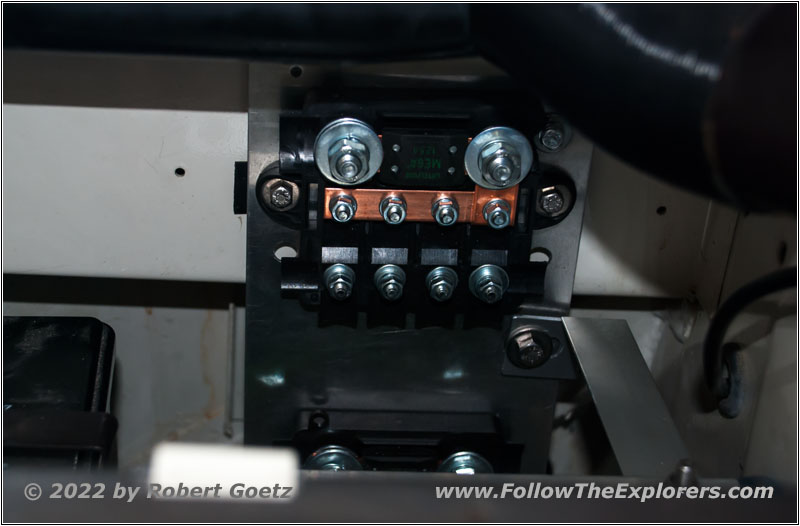
Unimog U1550 Main Electric Supply Rework
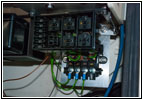
Unimog U1550 Main Electric Supply Rework
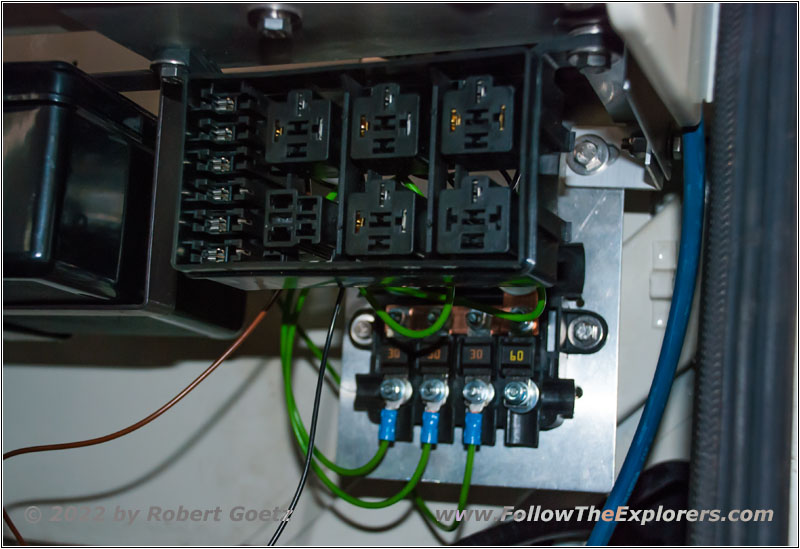
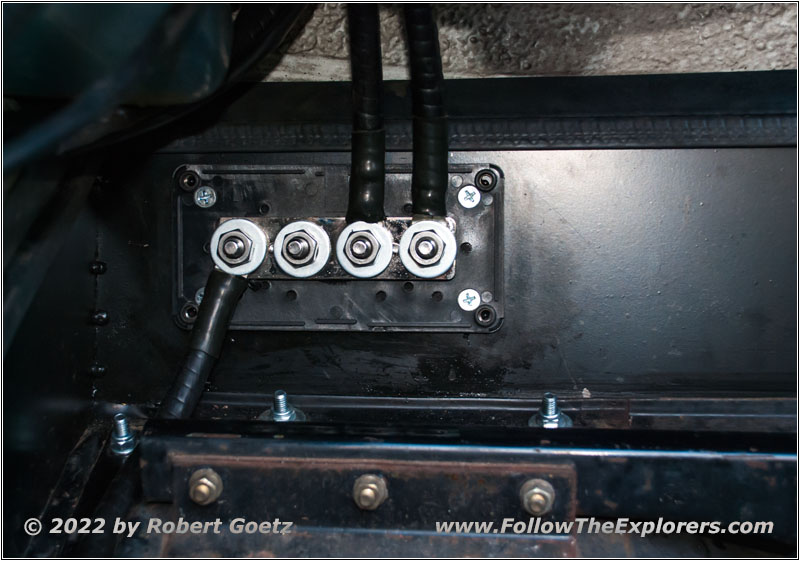
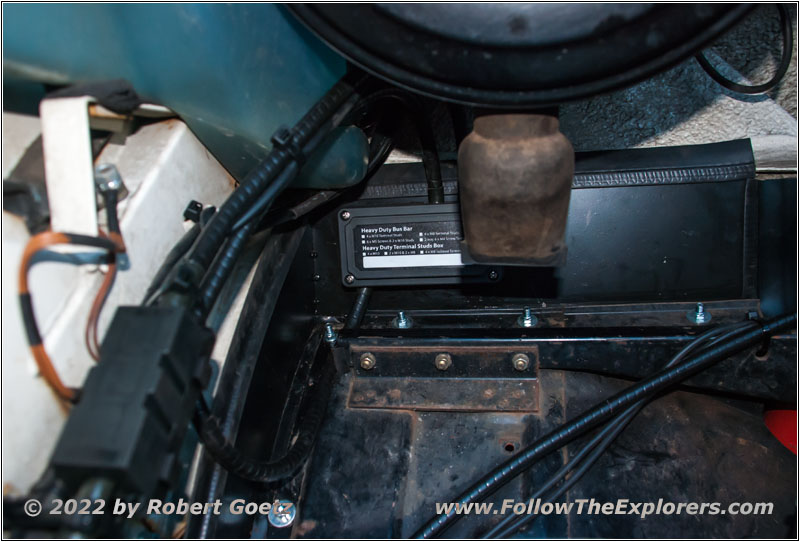
While I am still waiting for my windows, I continue to work on the electricity. I use the time to change everything for the more powerful alternator. The original only has 30A, while the new one has 80A. Using this opportunity, I am eventually able to disable the unfused AWG5 wire, which runs unfused from the starter to the inside. First, I place a new main distribution with big MEGA and MIDI screw–on fuses on the passenger side. Then I place an AWG3 from the main distributor to the drivers side. Additionally to the main distributor, I place an additional relay box with fuse holders on the passengers side. Now, my fan for the inside has an extra relay, which is driven directly from the main supply via the ignition. I also move the relay for my Separ Diesel heater to this relay box. Finally I also place the switchover relay for my diesel tank switchover in this box.
Unimog U1550 Main Electric Supply Rework
Unimog U1550 Main Electric Supply Rework
Then I place an additional main distributor in the engine compartment for the AWG2 wires. One wire runs to the new alternator (fused with 100A). The wire to the starter batteries is now fused with 125A.The third wire runs to the distributor in the inside, which is again fused with 100A.
Unimog U1550 Alternator Removal
Unimog U1550 Alternator Removal
Unimog U1550 Alternator Removal
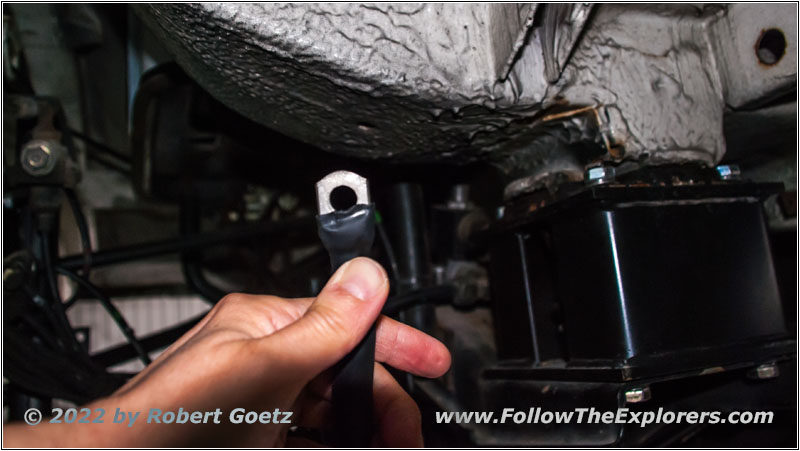
Unimog U1550 Bad Main Supply Cable
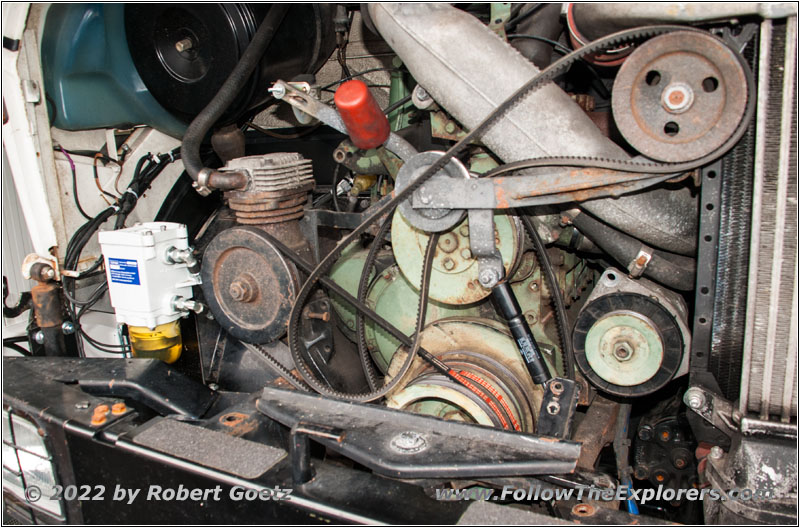
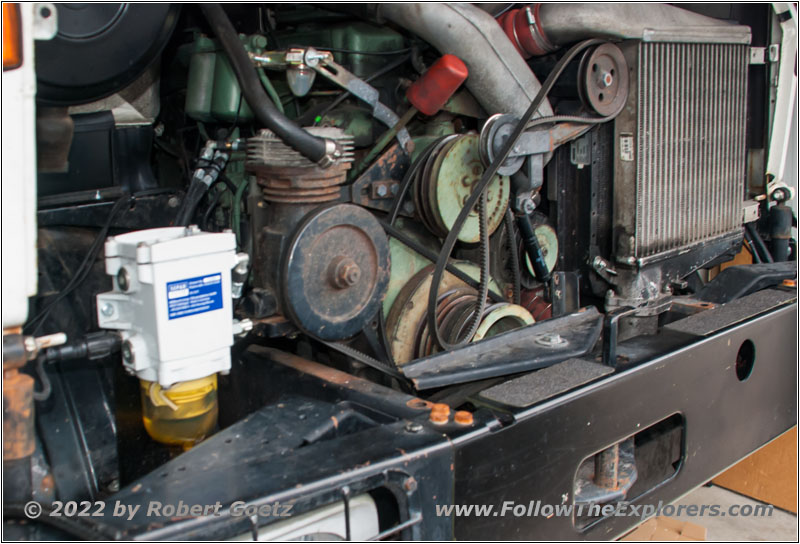
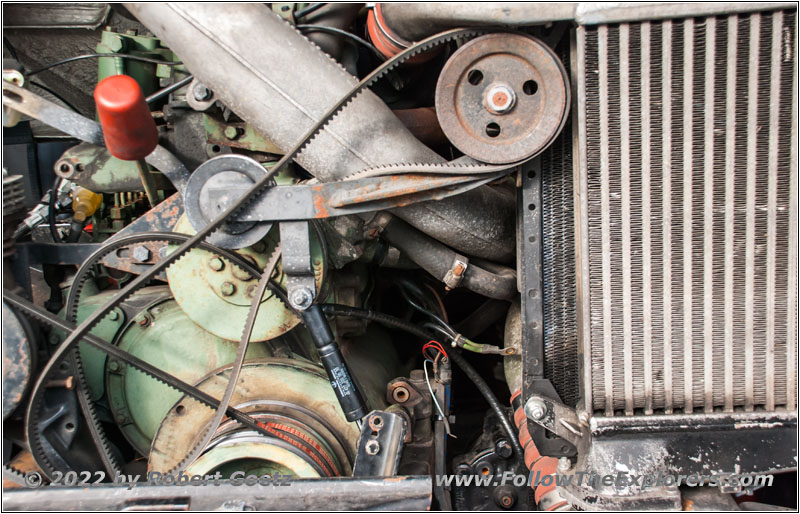
Next, I must remove the old alternator. Despite having plenty of room in the engine compartment, the alternator is so extremely squeezed in, that you have to remove a lot of stuff to get the alternator out. And even then it is still fighting to get it past the cooler. When removing the wires from the starter battery area I must realize, that there has been a lot of things screwed up on the electricity…
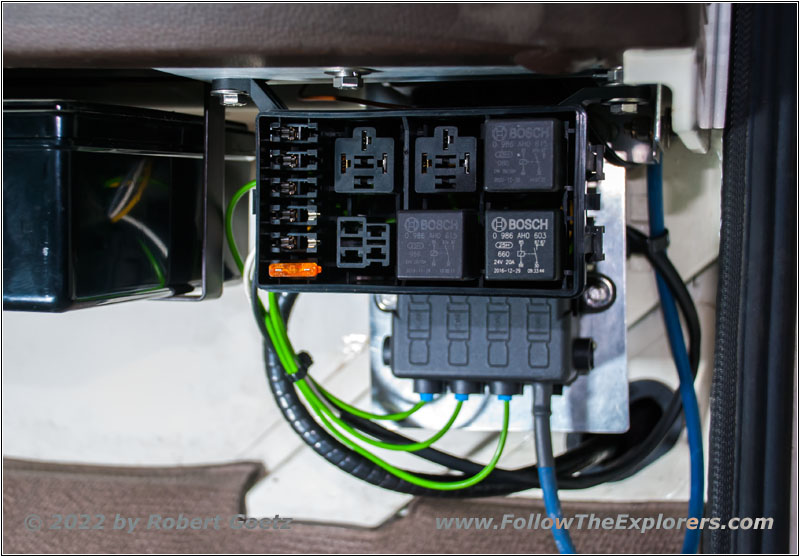
Unimog U1550 Main Electric Supply Rework
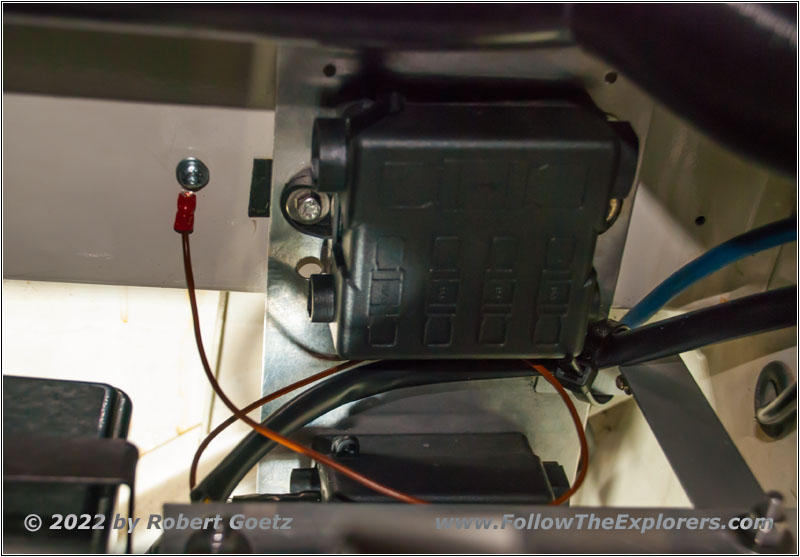
Unimog U1550 Main Electric Supply Rework
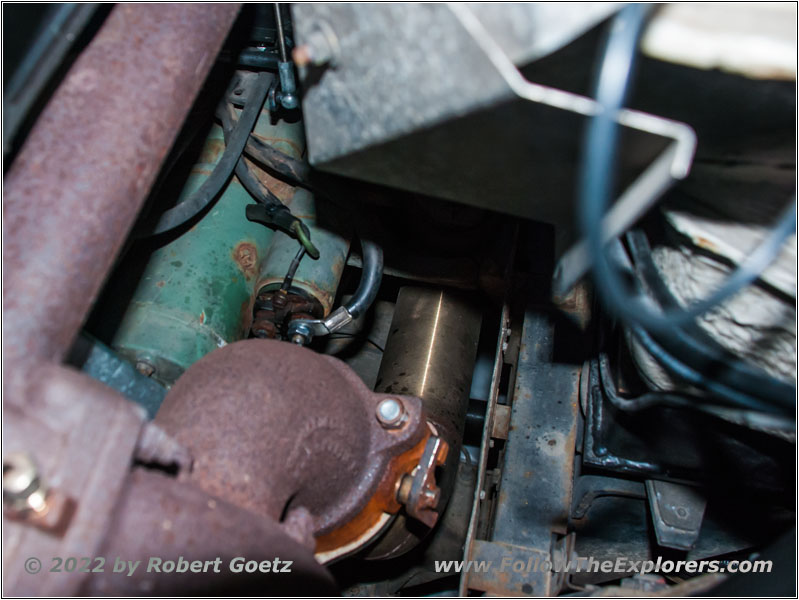
Unimog U1550 Main Electric Supply Rework
Now it’s time to wire up the relay box and to disconnect the old main supply line from the starter. Also here, the screw was pretty much rusted in. But I was able to get it loose.
Unimog U1550 Intercooler Mount Rework
Unimog U1550 Intercooler Mount Rework
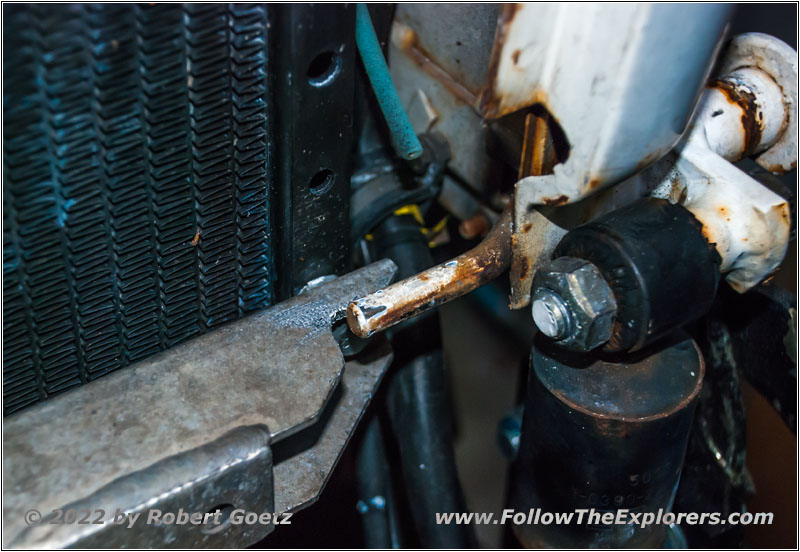
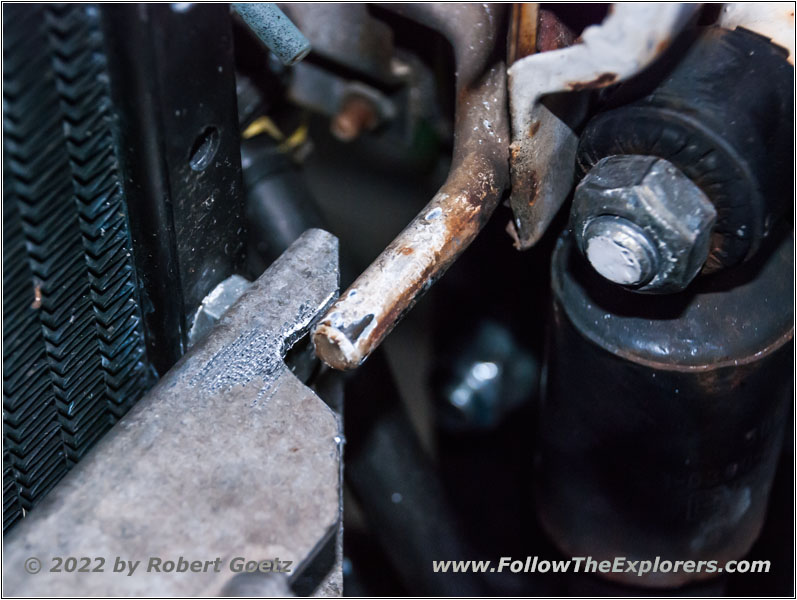
Because I am already working here at the front, I also cut out the intercooler mount. After the drivers cabin lift the shaft is just past the mount and when the cabin moves, it will damage the mount. You can already see the first signs of this fight…
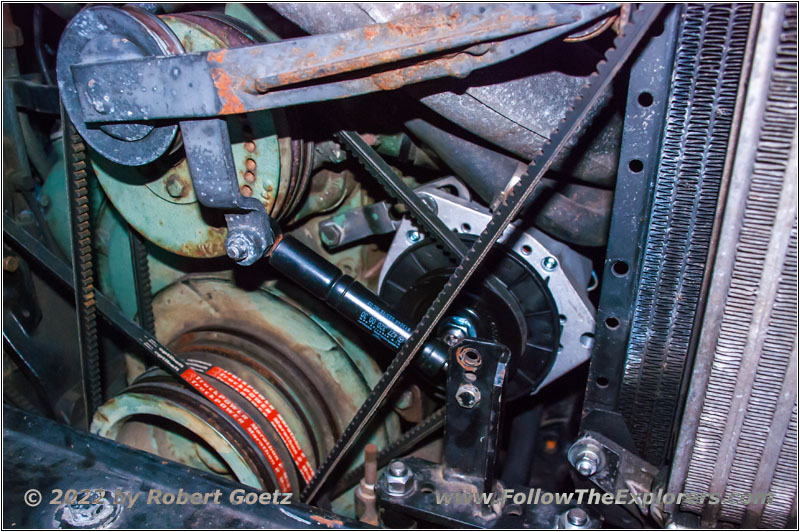
Unimog U1550 New Alternator
Eventually I am ready to put the new alternator back in. The dismounted parts have been cleaned with lemon acid and an ultra sonic cleaner. Now they look almost like new. Also the alternator mount screw look like new now. But I still have to wait for the first test run until I have completed the regular maintenance work. After sitting for this long time, I don’t want to start the truck just for a brief test.
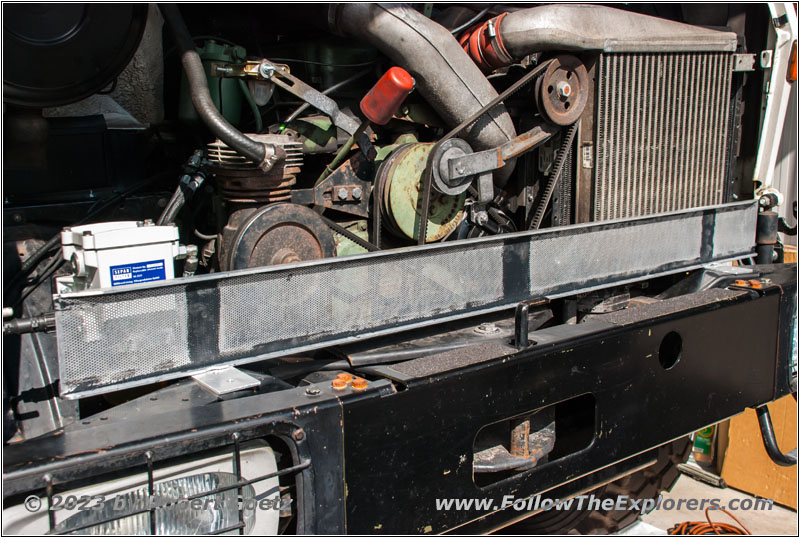
Unimog U1550 Front Grill Addon

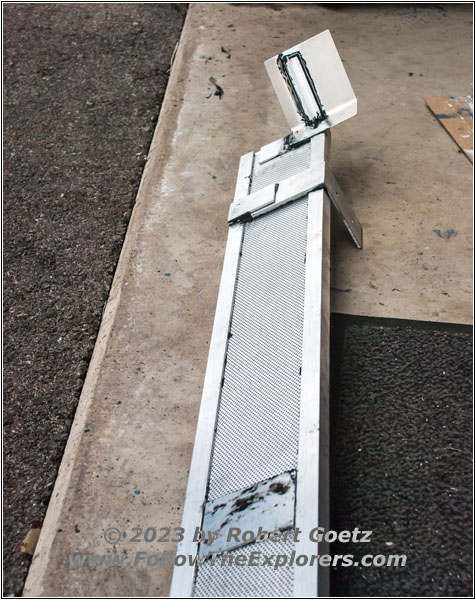
Unimog U1550 Front Grill Addon
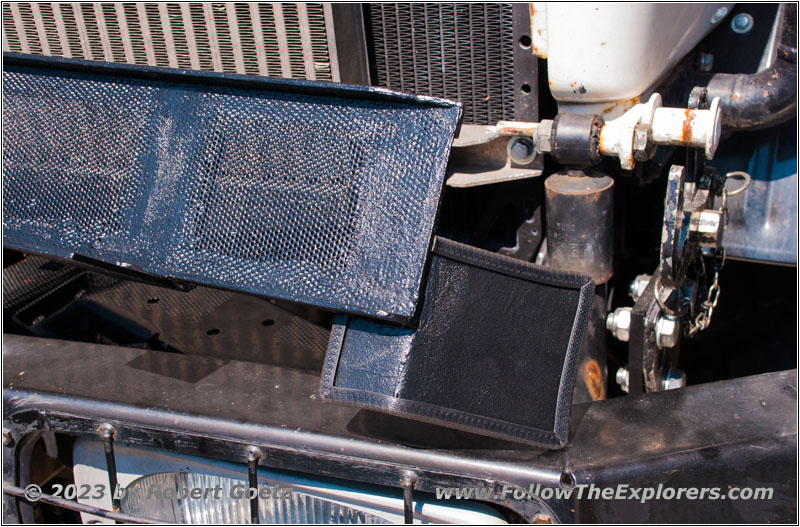
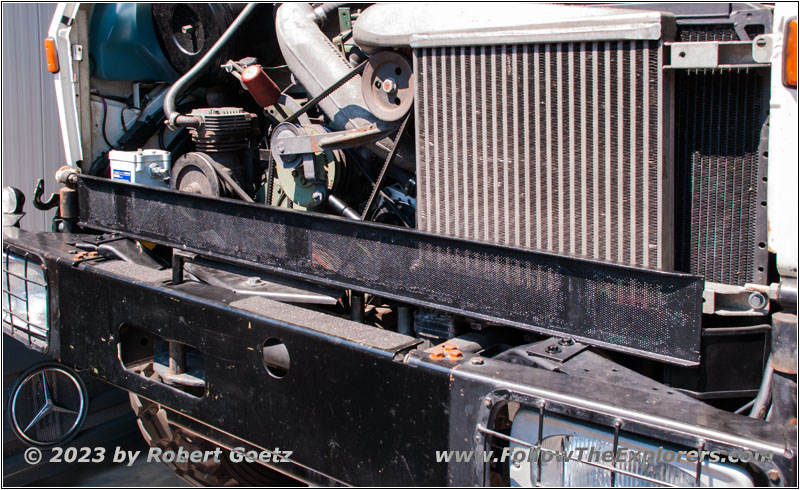
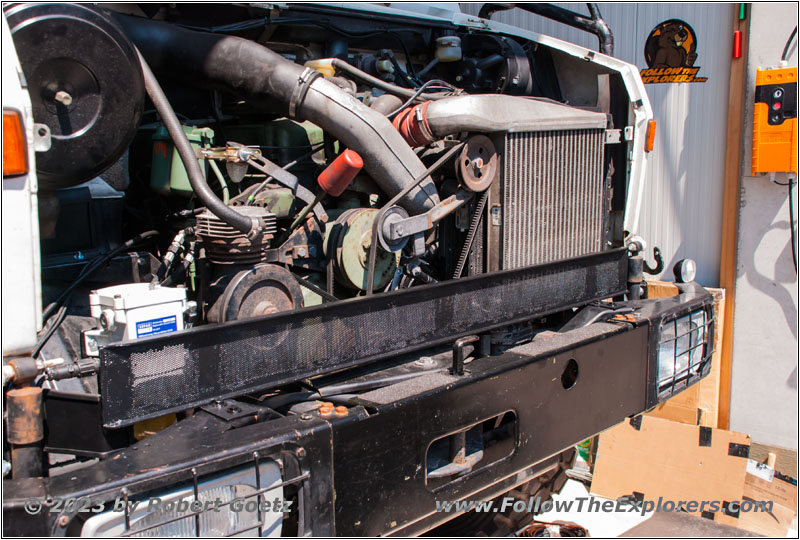
Now I continue with the front grill extension. Due to the cabin lift, there is now a gap of 4 inches, where you can see the inside of the engine compartment and you are also able to reach the drive belts. In this condition my truck would not be street legal anymore. So I build a new cover from aluminum, which I can screw on the front bumper.
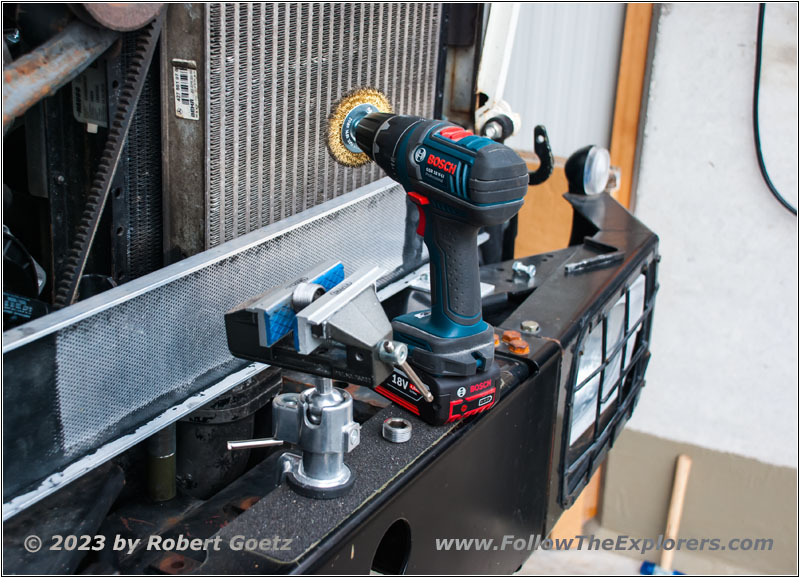
Unimog U1550 Cleaning Oil Drain Plug
Eventually it is warm enough to start with the maintenance work. For this task, a friend of mine and professional mechanic will help me, because I don’t want to drive to a mechanic with my long expired inspection. First we change the brake and clutch fluid. Then I continue with the intermediate gearbox at the wheels. There I must learn, that the rear gear boxes have been overfilled quite heavily! Then I start working on the differentials — whereas I have to build a special tool for the filler screw on the front differential, because it is pretty well hidden. I also clean all screws thoroughly. Now it pays back to have a truck with a real bumper, where you can mount a vise on!
Then we change the gear oil and the split gear oil. We also replace all filters in the diesel system. Using this opportunity, we also replace all fuel hoses and replace the old screw–on clamps with spring clamps. Then we start to remove the air out of the fuel system, which works quite well with a hand pump on the vent.

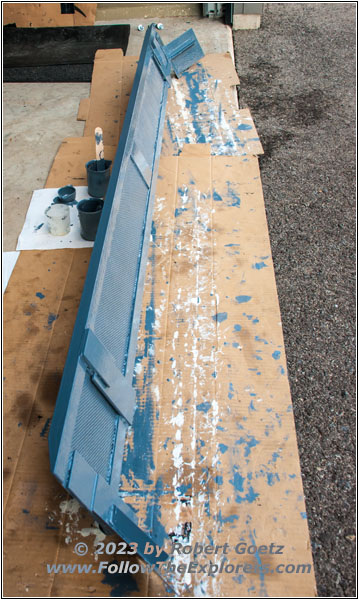
Unimog U1550 Front Grill Addon Primed

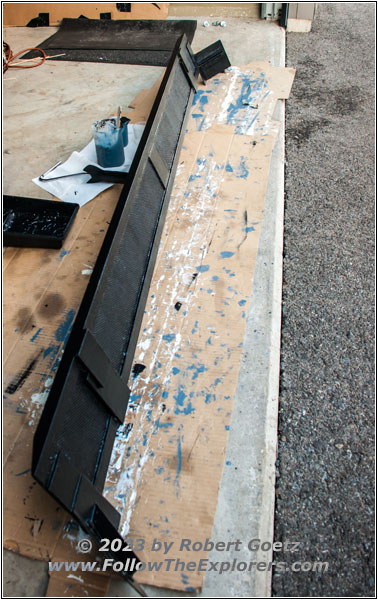
Unimog U1550 Front Grill Addon Painted
Unimog U1550 Front Grill Addon
Unimog U1550 Front Grill Addon
Unimog U1550 Front Grill Addon
Unimog U1550 Front Grill Addon
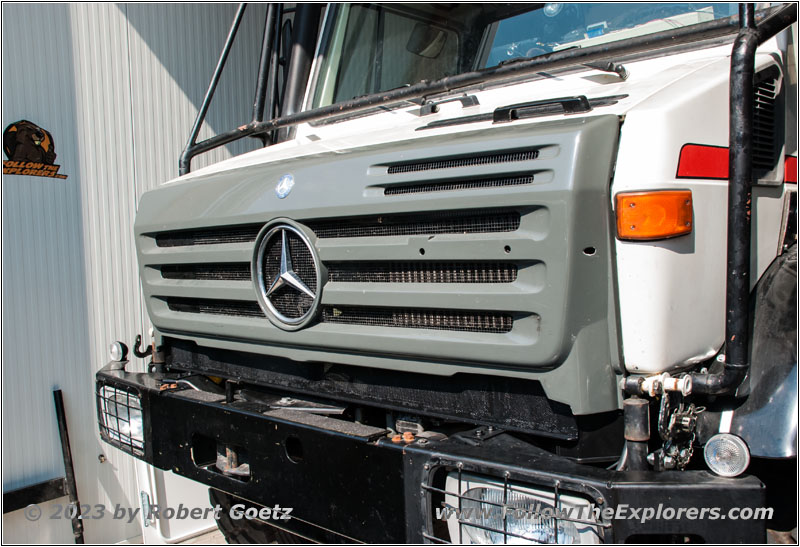
In the meantime I continue my work on the front grill addon. First I thoroughly clean it. Then it must be grinded and cleaned again afterwards. Next is priming, before the real paint can be put on. The painting is again the Raptor coating, which I already used for the storage boxes. After everything is dried out, I can finally mount the front grill addon. I also paint the screws with a black painting.
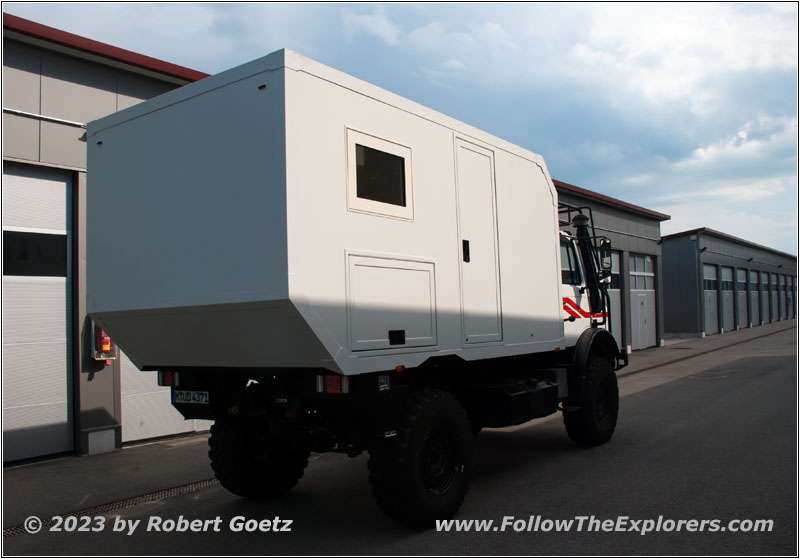
Unimog U1550 Right Rear
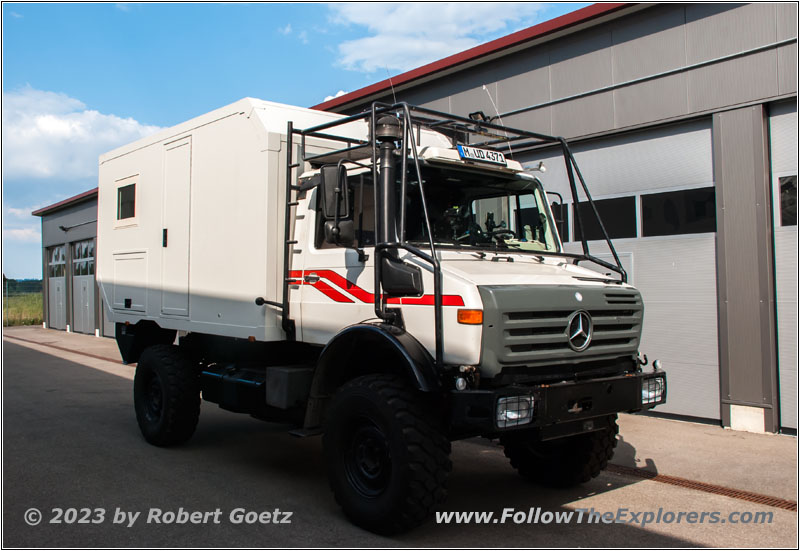
Unimog U1550 Right Front
Now she is ready for the next inspection (TÜV) drive. Also this time, there are no issues and she passes without any restrictions.
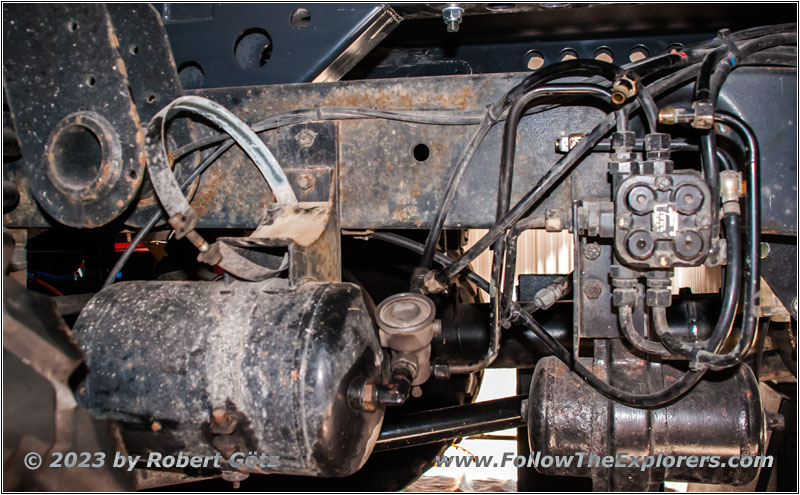
Unimog U1550 Pressure System Rework
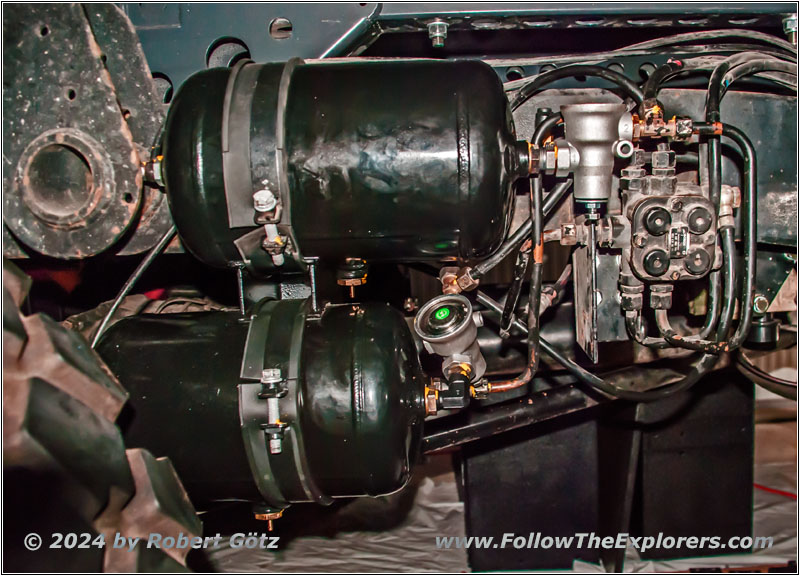
Unimog U1550 Pressure System Rework
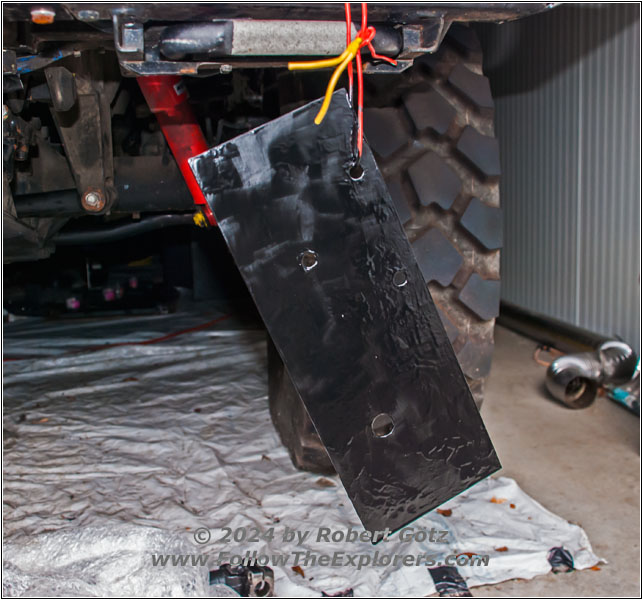
Unimog U1550 Pressure Tank Mount
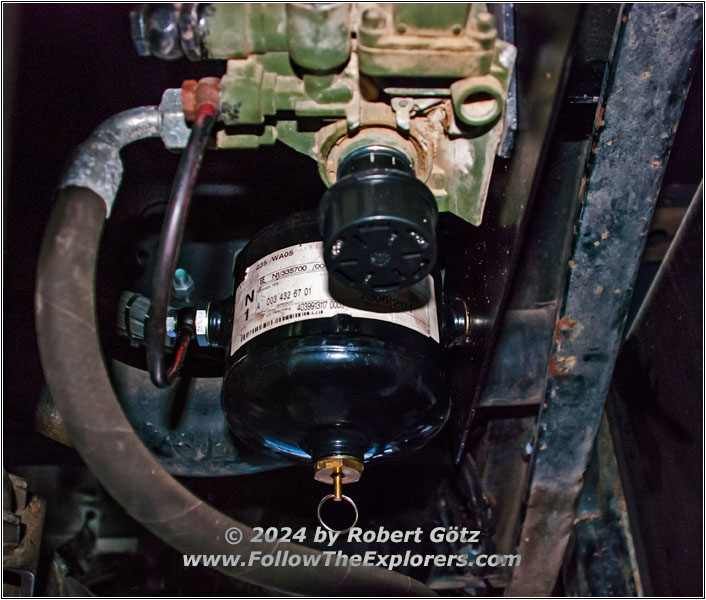
Unimog U1550 Pressure System Rework
Unimog U1550 Pressure System Rework
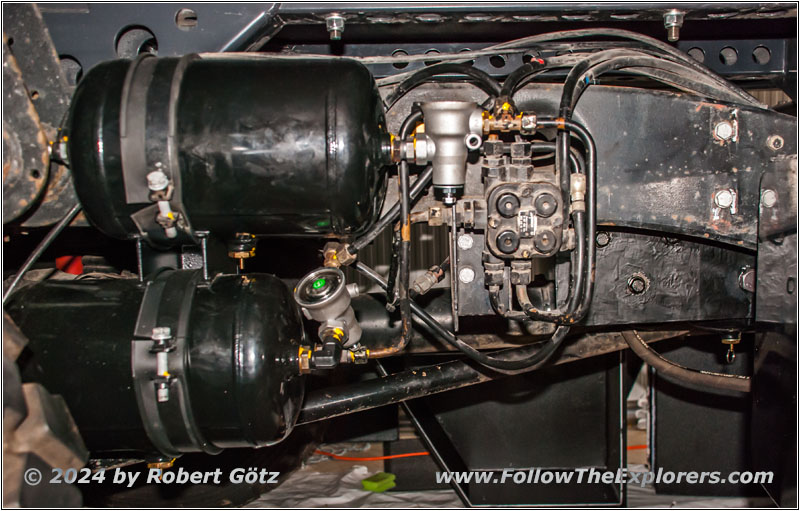
While I am working on the interior, my mechanic friend takes care of the pressure system rework. I bought new pressure tanks made from aluminum to replace the old and rusty ones. While dismounting everything we realize that we should also renew all connections as well as the pressure regulators and the small pressure tank at the air dryer. This tank also has a little surprise for me: The air dryer has been mounted by one of the pre–owners, but unfortunately not with original equipment. When I receive the new pressure tank, nothing would fit! So I build a new mount and then we build everything up way more reasonable.

Unimog U1550 Storage Box
Unimog U1550 Storage Box


Unimog U1550 Storage Box Entrance Stairs
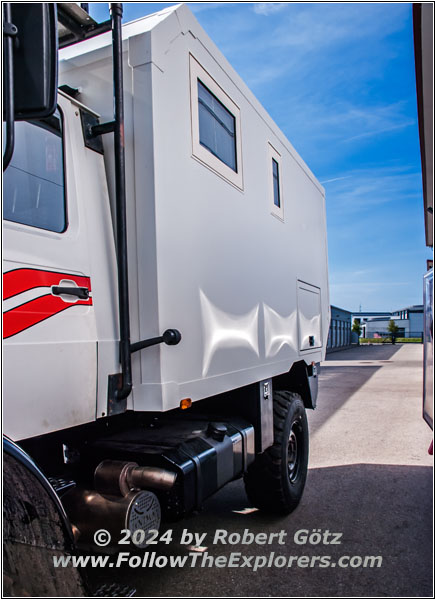
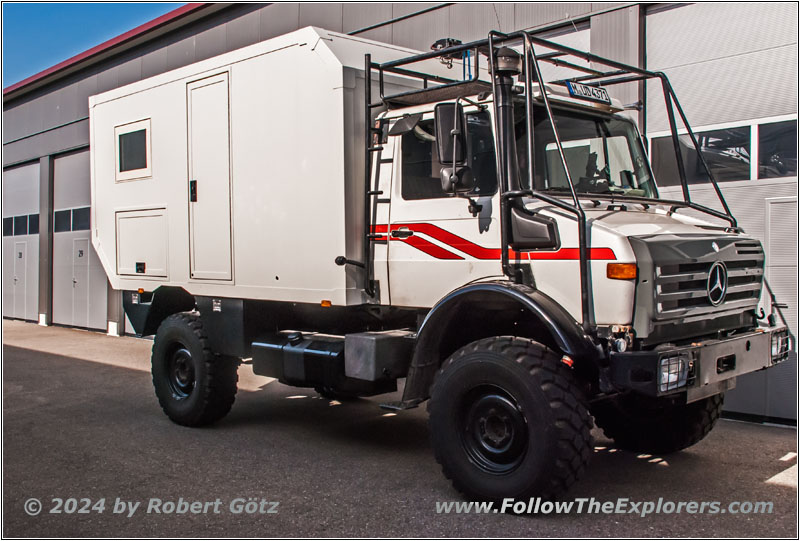
Now I am eventually able to mount the storage boxes. Also I glue some stainless steel counterparts for the locks in the storage box. Finally, I am also able to test my entrance stairs. Generally, things are working. But everything is really instable. It feels like entering a horse step. But it is working out. So I postpone the task to improve things here.
Unimog U1550 rear fender
Unimog U1550 rear fender
Unimog U1550 rear fender
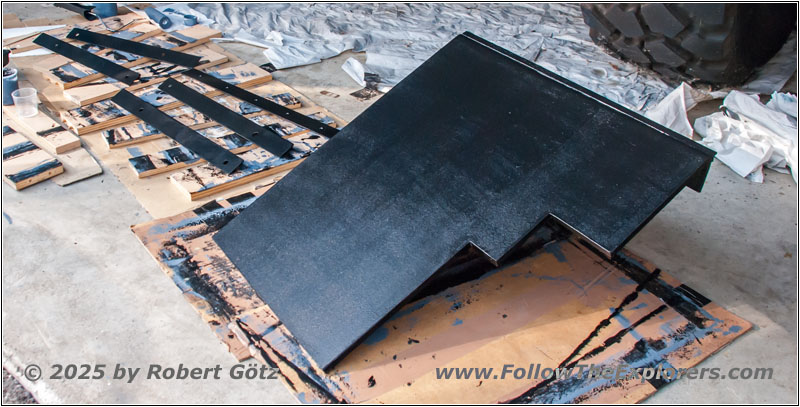
Unimog U1550 rear fender
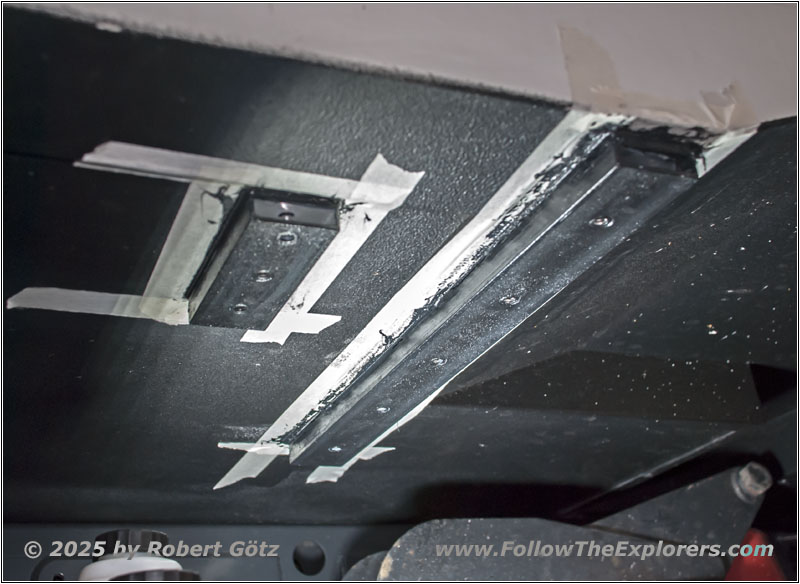
Unimog U1550 rear fender mount
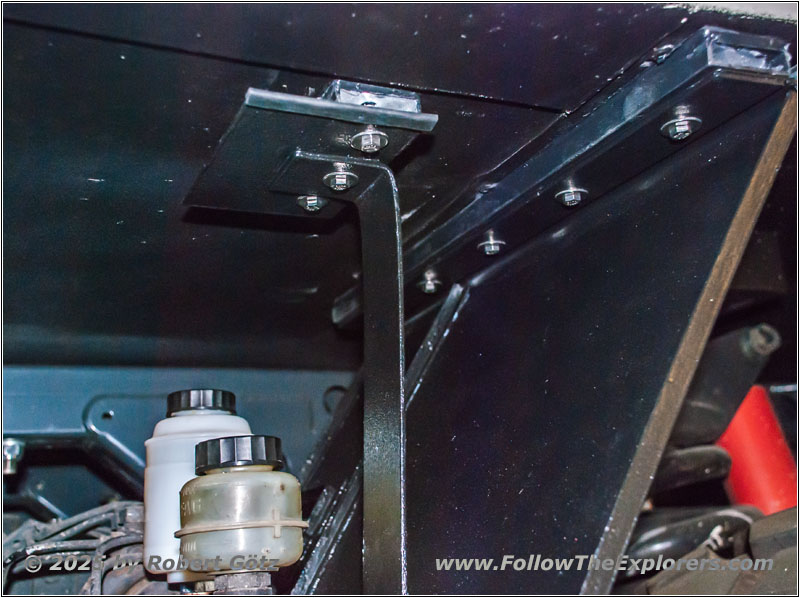
Unimog U1550 rear fender
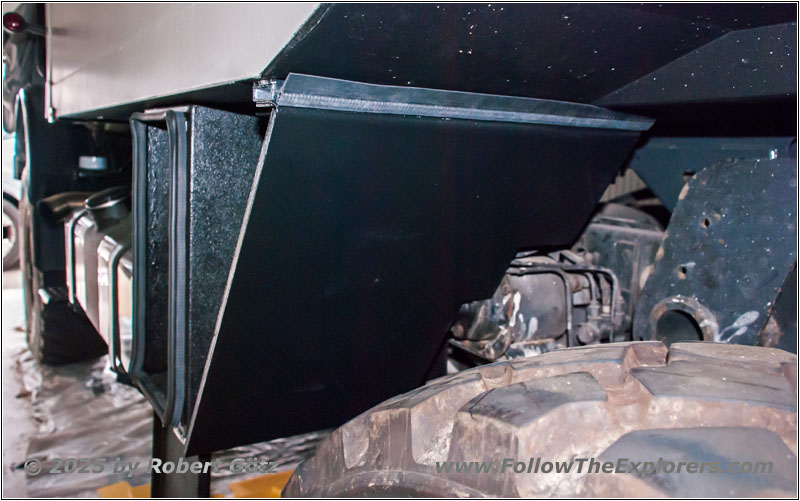
Unimog U1550 rear fender
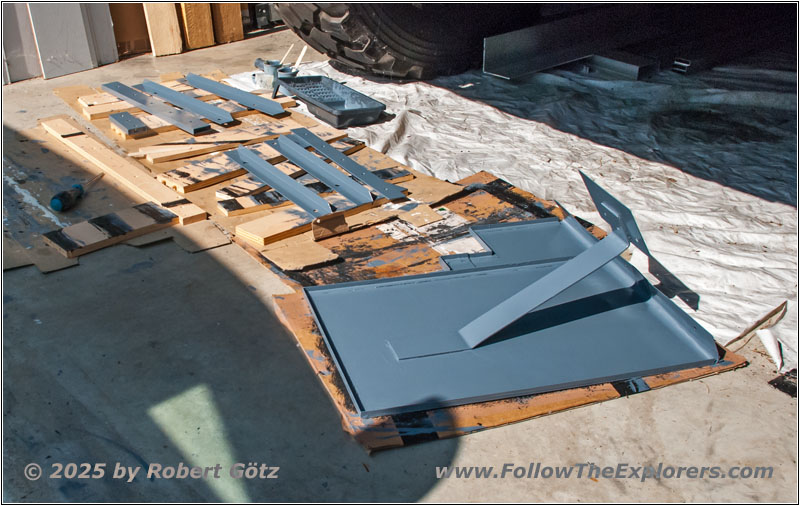
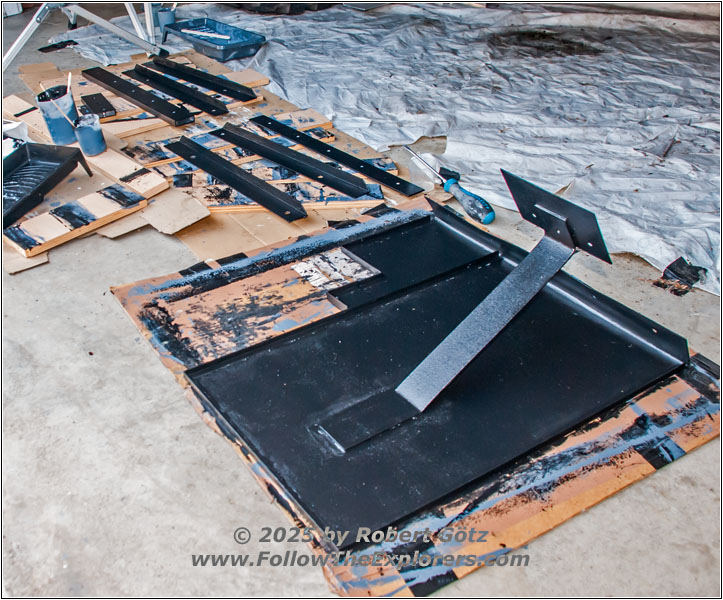
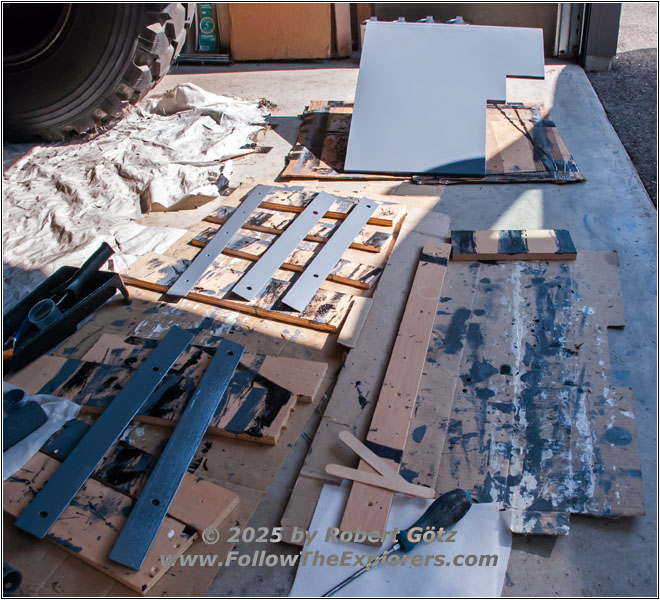
After almost one year with no progress on the truck itself (I was working all the time on the shelter inside) I eventually started working on my rear fender which should protect my brake fluid reservoirs. First the aluminum must be cleaned, sanded and primed before I put the Raptor paint on. Then I start working on the other side. Finally, it’s time to mount it on the truck.
…to be continued…
